Ink & watercolour workshop with Victoria Wainwright – April 2026 – Saturday

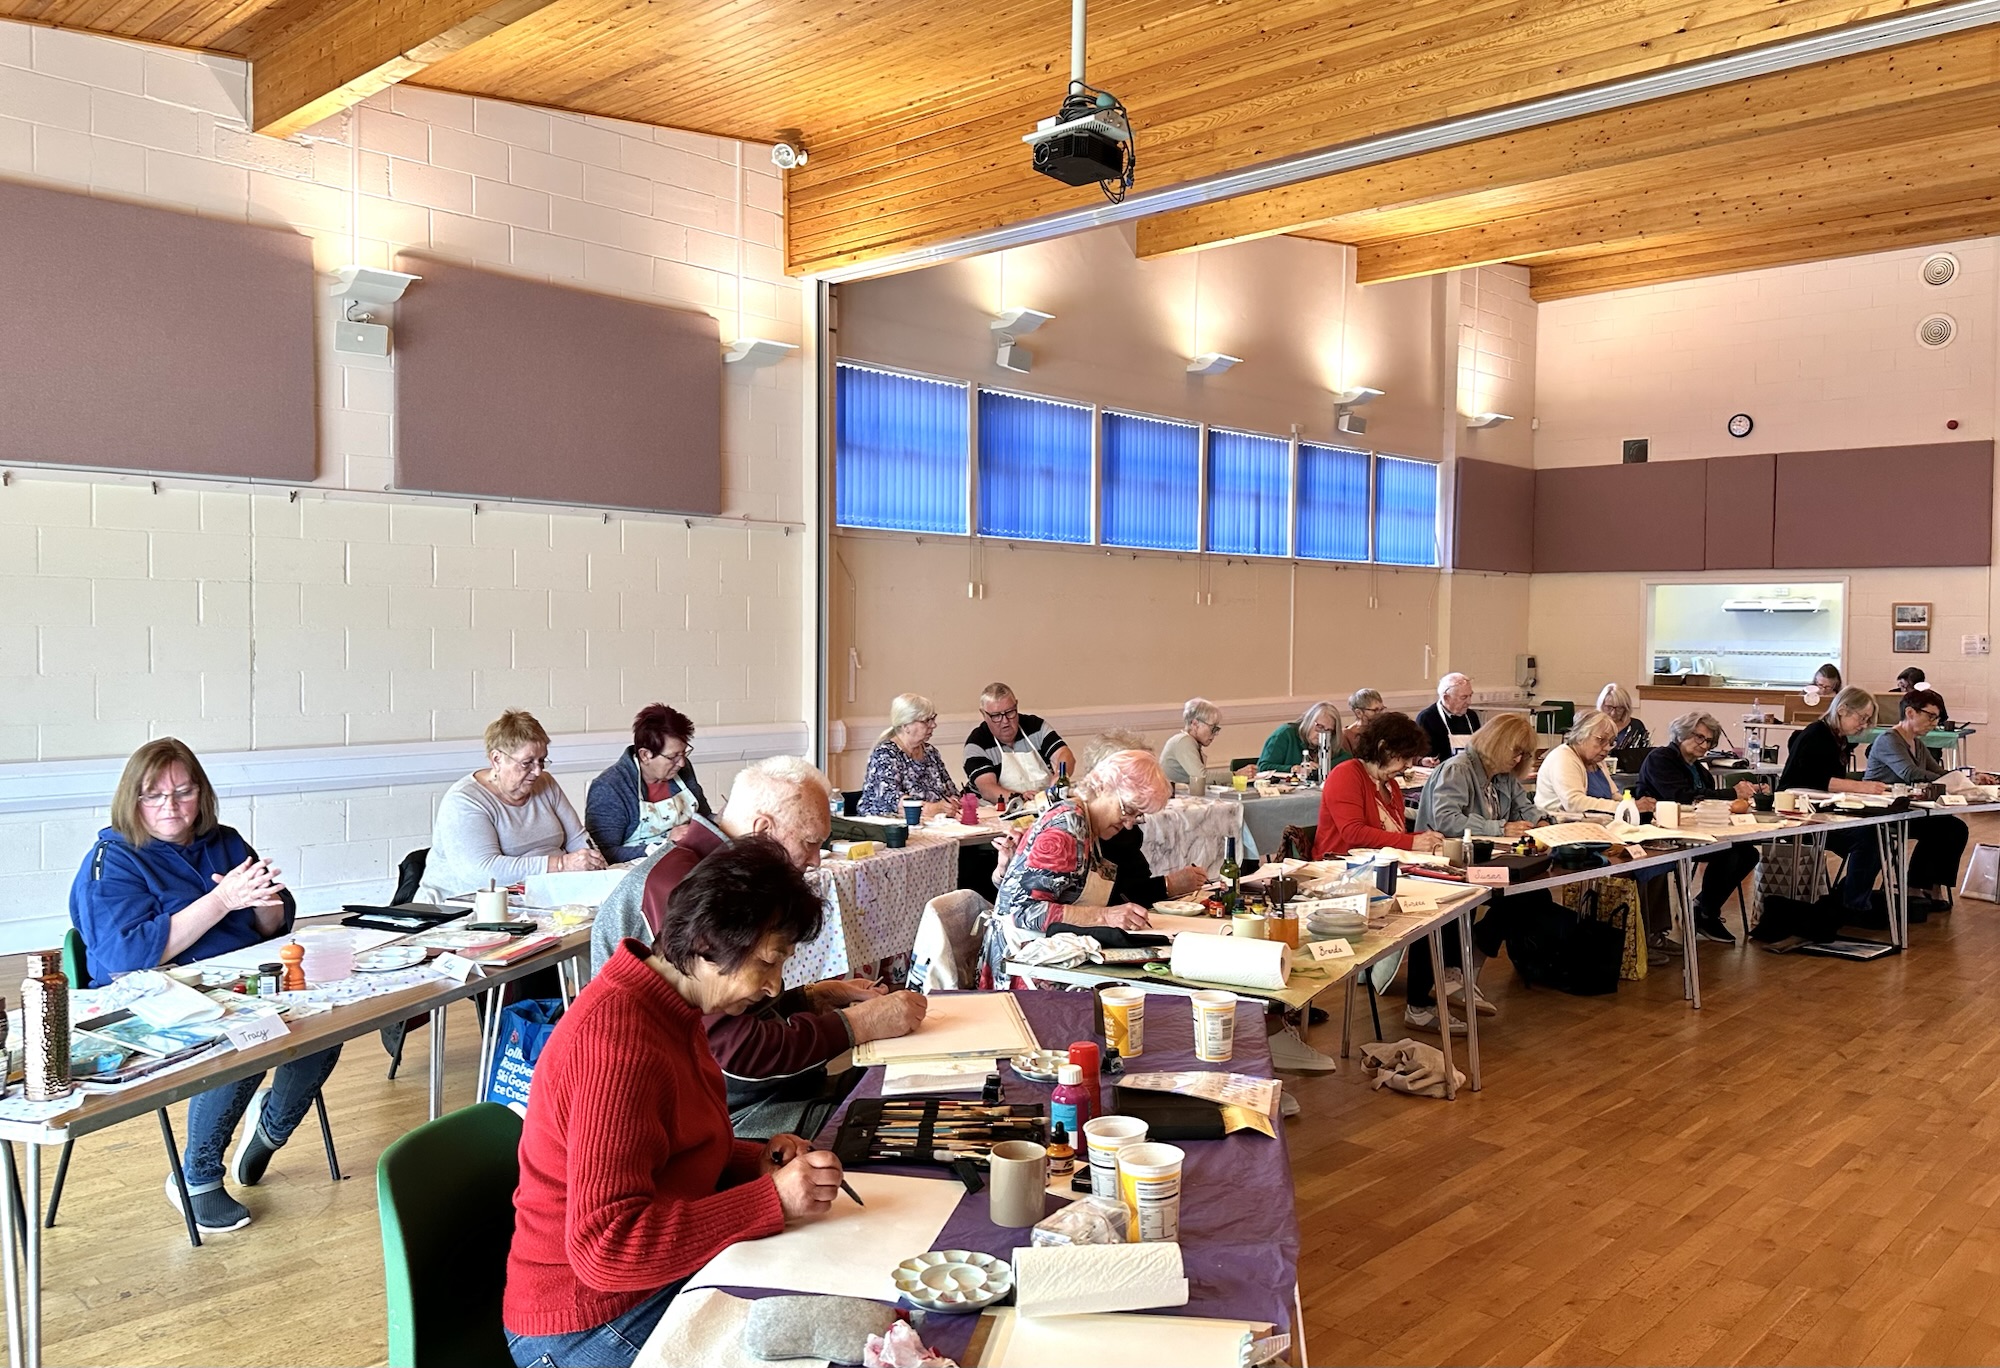
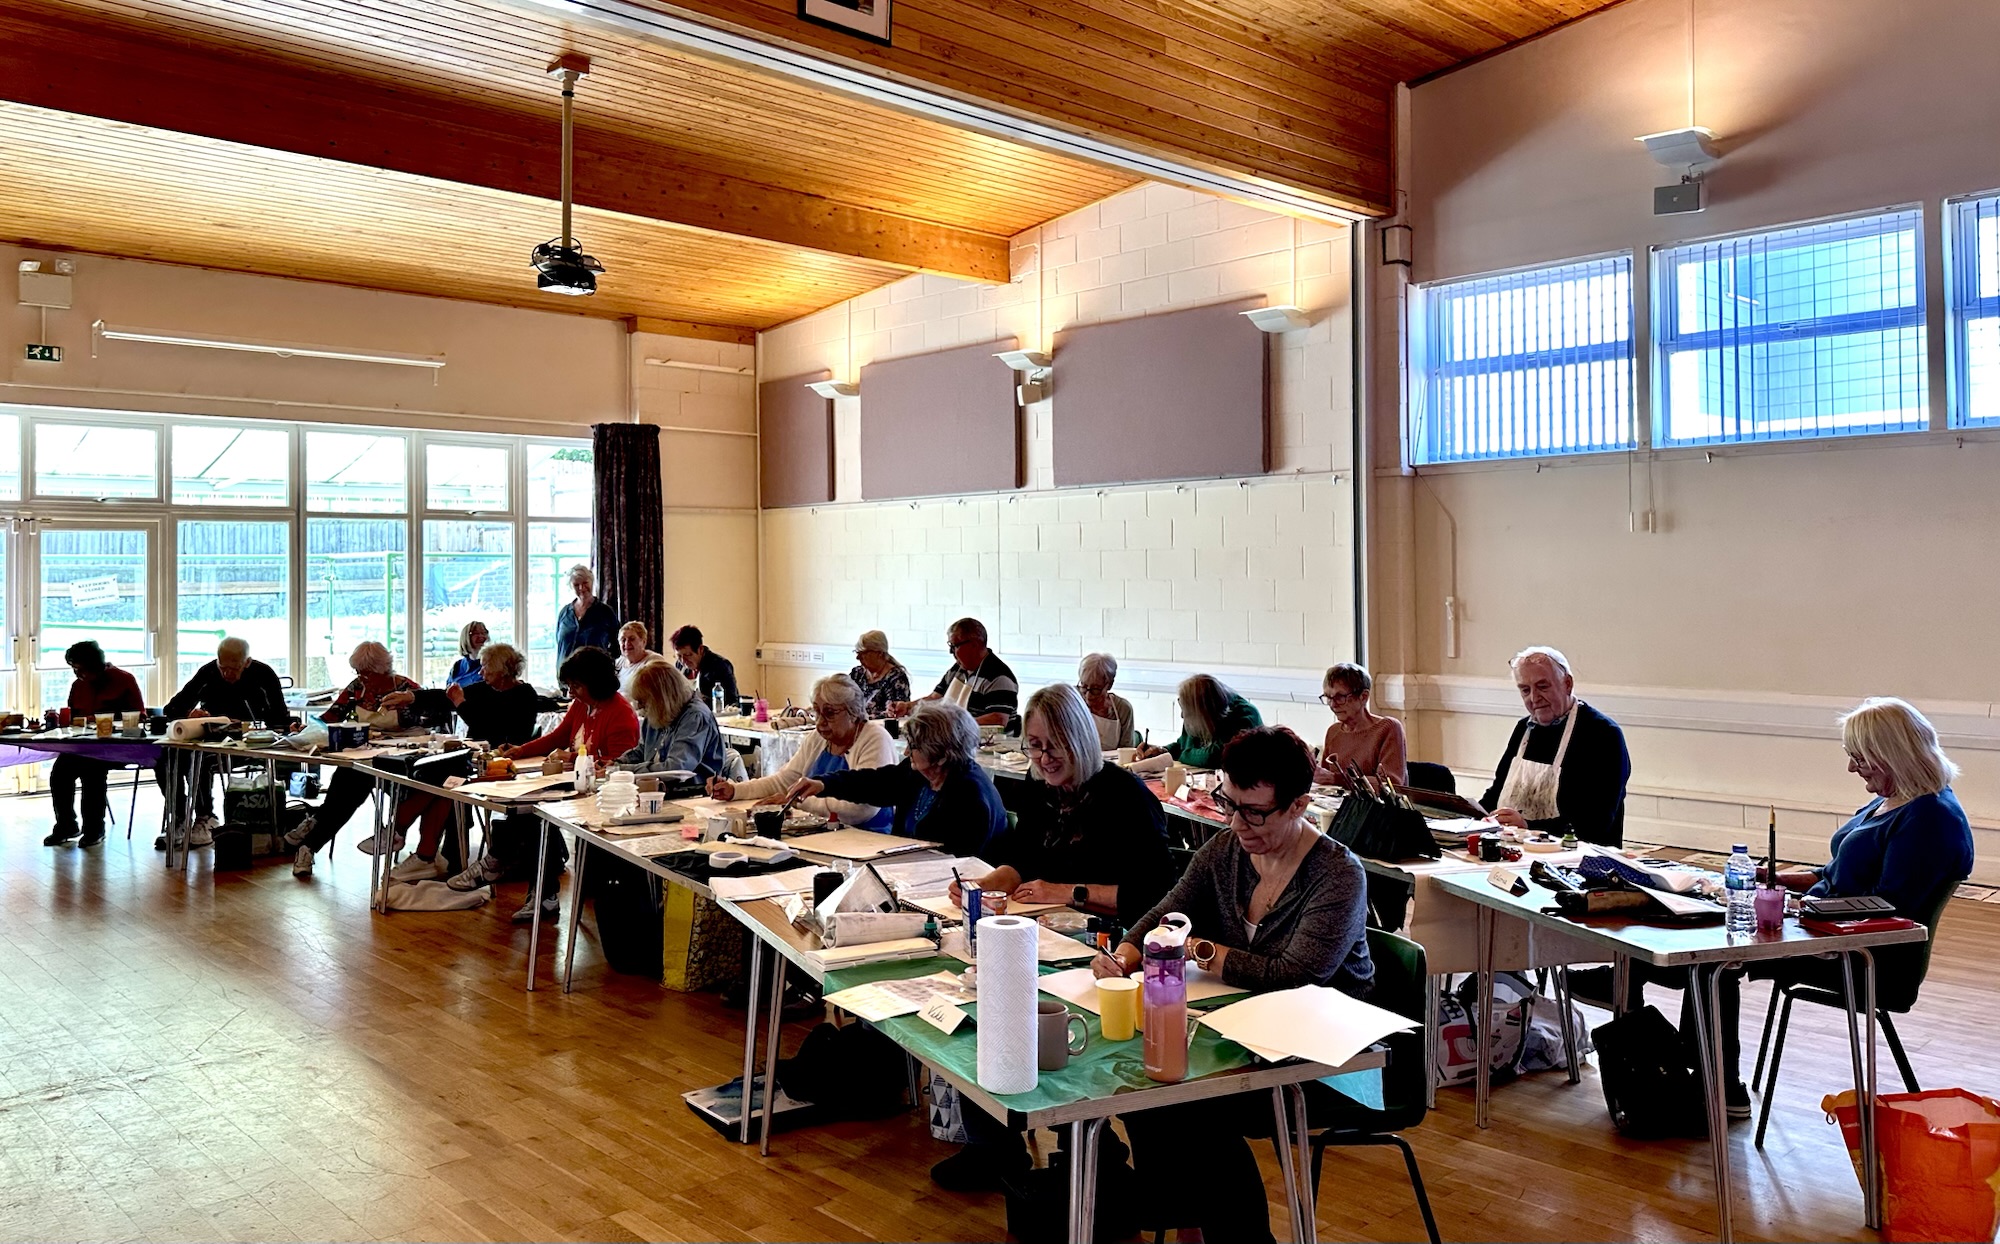
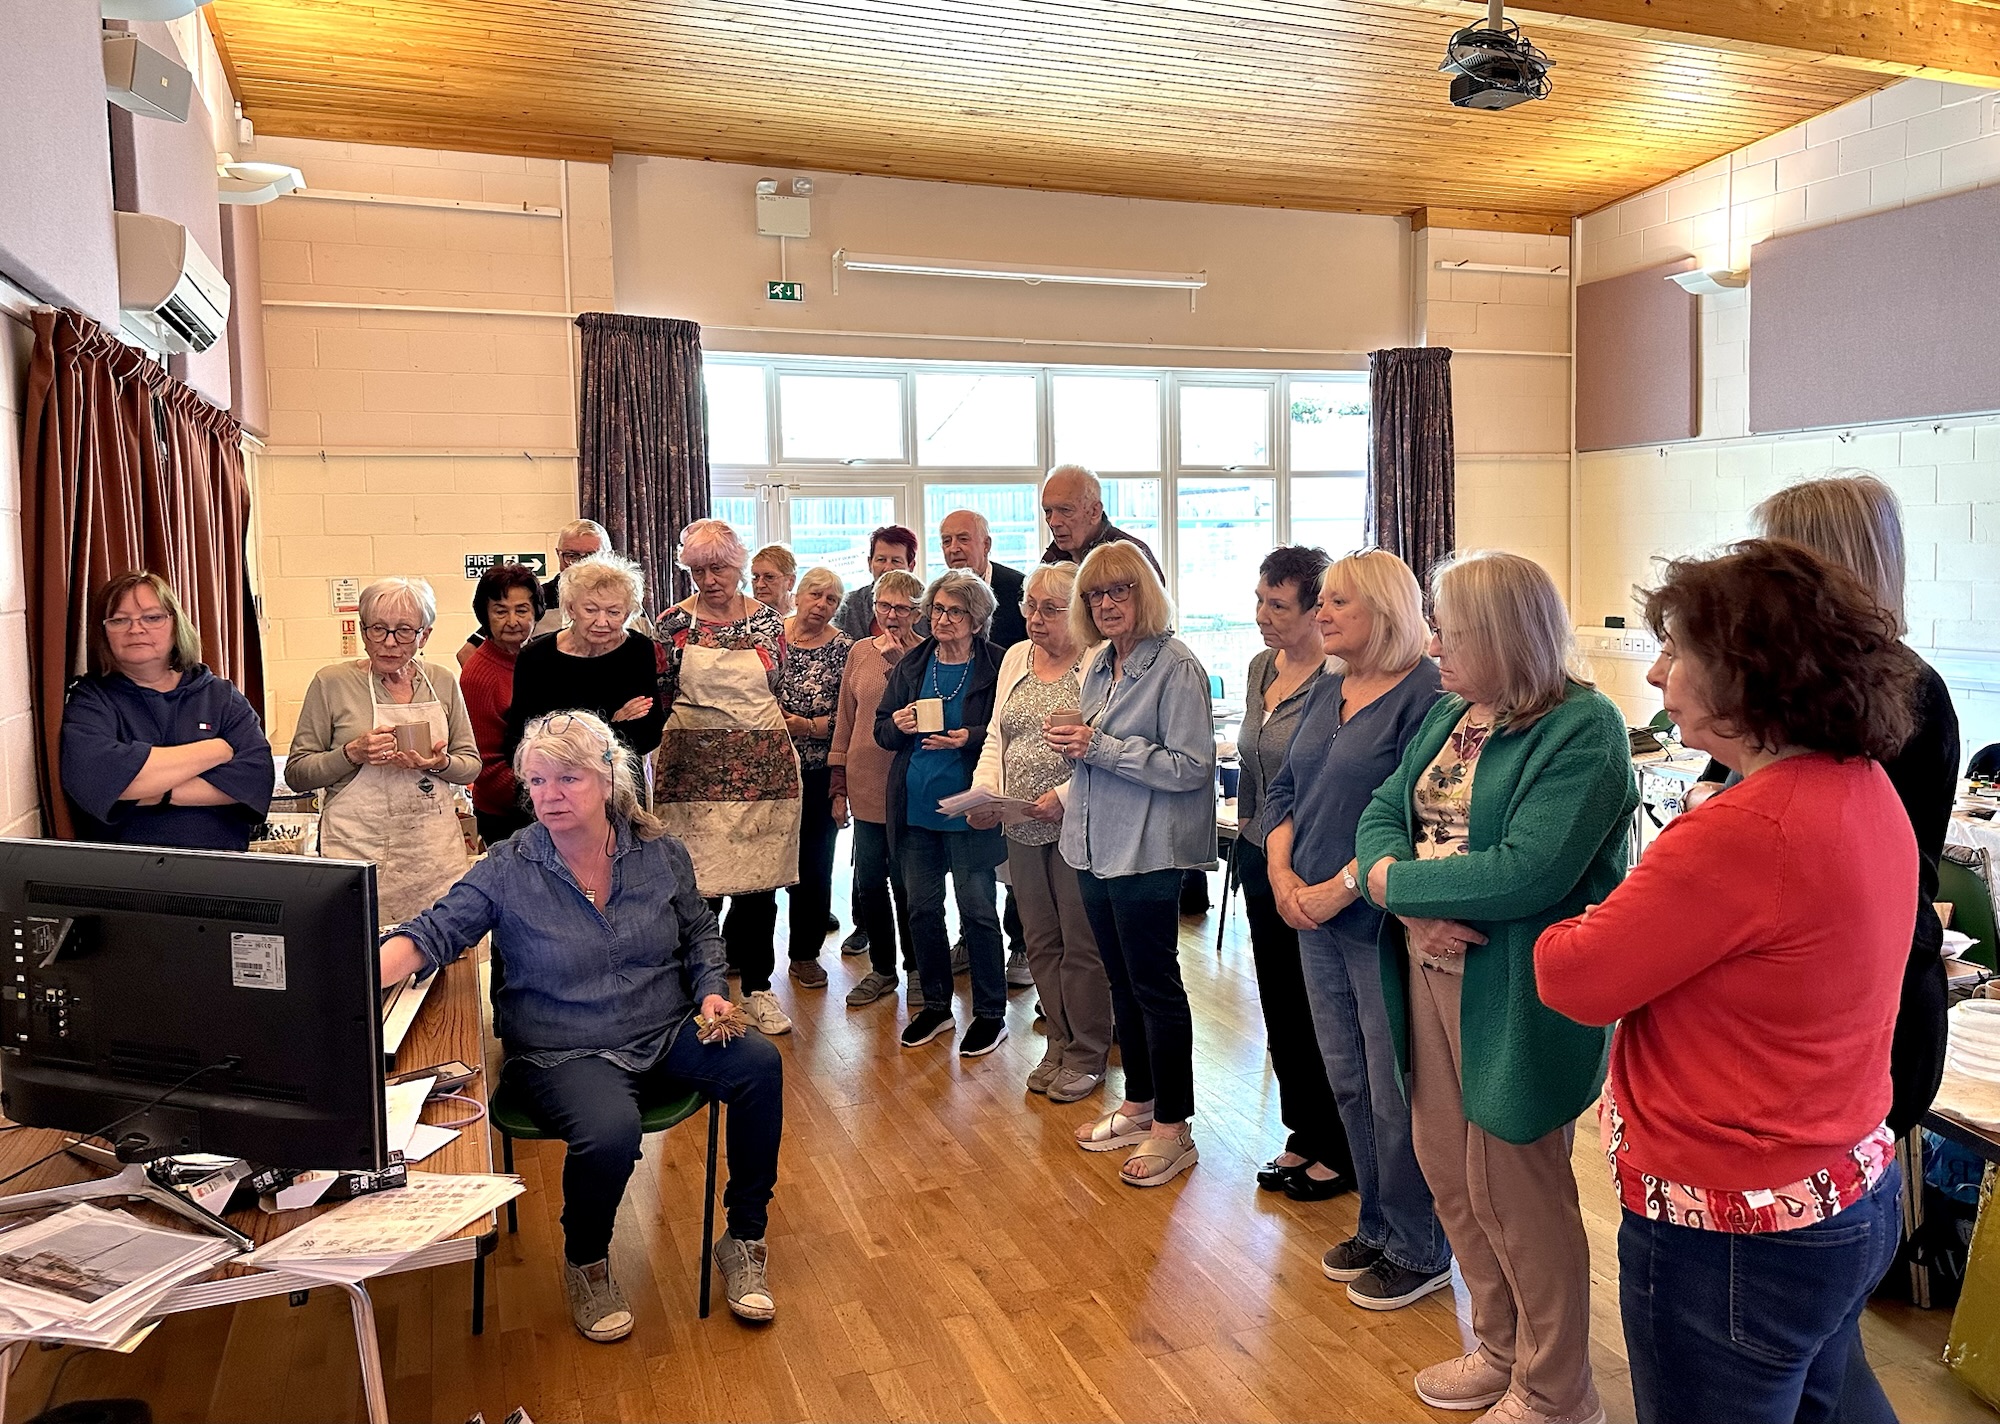
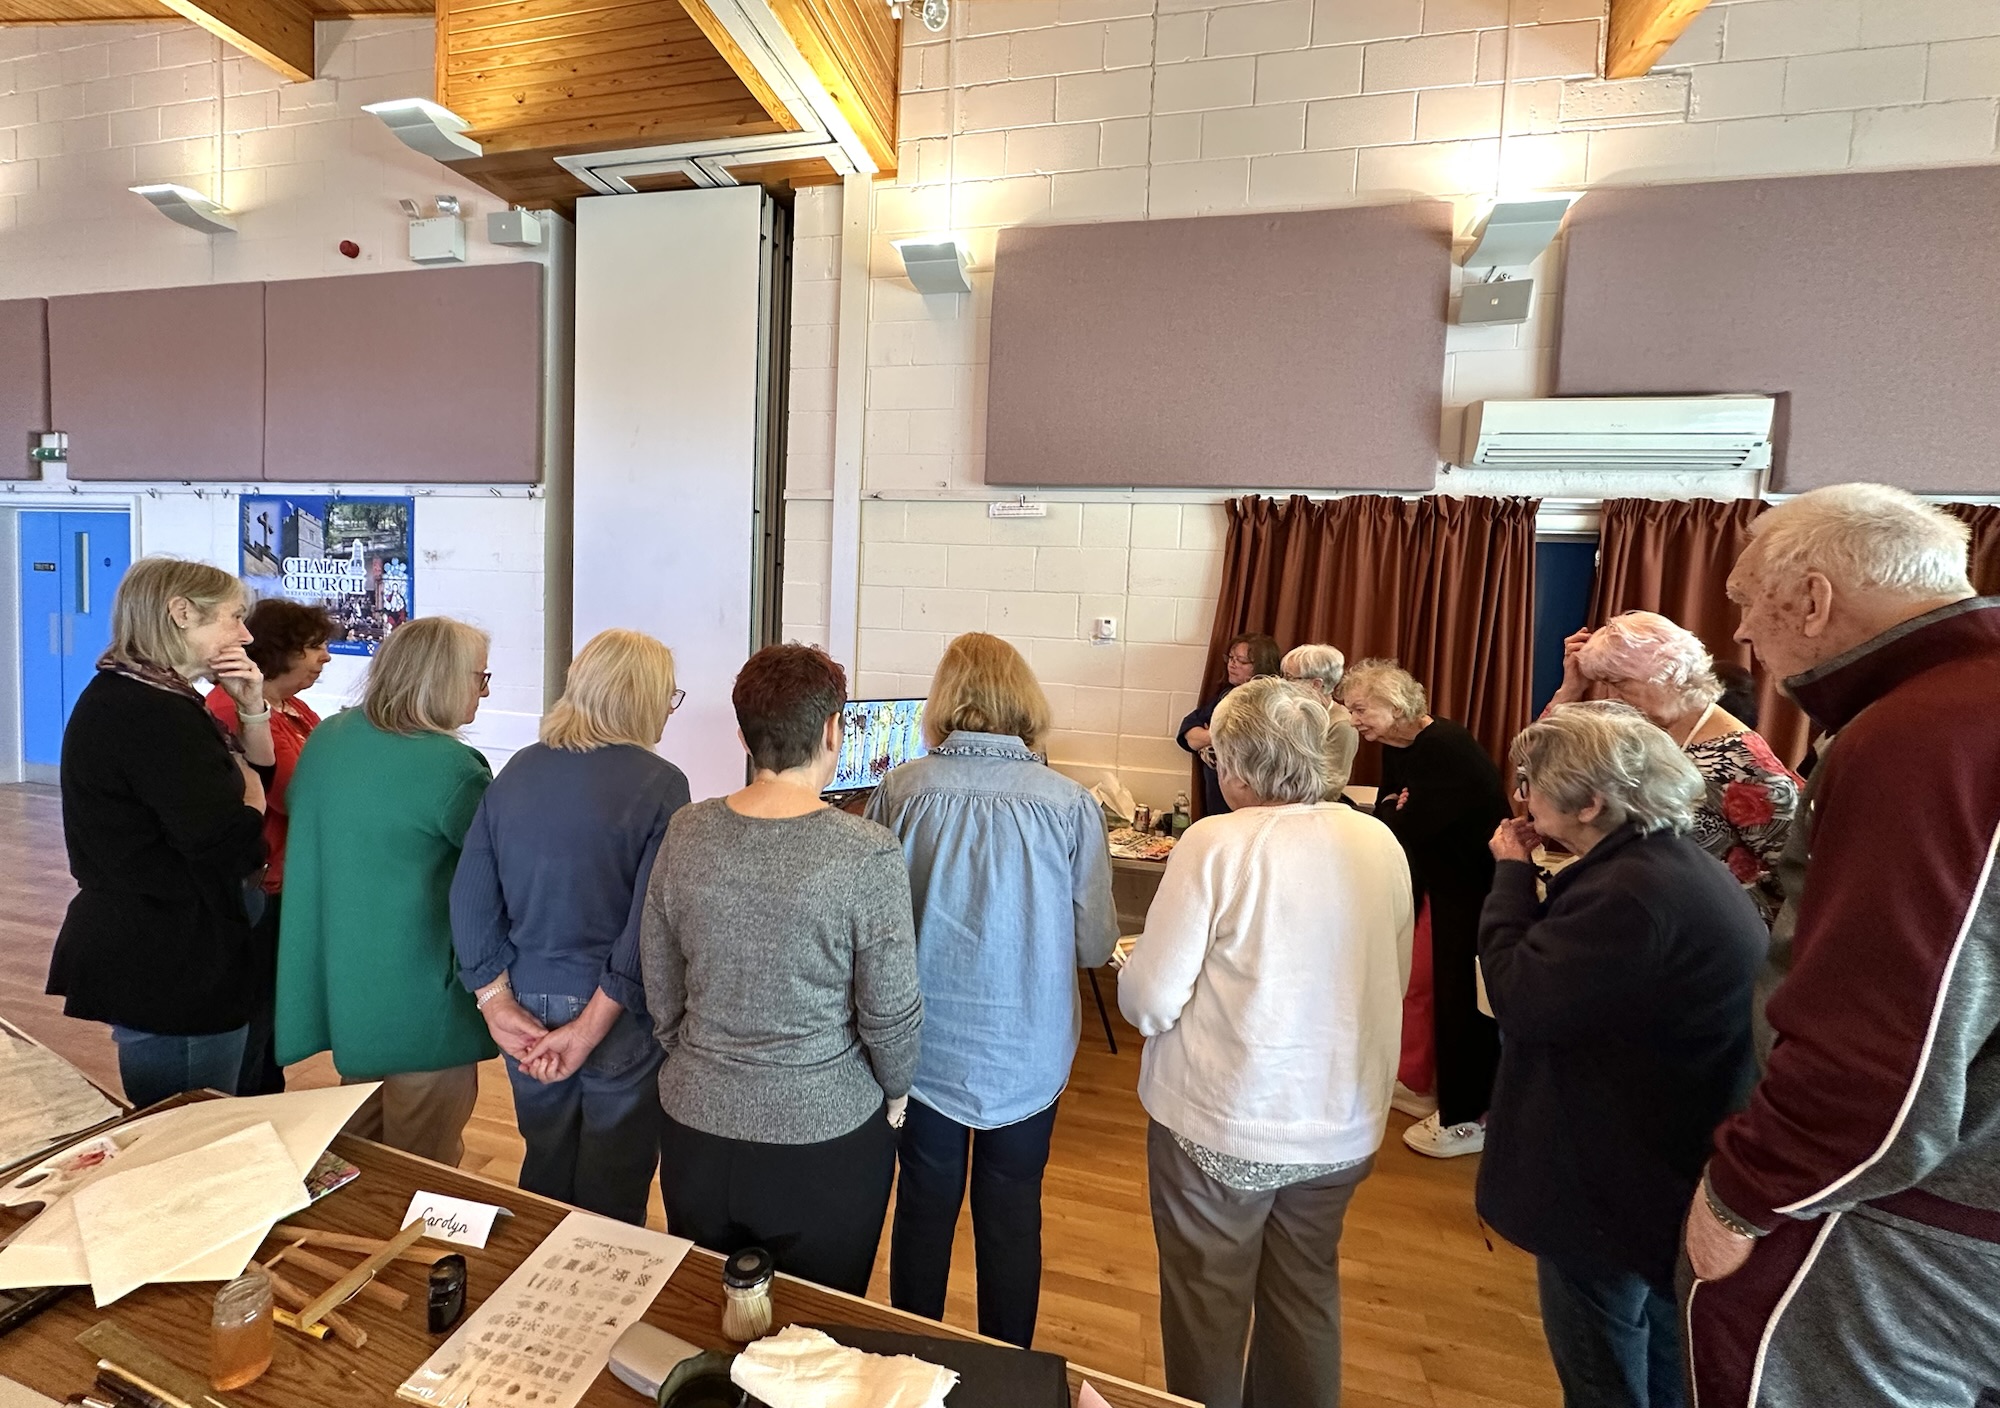
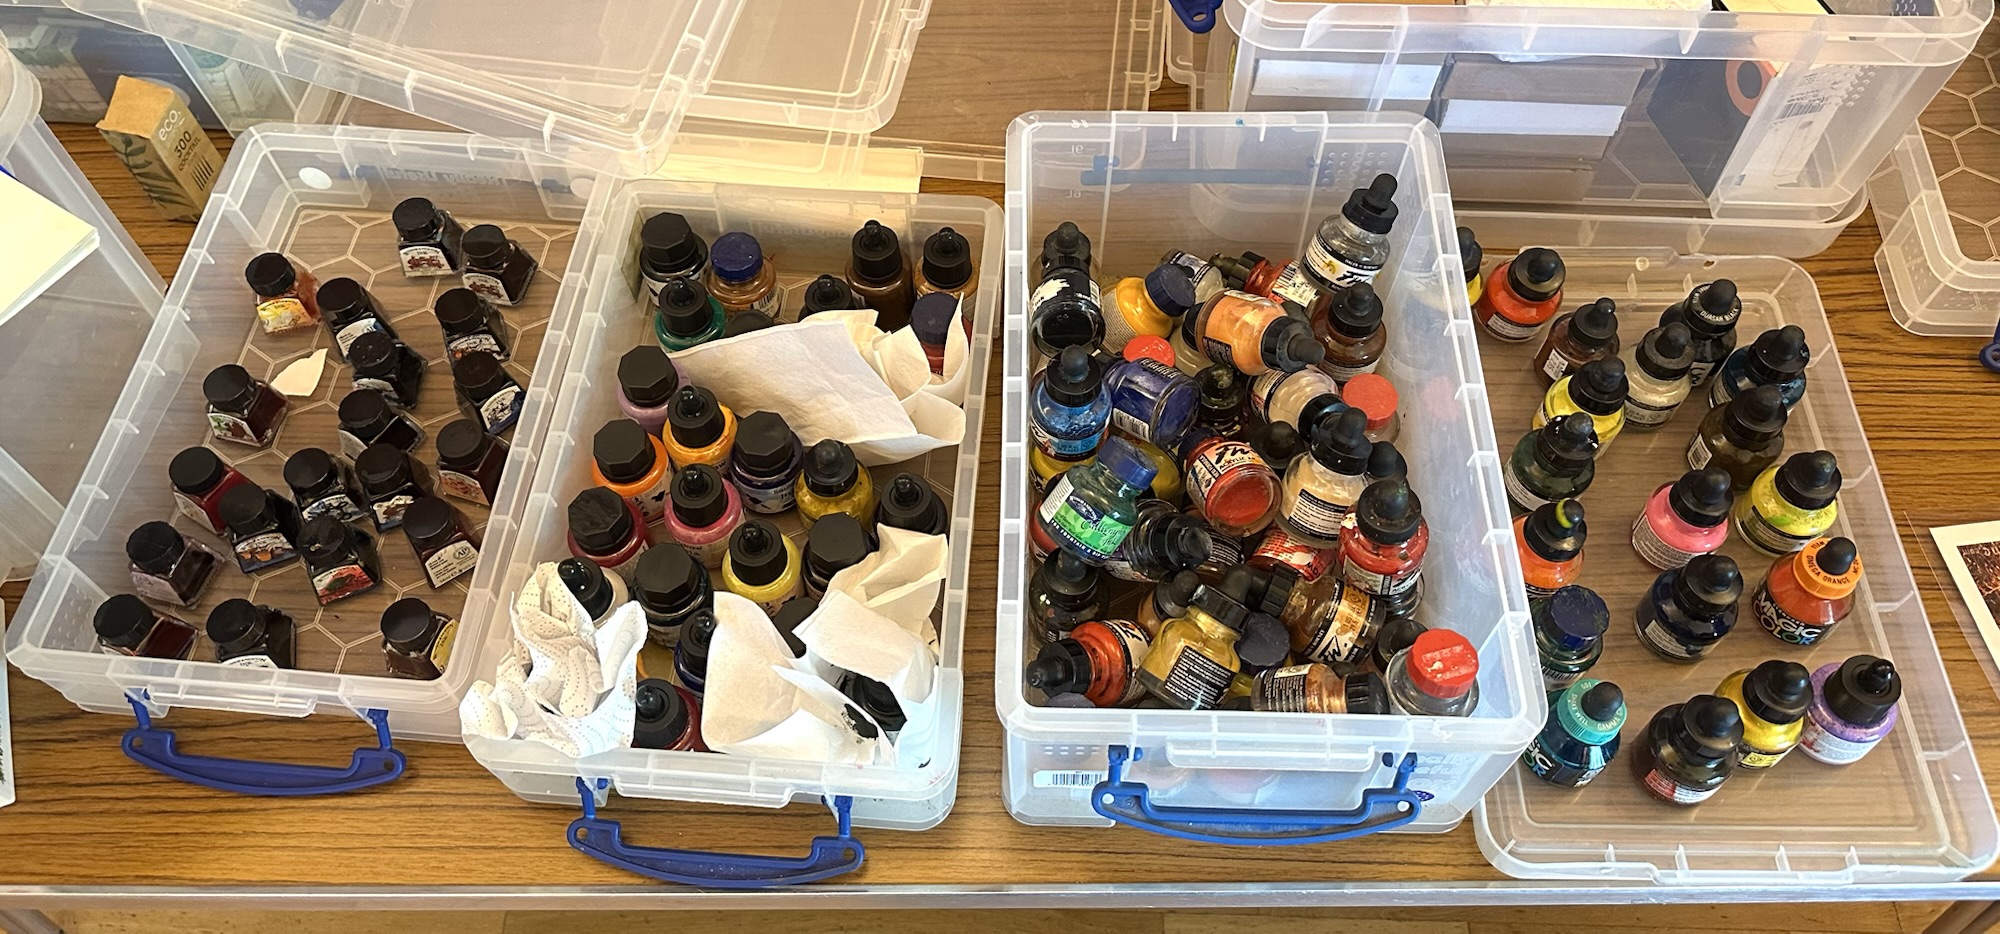
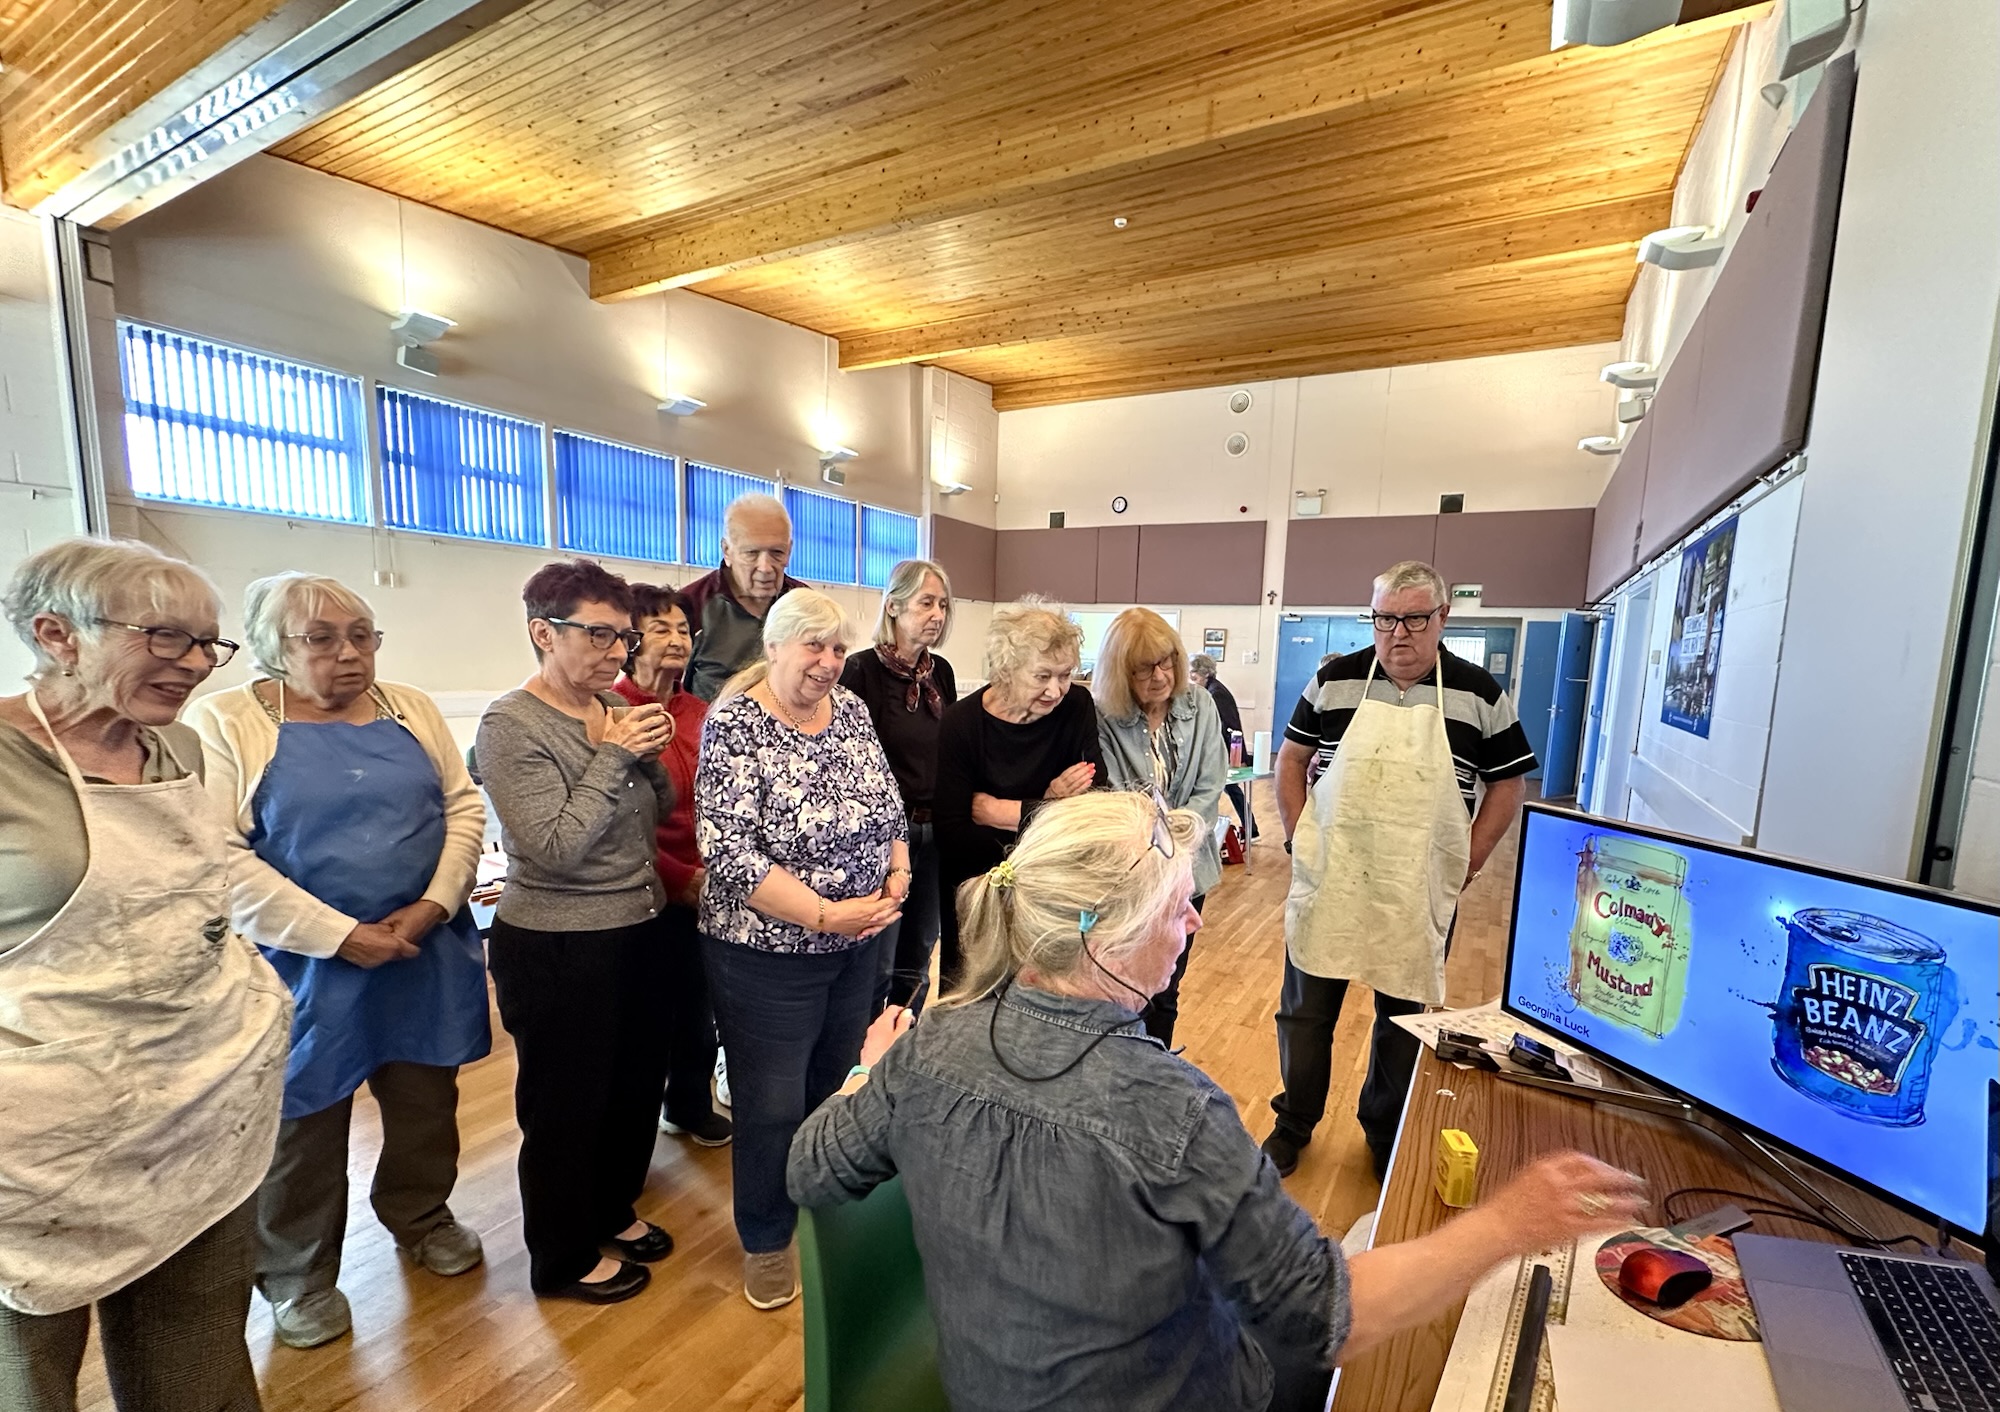
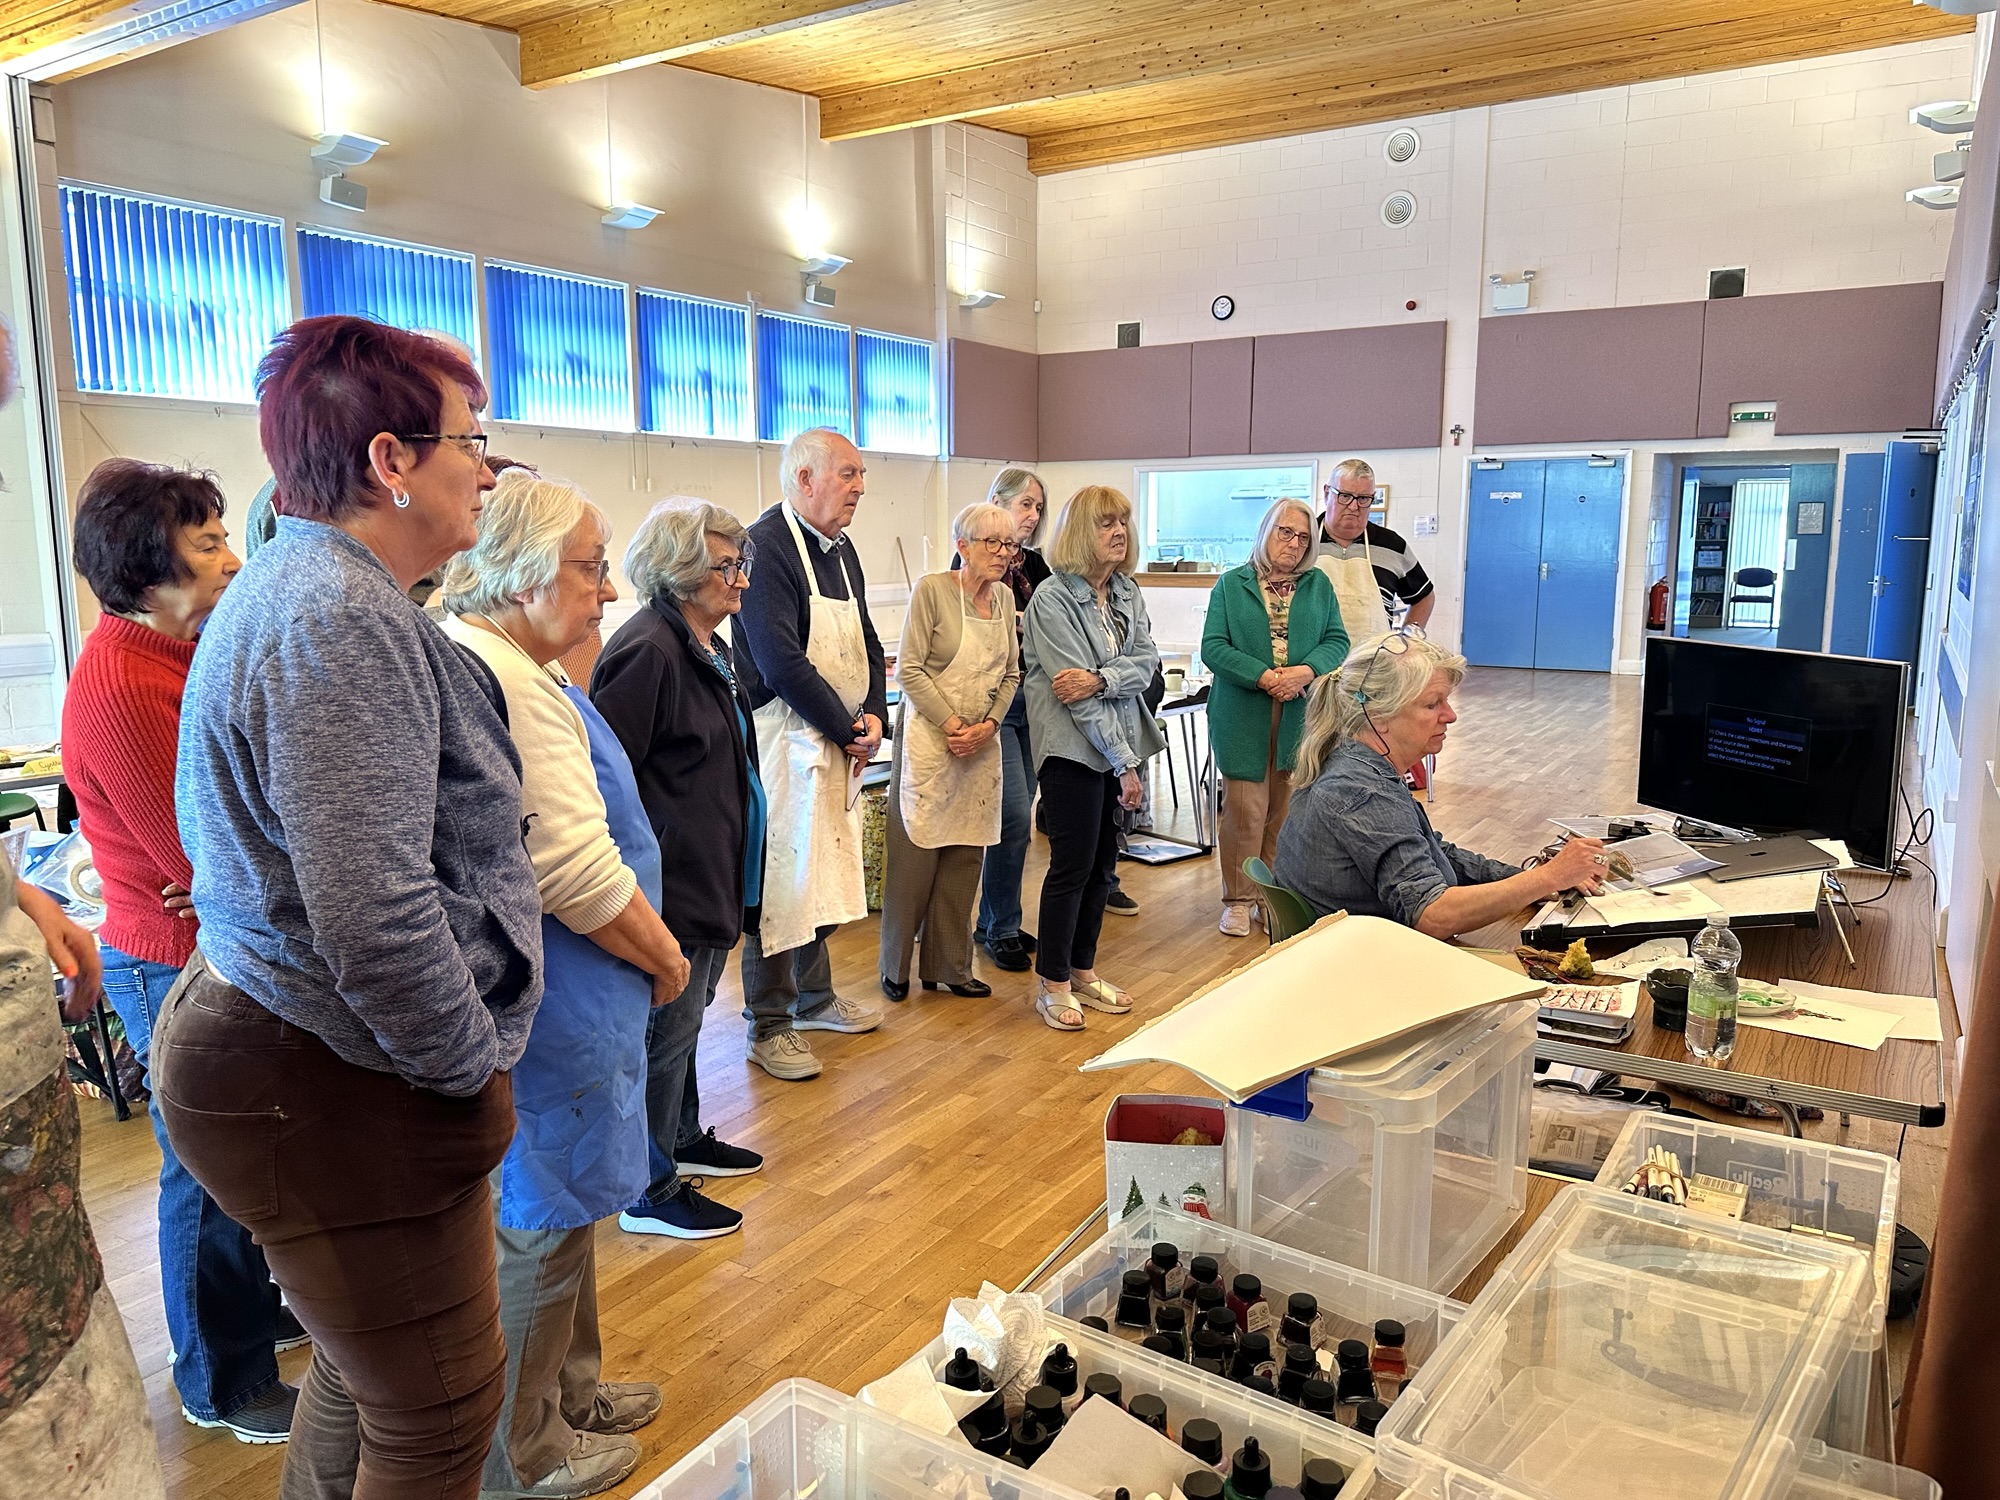
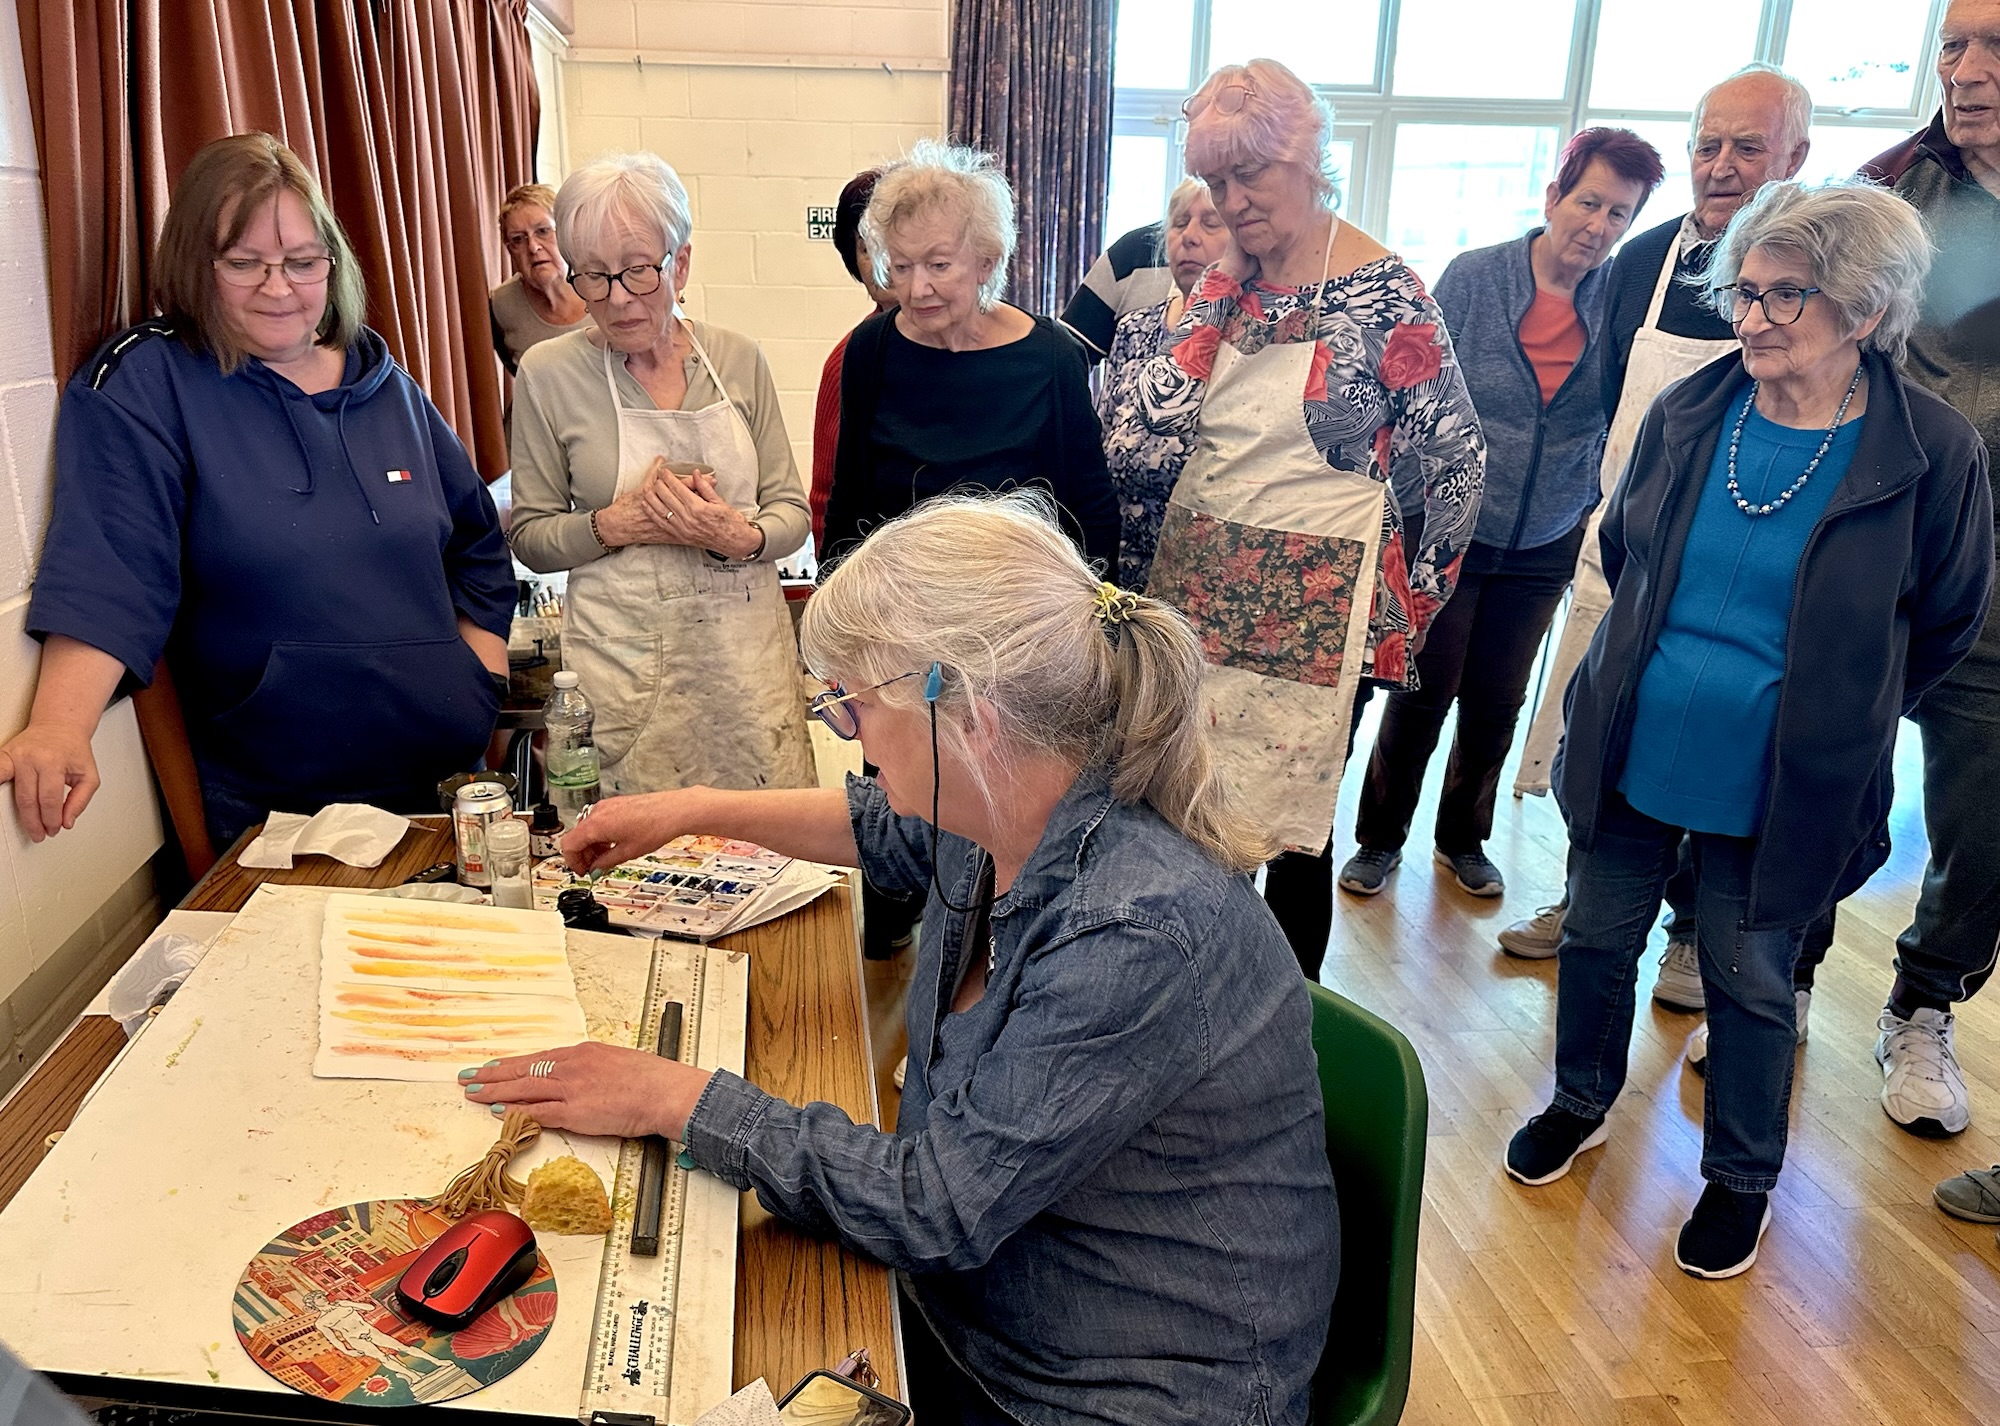
On Saturday twenty one members enjoyed an ink and workshop with artist and tutor Victoria Wainwright. We learned about different types of inks, including acrylic and Indian inks and used several colours in different paintings. It was the first time we have done four paintings at one workshop and we all went home having learned a lot and appreciated her knowledge, inspiration and encouragement.

Victoria’s website is here… https://www.victoriawainwright.com

As art group subs covers the hall hire, members not attending the workshop are welcome to come along and create pictures to their own theme.

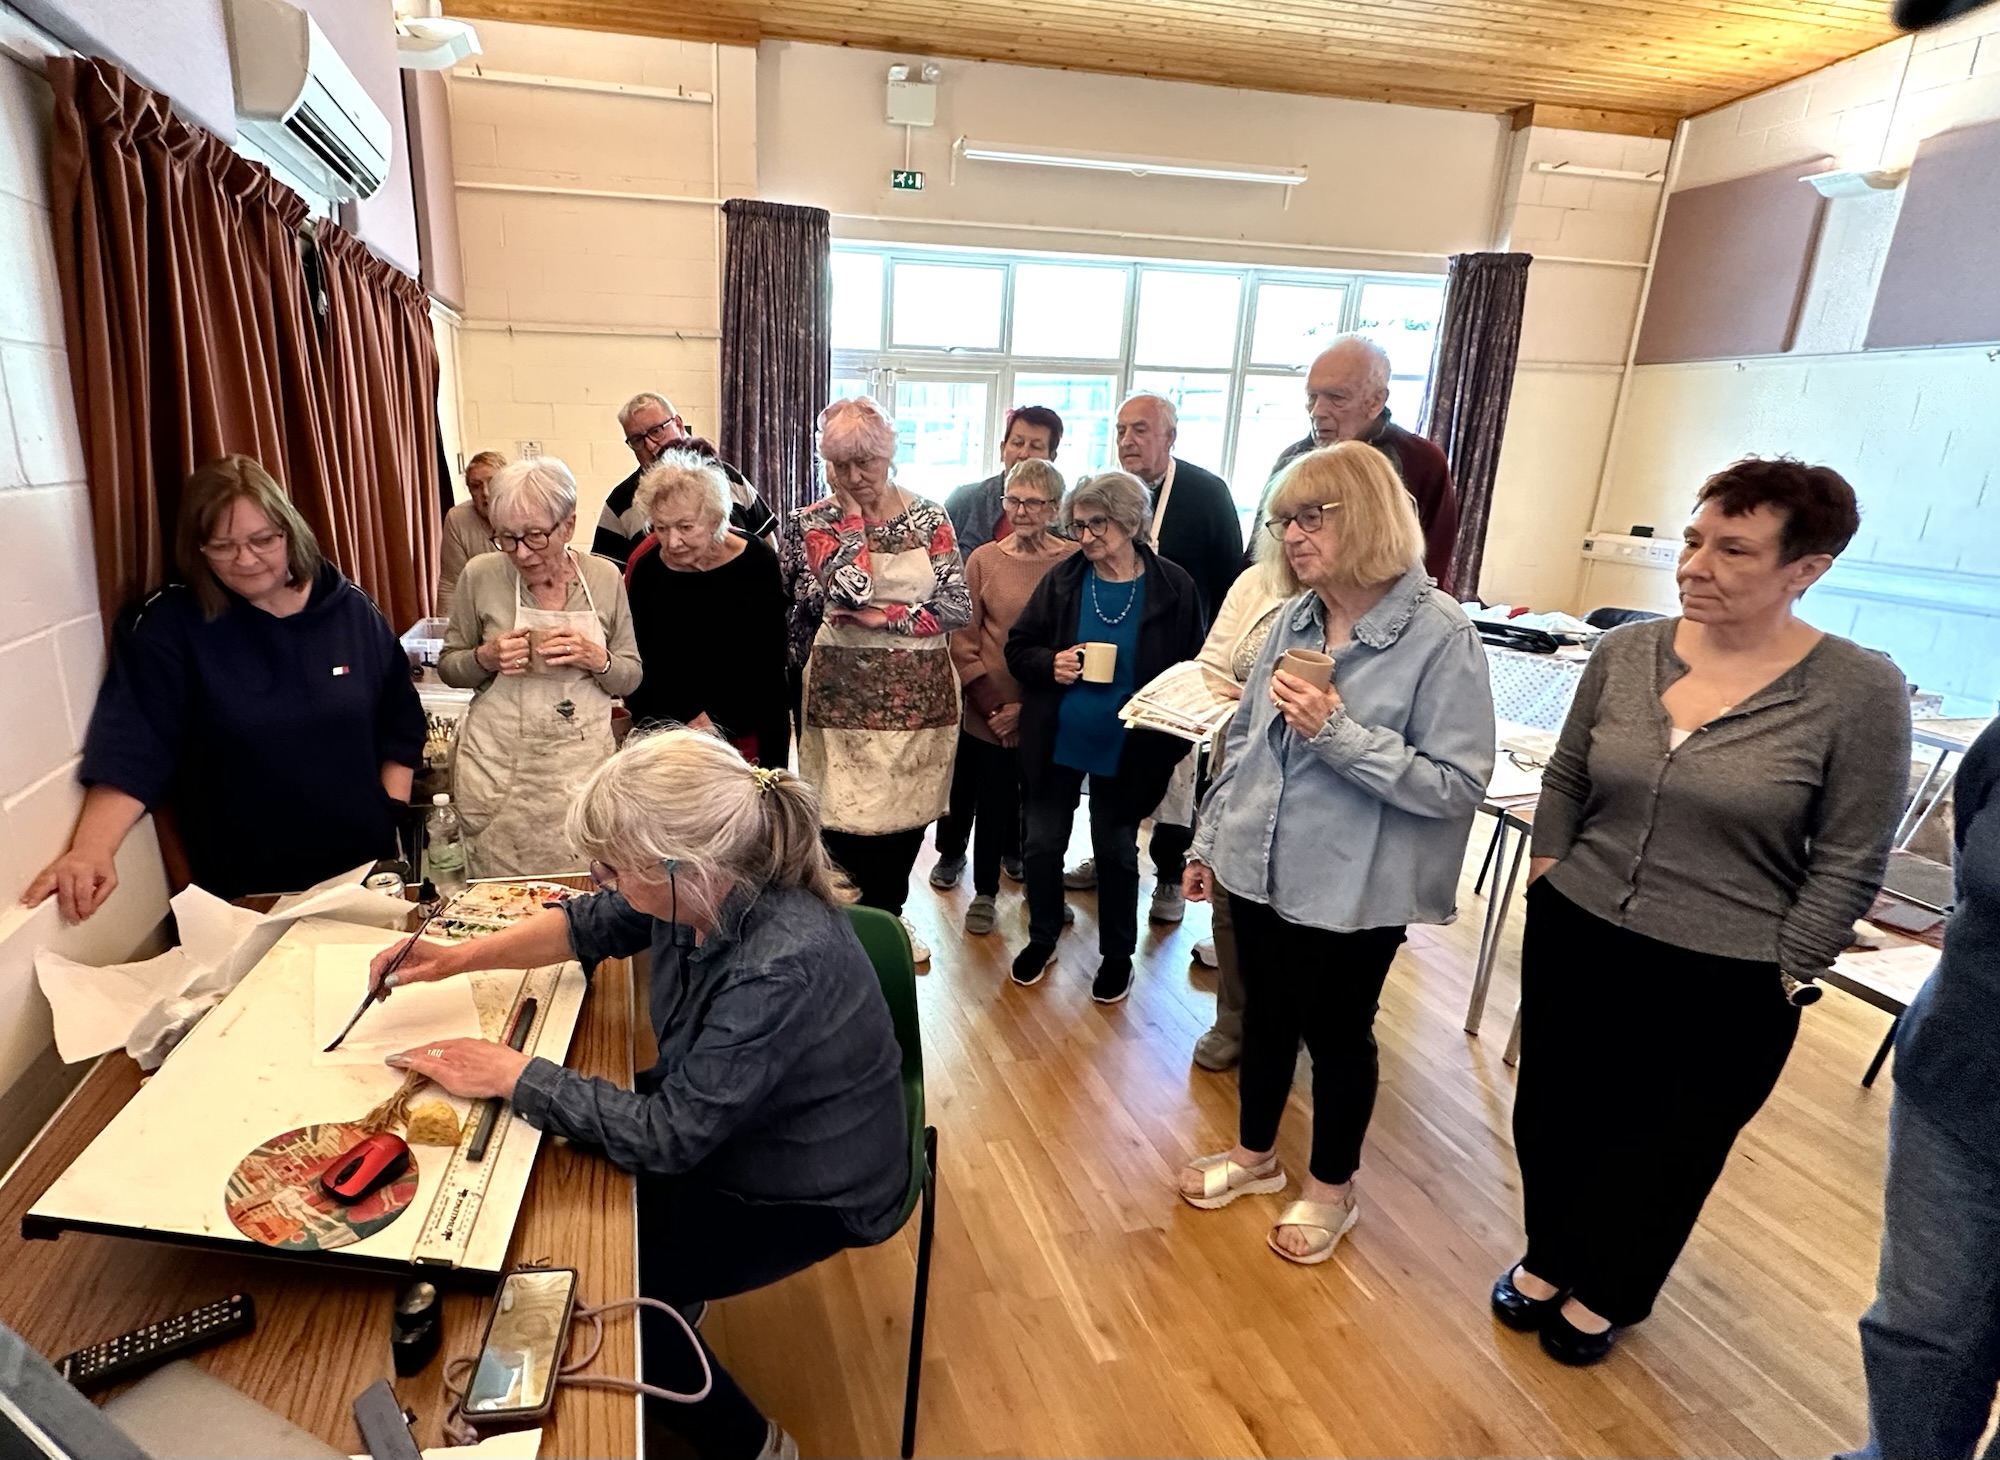
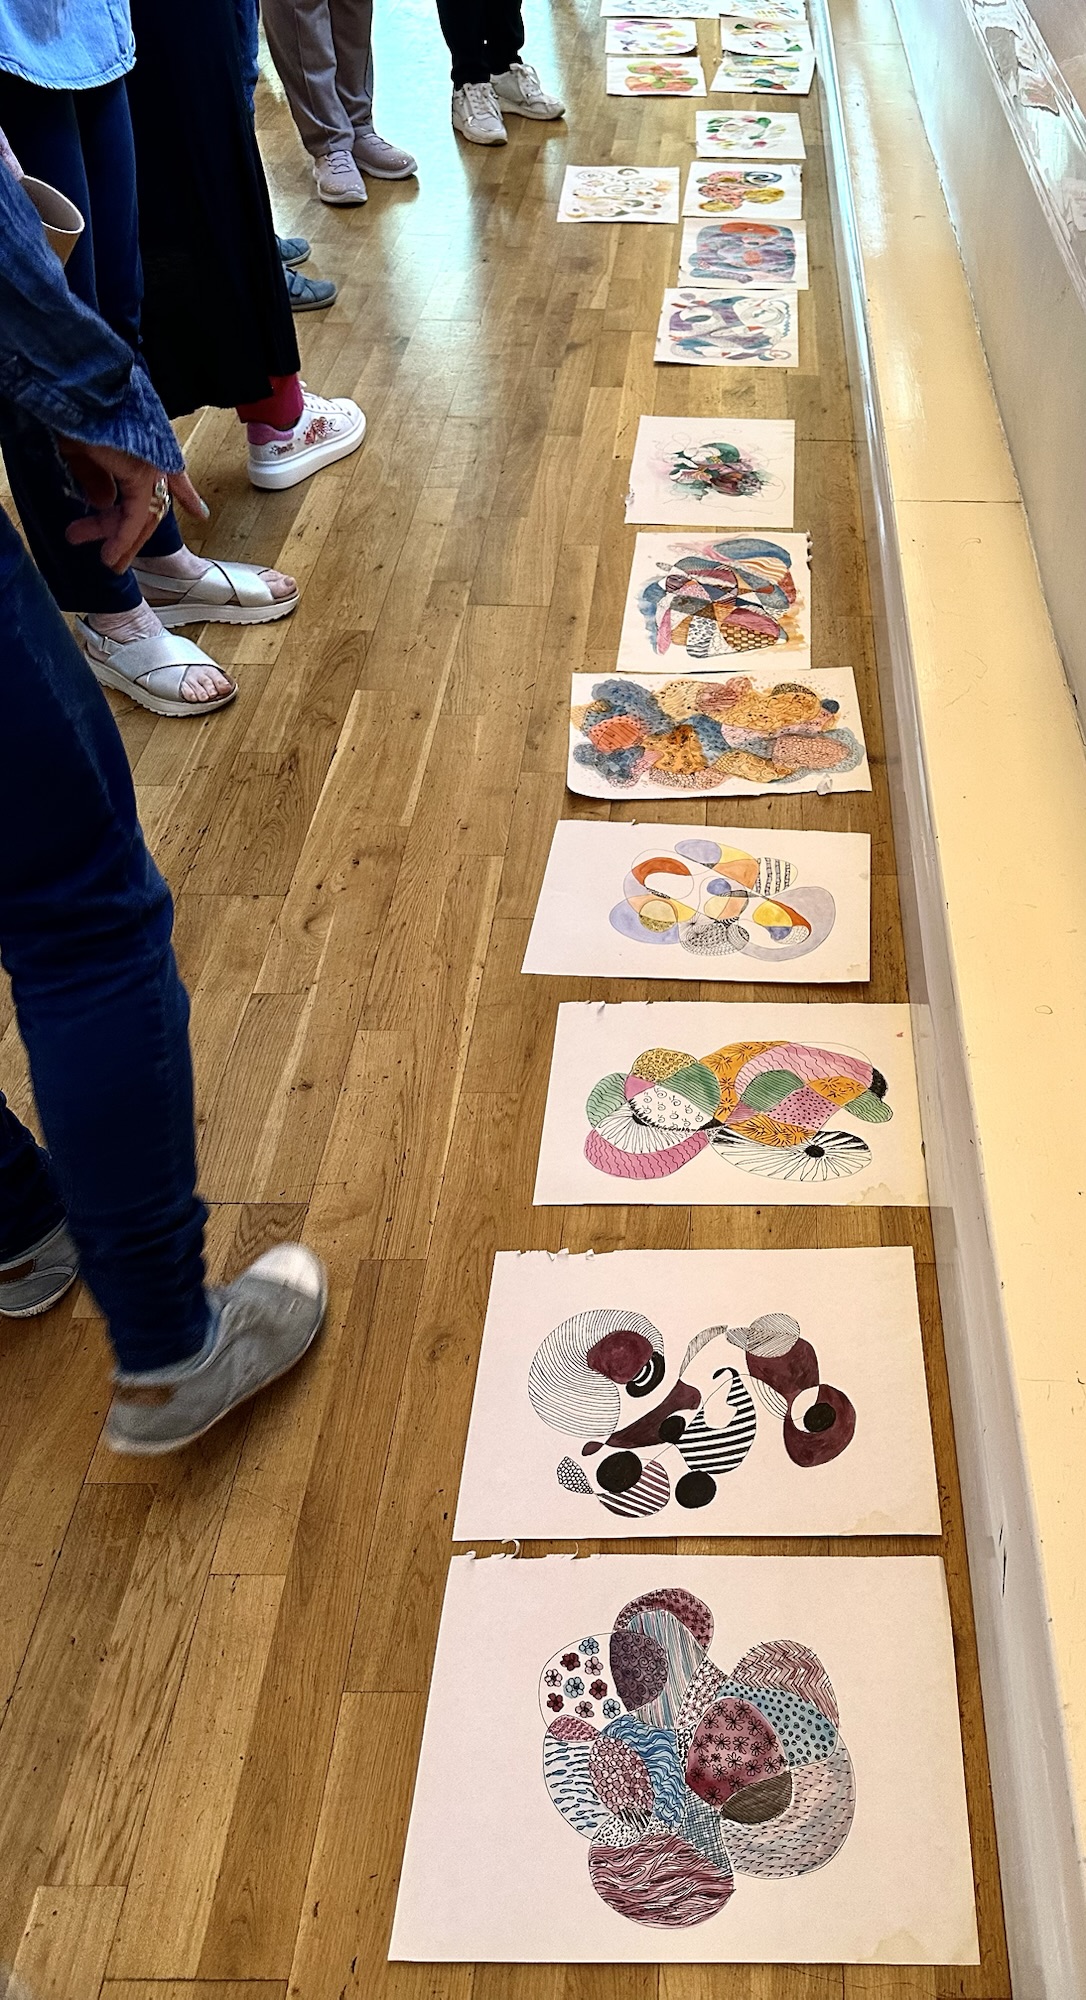
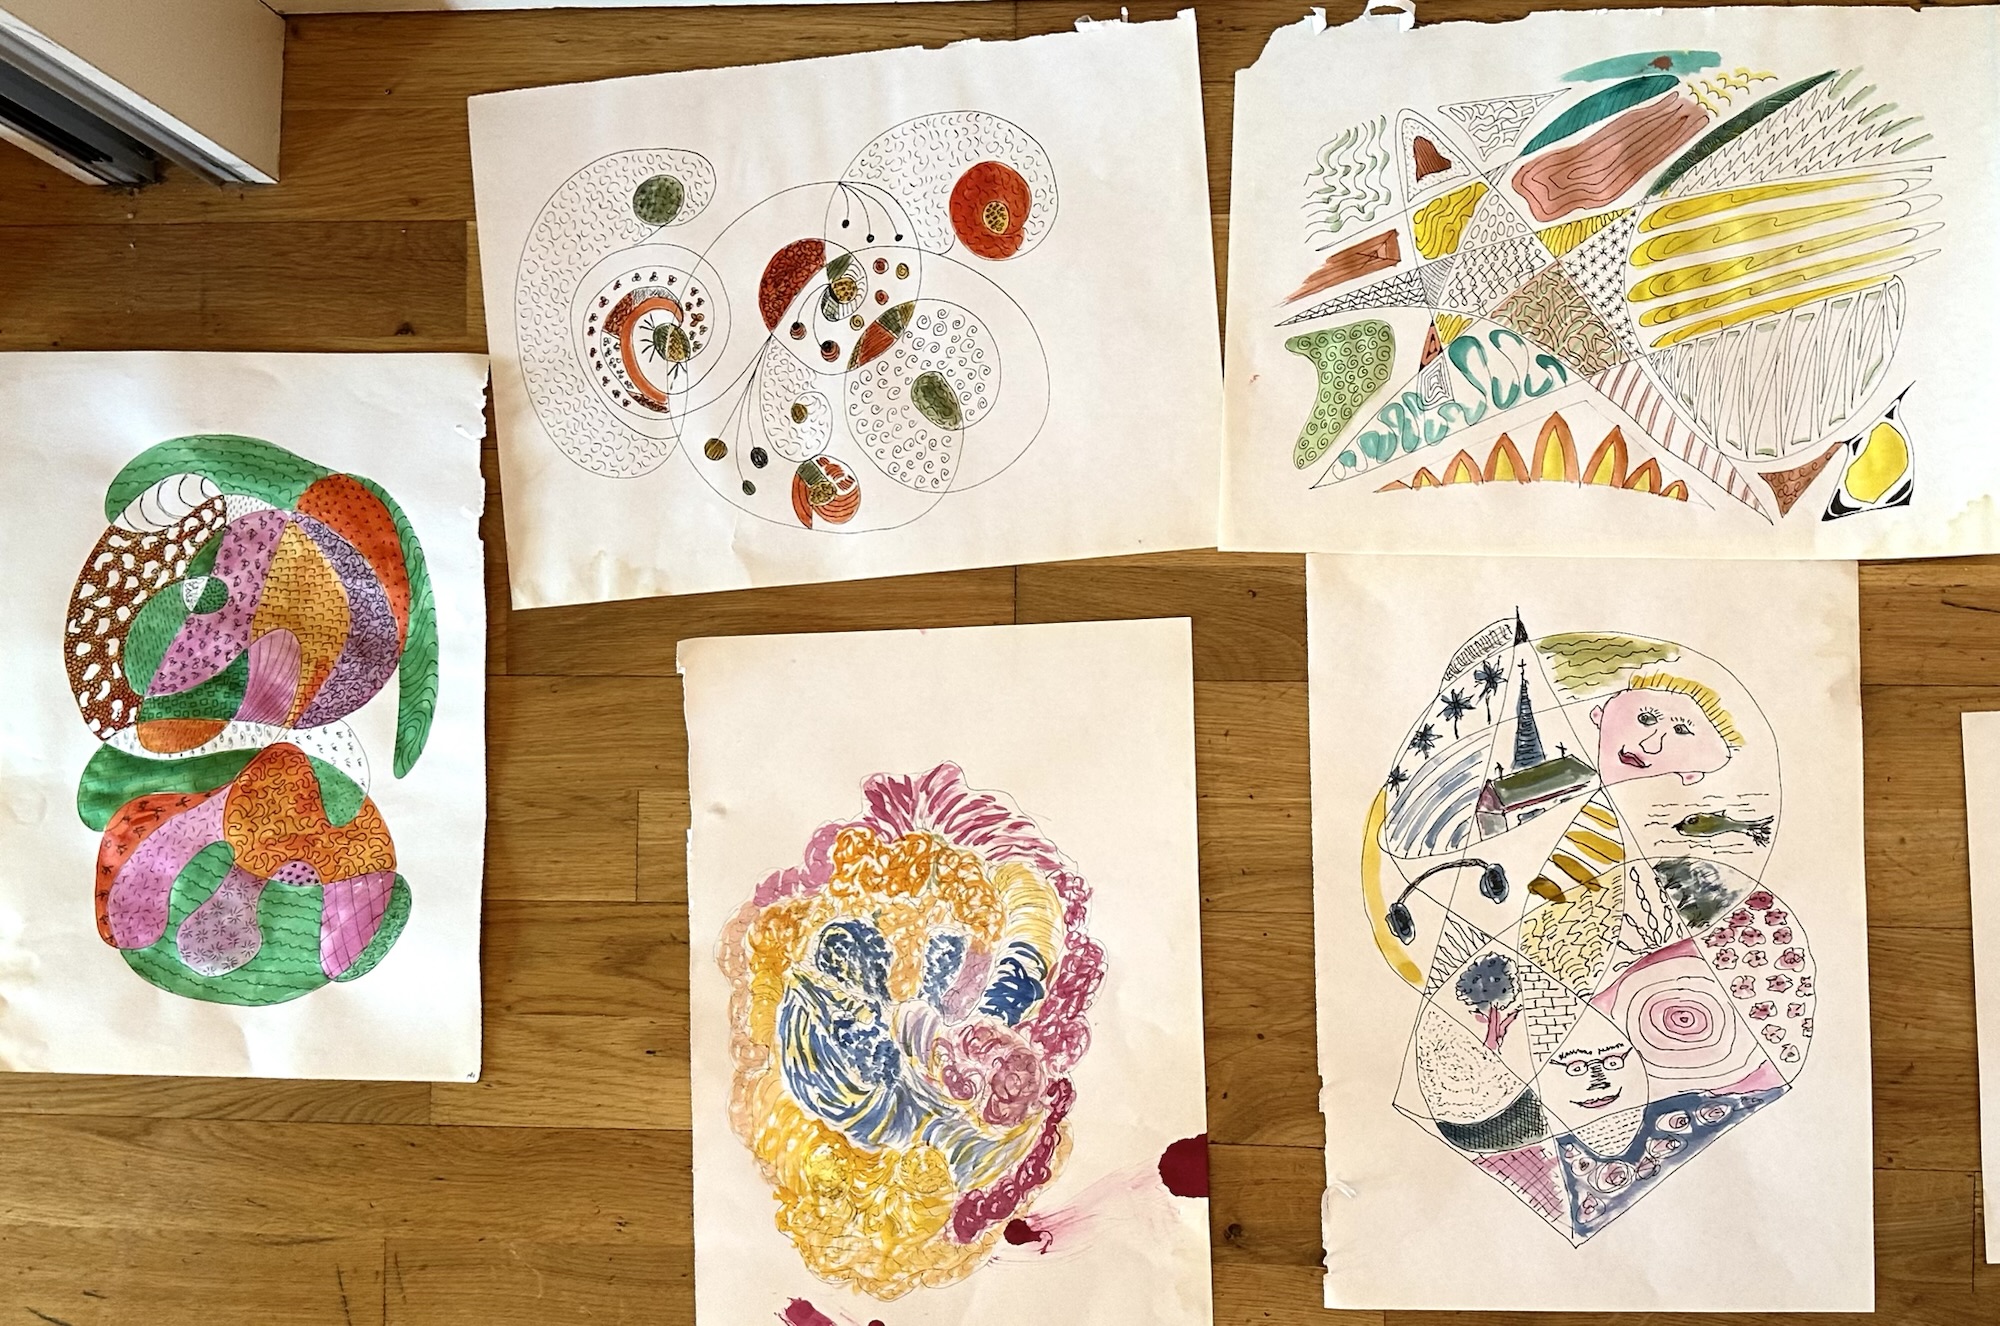
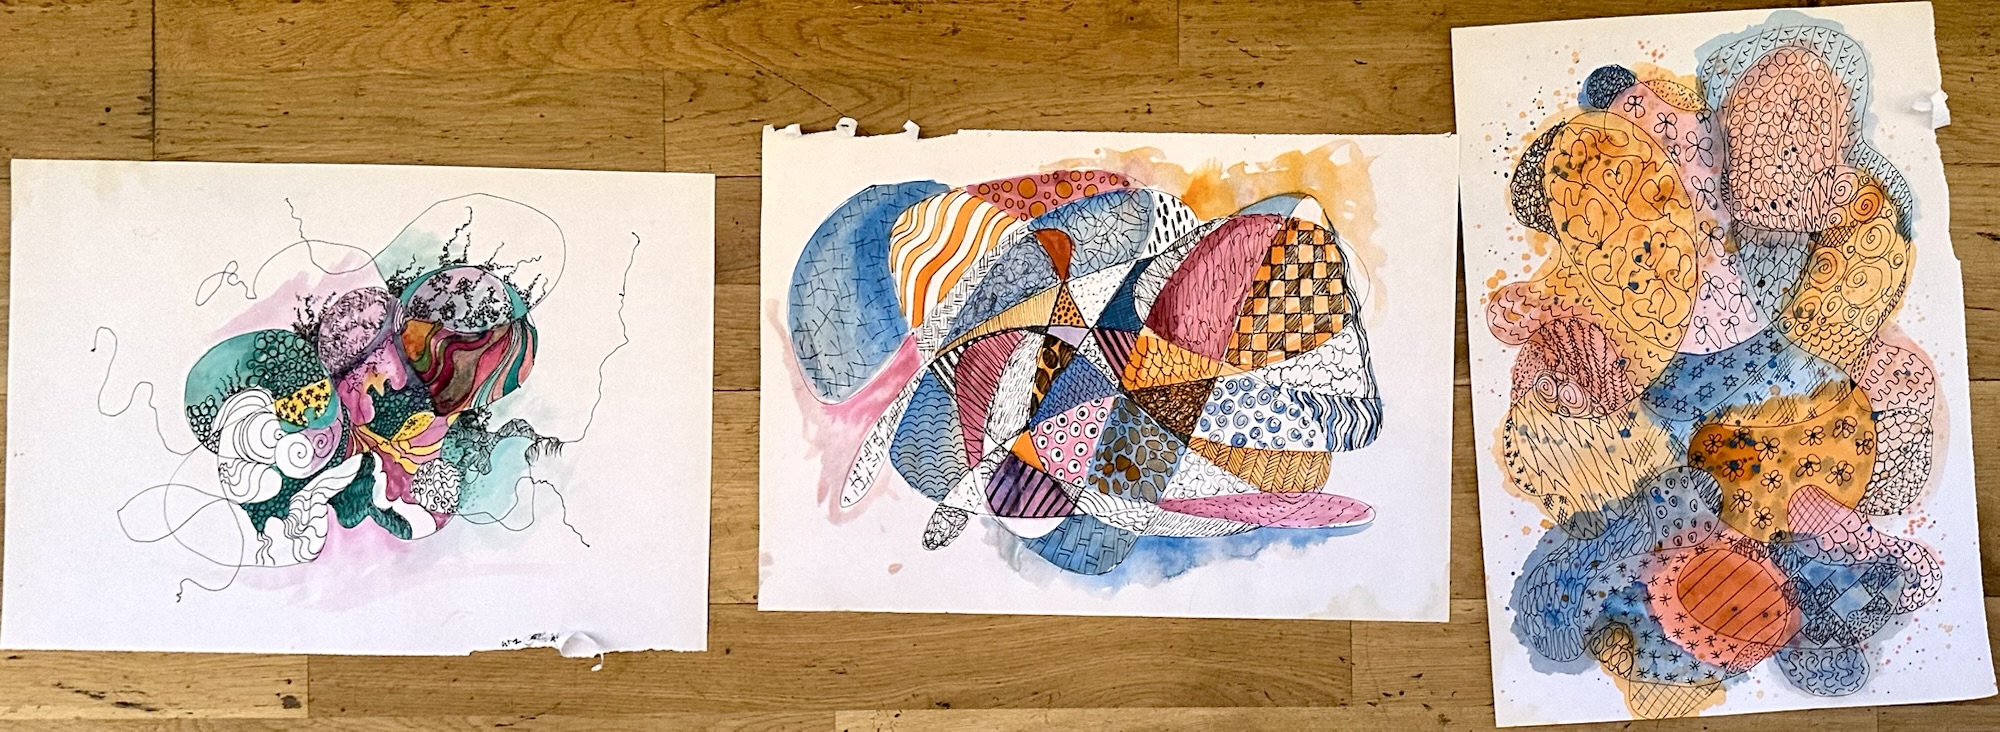
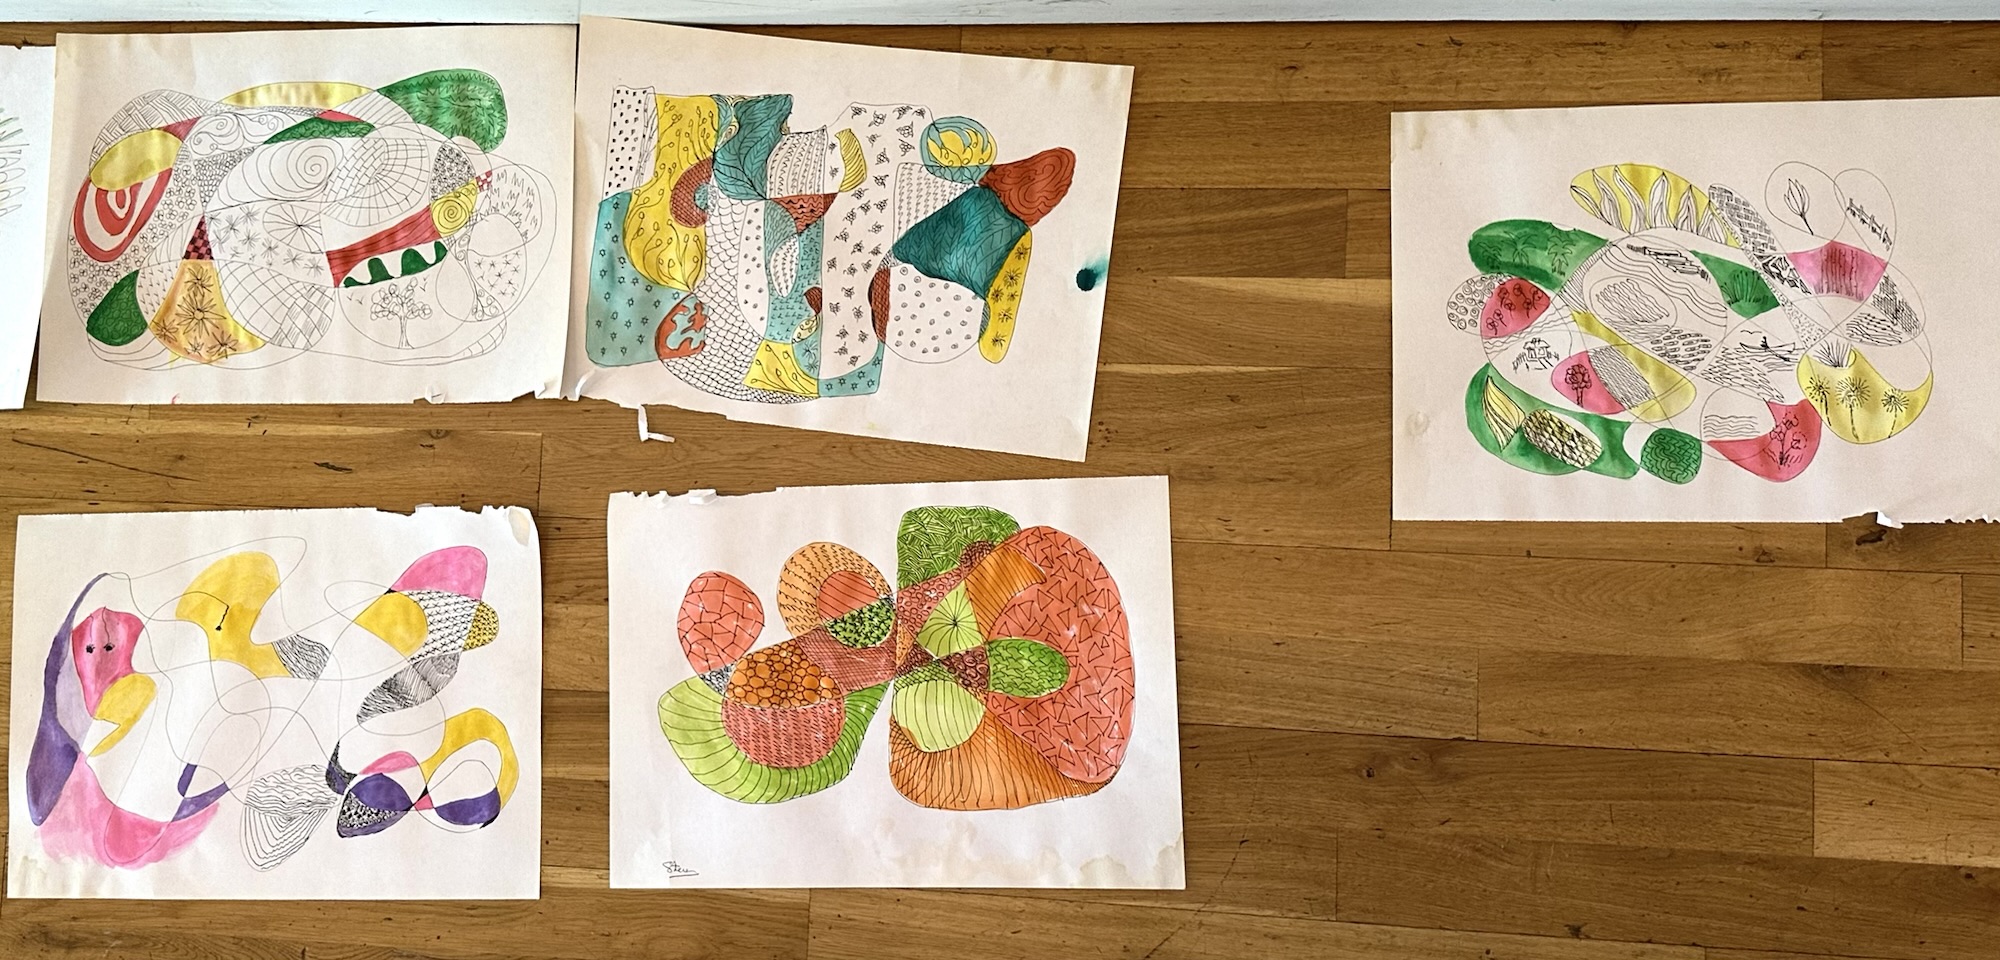
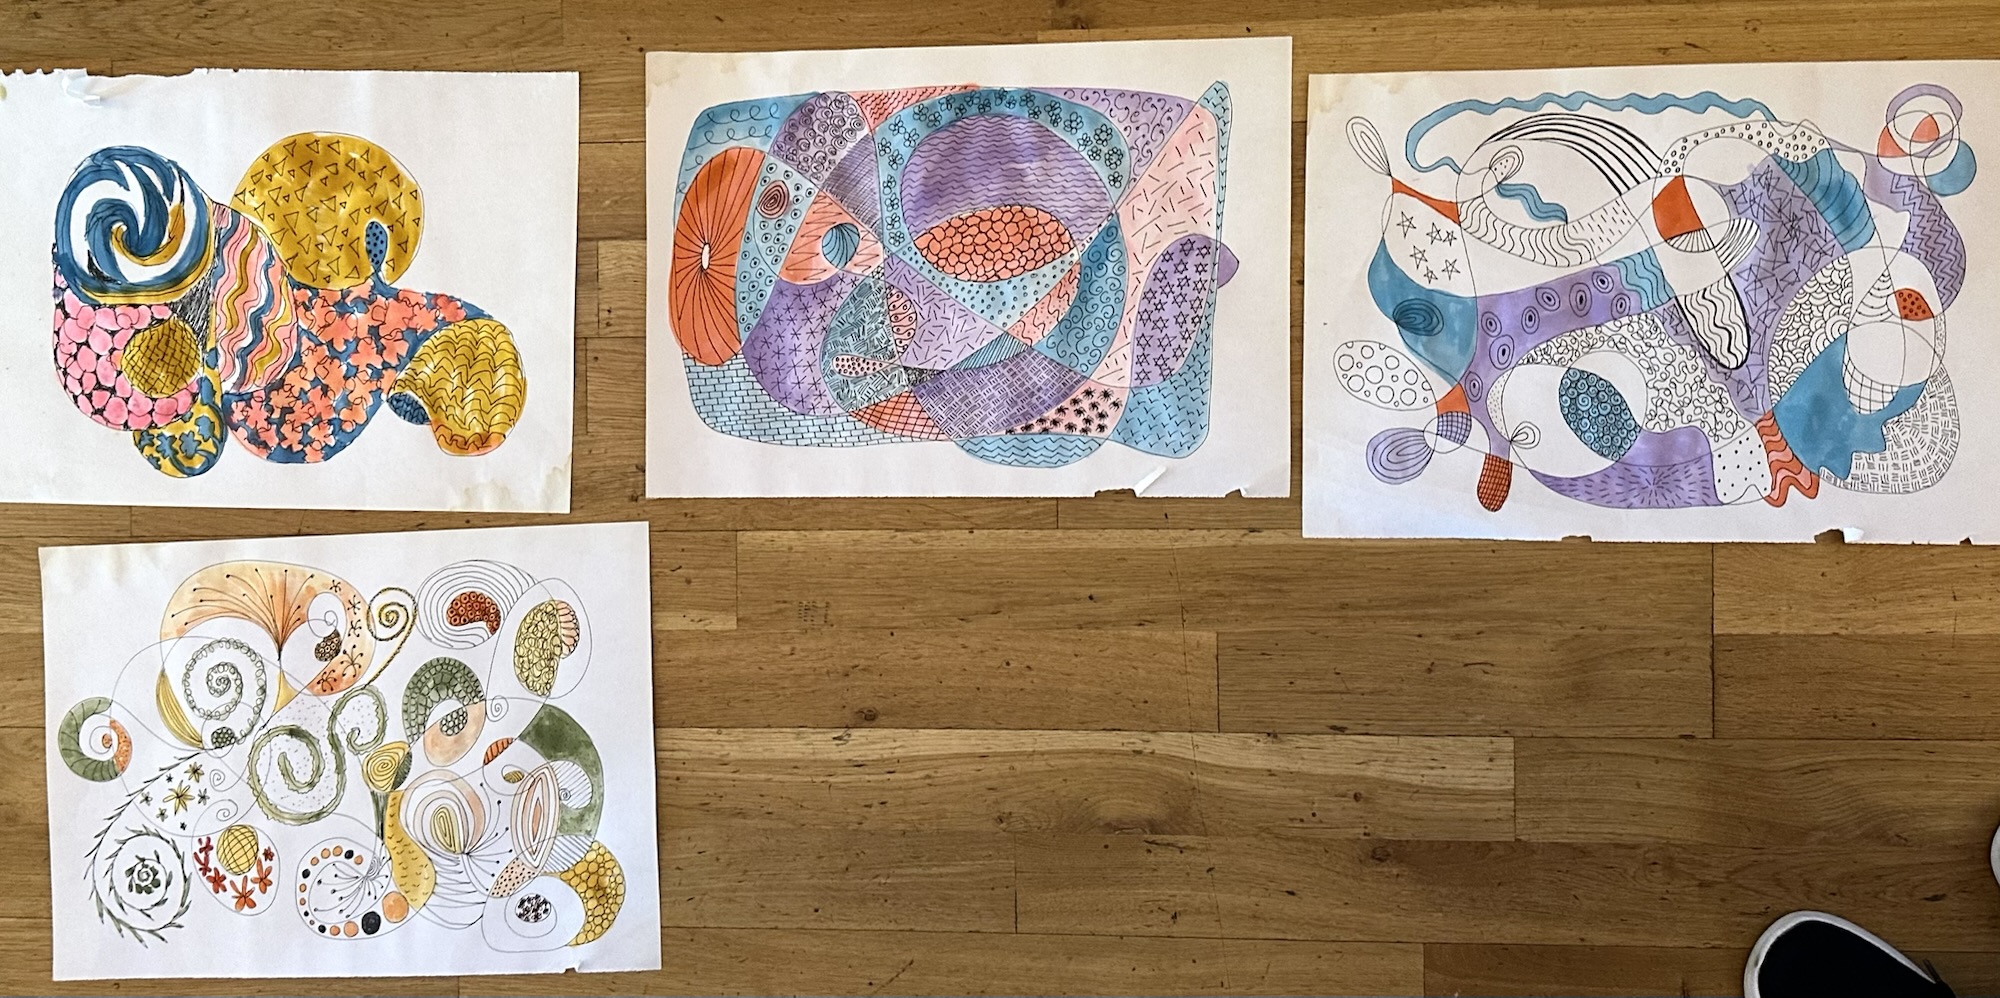
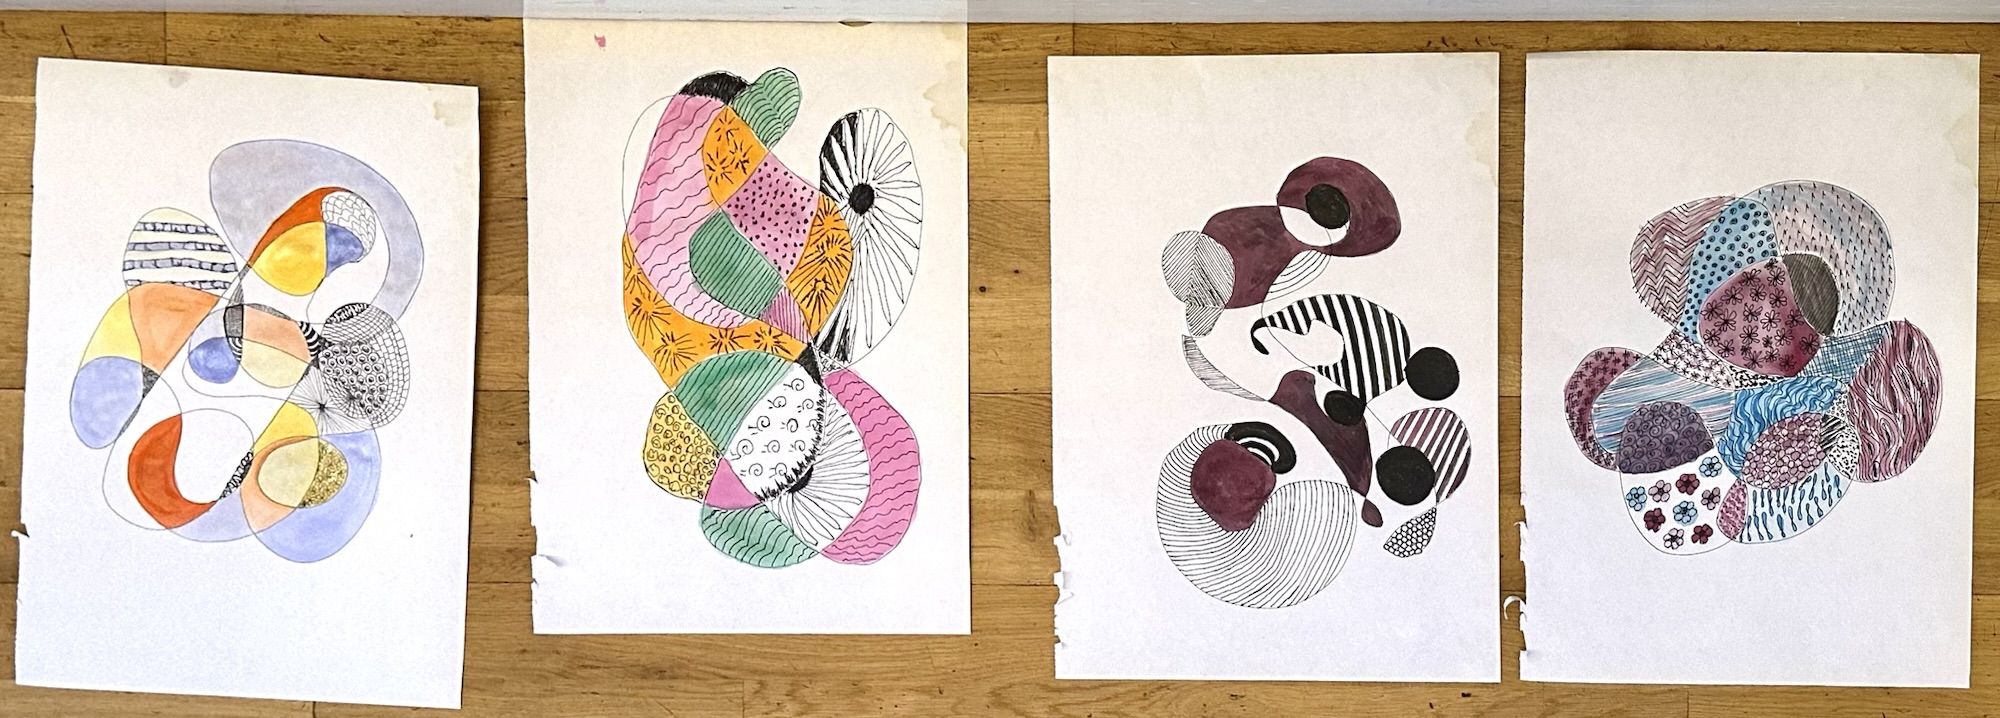
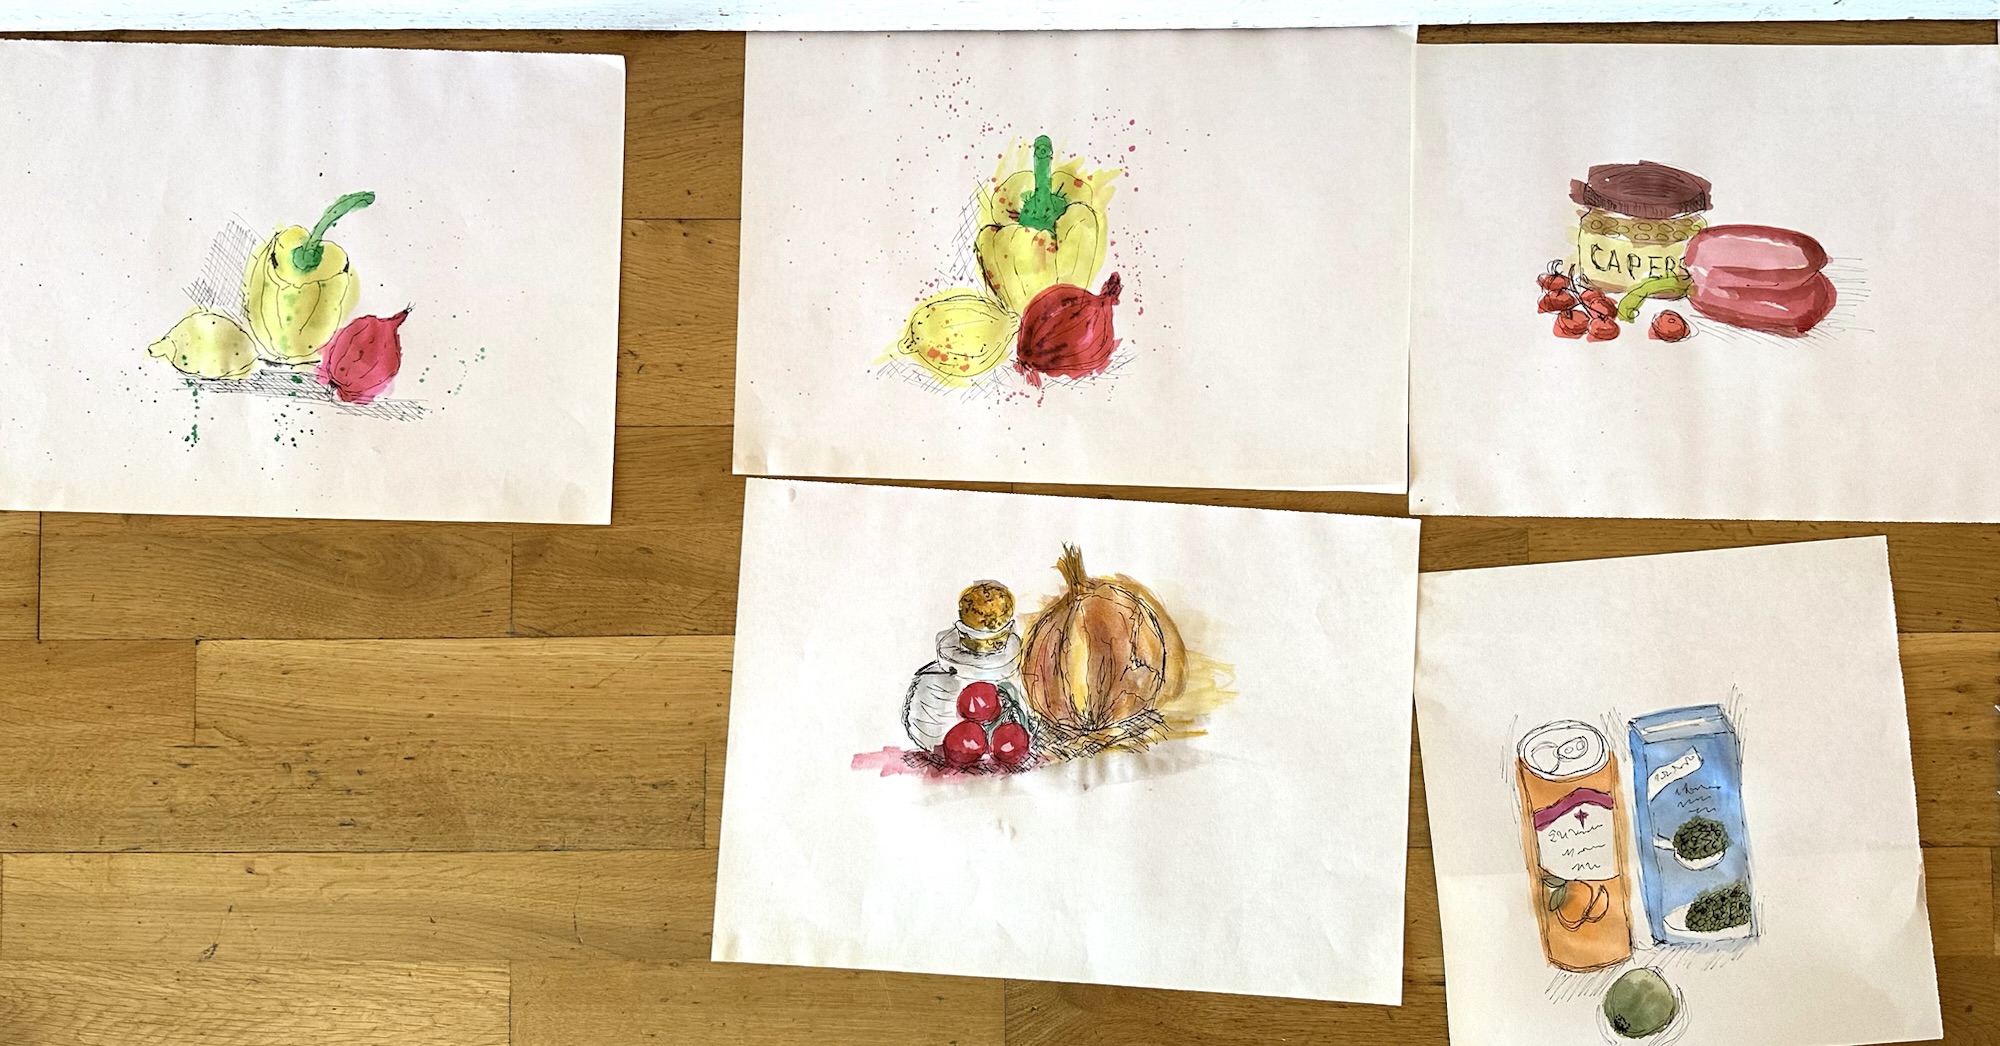
We started the workshop by doodling with a pen on a sheet of paper, filling in some or all of the shapes, choosing 3 different coloured inks from a large selection and painting the shapes. After this exercise we placed all the pictures on the floor to view them.

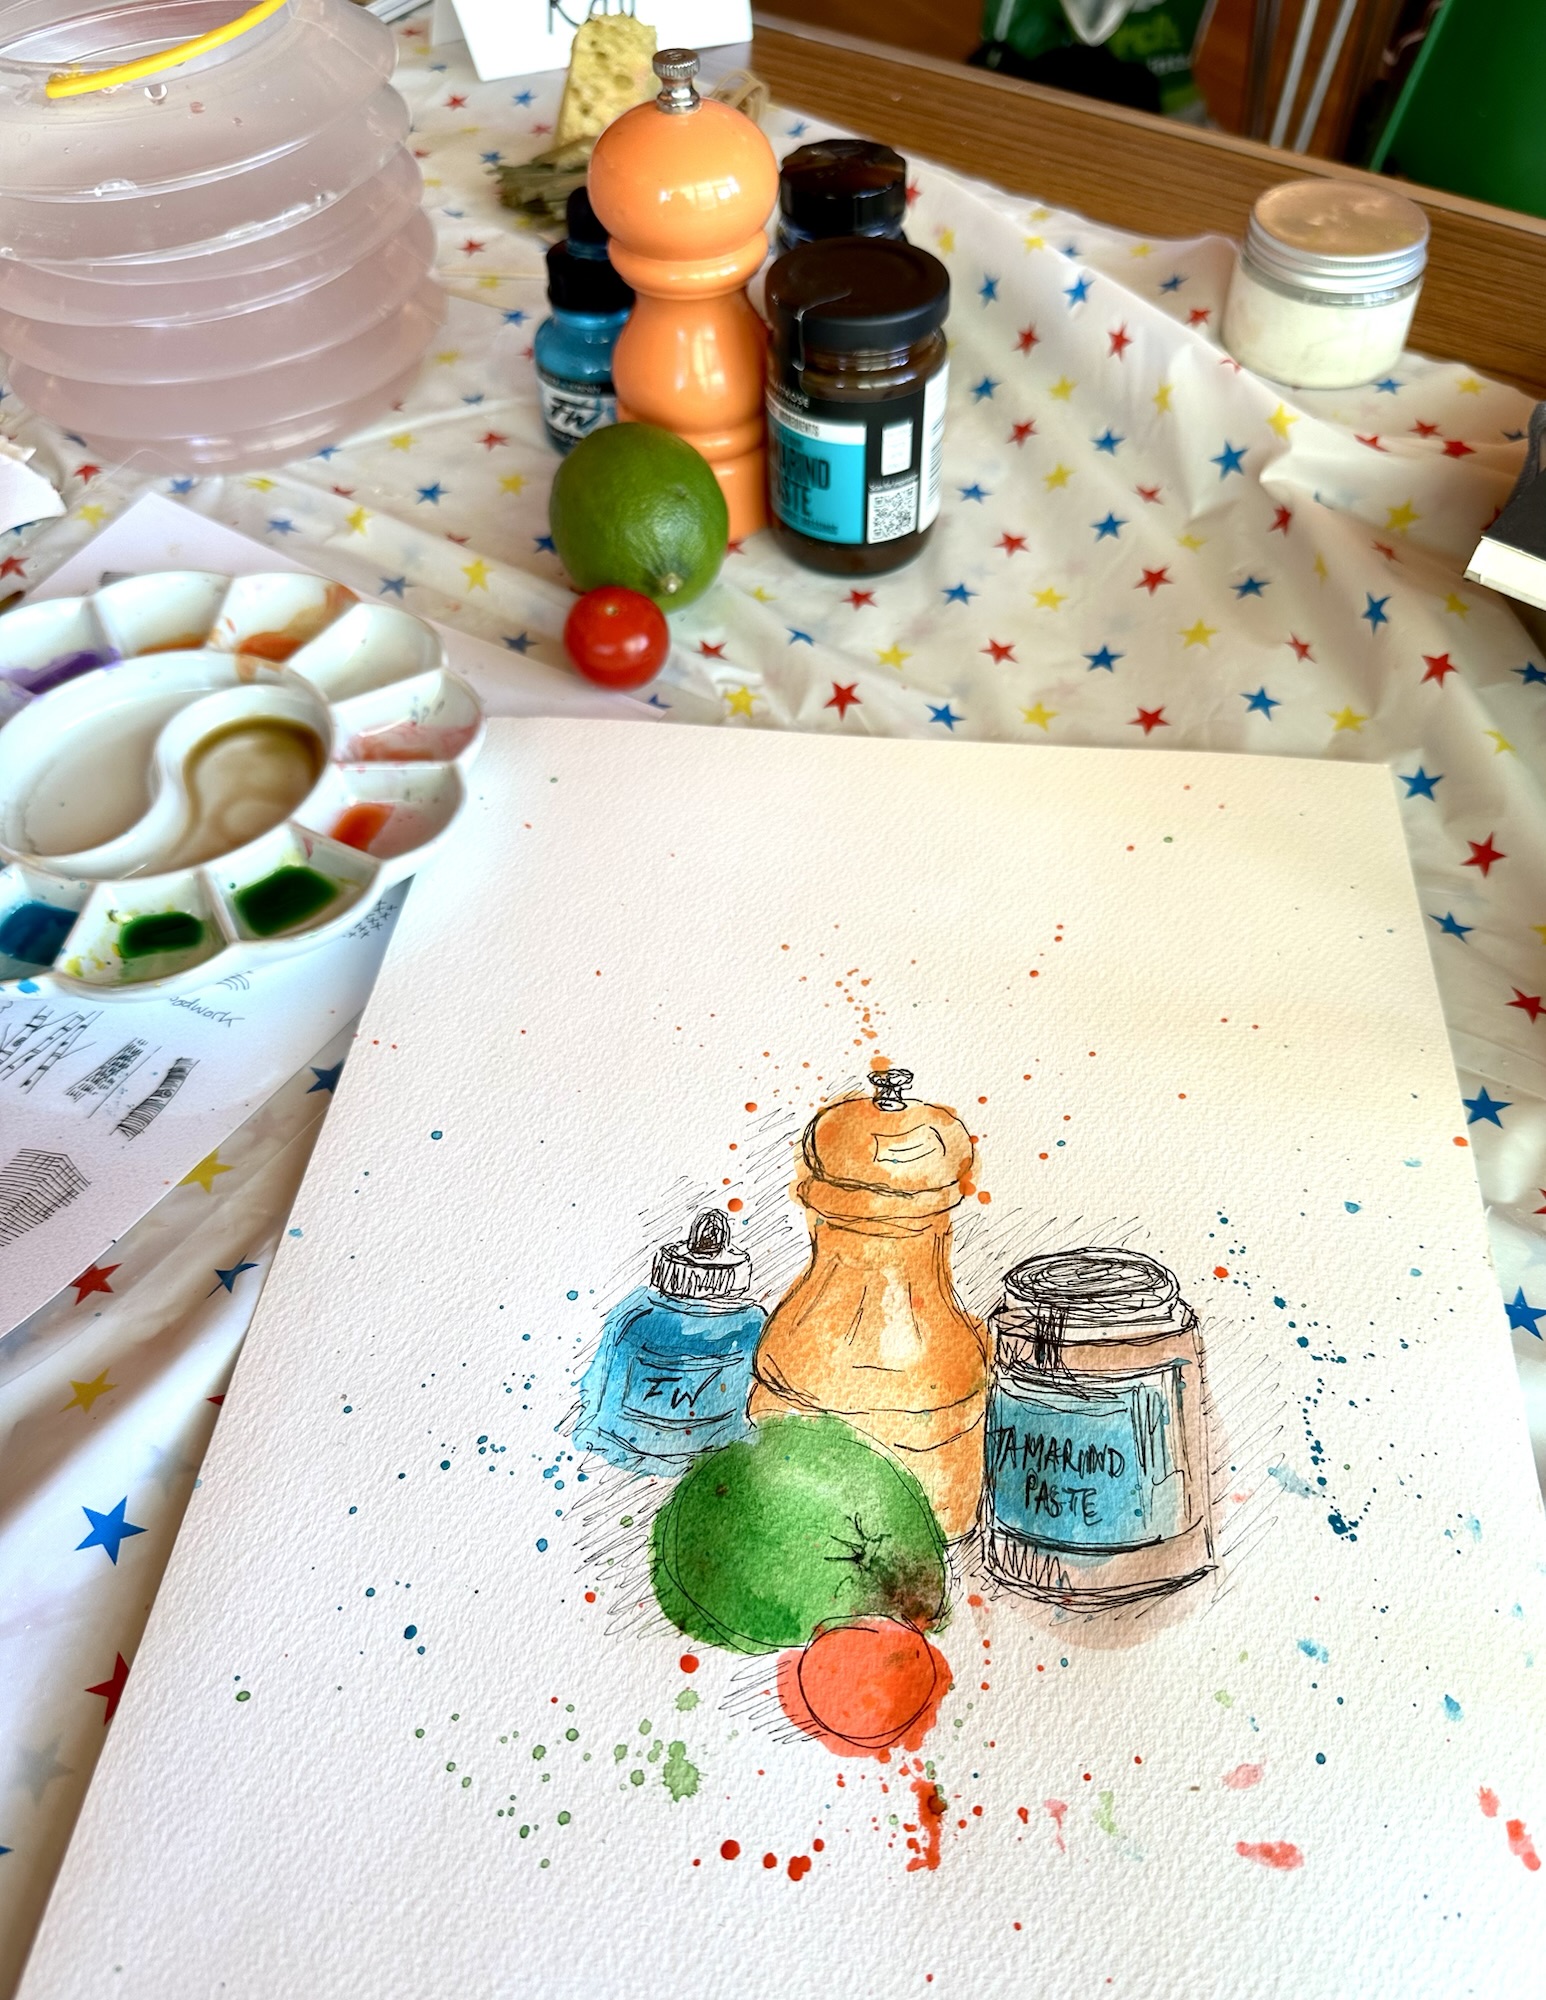
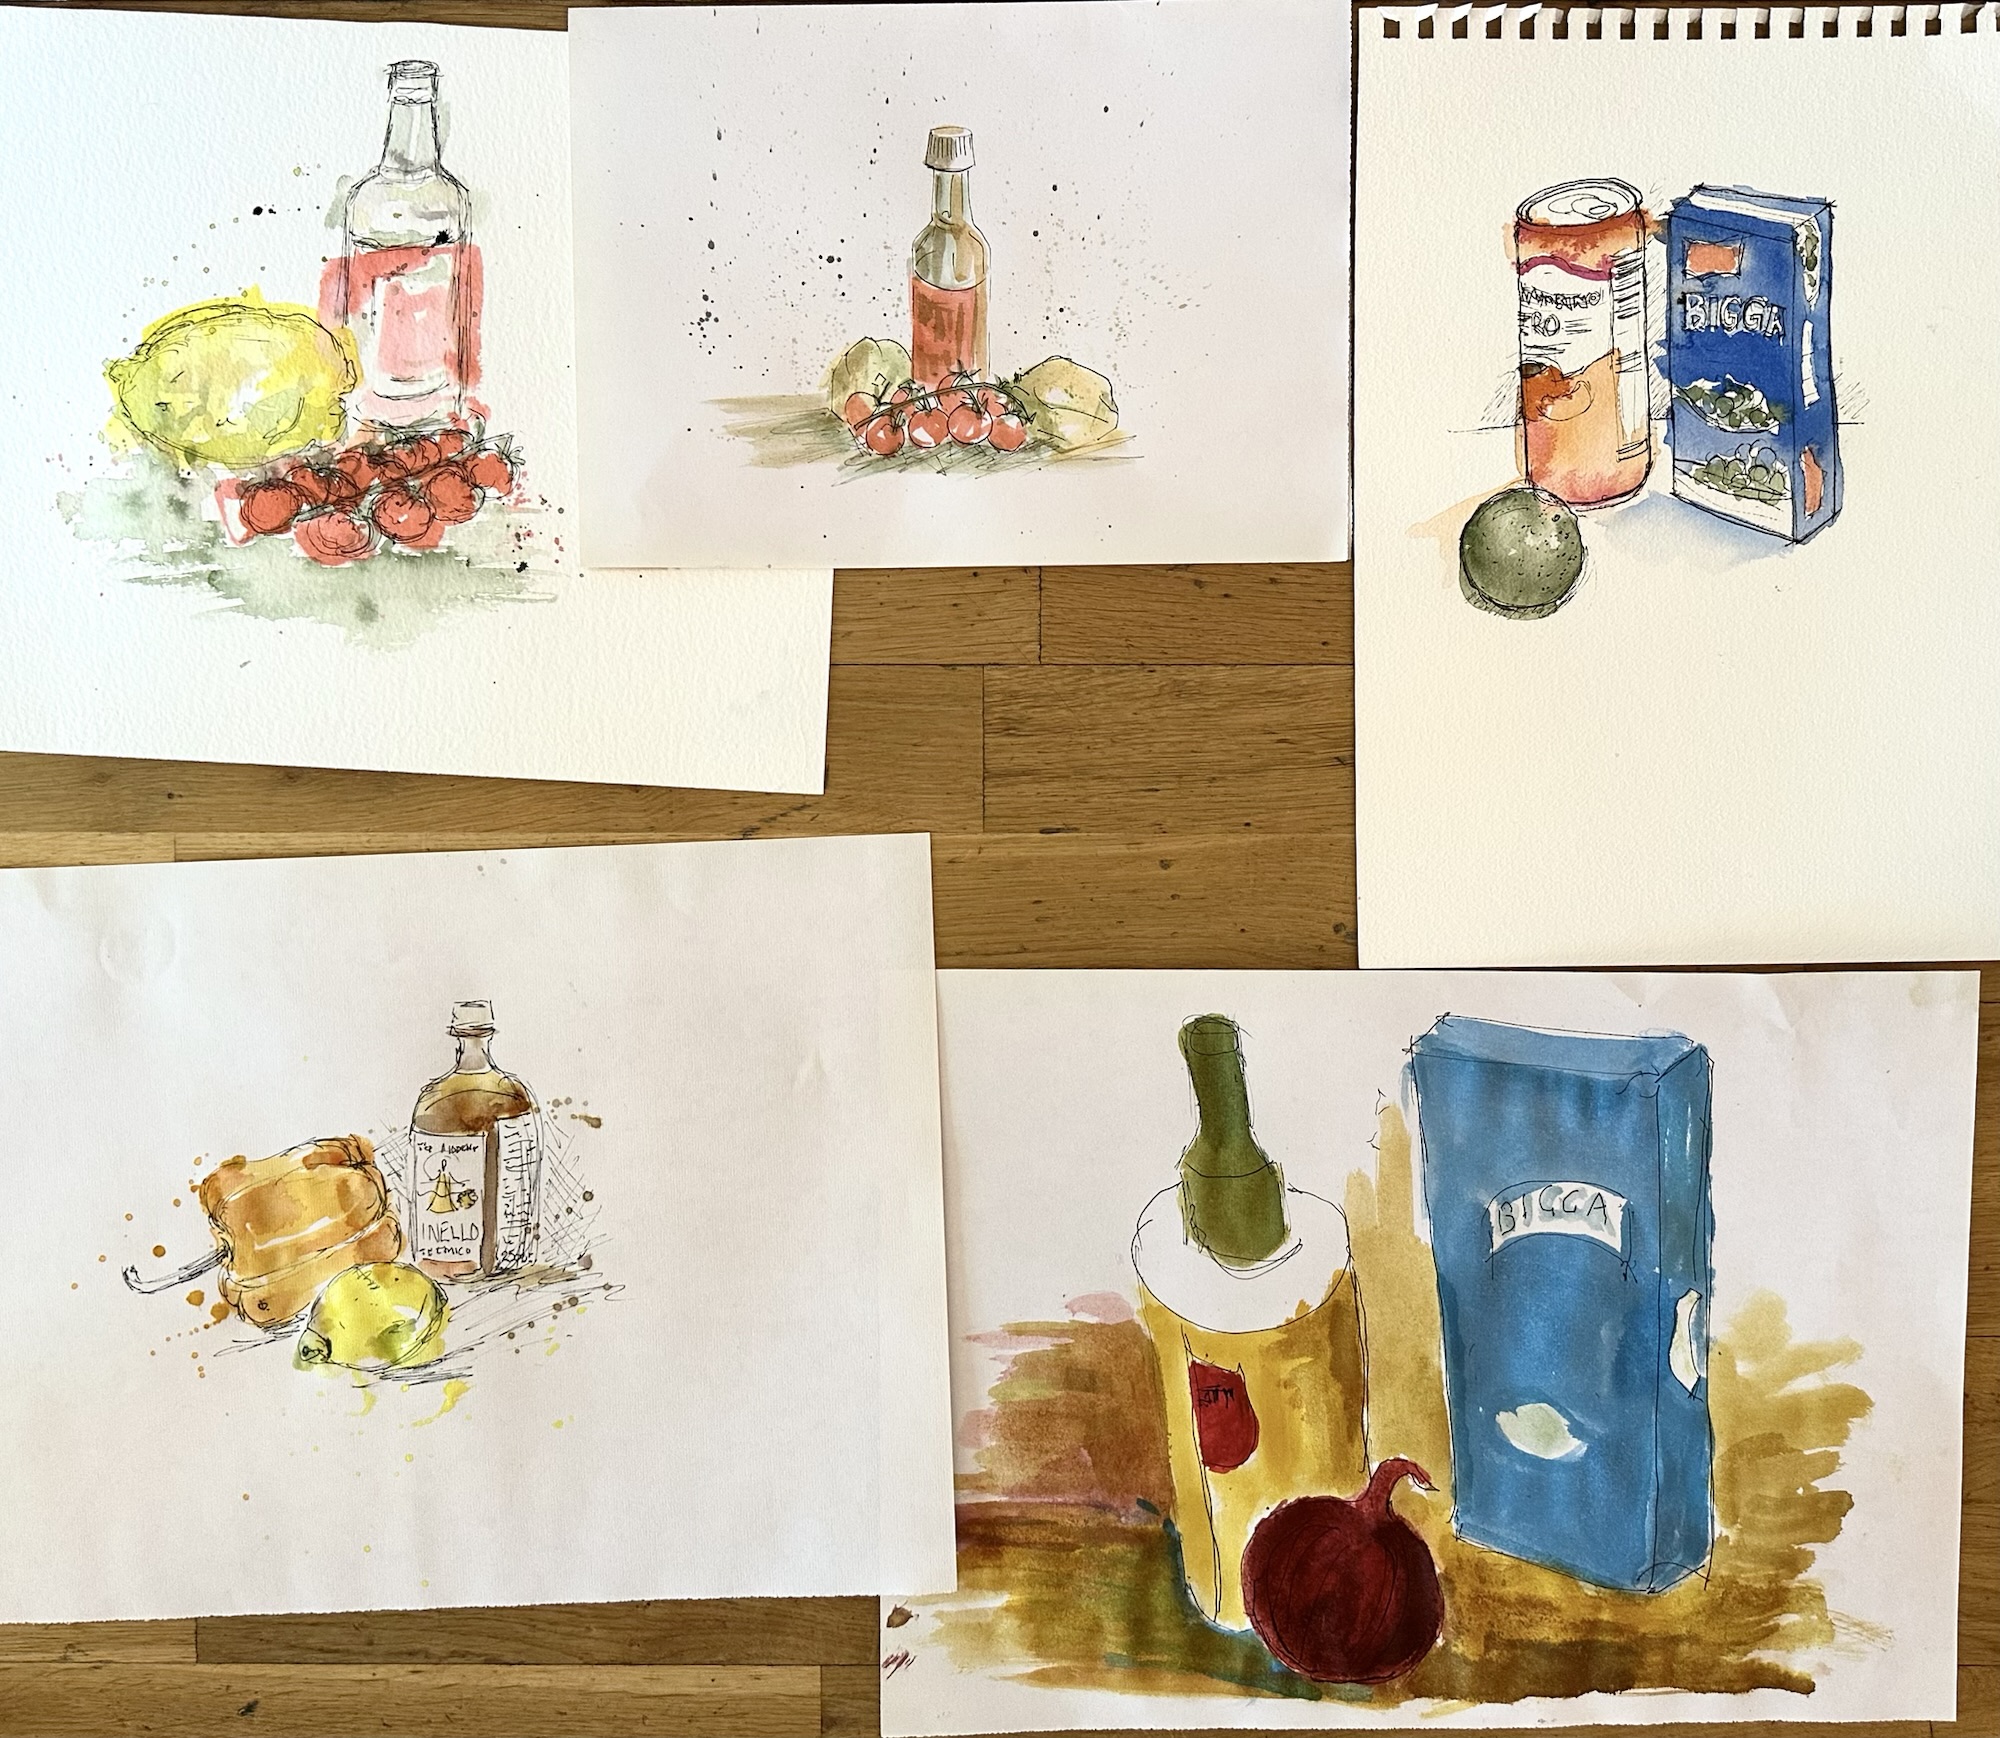
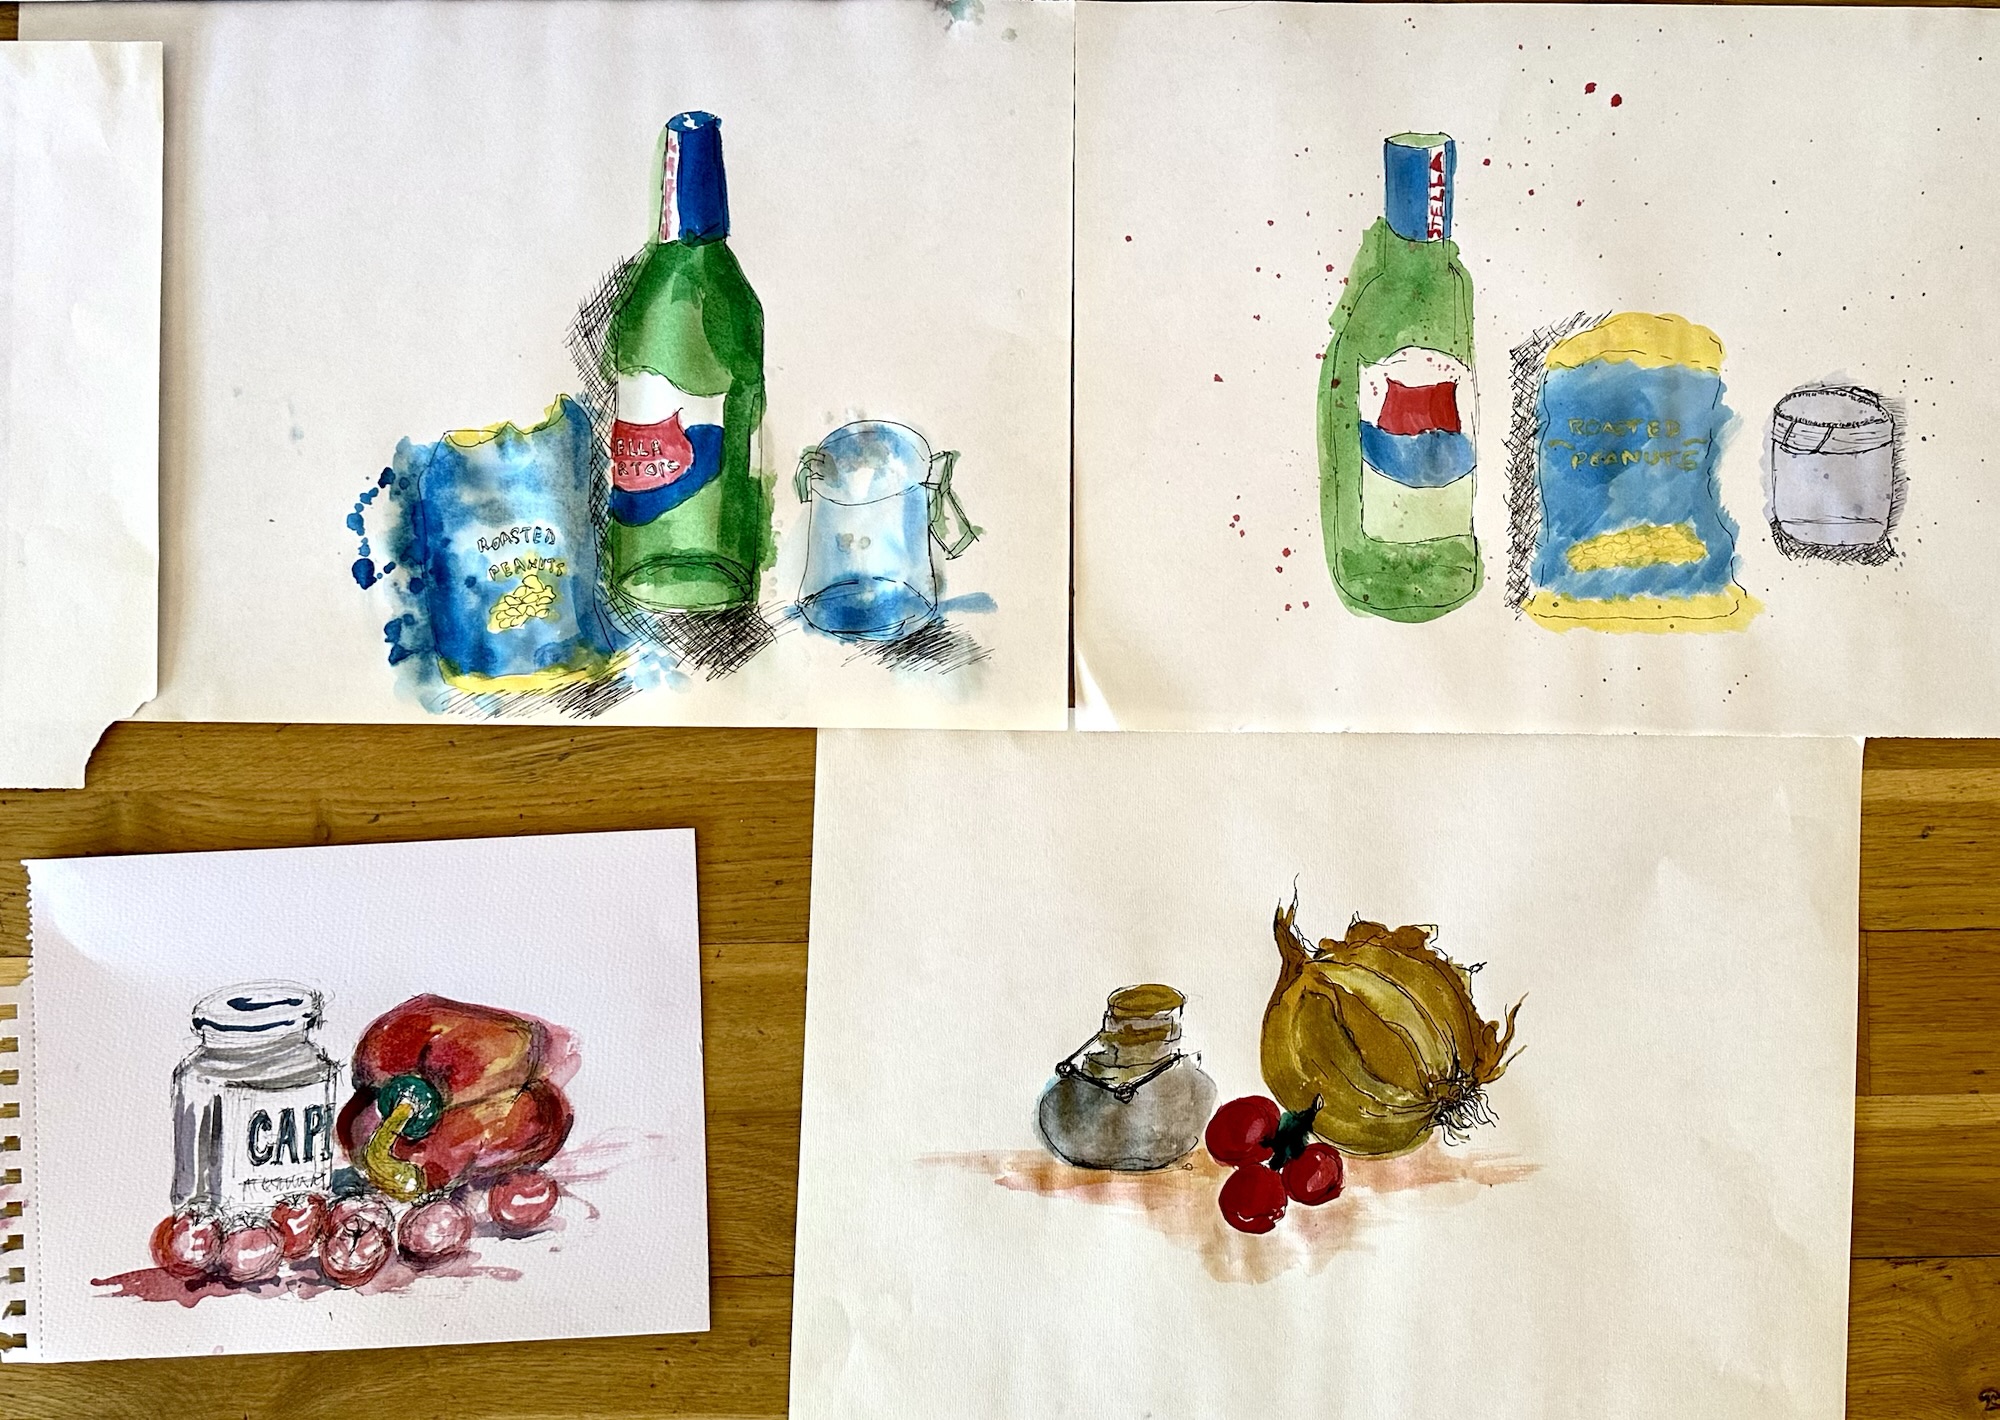
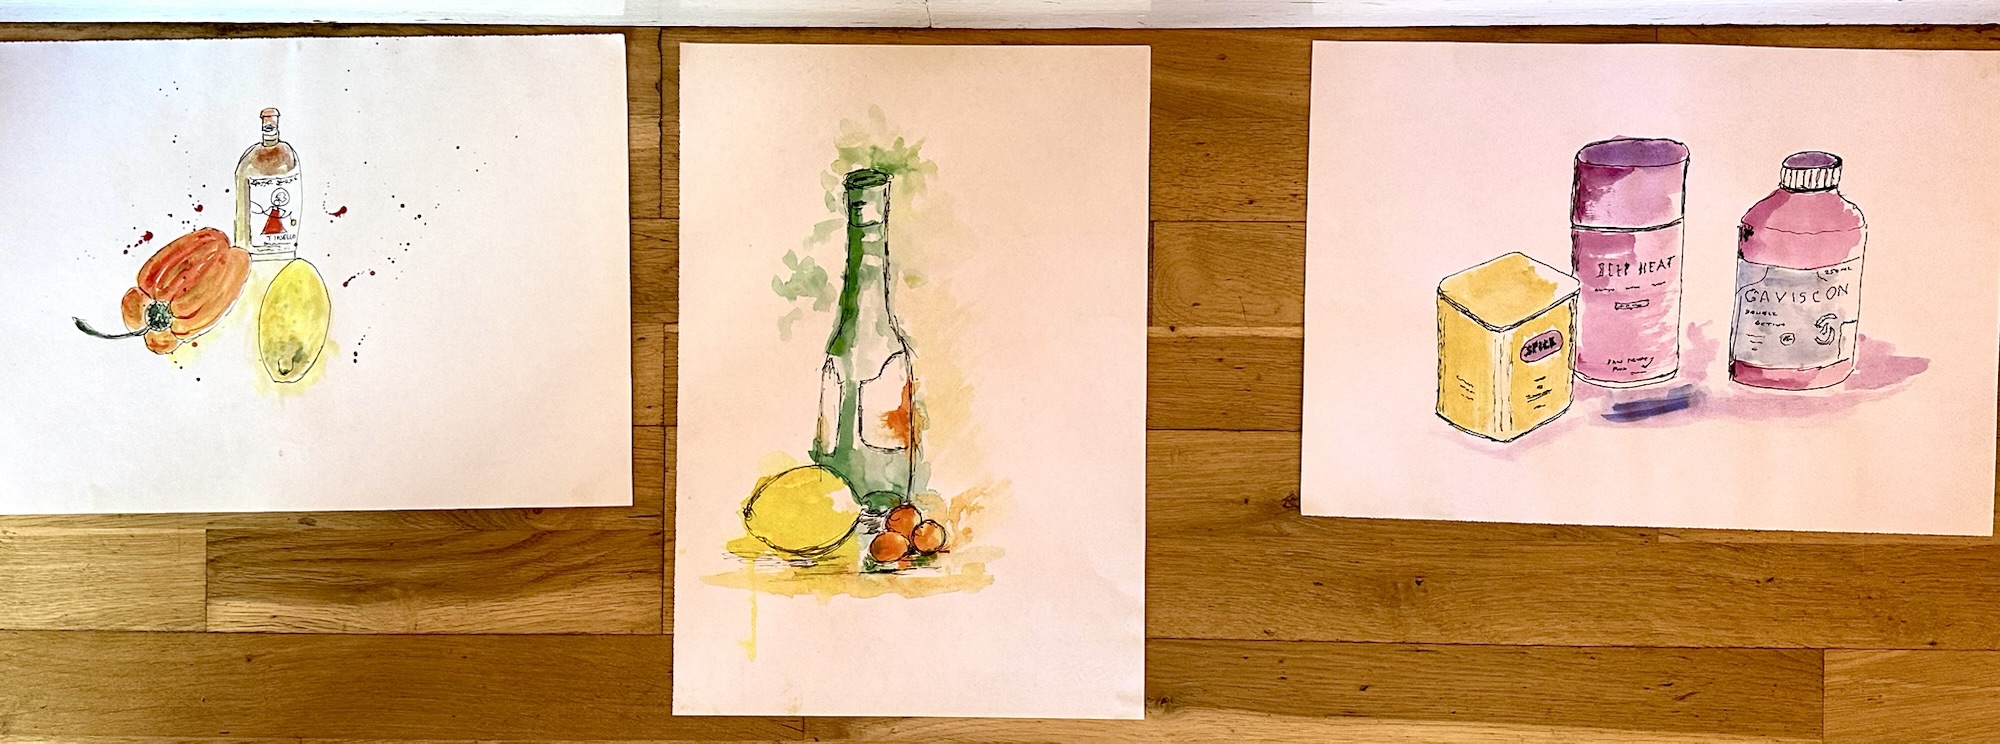
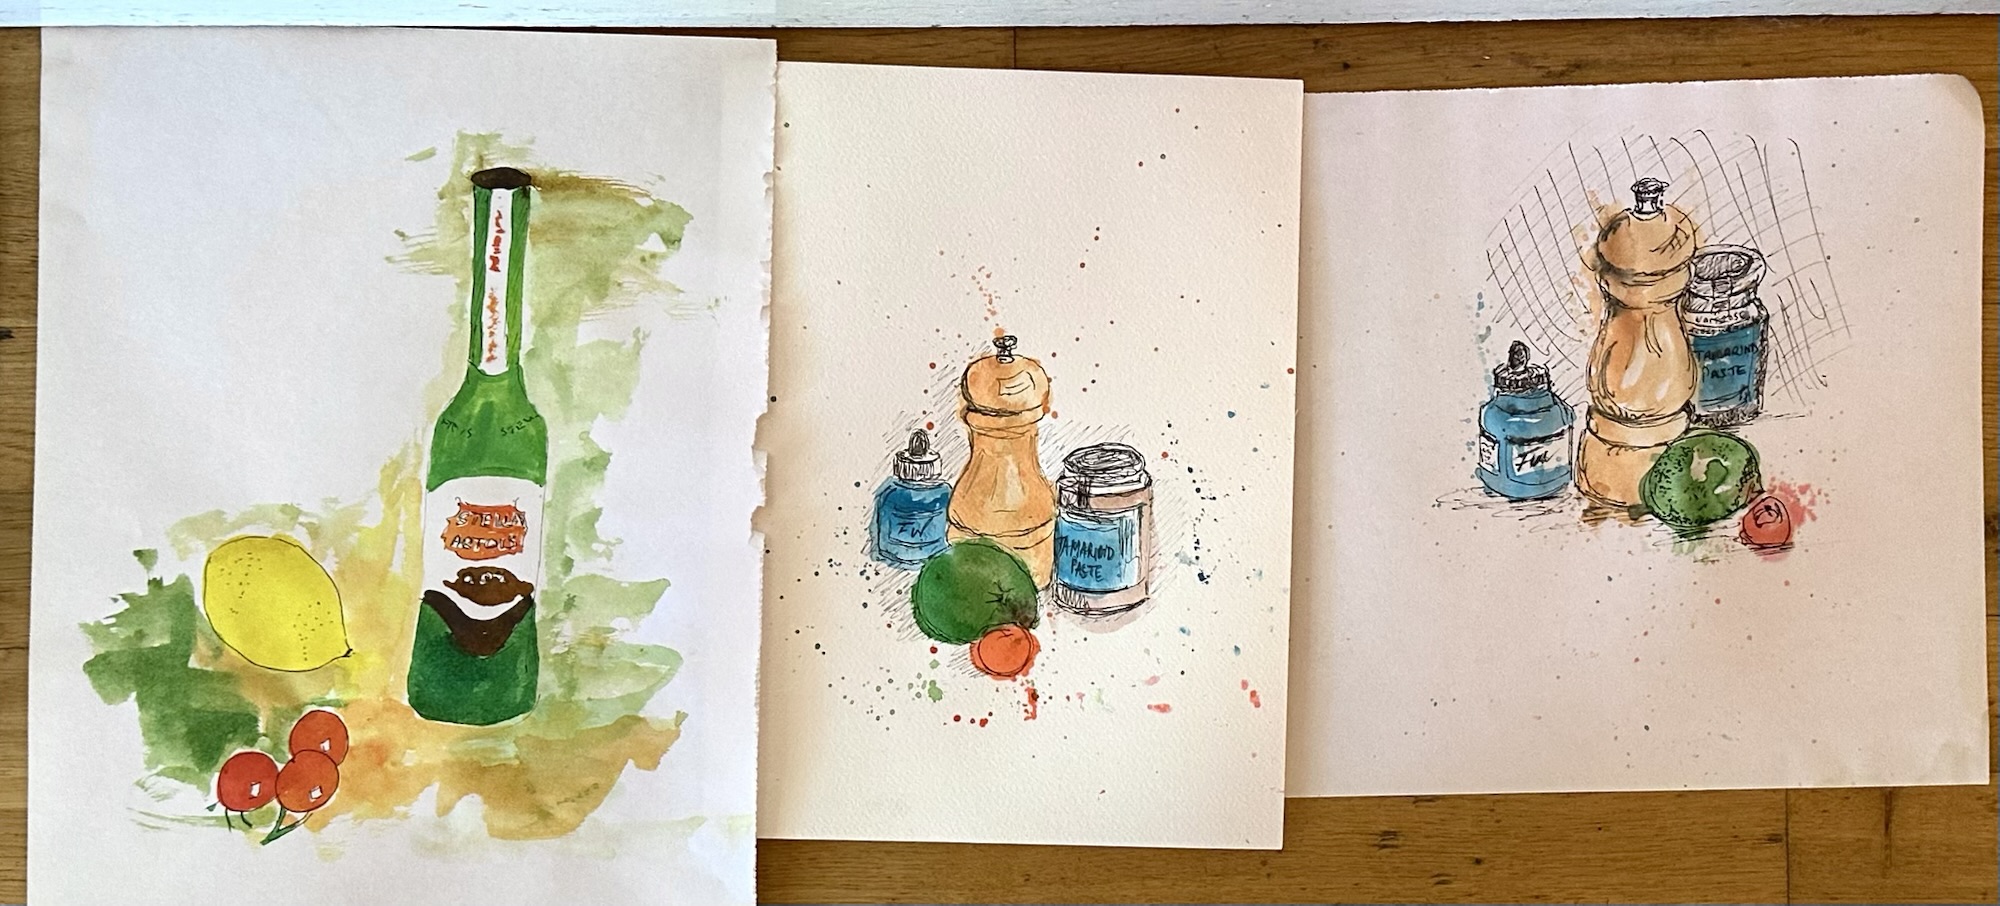
For the next exercise Victoria showed us some examples of paintings of everyday household kitchen items. We chose items from a selection for a little still life. We drew the objects in pencil, used inks to paint outside the lines then drew loose lines in pen for the outlines and details of the objects. Having painted within the lines for many years we were encouraged to paint outside the lines, add splashes of ink and it was quite liberating!

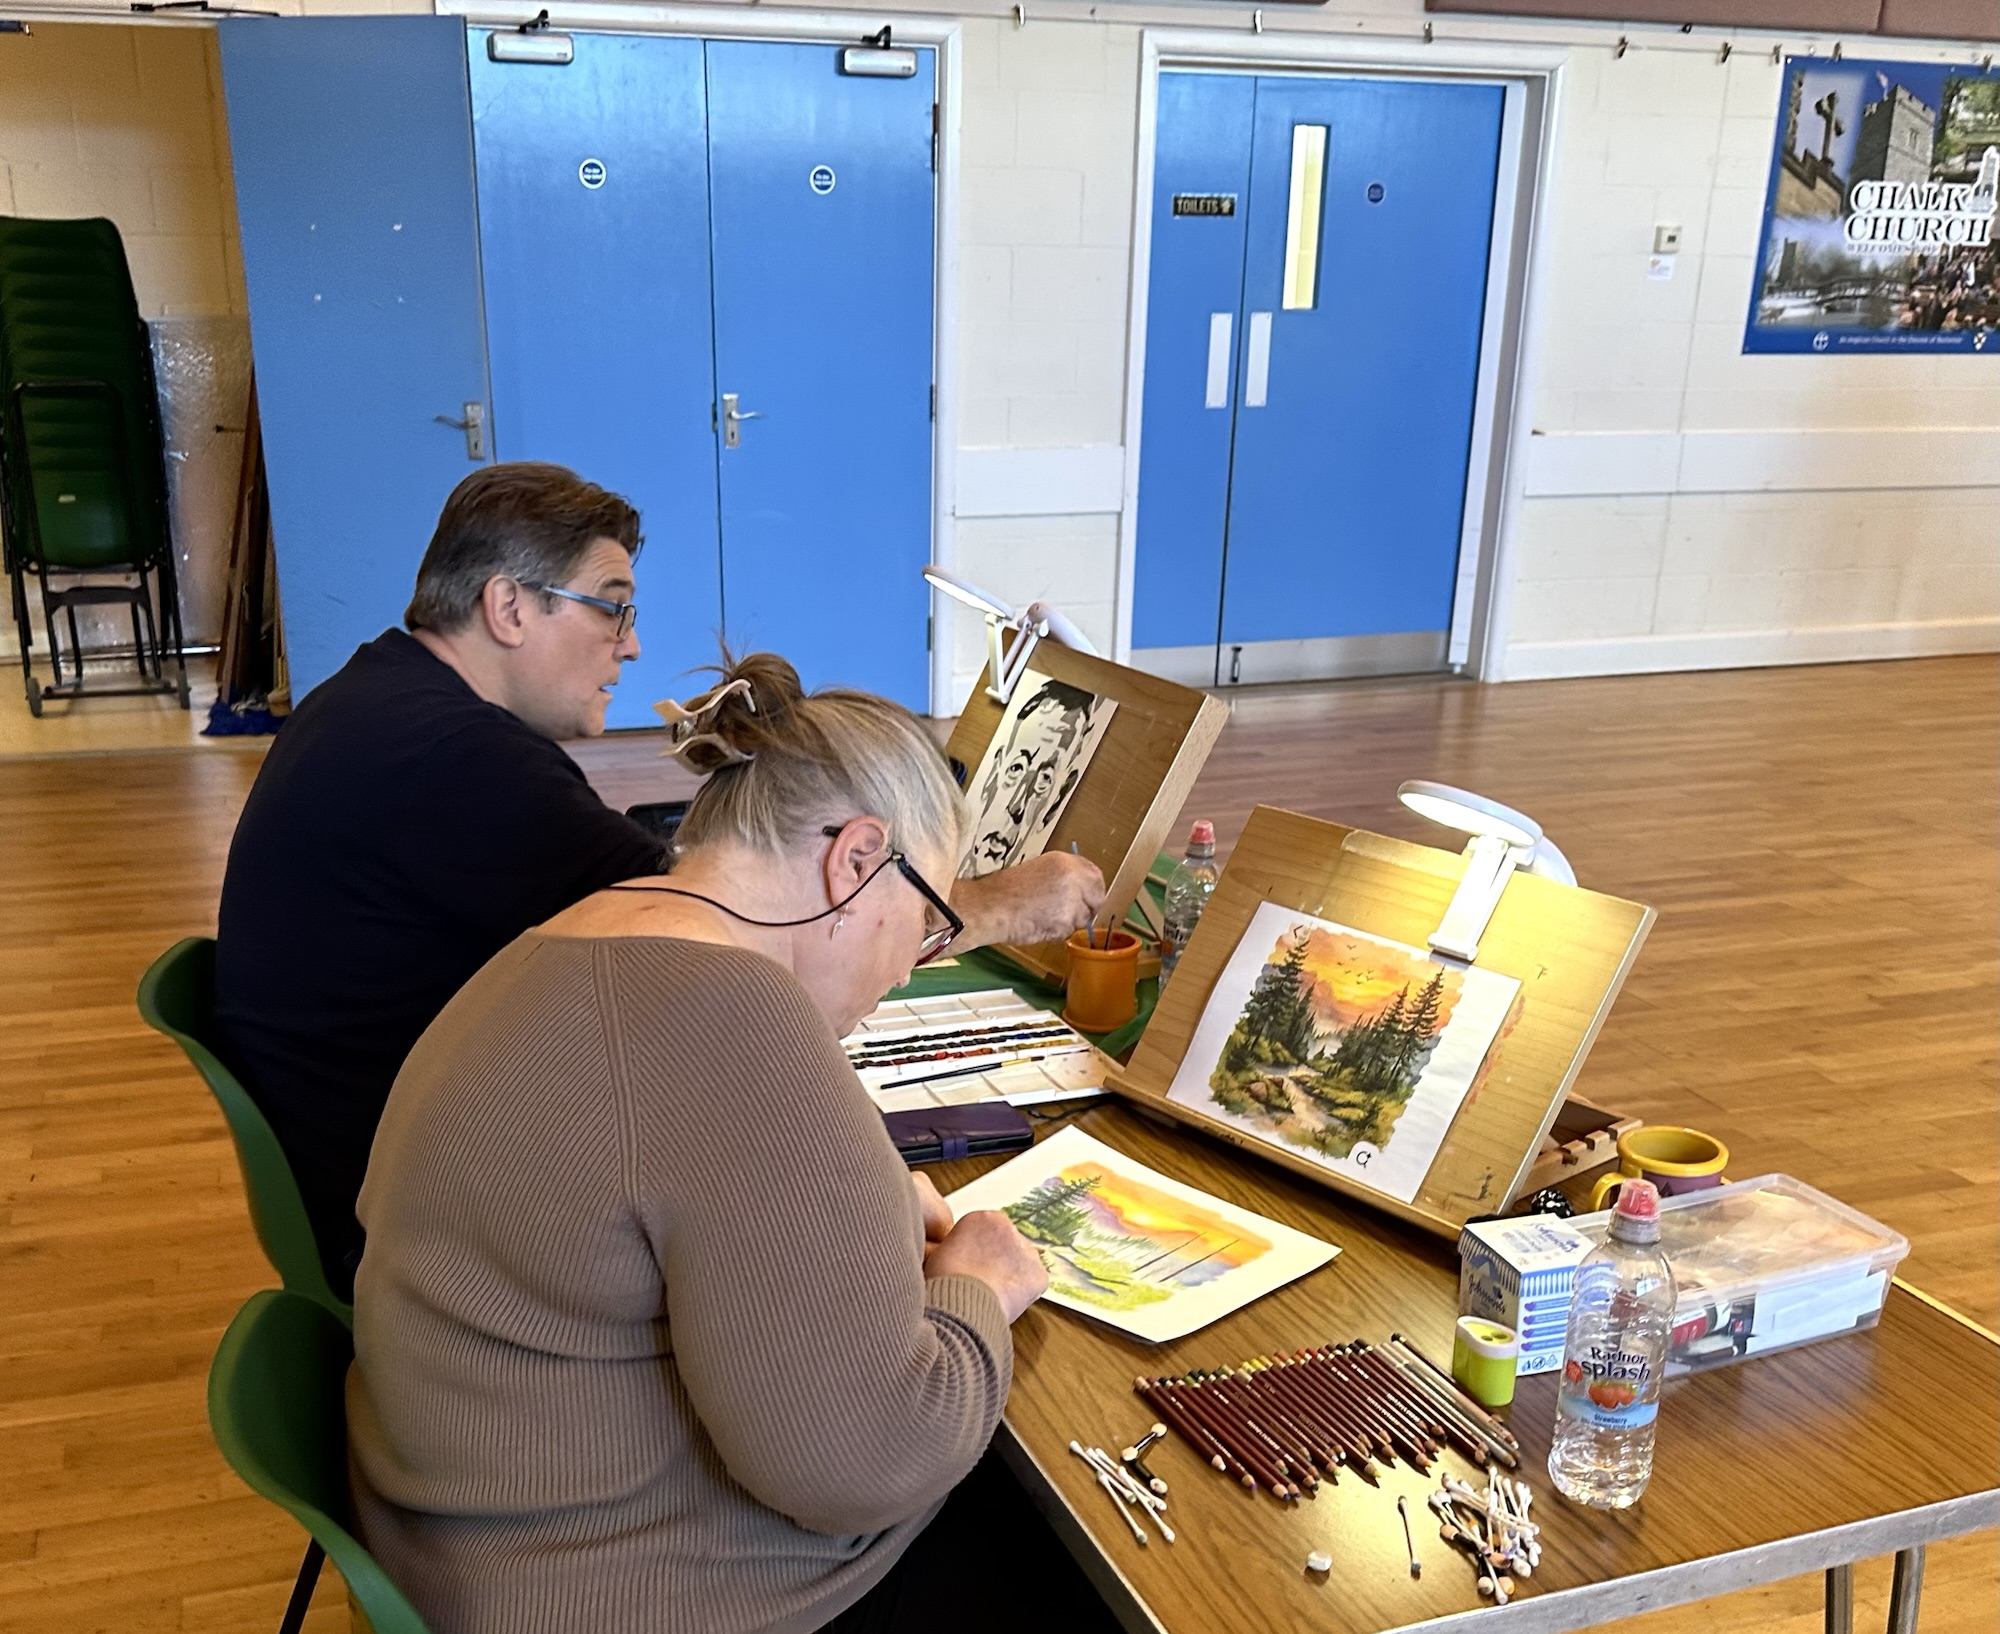
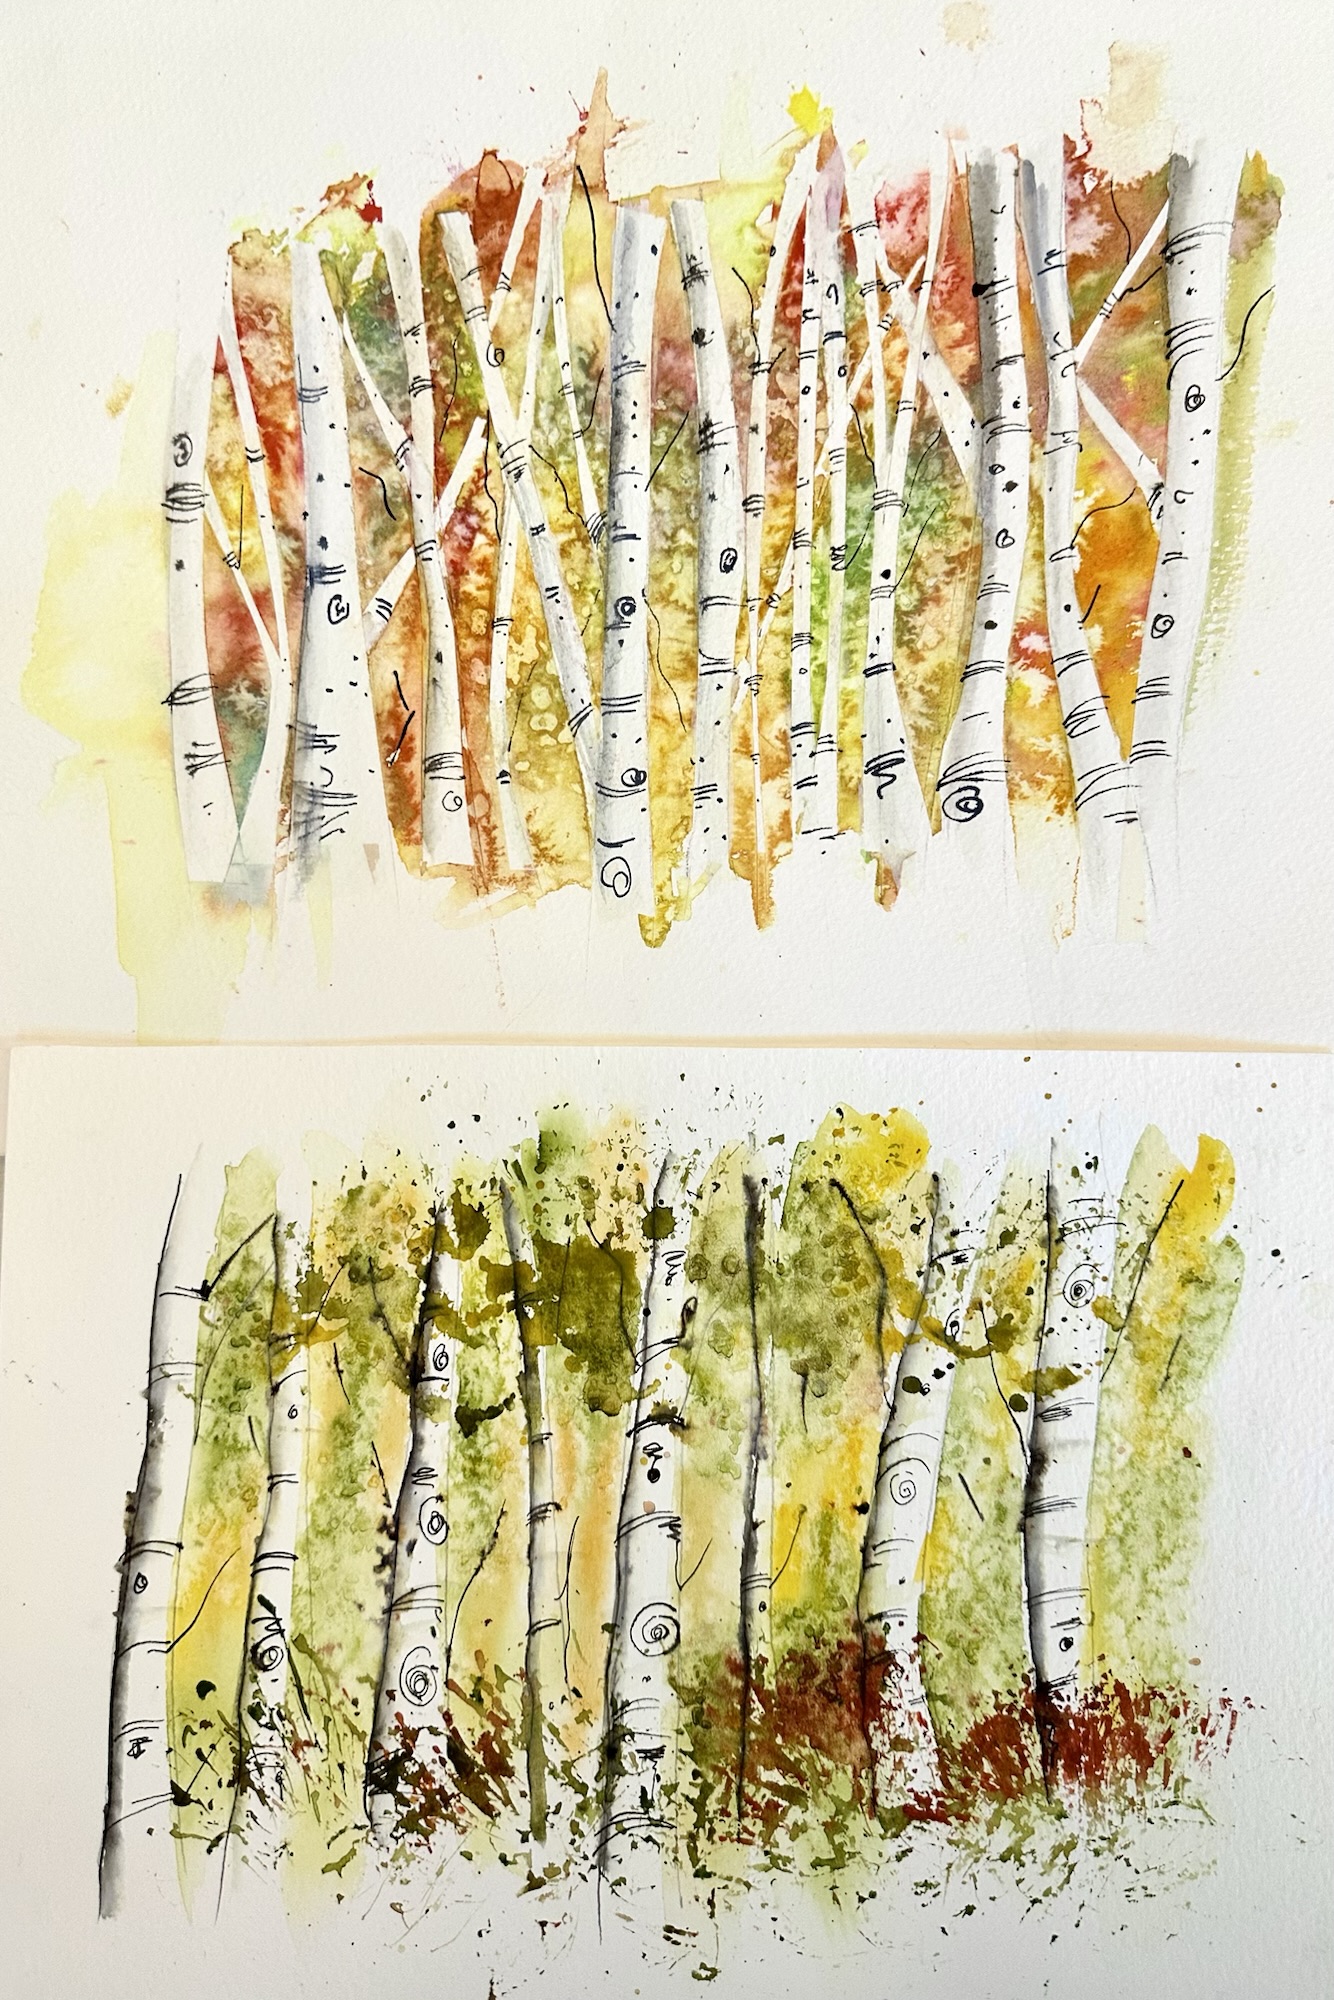
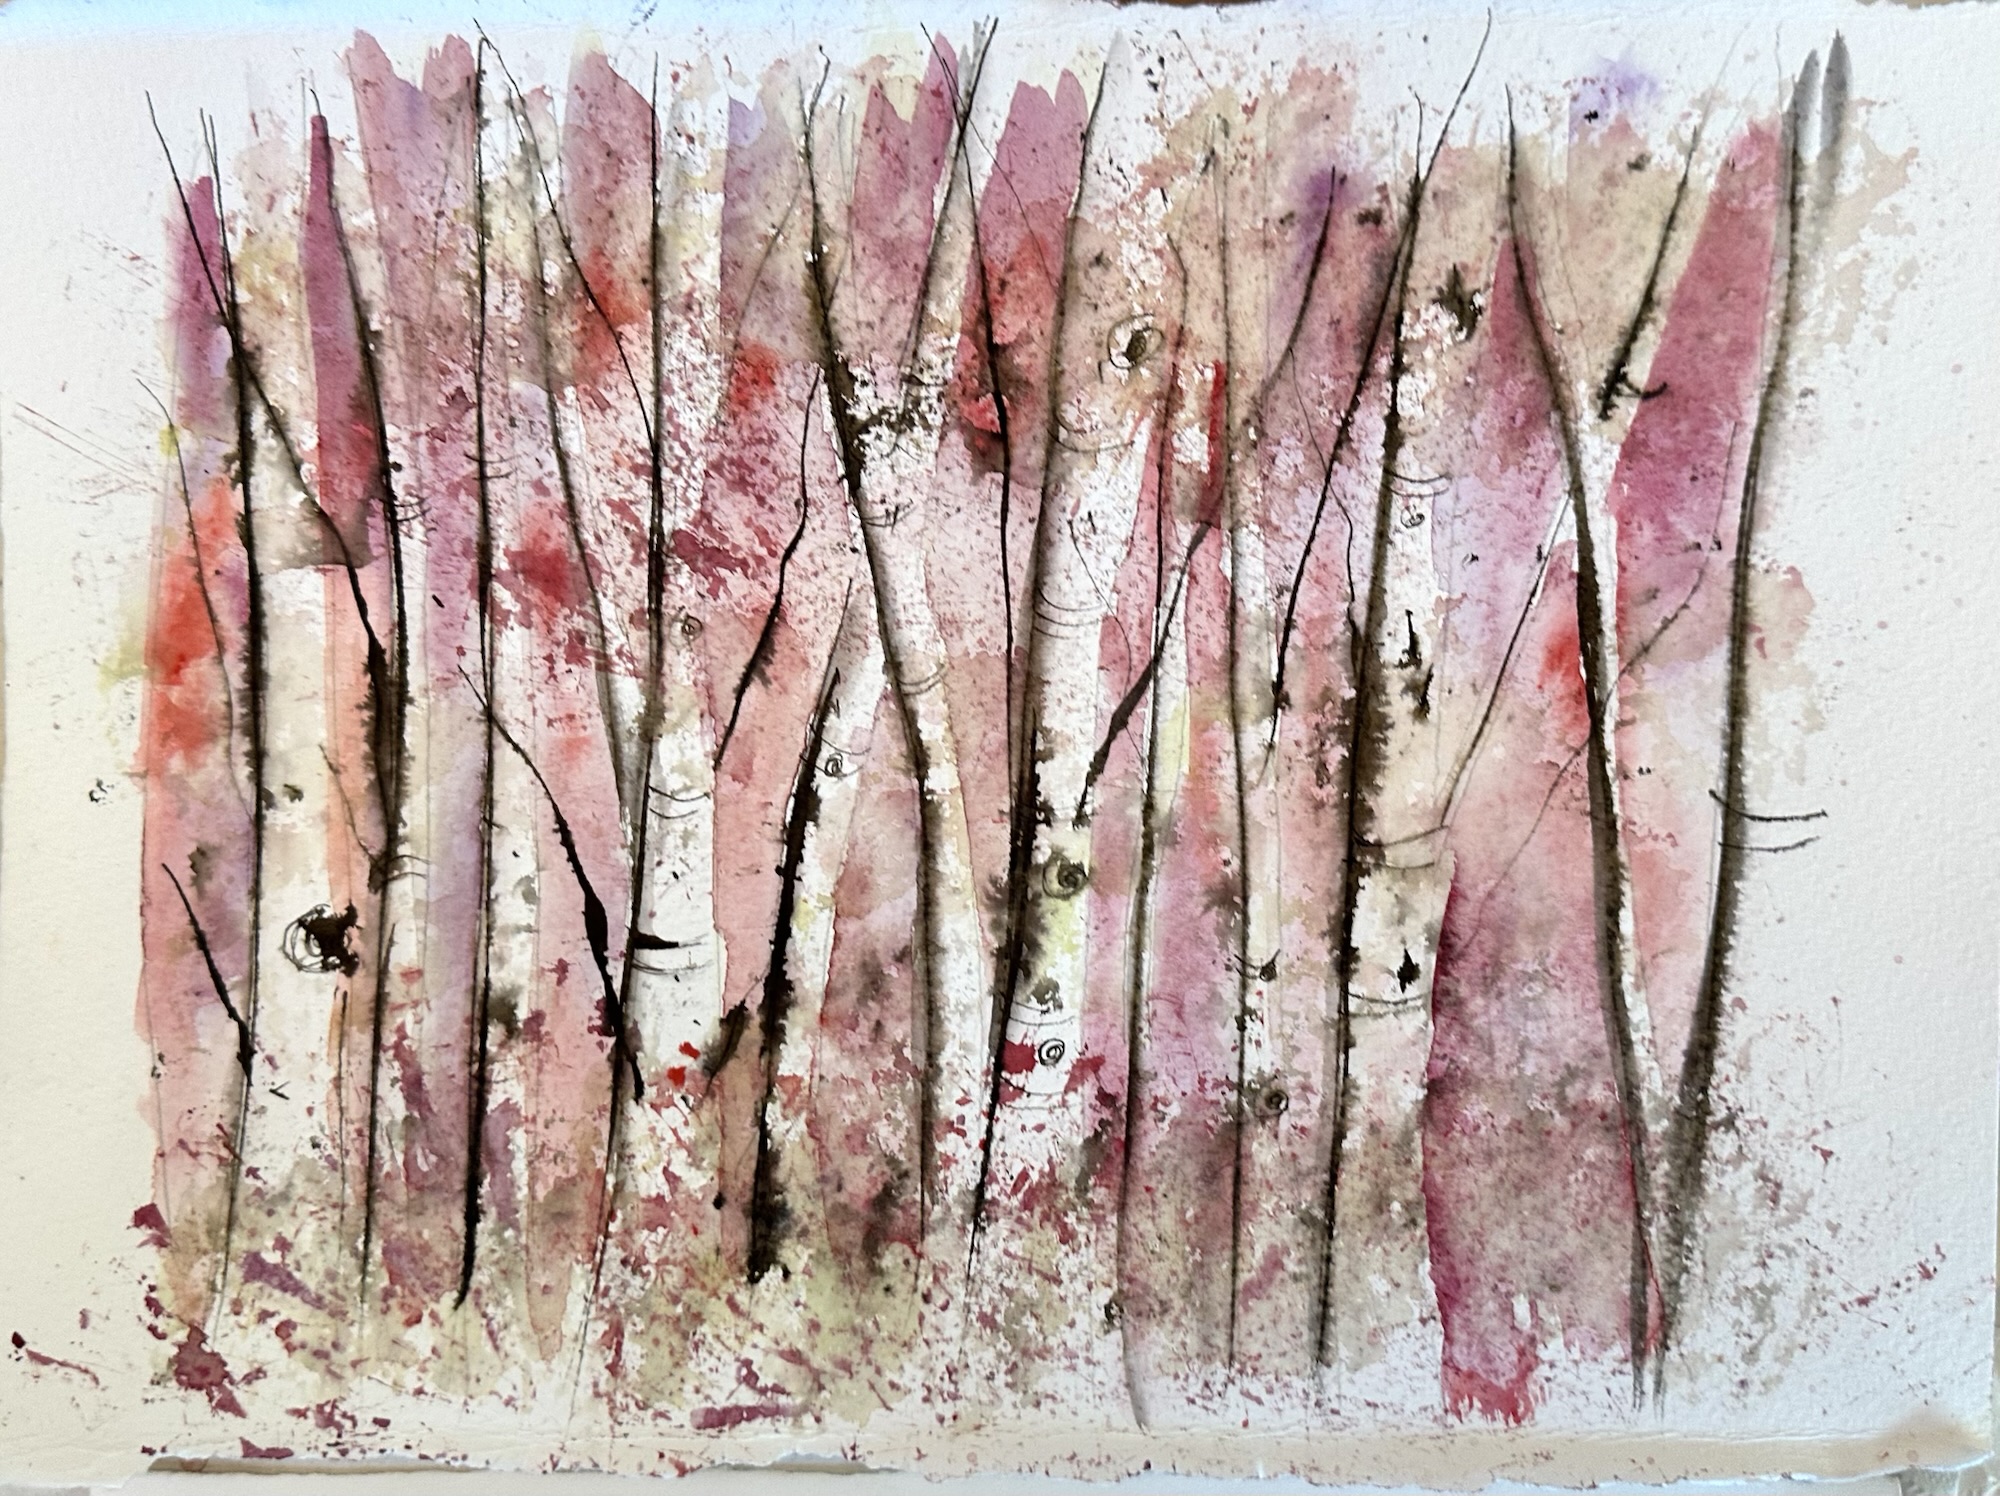
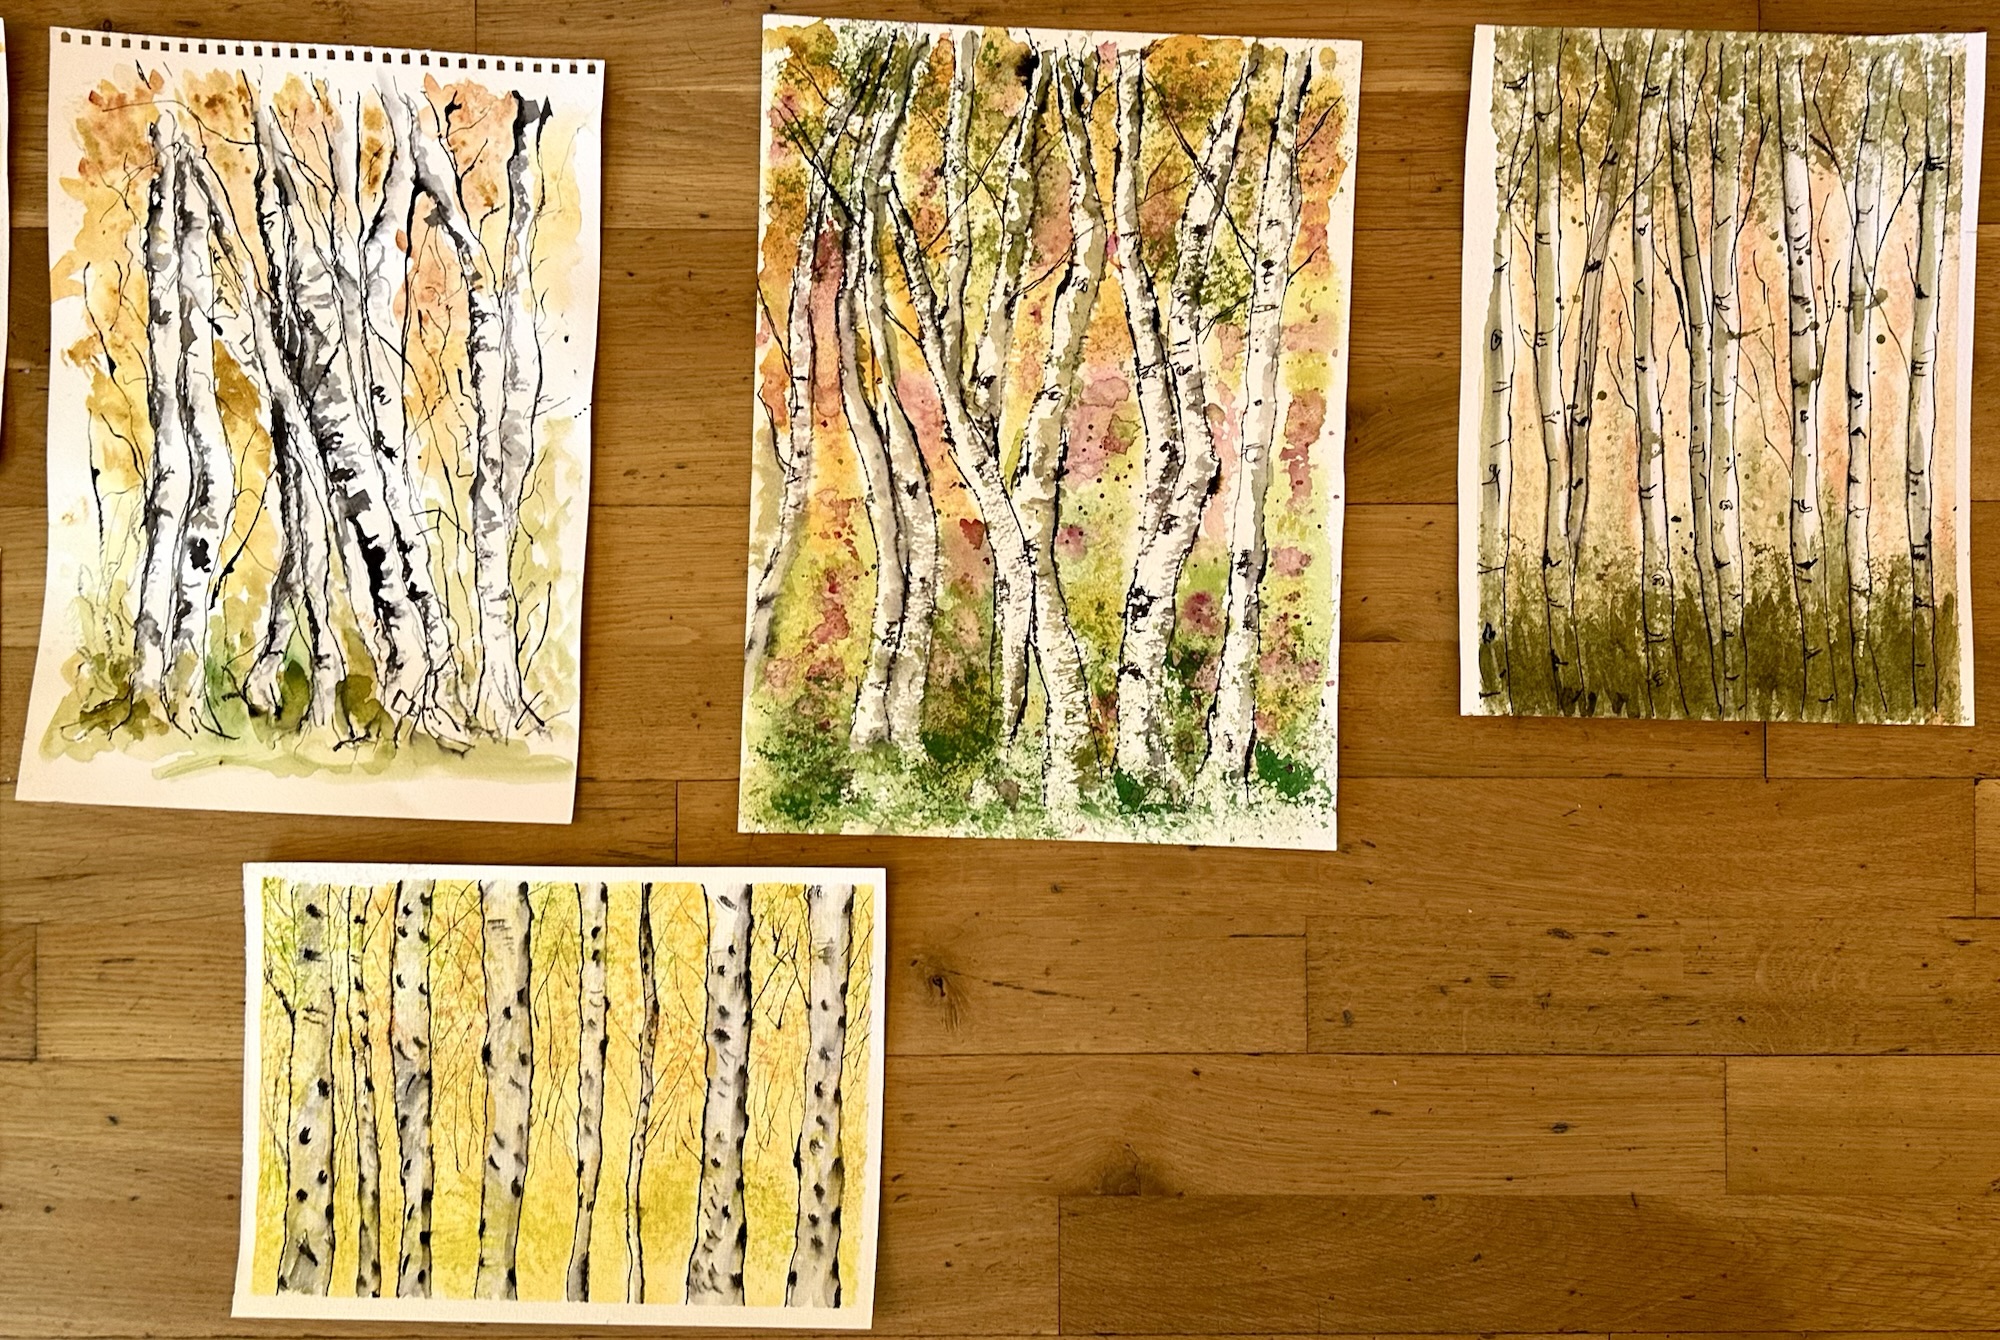
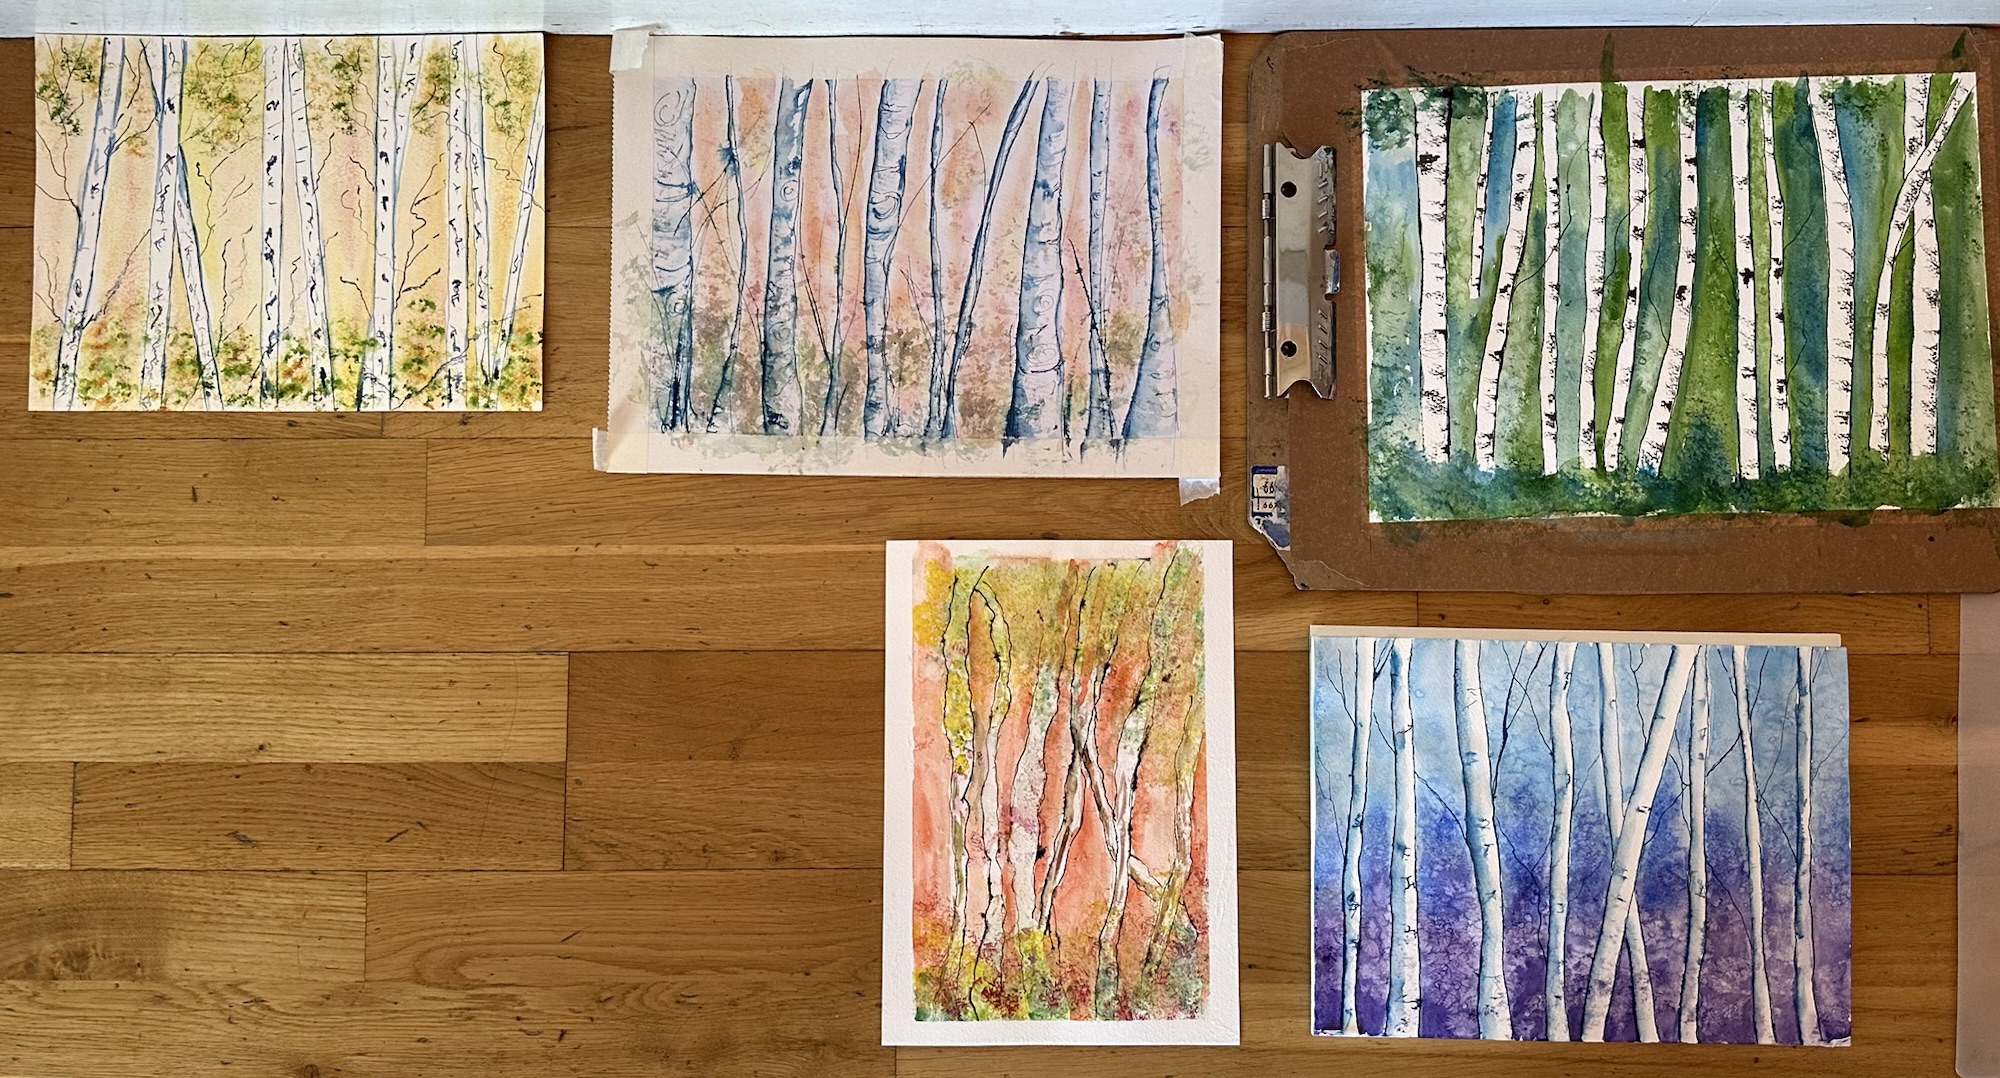
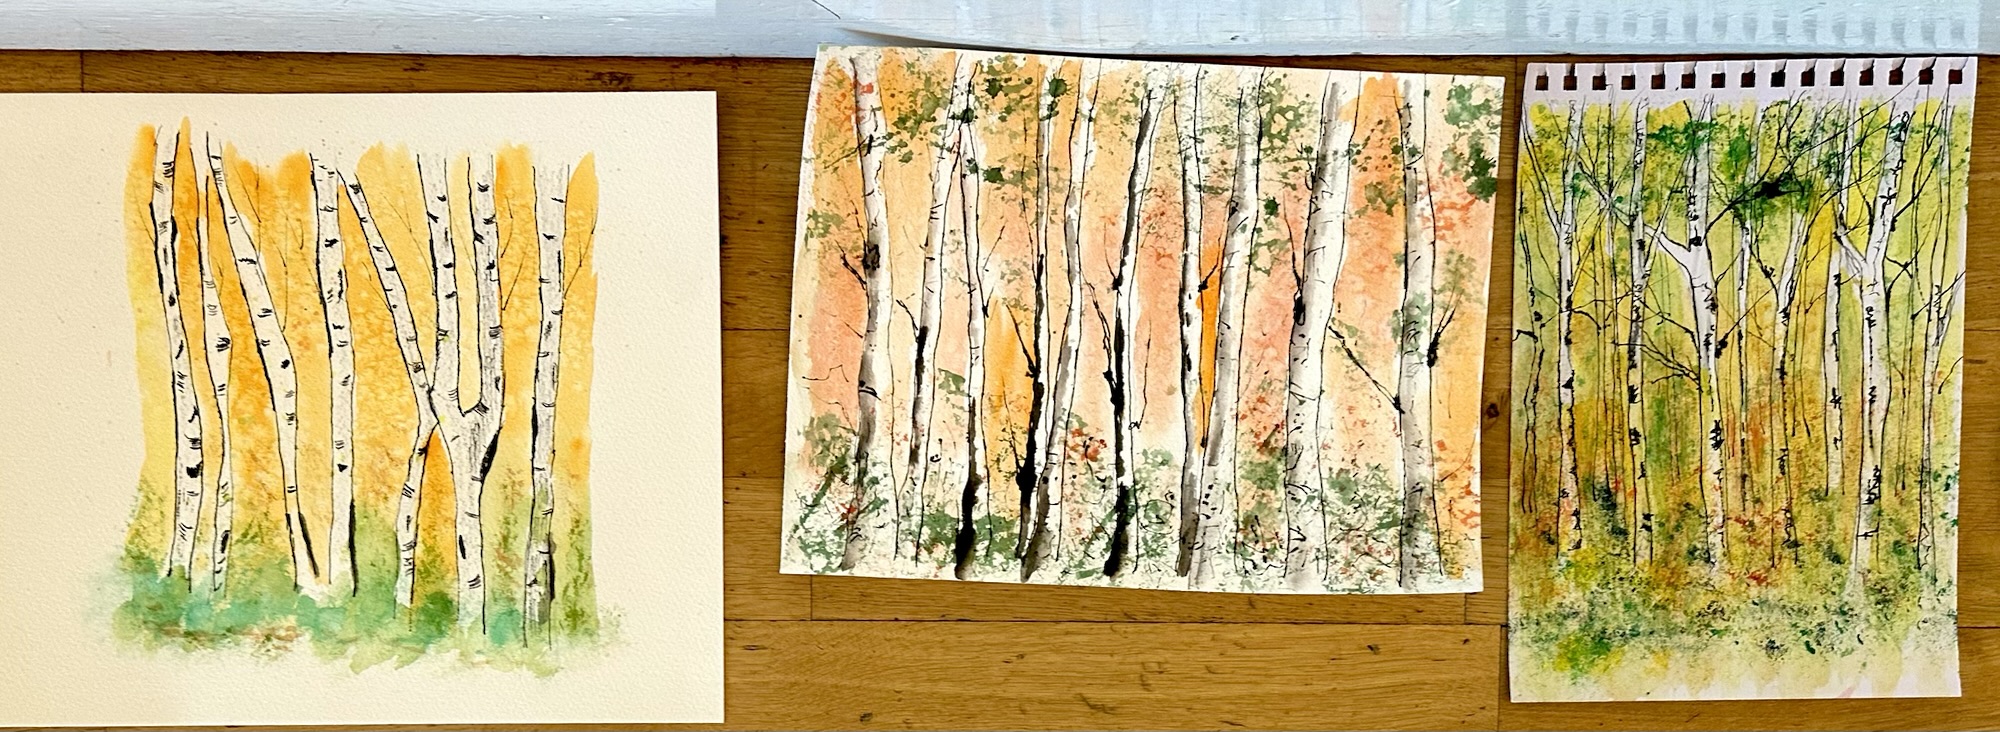
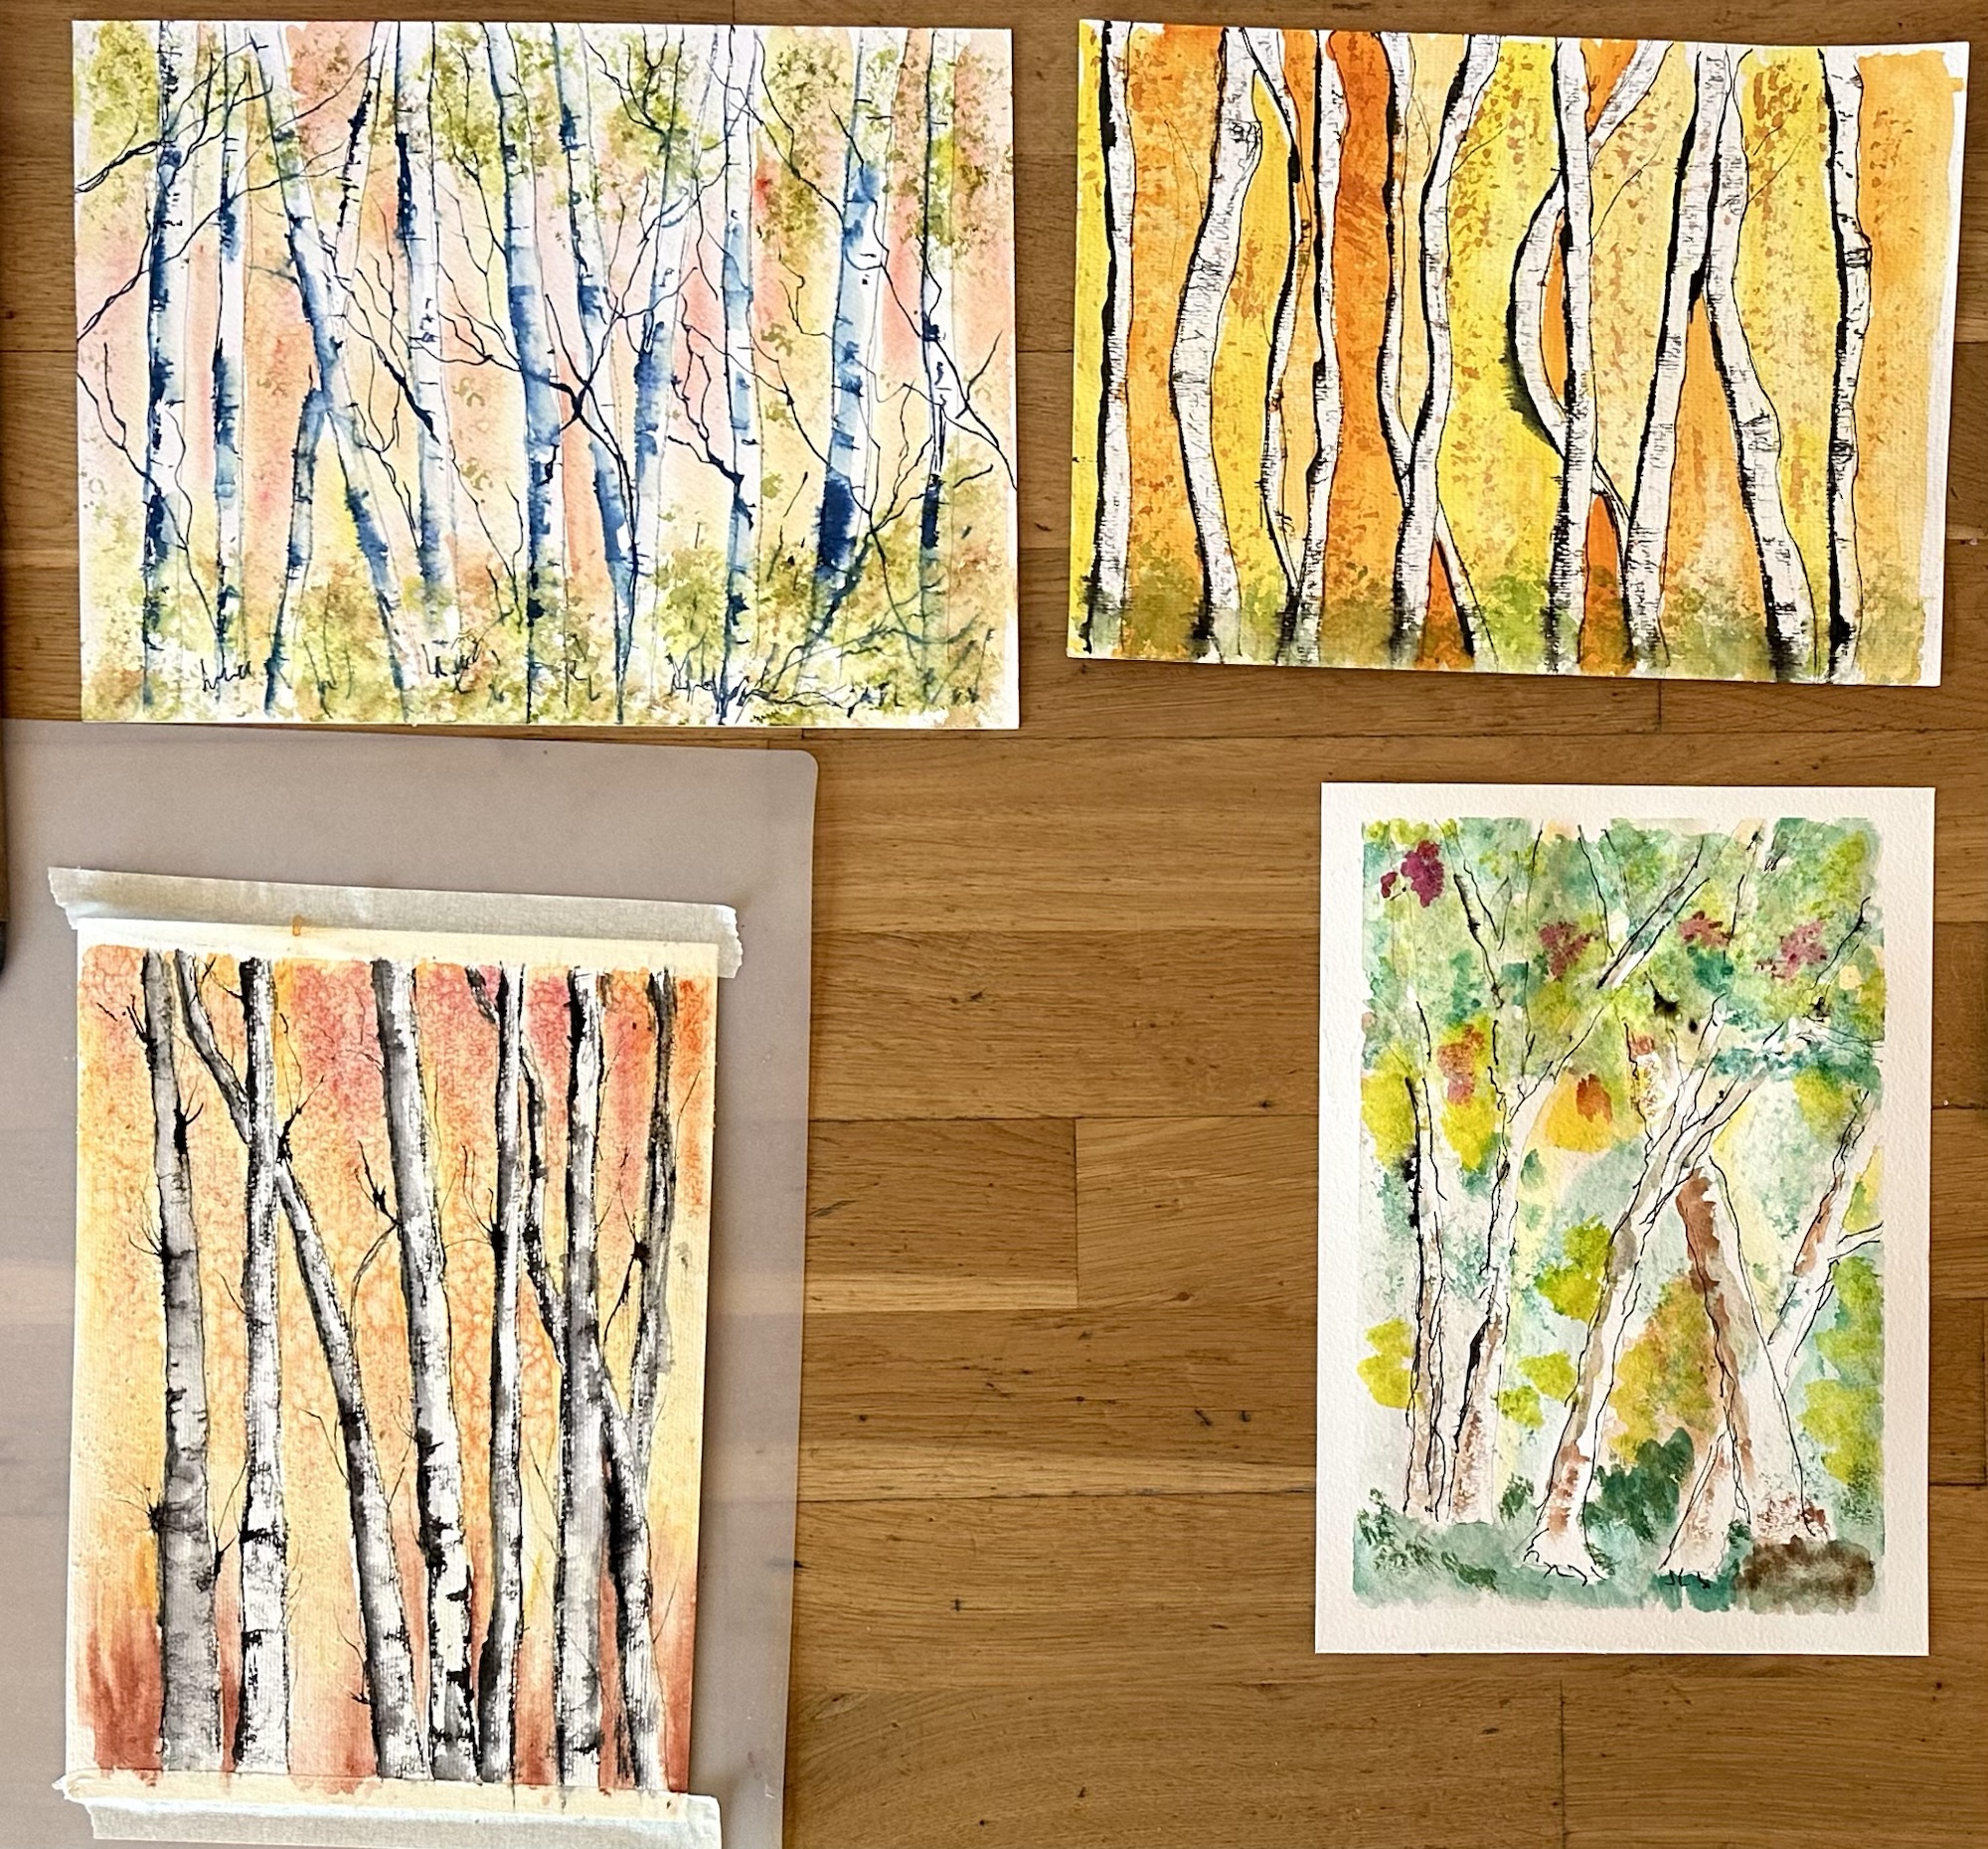
After lunch we moved on to watercolours to paint birch trees with a coloured background. Victoria drew vertical lines for the tree trunks, put clean water between the trees then added watercolours wet in wet to create mixed colours. Whilst the paint was wet we added large salt granules to the colours which made interesting patterns when dry. Once the dry salt was brushed off we used Quink ink in black or blue with a cocktail stick to add the lines and details on the birch trees. By adding more Quink to one side of a tree trunk and using a brush with water to create a darker side it made the trunks become rounded and not flat. We added more paint to the bottom of the picture by using sponges and a bunch of elastic bands loaded with paint. It makes a difference to the atmosphere of the woods by the paint colours used.

The first three birch tree paintings are Victoria’s and the rest are ours.

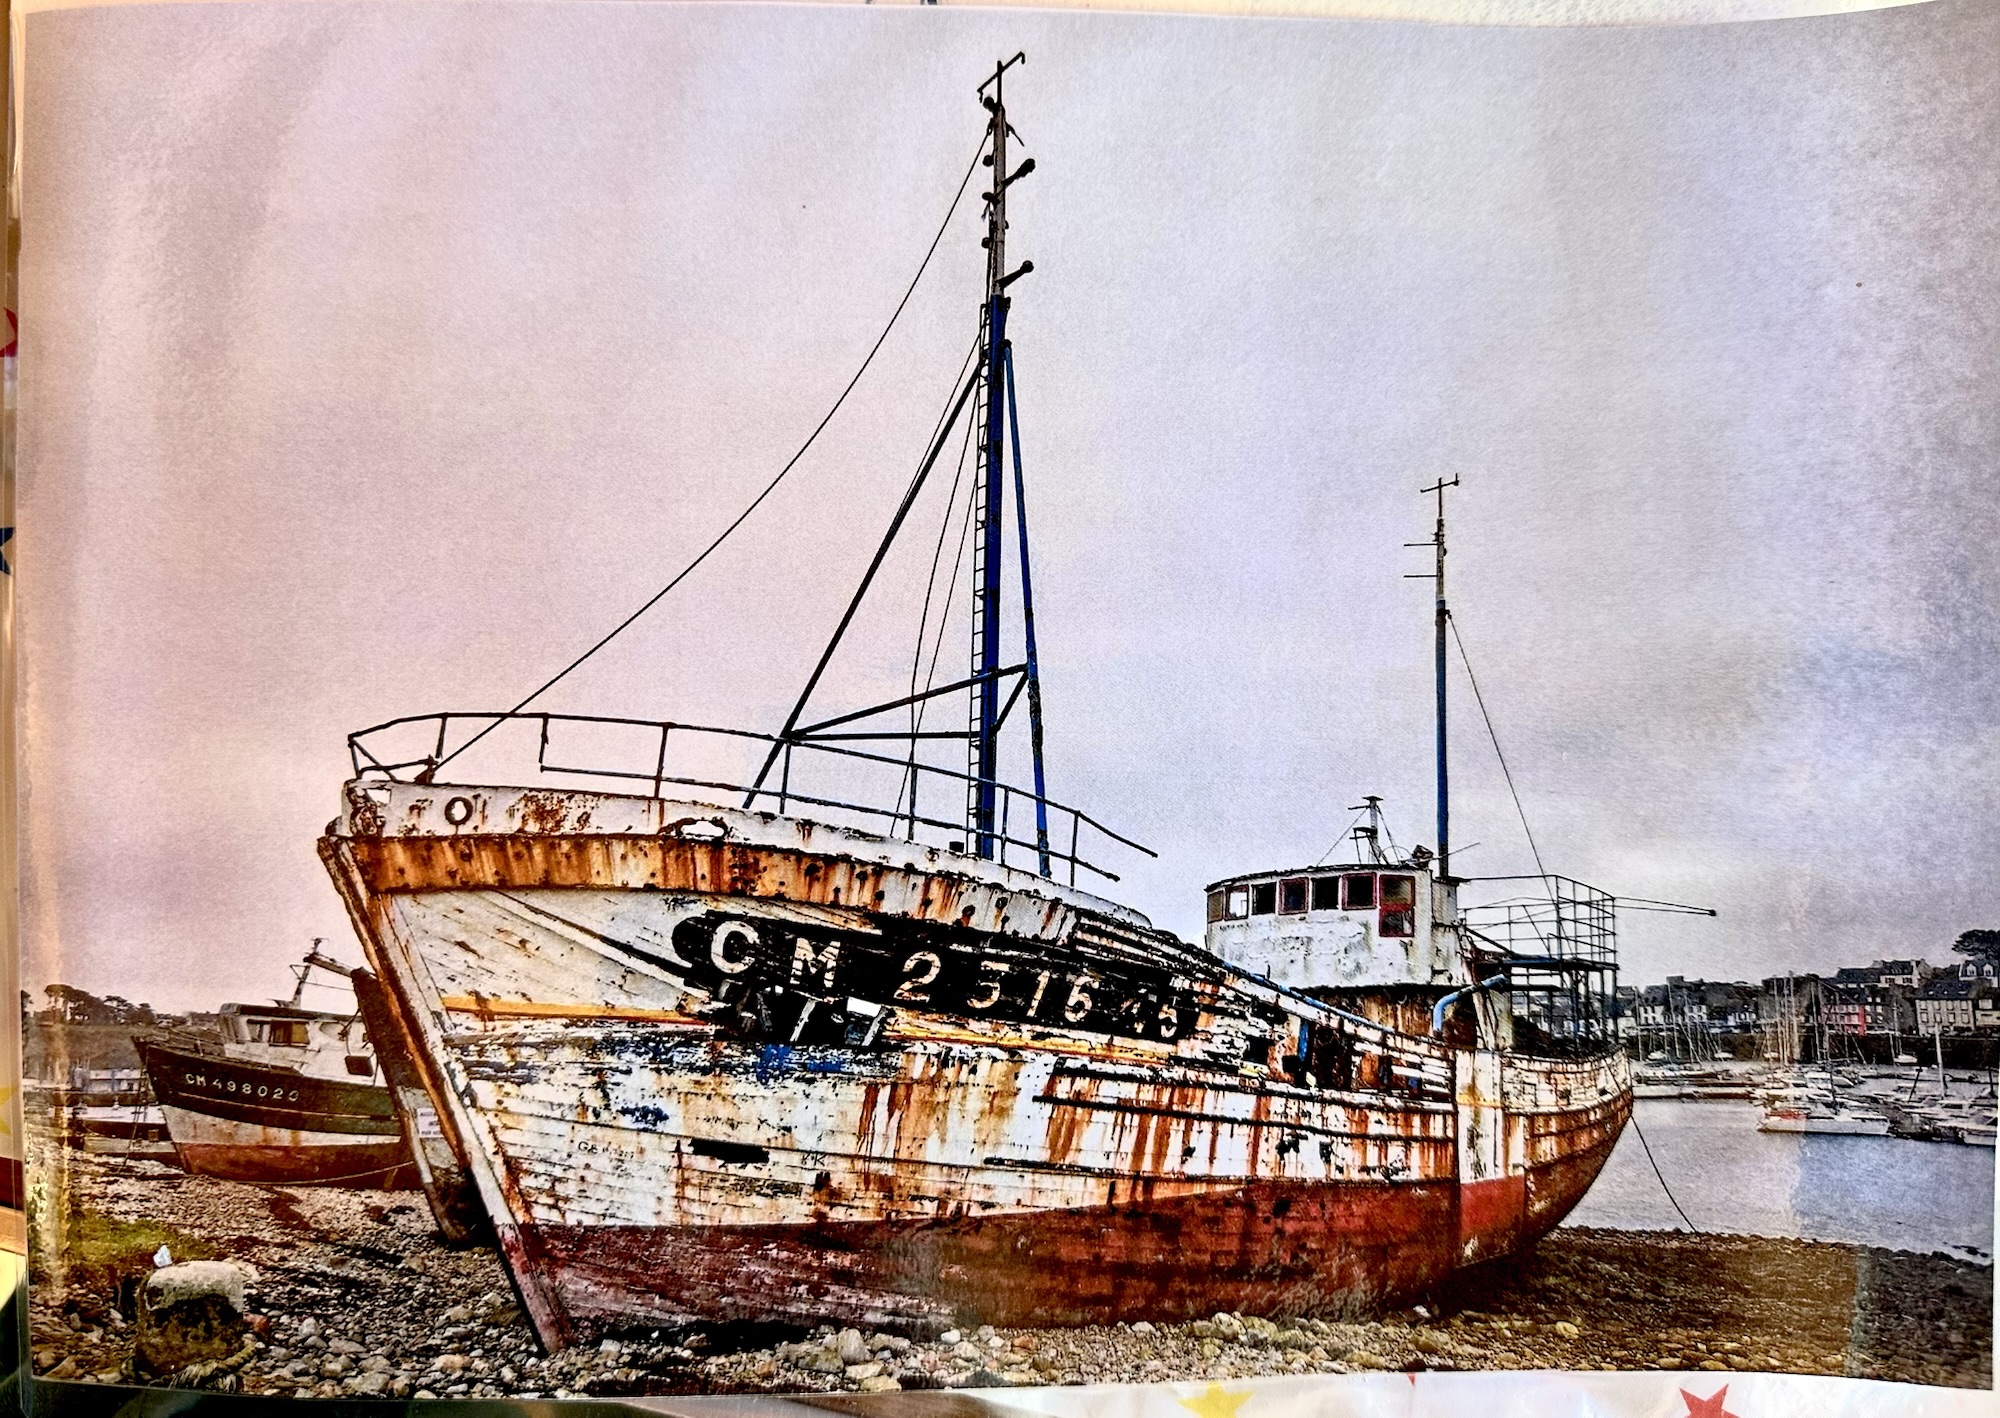
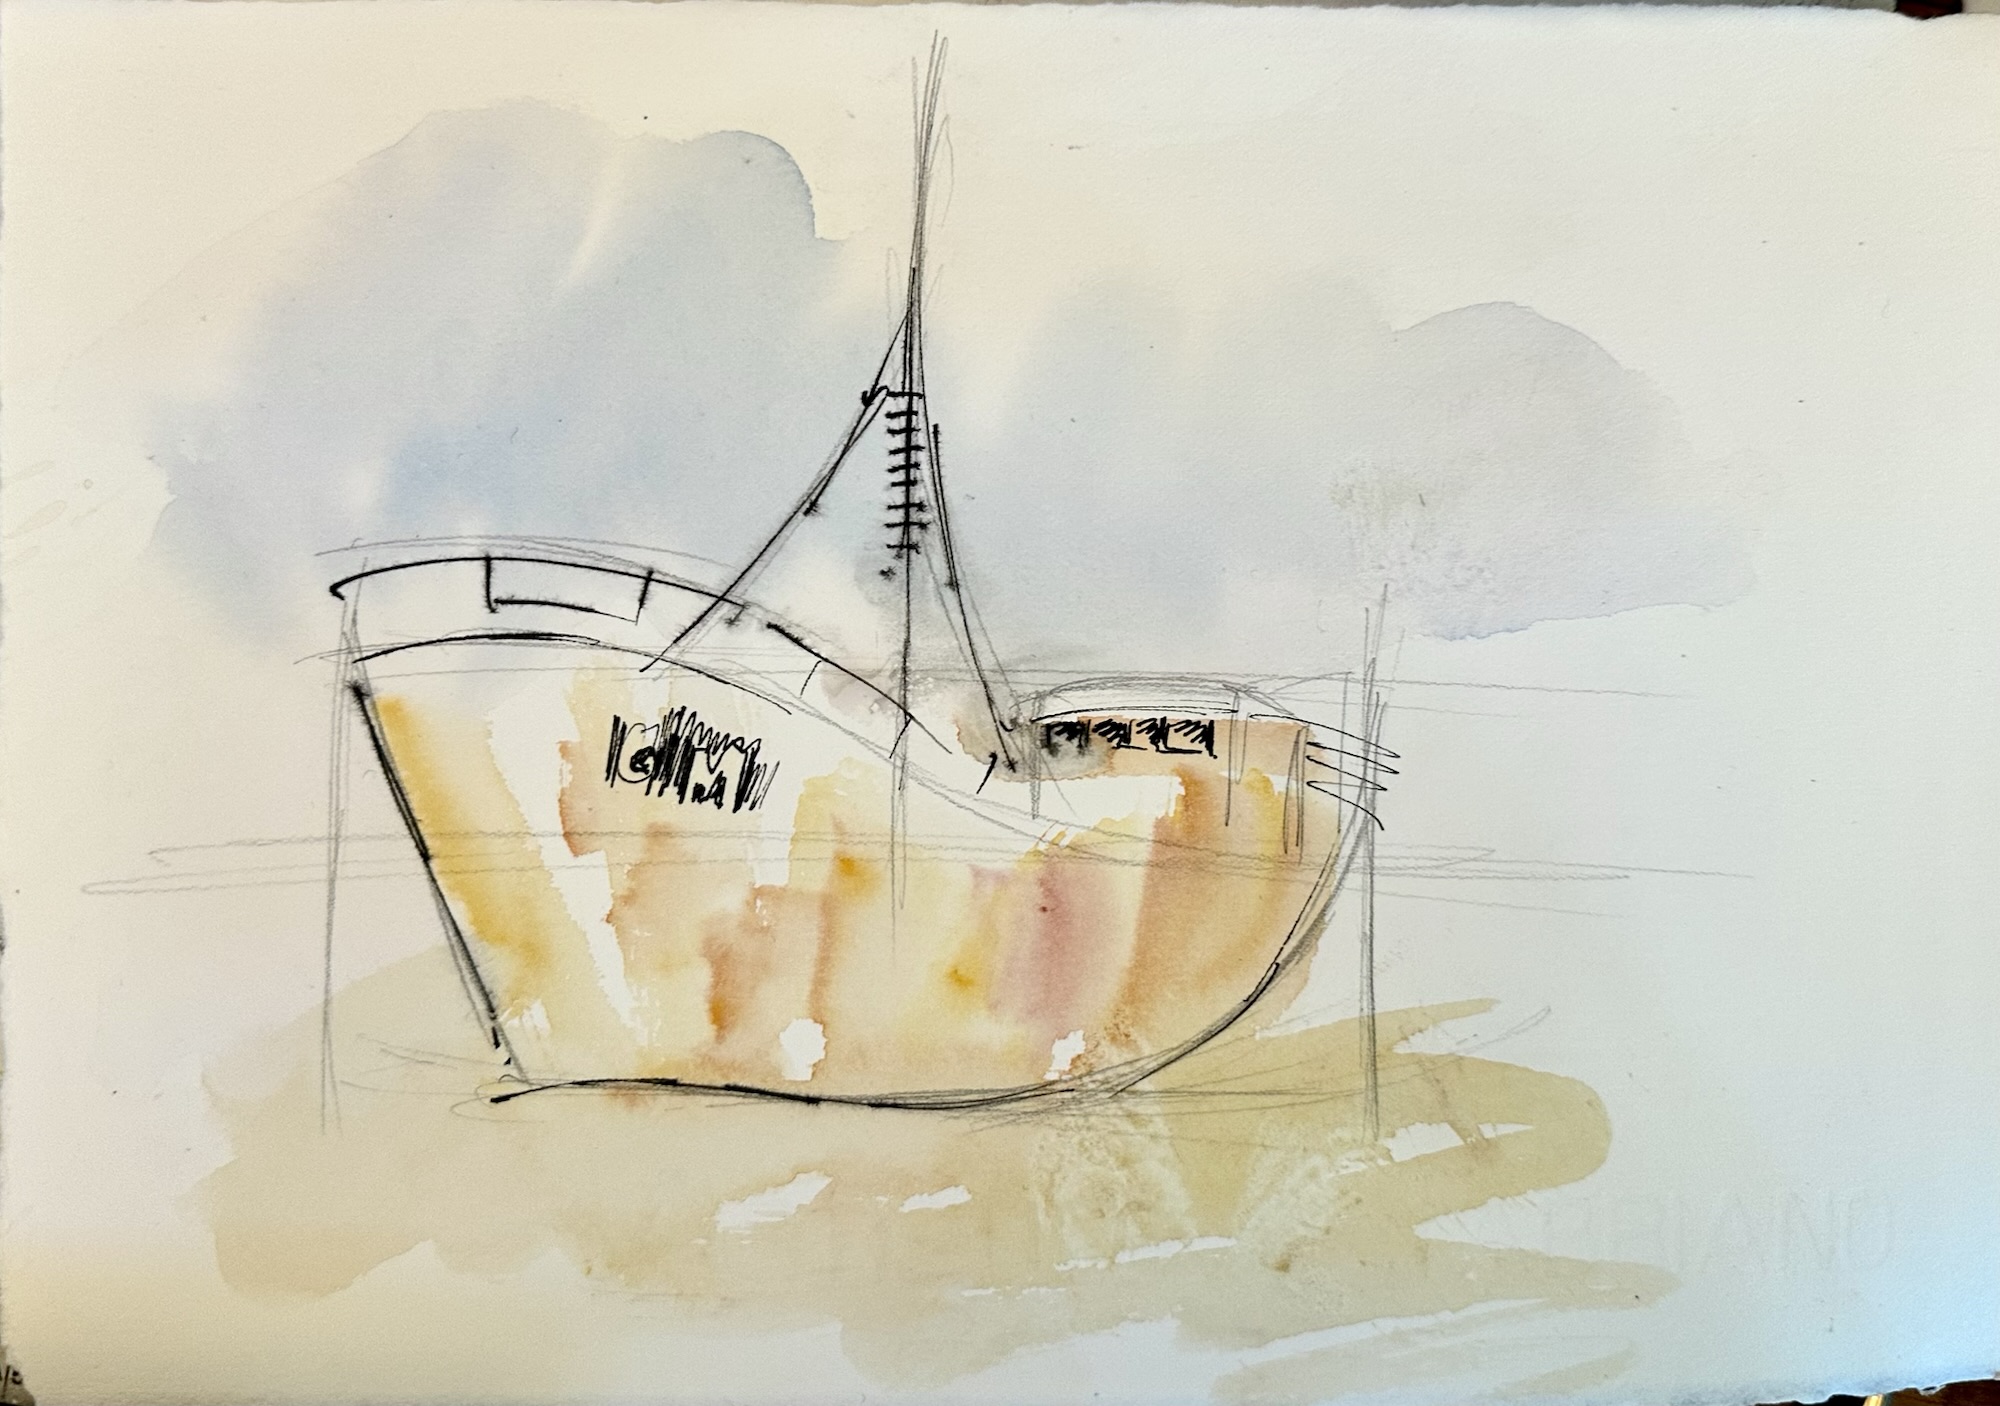
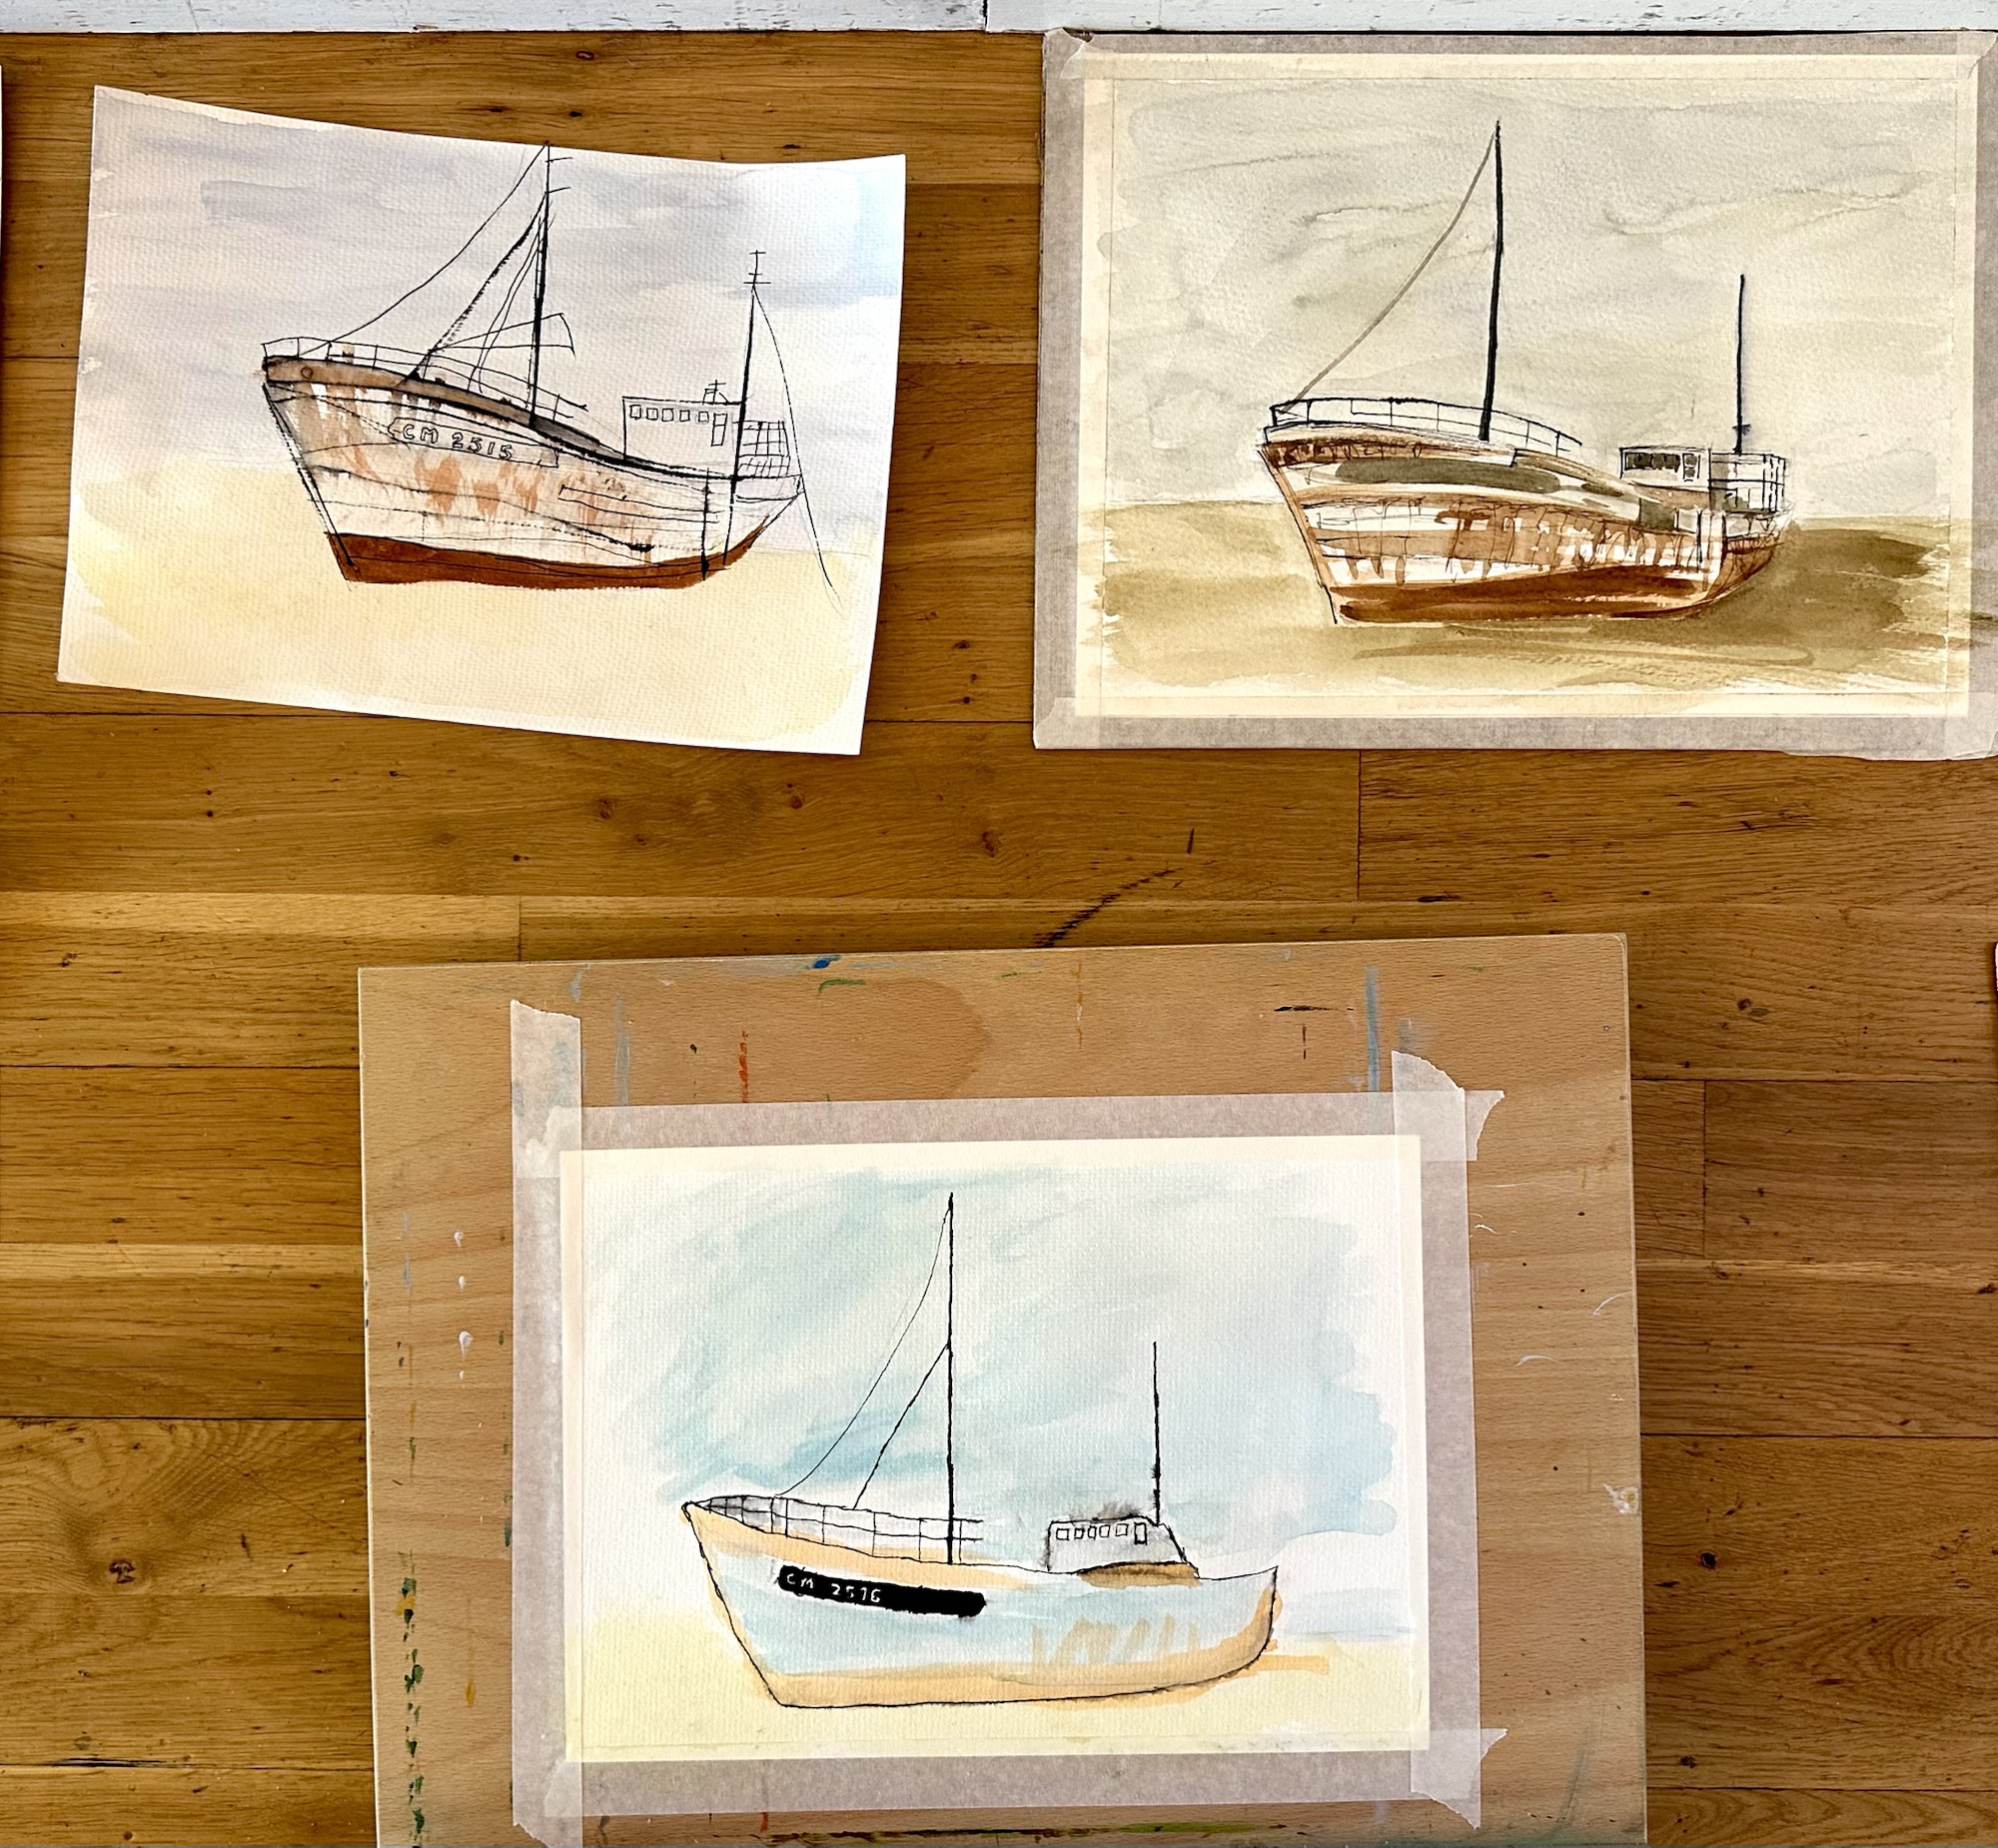
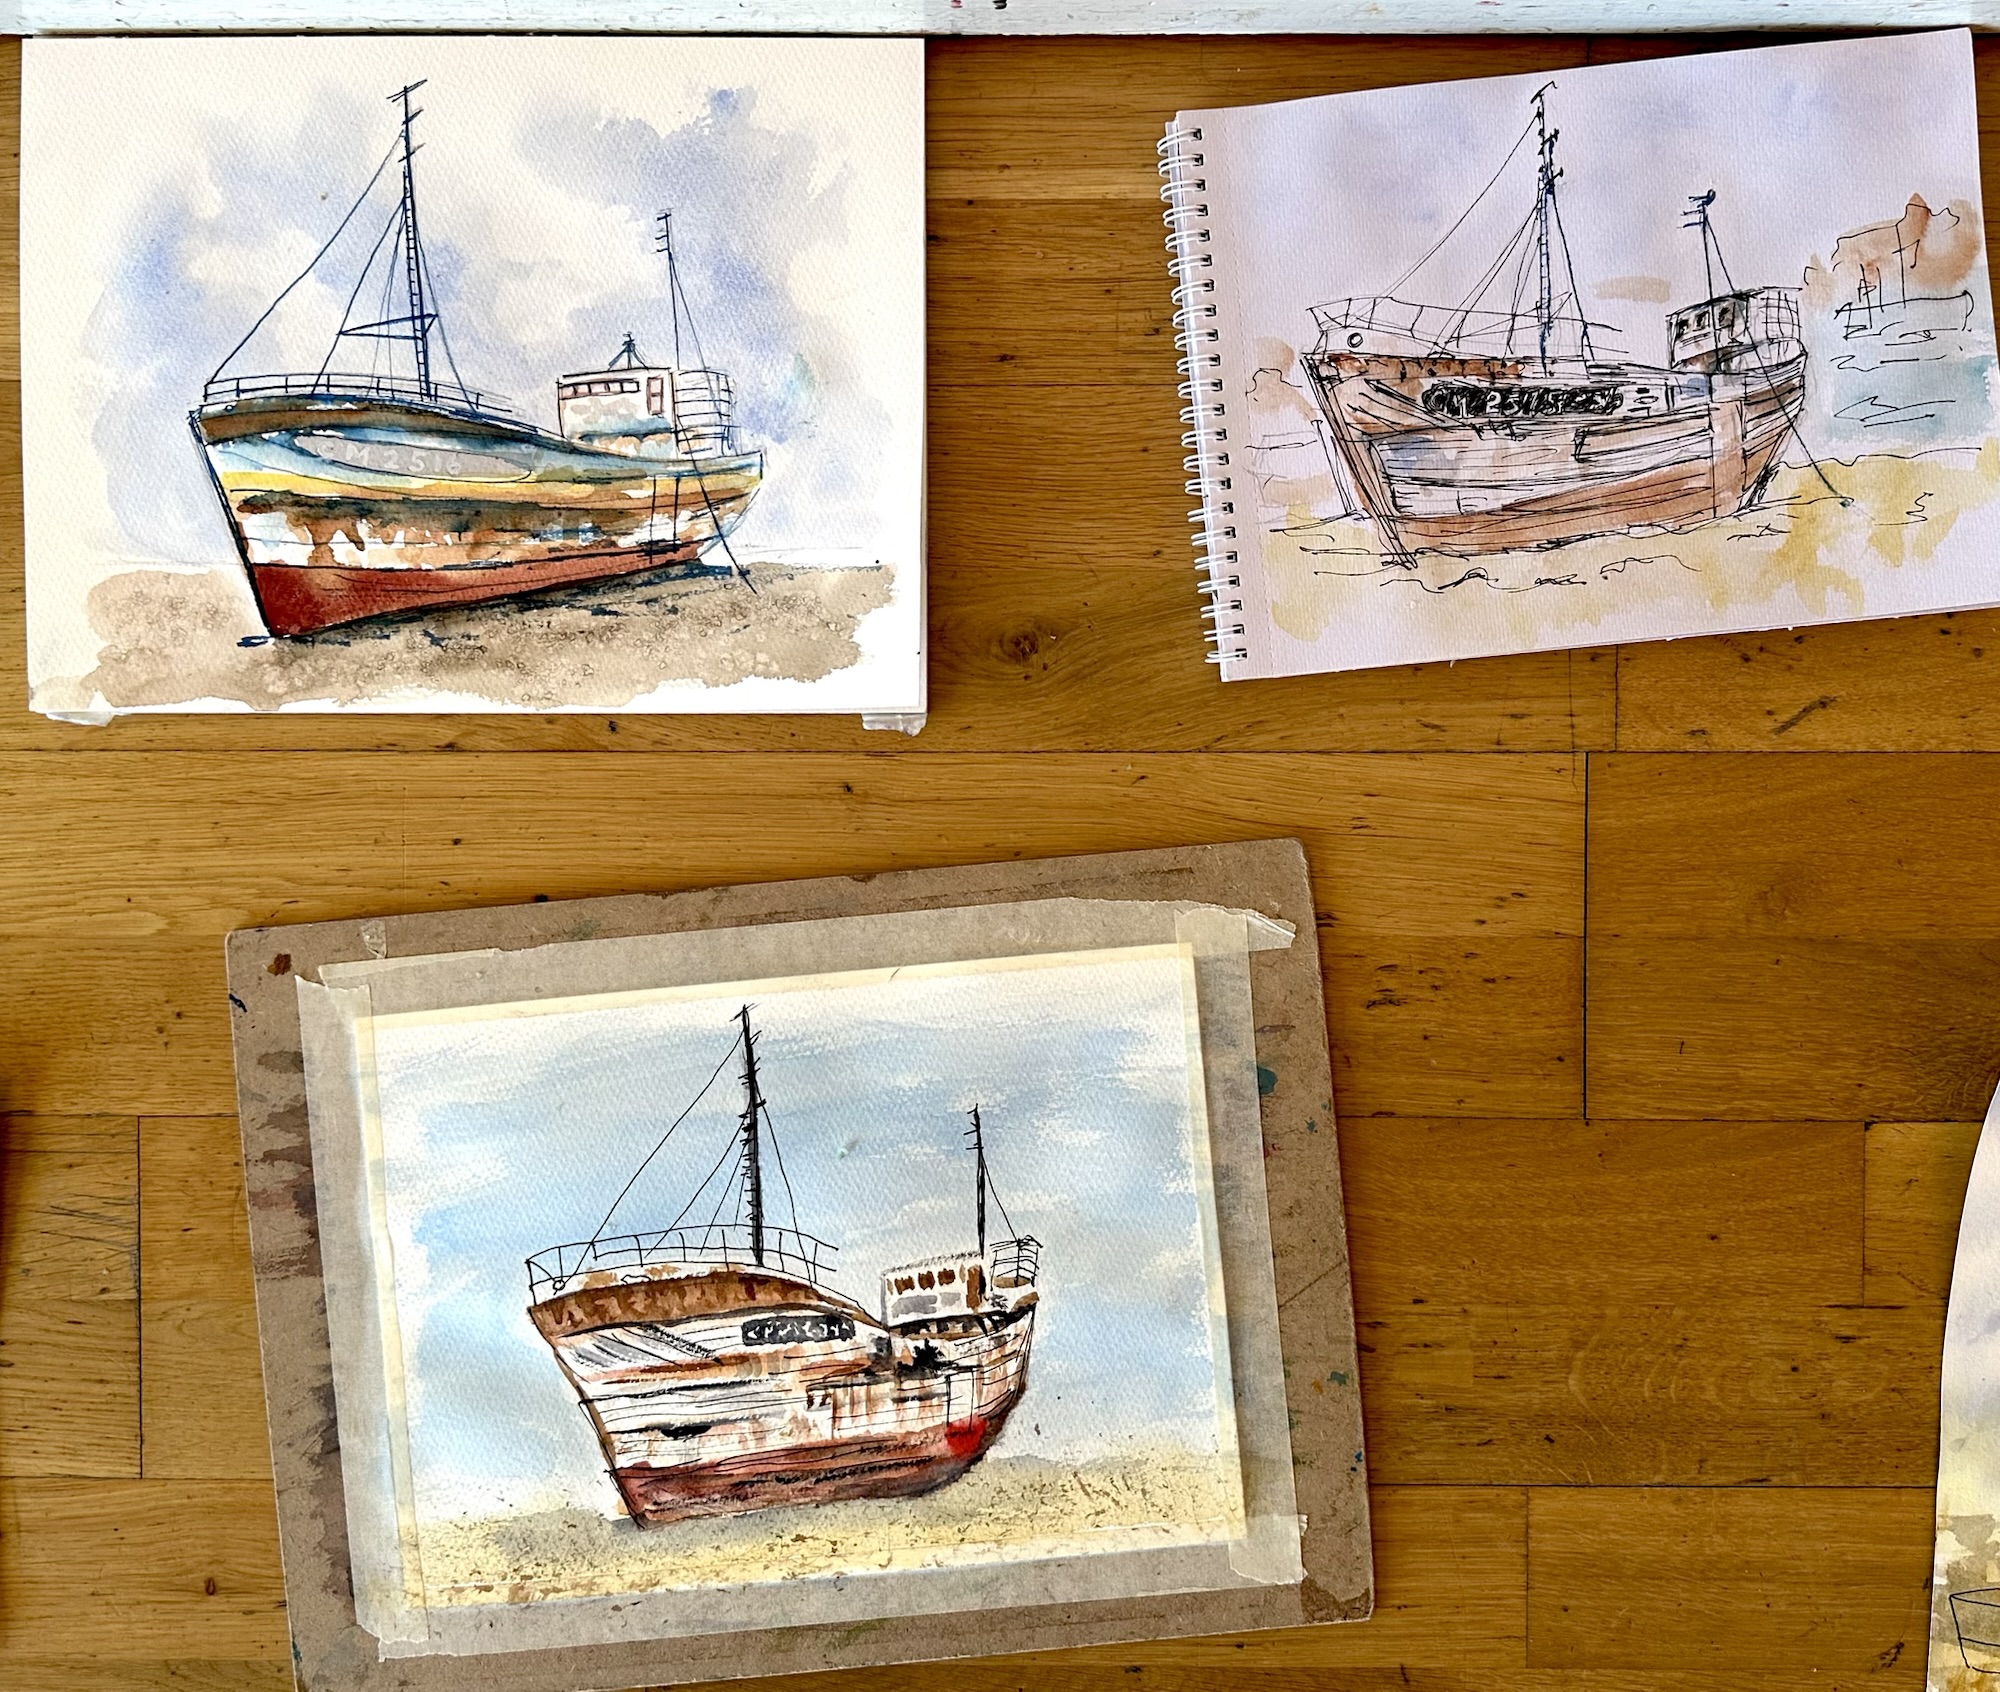
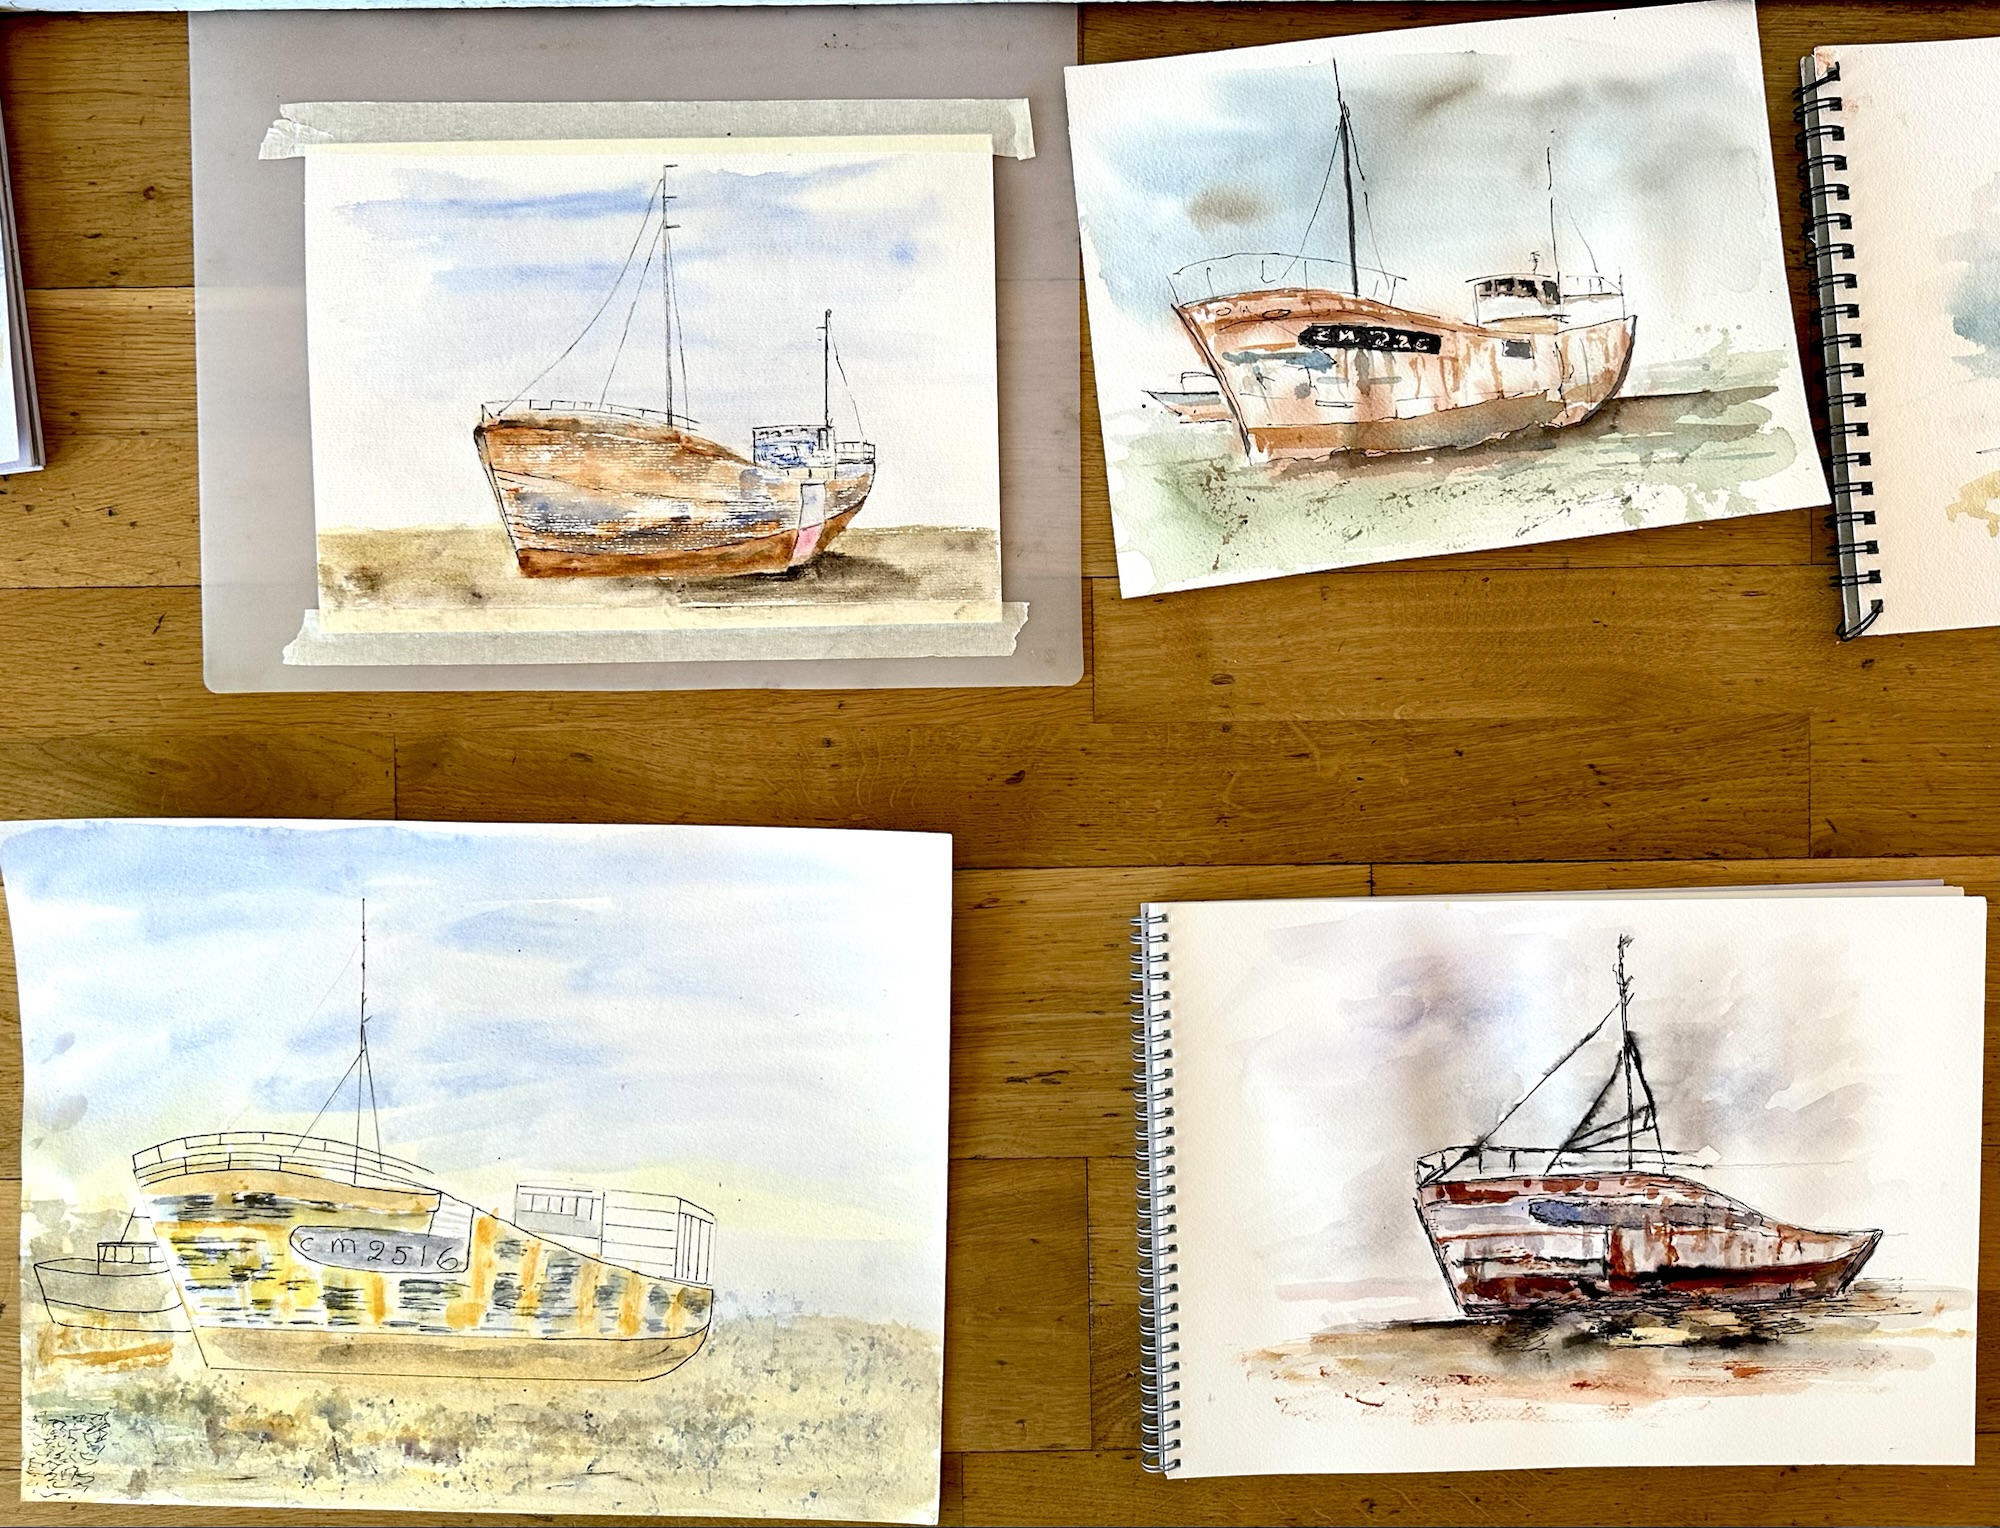
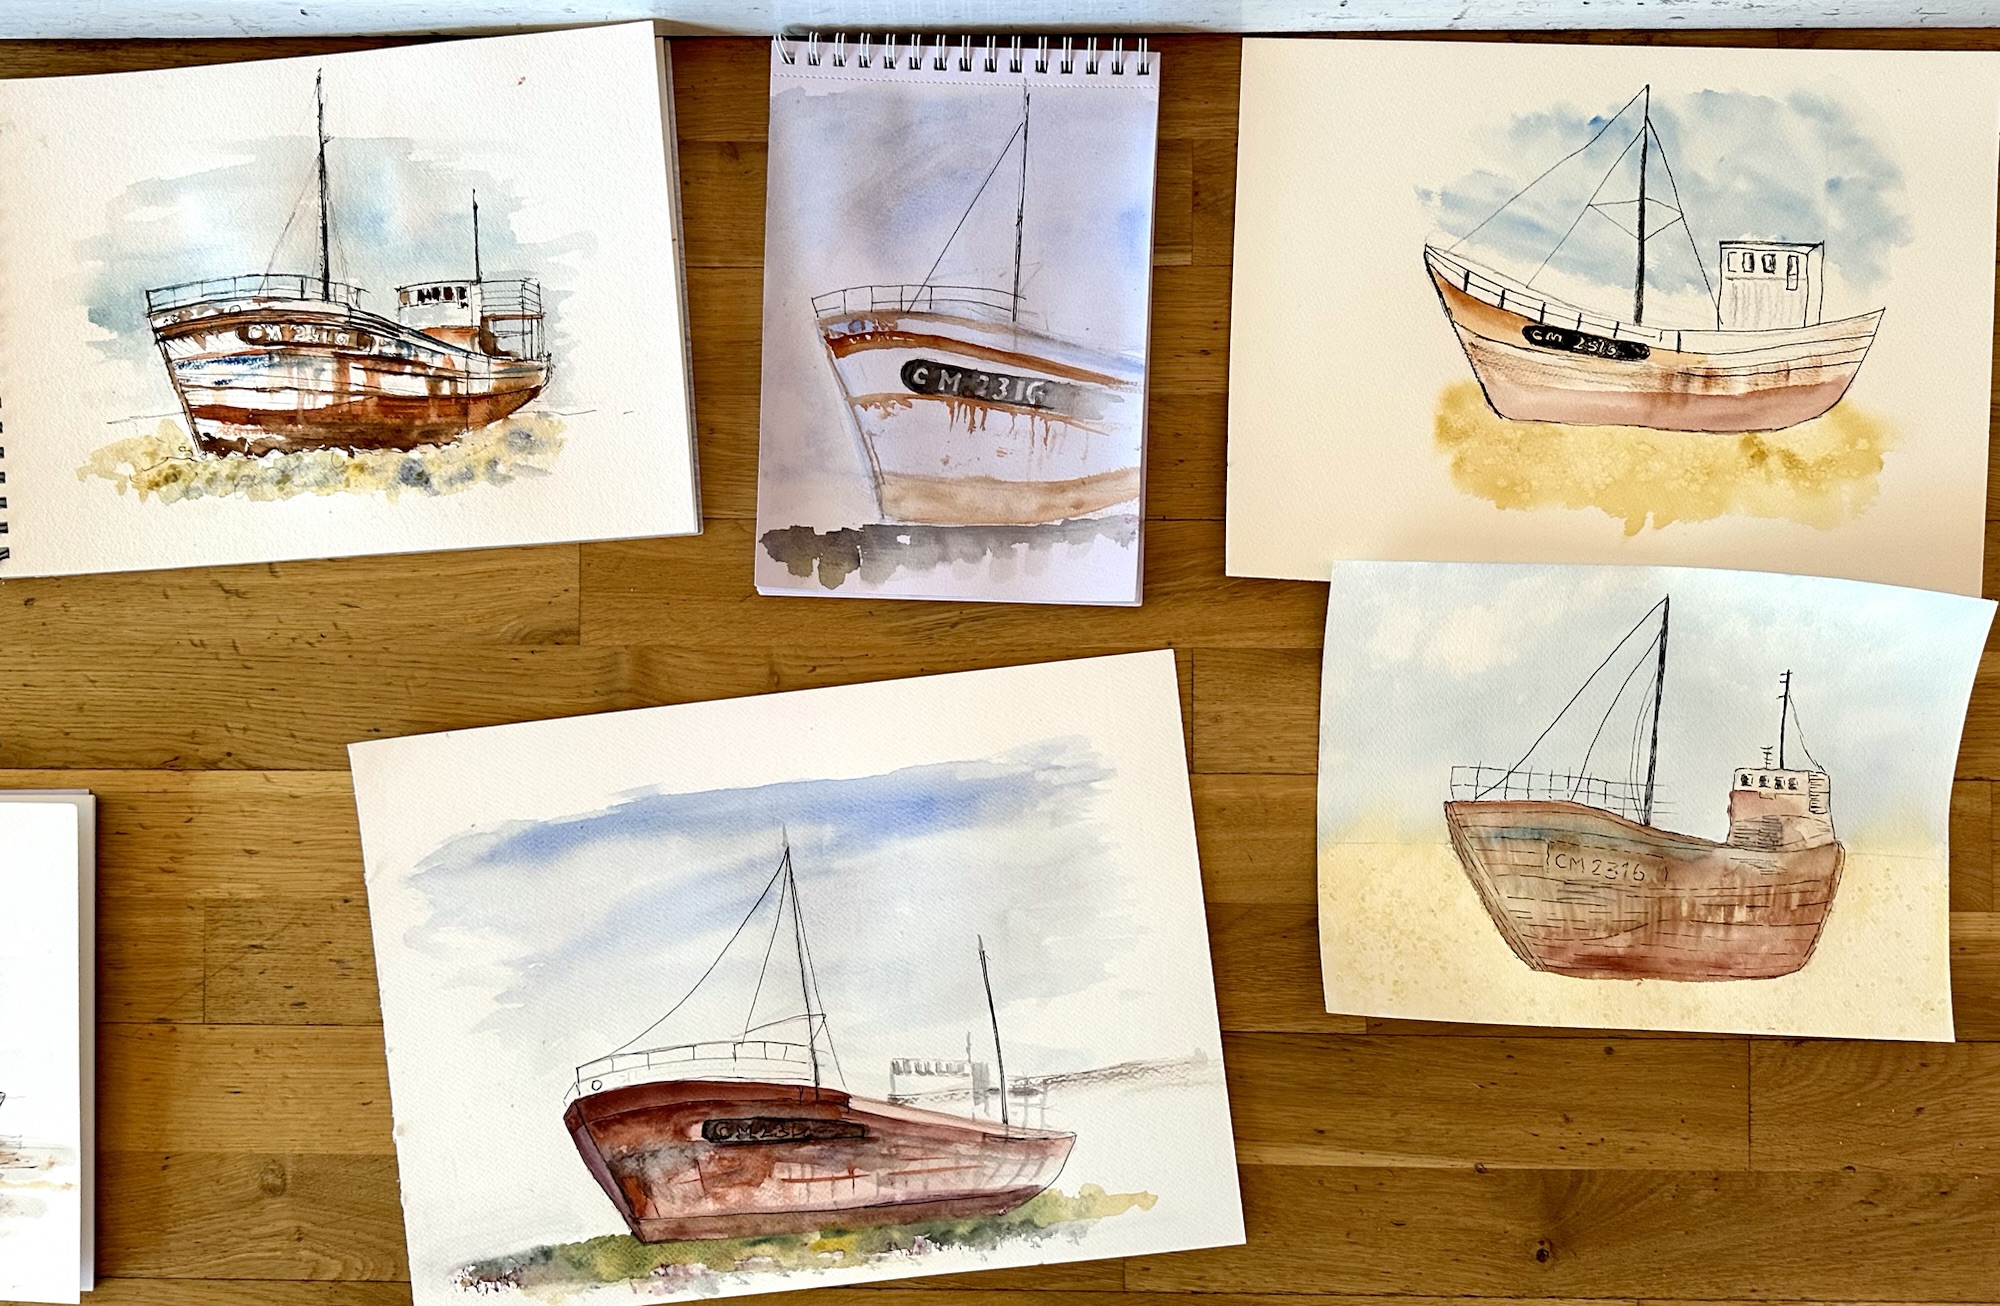
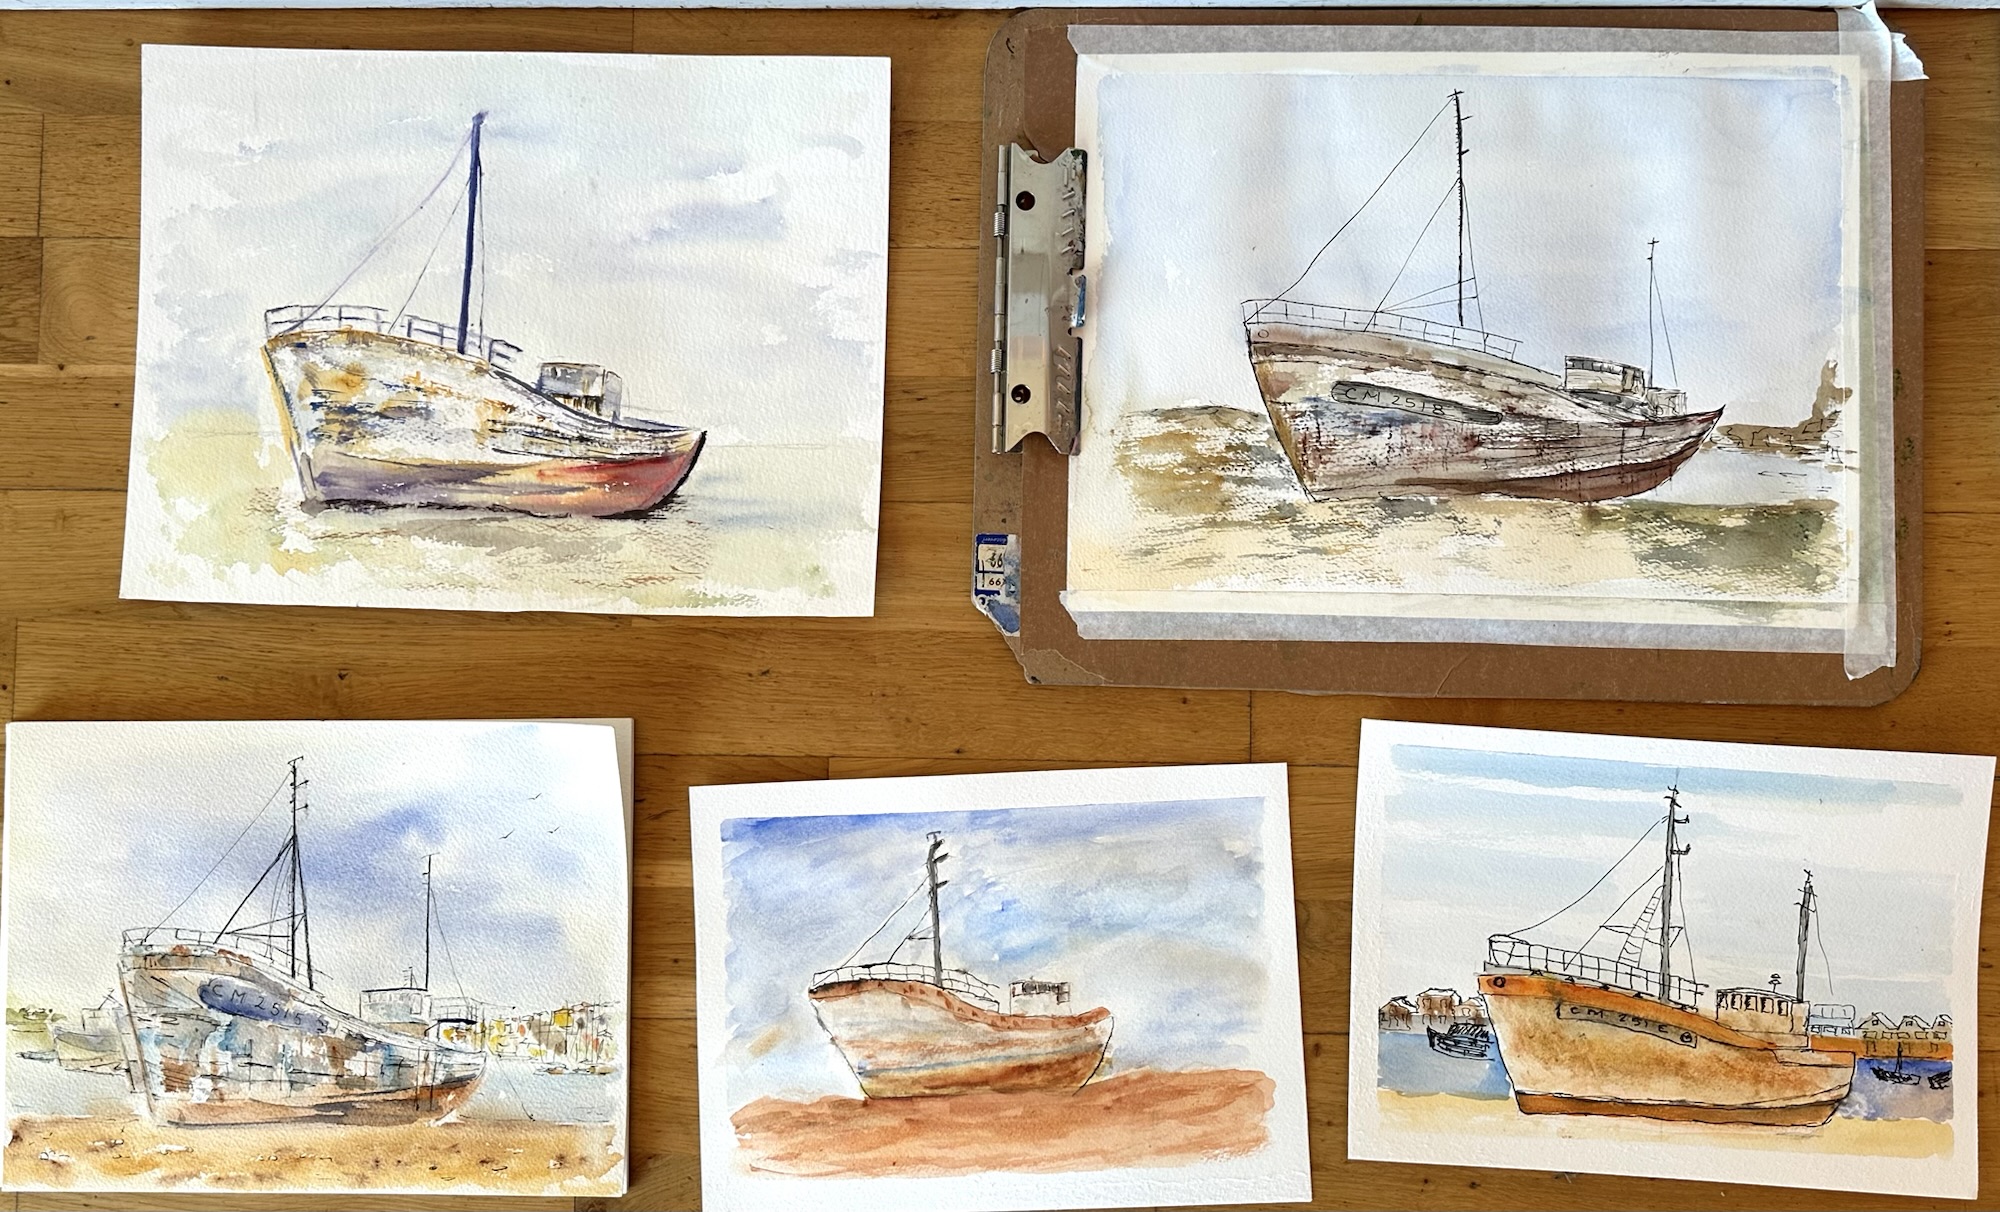
For the last painting we had a reference photo of a fishing boat. We loosely drew the shape of the boat and used watercolours for the sky, land and boat, emphasising the rusty areas. When the painting was dry we used Quink ink or a black pen to outline the boat and pick out areas of interest.

The first photo is the reference picture, then Victoria’s painting, then ours.

We all really enjoyed the workshop, learning about and trying different types of ink, using cocktail sticks with Quink, drawing with a pen and taking home four paintings. Thank you, Victoria, for a tiring but inspiring day!

Look out for the next newsletter on 1st May and our next session is on Wednesday 13th May from 7-9pm.

Graham’s dictionary page experiment

Graham chose several pages from the dictionary to paint on, but before he starts he tried painting on a spare dictionary page to experiment with how much water to use with watercolour and gouache paints and he tried using a pen too. His process is really interesting and is useful to everyone who has painted a dictionary page or who wants to paint one, especially his technique of mounting the page on scrap board to start with. The dictionary will be brought to future sessions in case anyone wants to paint more pages.

In Graham’s own words and photographs…

“I was determined to test the Dictionary Page paper to see how much abuse it would take.  Firstly, I mounted it on some scrap board. This gave it rigidity. Then I drew on it, deliberately doing a fair bit of rubbing out and re-drawing.

For the background watercolour wash I adopted my usual procedure of wetting the paper, then putting in very faint wet washes, and as the paper dried, ever stronger and less wet washes.  The paper stood up to this exceedingly well. It might be interesting to see how the page reacts when fixed to watercolour paper.

When this was all dry, I tried painting the rear figure with equally wet into wet washes. This failed abysmally.  All the washes bled beyond where I had applied them, and they did not mix well.  When dry, to try to redefine the edges of the figure, I applied some white gouache tinted with the background colours.  

For the man with the umbrella I tried applying the watercolour with a 50/50 mix of water and gum arabic.  This thickened the paint and stopped it bleeding but left it looking very streaky and unsightly.

For the man on the bicycle I mixed all the colours in the palette and applied them with a fairly dry brush, often taking most of the wet paint out of the brush with a tissue.

Once all the paint was dry I applied fresh colour to several of the washes on the other two figures.  These were similarly applied fairly dry paint.  The paler colours were again mixed with gouache so that under washes would be covered.

Finally, I did some ink drawing .. I’m not sure how successful that was.

This was all very experimental.  Glueing the paper down was certainly a good idea for me, and I will continue to do so when using a wet medium.  I was surprised how well the paper stood up to the original wet washes and to the number of layers of paint I could apply to the figures.  I used watercolour throughout. 

The lesson I learned was to apply it in a “dry brush” fashion.  Although I suspect Gouache and acrylic paints may well work better on this sort of paper I shall continue to experiment using watercolour.

Happy Experimenting and Painting 

Graham”

Thank you very much, Graham. To read your process from start to finish was very helpful and having the photos too made each stage easy to follow. Many of us have found that a dryer application of paint is the way forward and once one page is painted we want to paint several more!