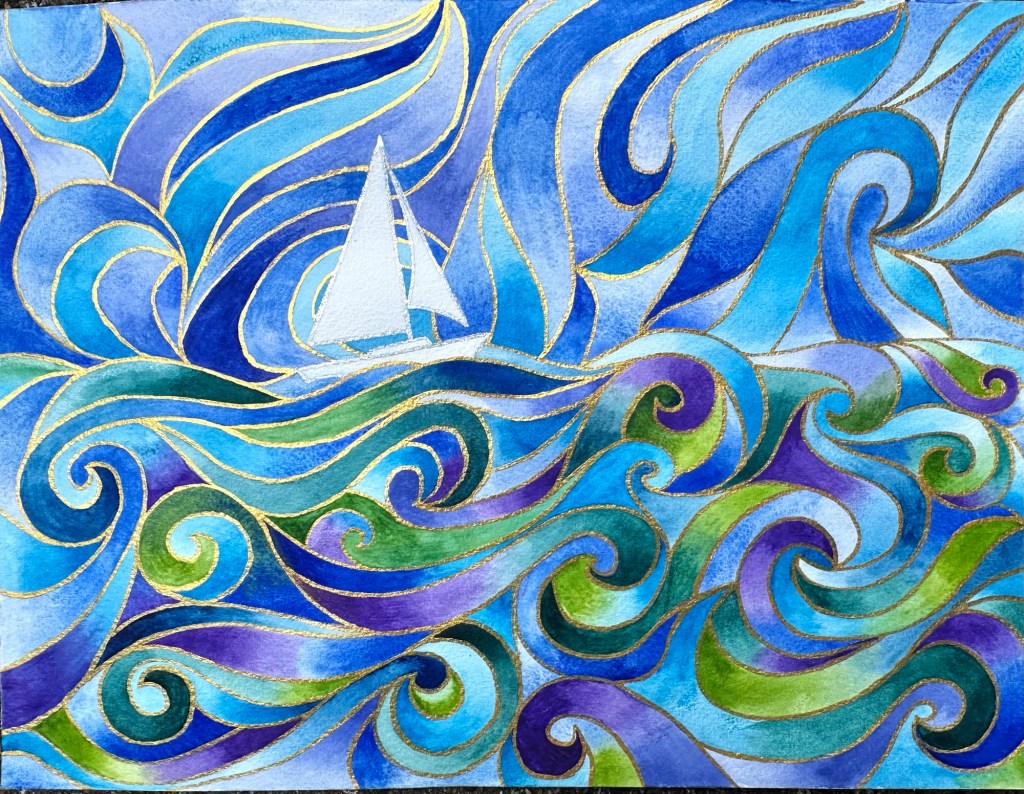
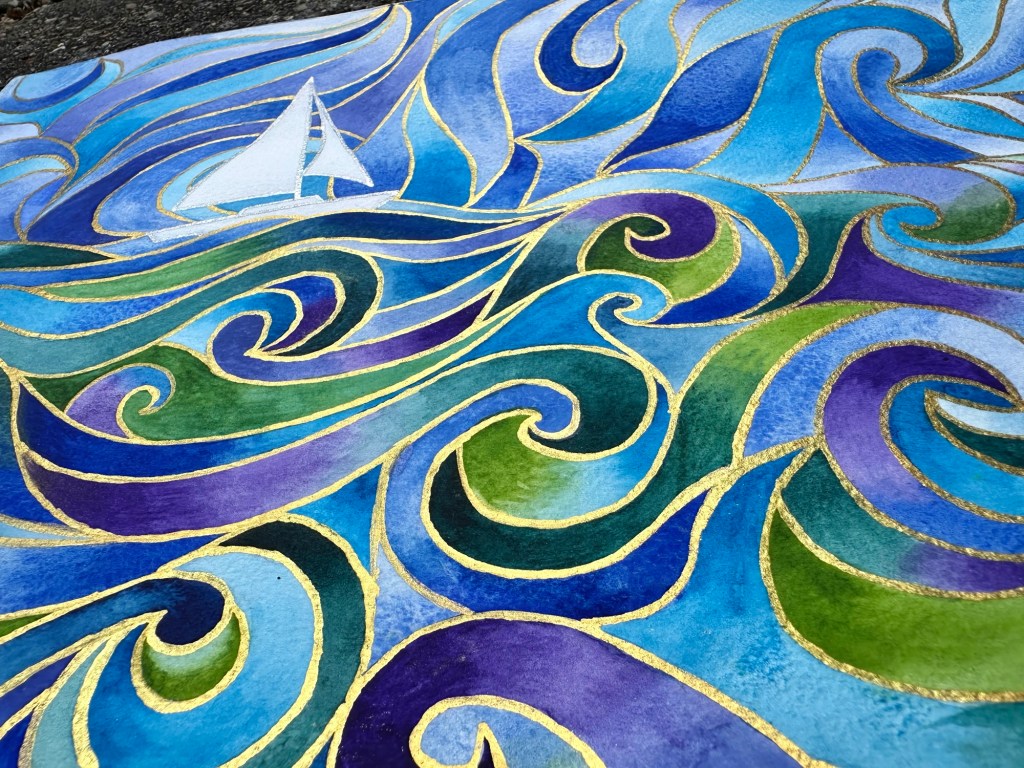
Tracy saw a handmade ceramic plate online of a boat and colourful, curving waves. She painted something similar using watercolours in many shades of blue, green and purple, then outlined all the shapes in gold watercolour paint. The boat’s hull is currently white but she might paint it orange or red or maybe vermillion, as the colour in between the two. Decisions, decisions!
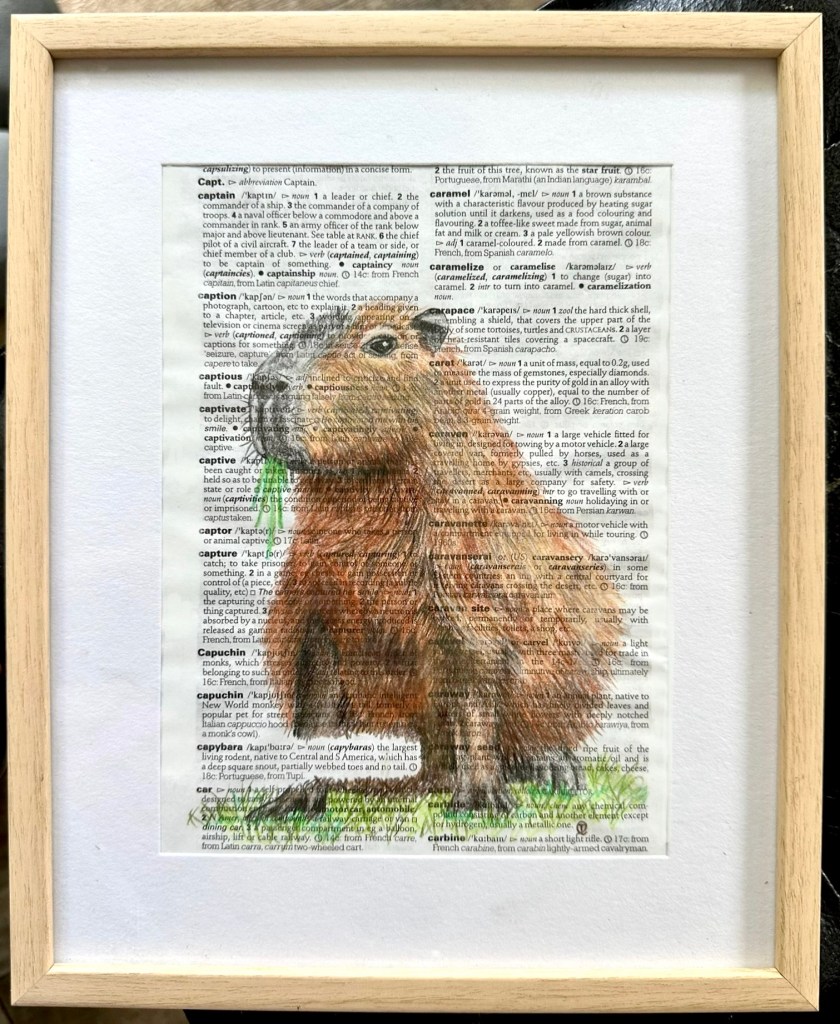
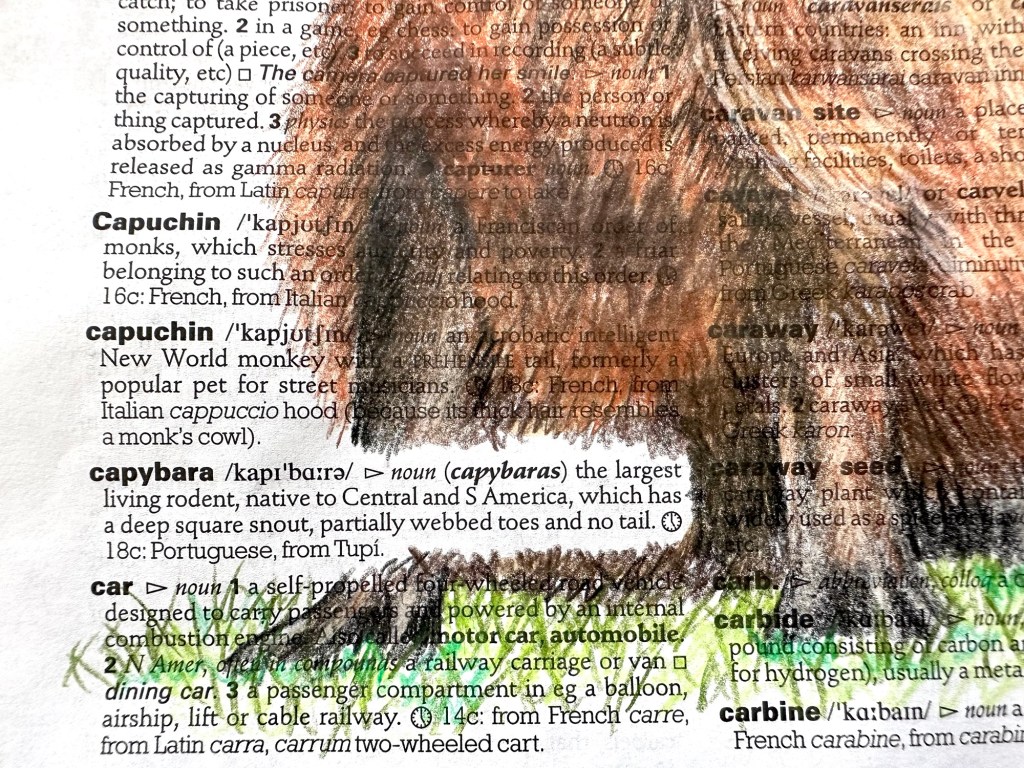
Last year we had a session on drawing and painting on printed paper, including dictionary pages. One of Tracy’s daughters loves capybaras so that page in the dictionary was cut out and finally used this year. Tracy used coloured pencils and very dry watercolours for the capybara and left the dictionary entry of capybara free of colour. Once framed the page was given as a present.
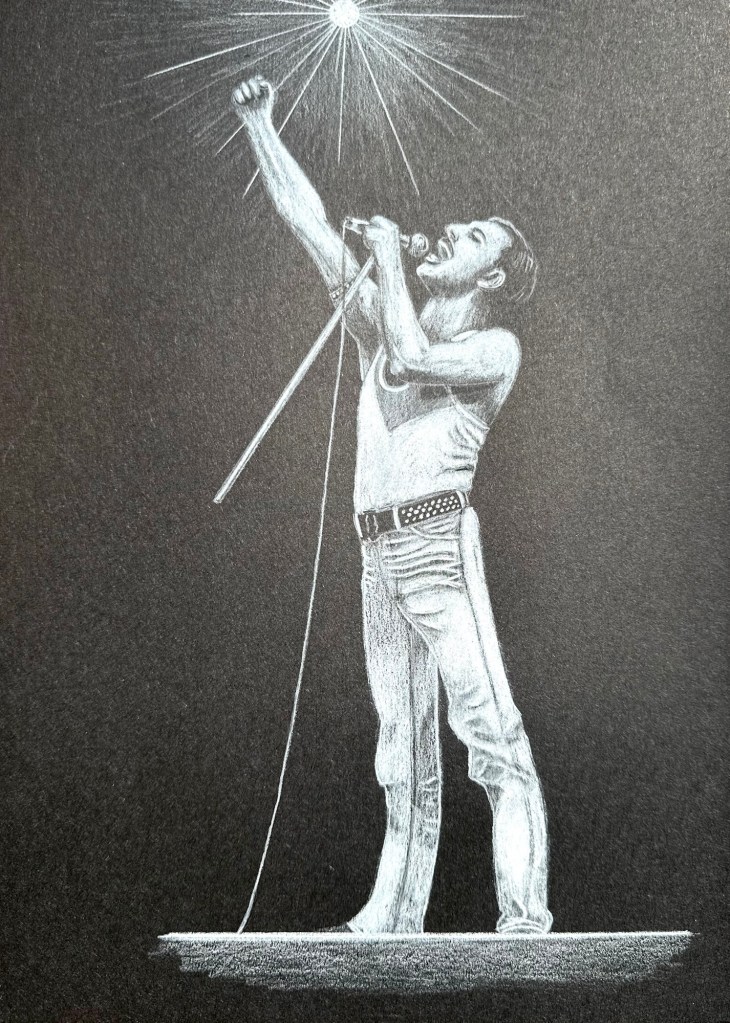
For the last Wednesday session the theme was the Live Aid concert of 1985. Tracy drew Freddie Mercury singing under a spotlight in white coloured pencil on black craft paper. She’s pleased as the effect is what she was aiming for.
If you complete pictures from previous sessions please send them to Tracy or Steve. We’d love to see them finished!
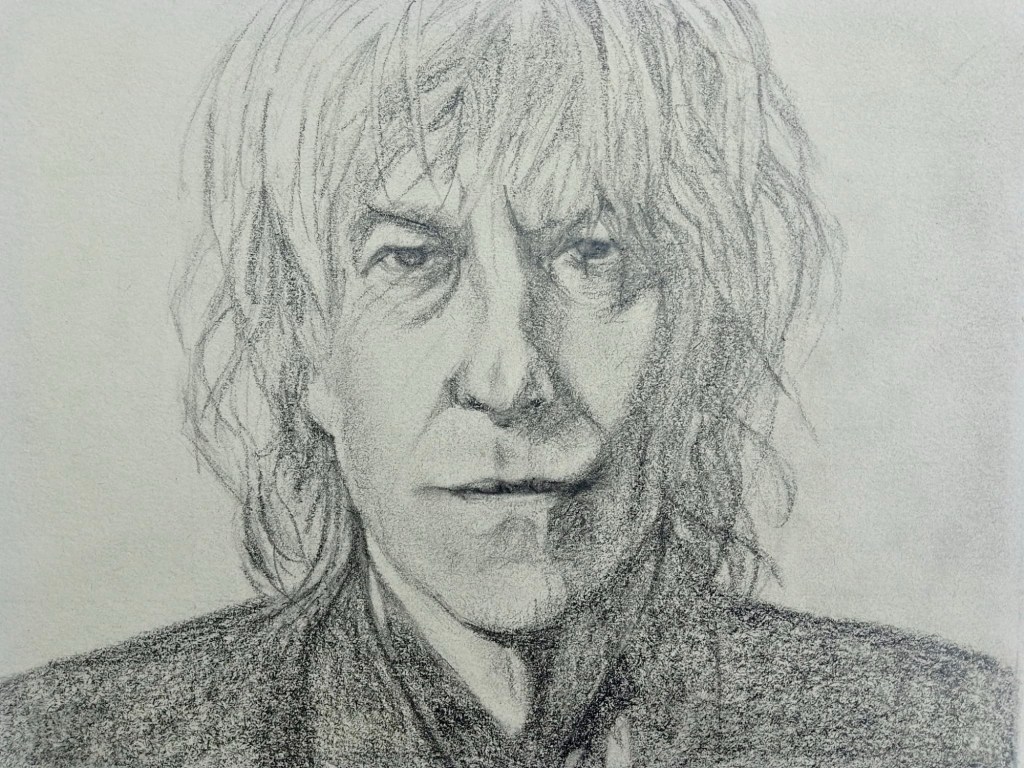
Angela drew Bob Geldof’s portrait for the recent Live Aid 1985 session and completed it at home. Beautifully drawn it captures Bob and his intense stare at the viewer. Good work, Angela!
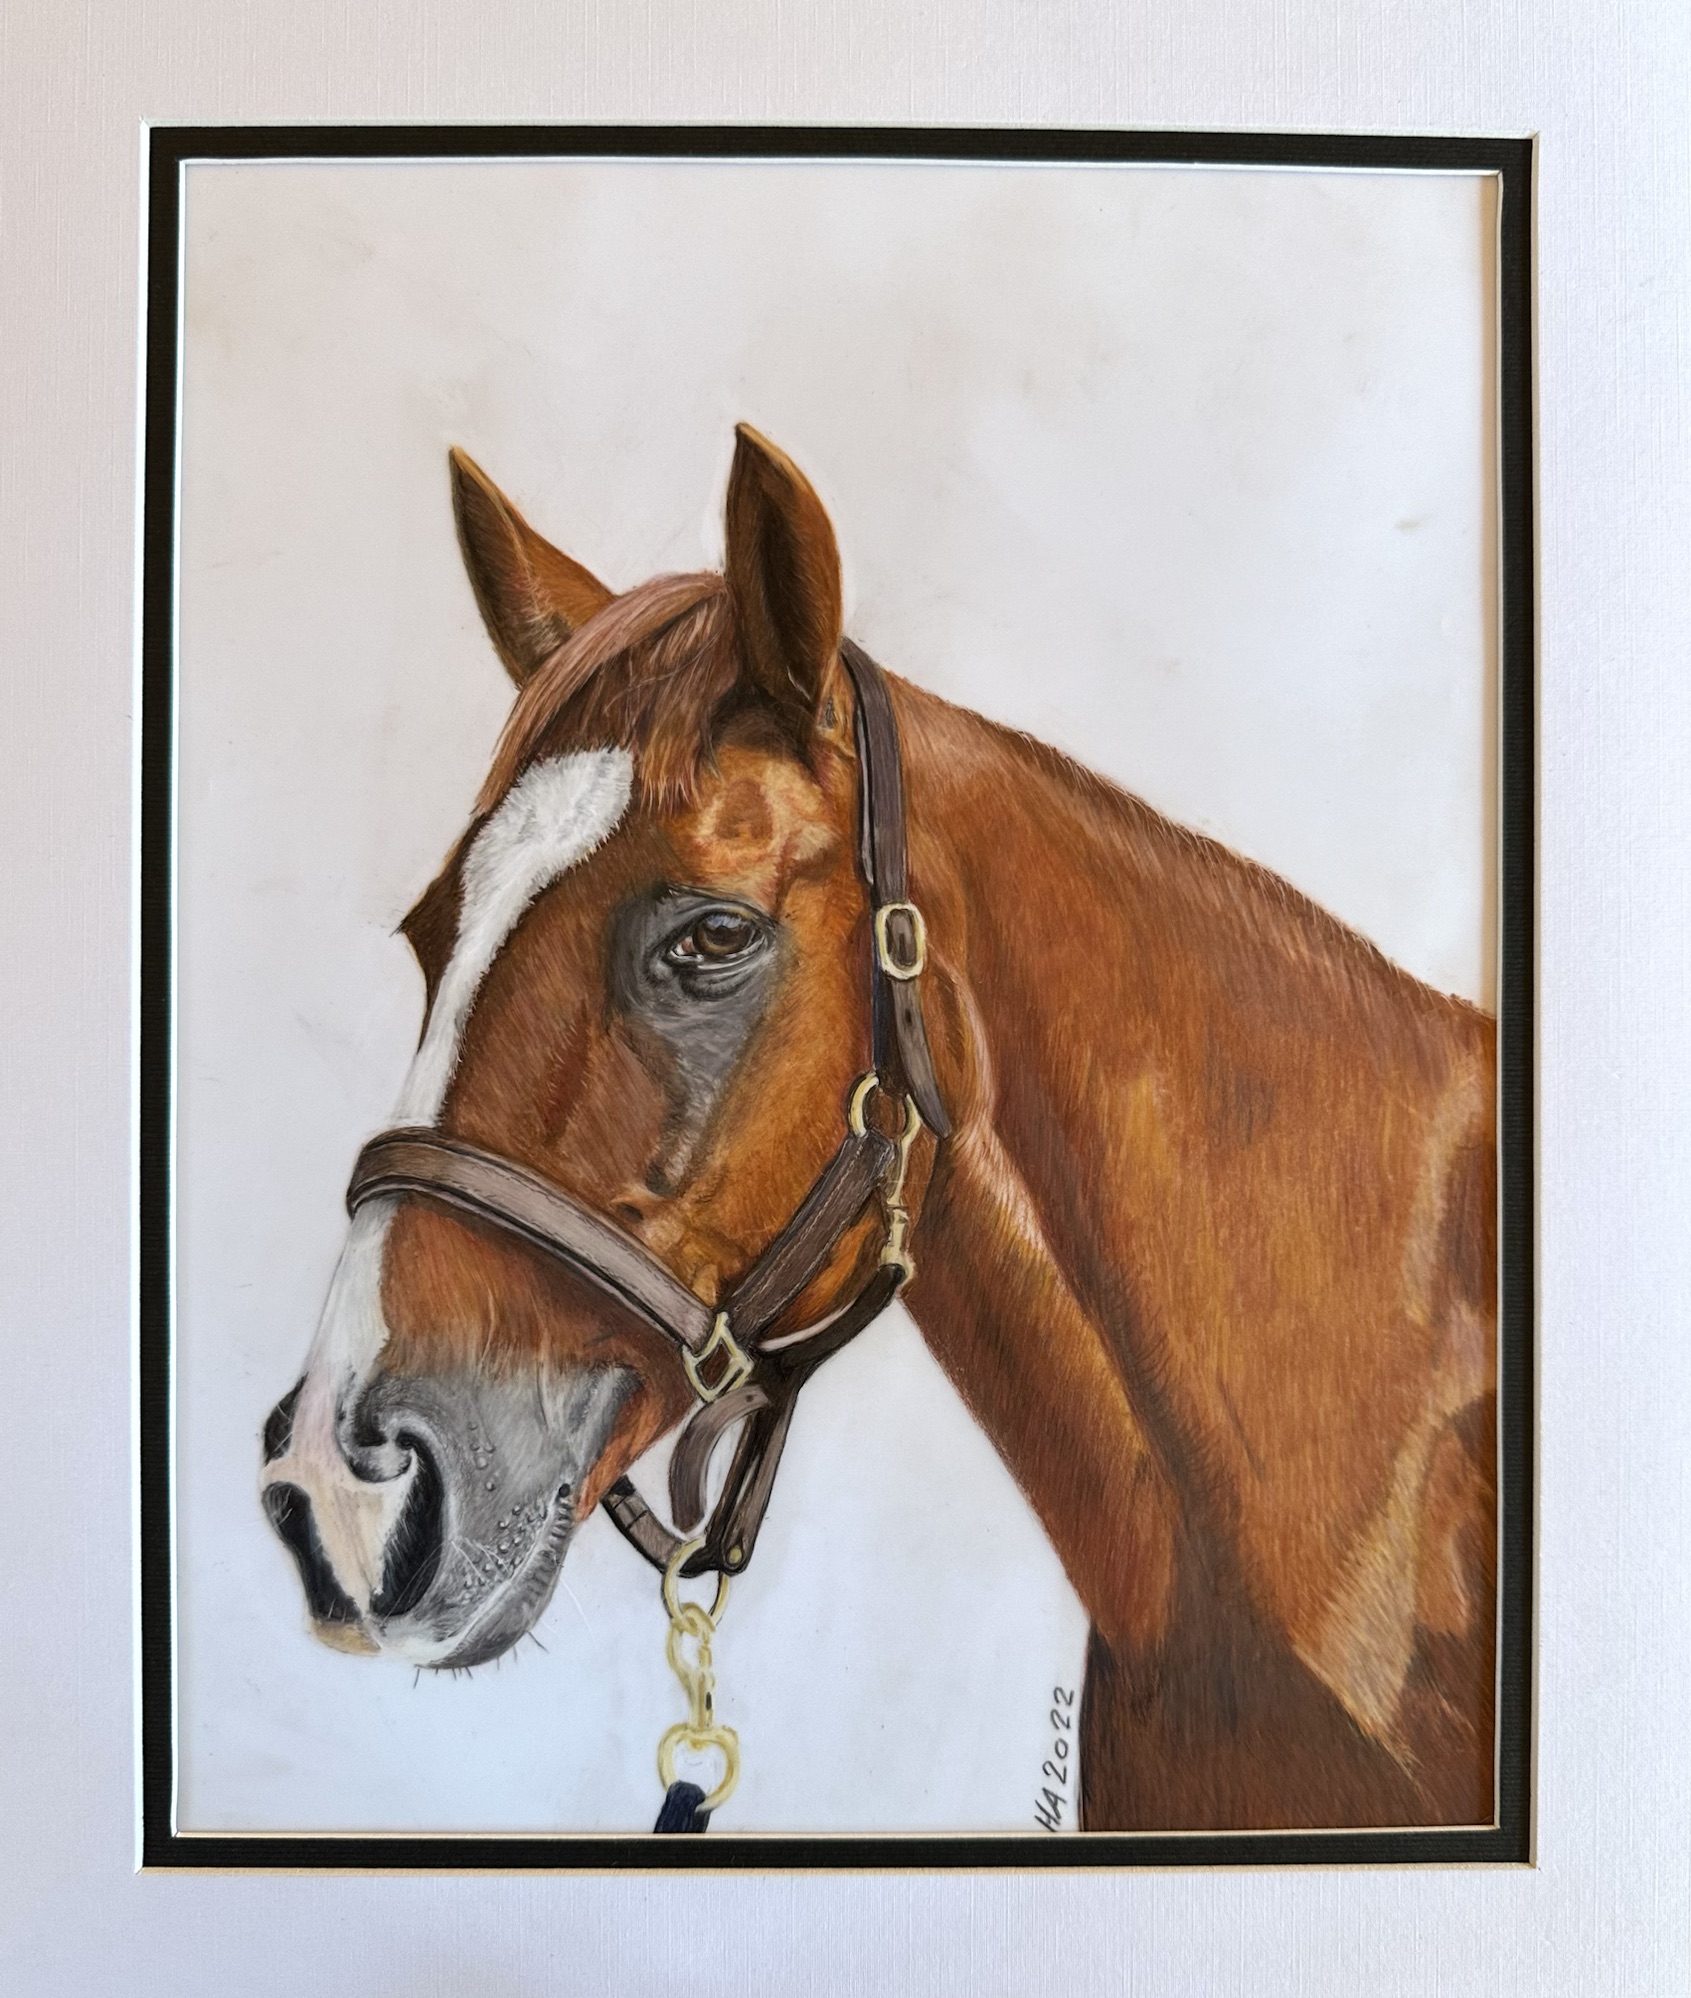
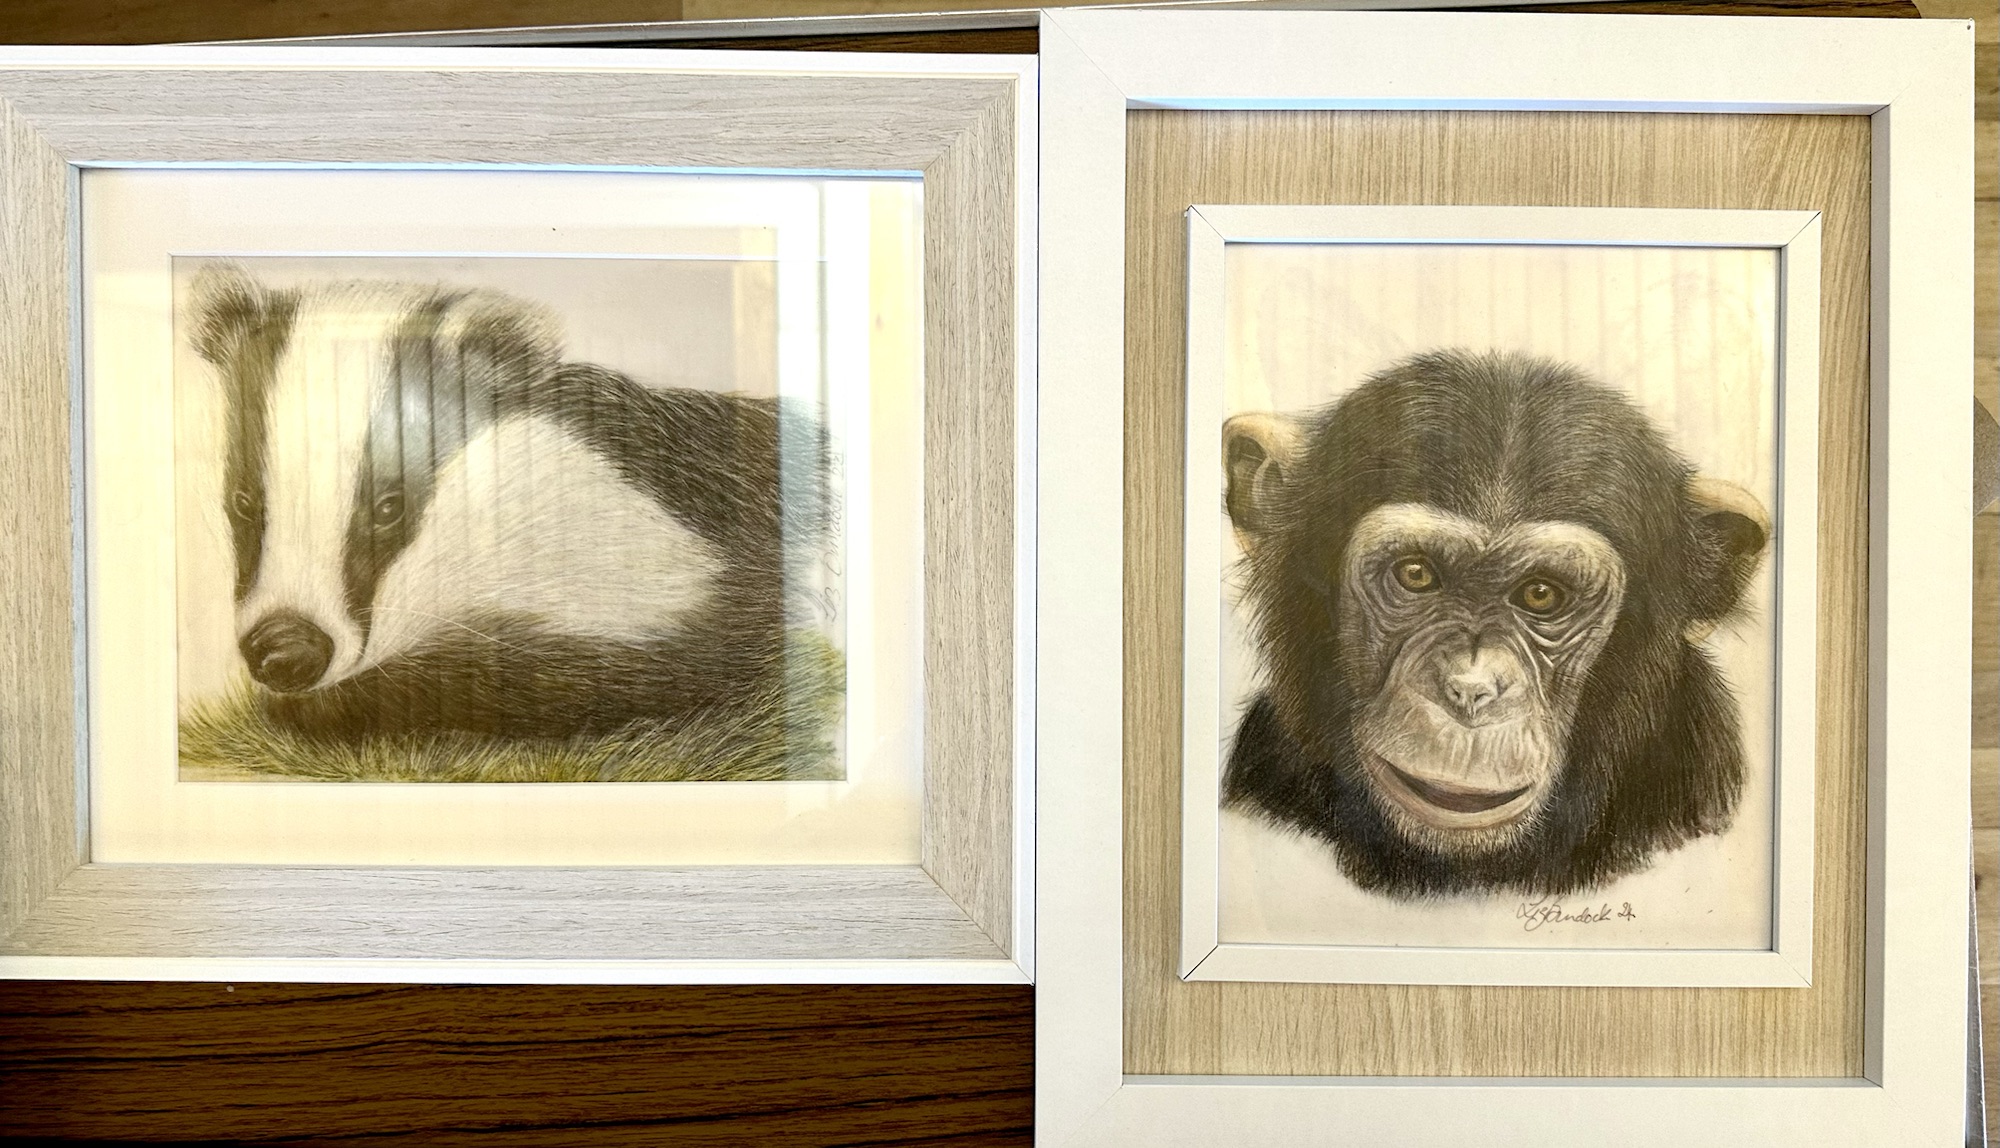
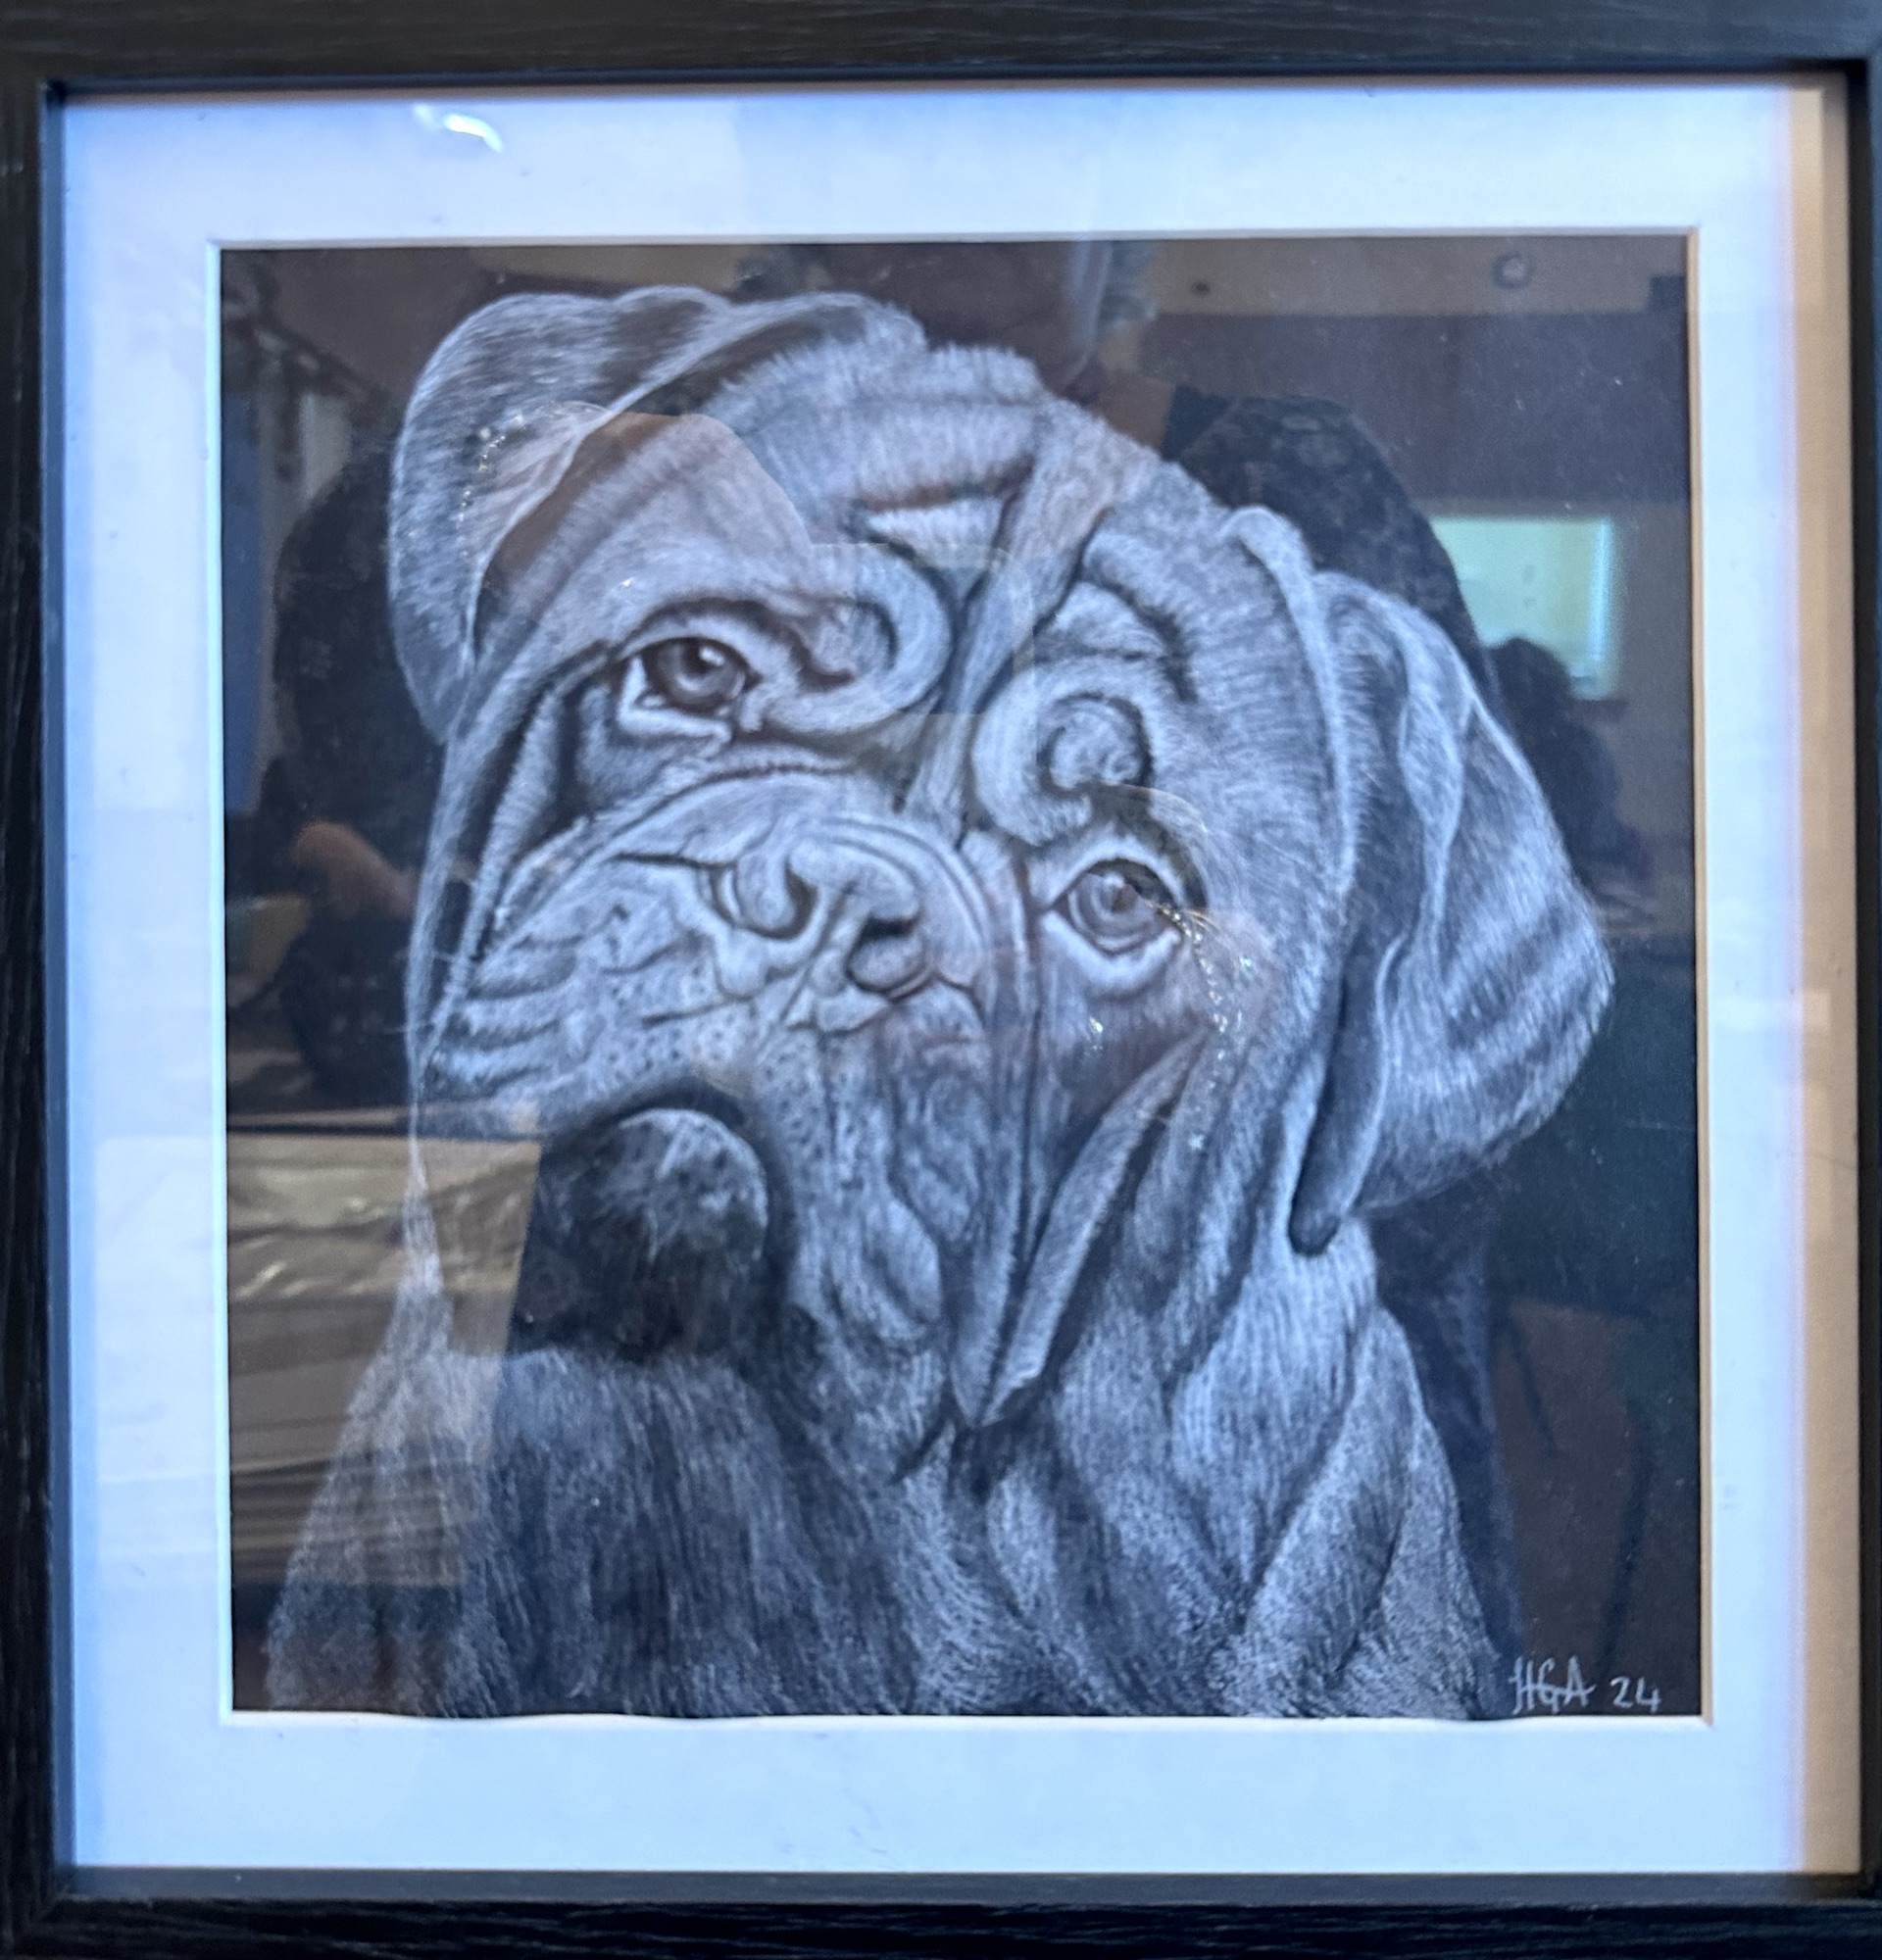
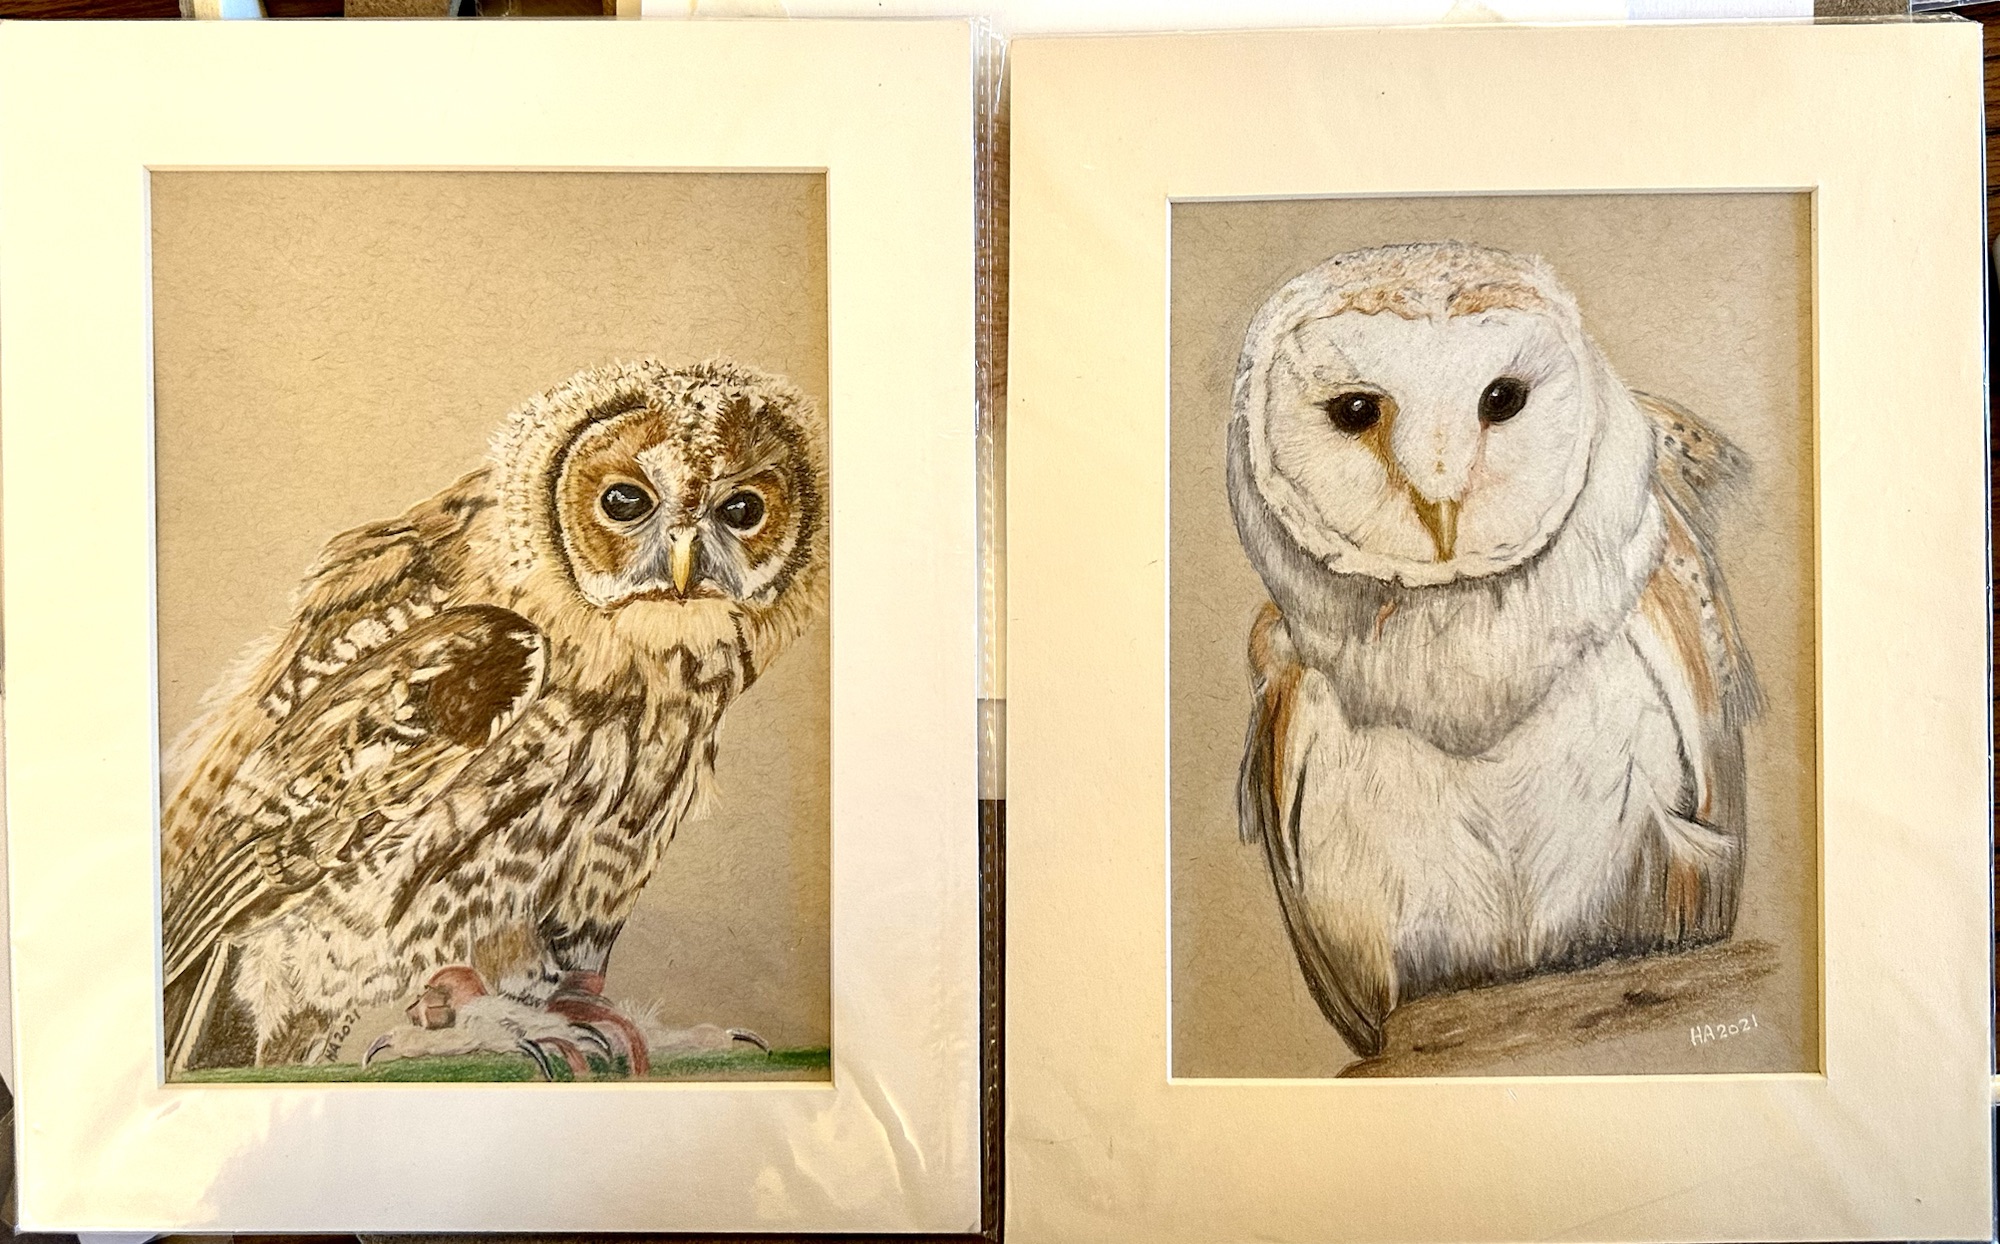
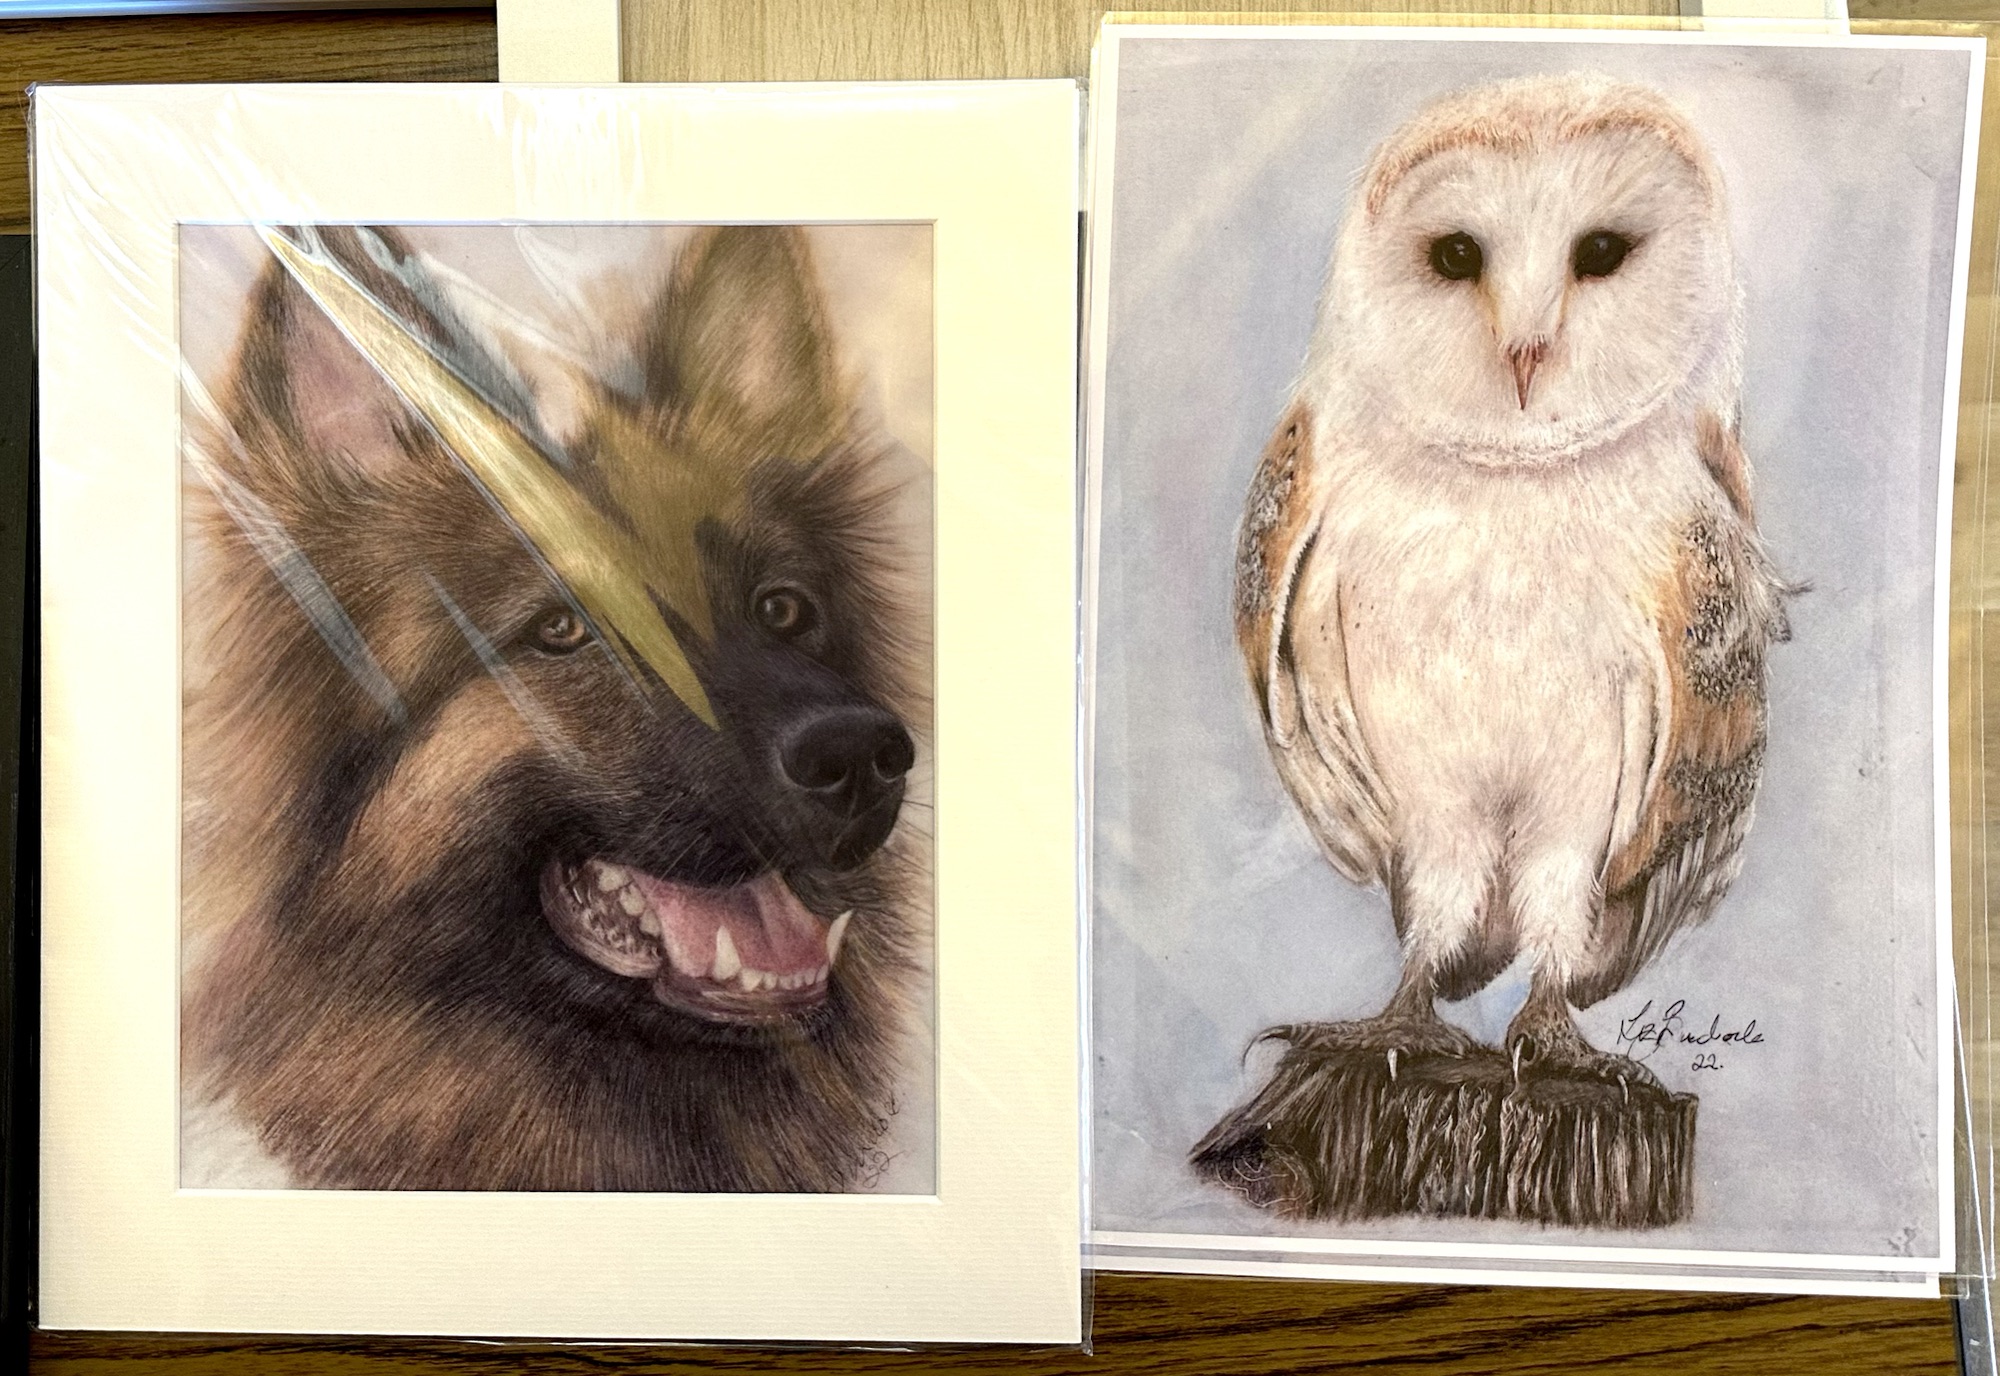
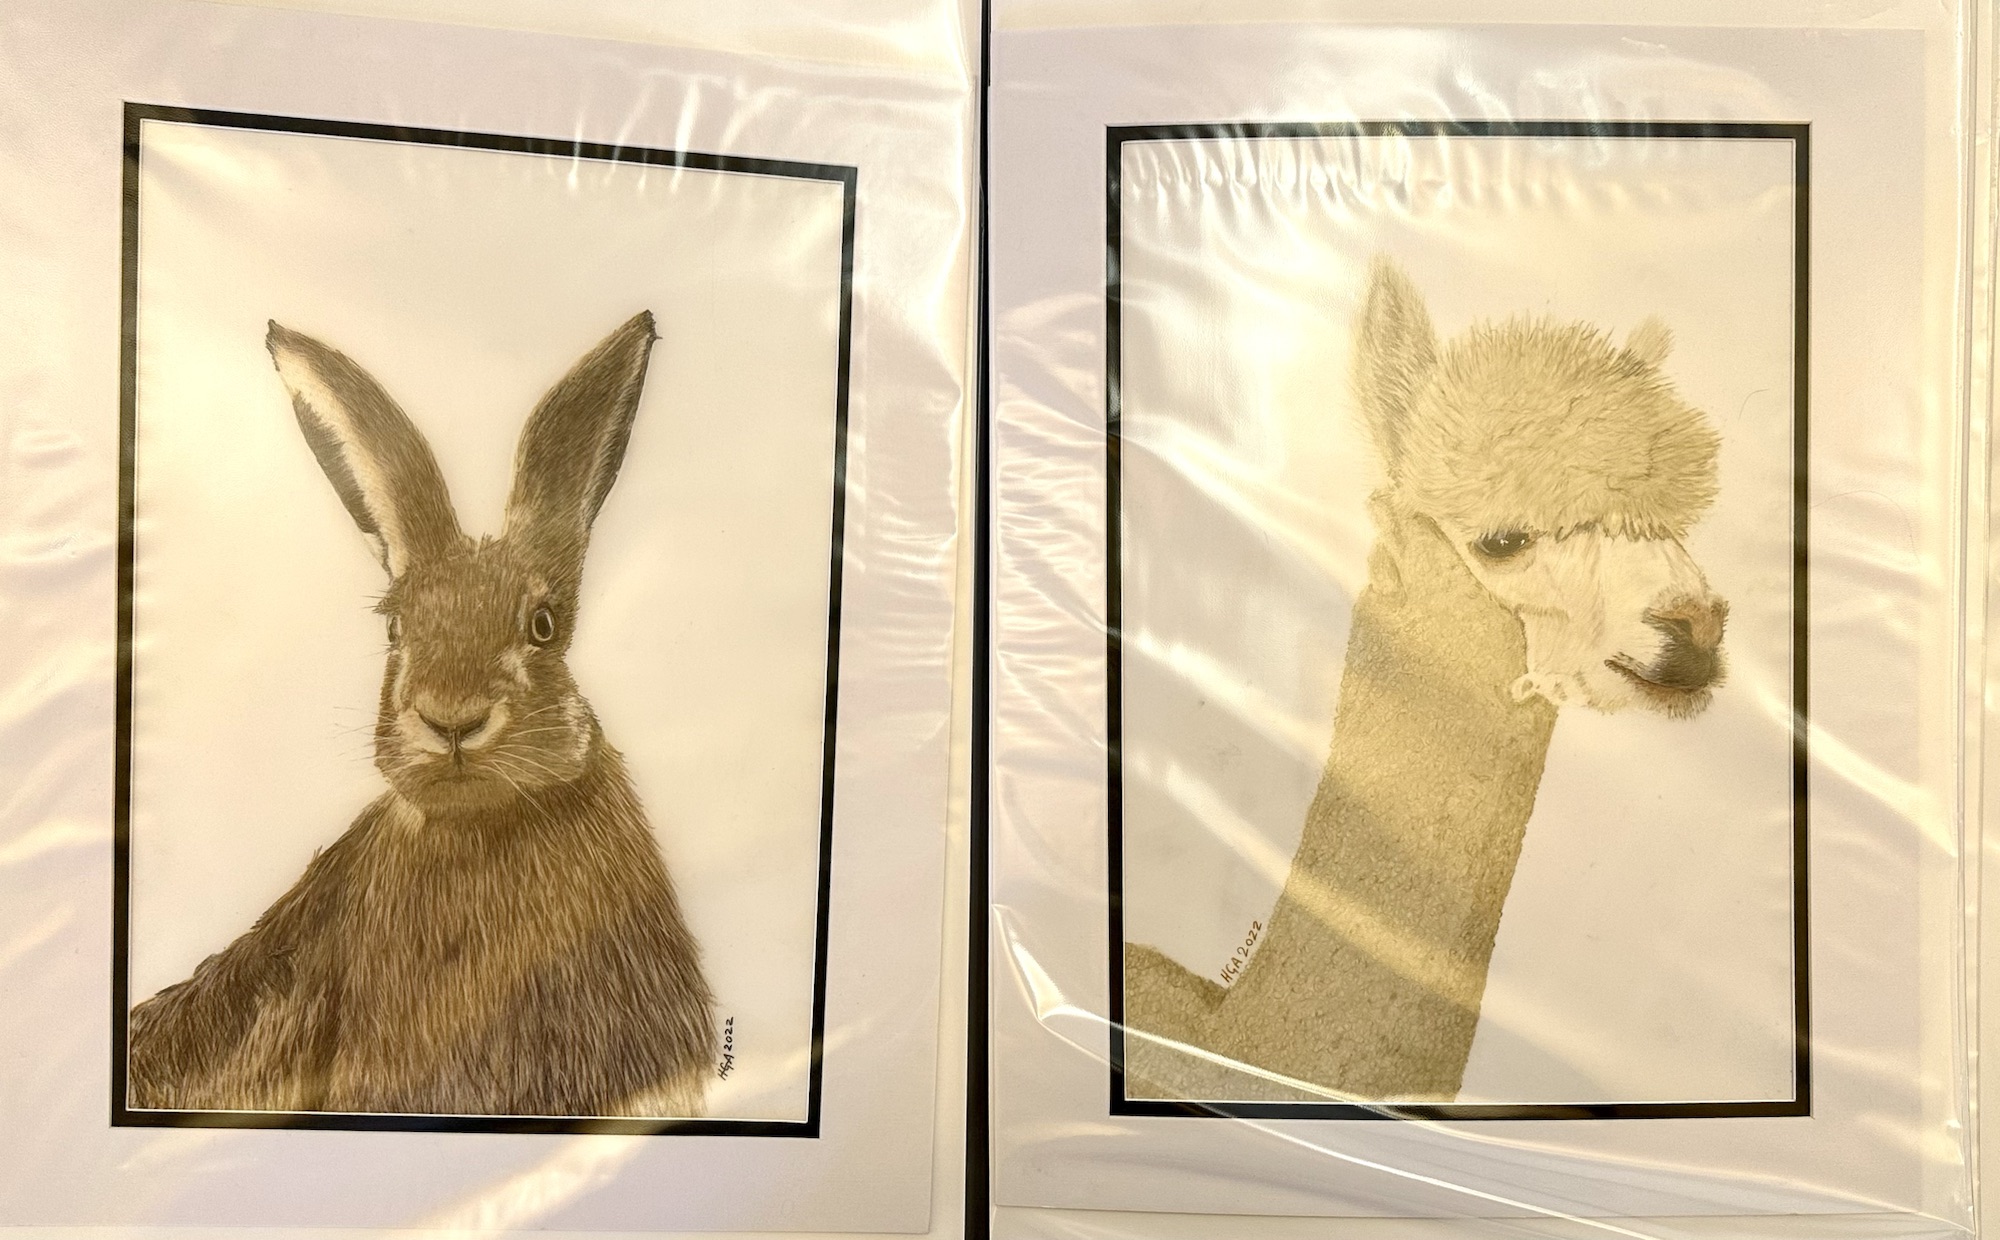
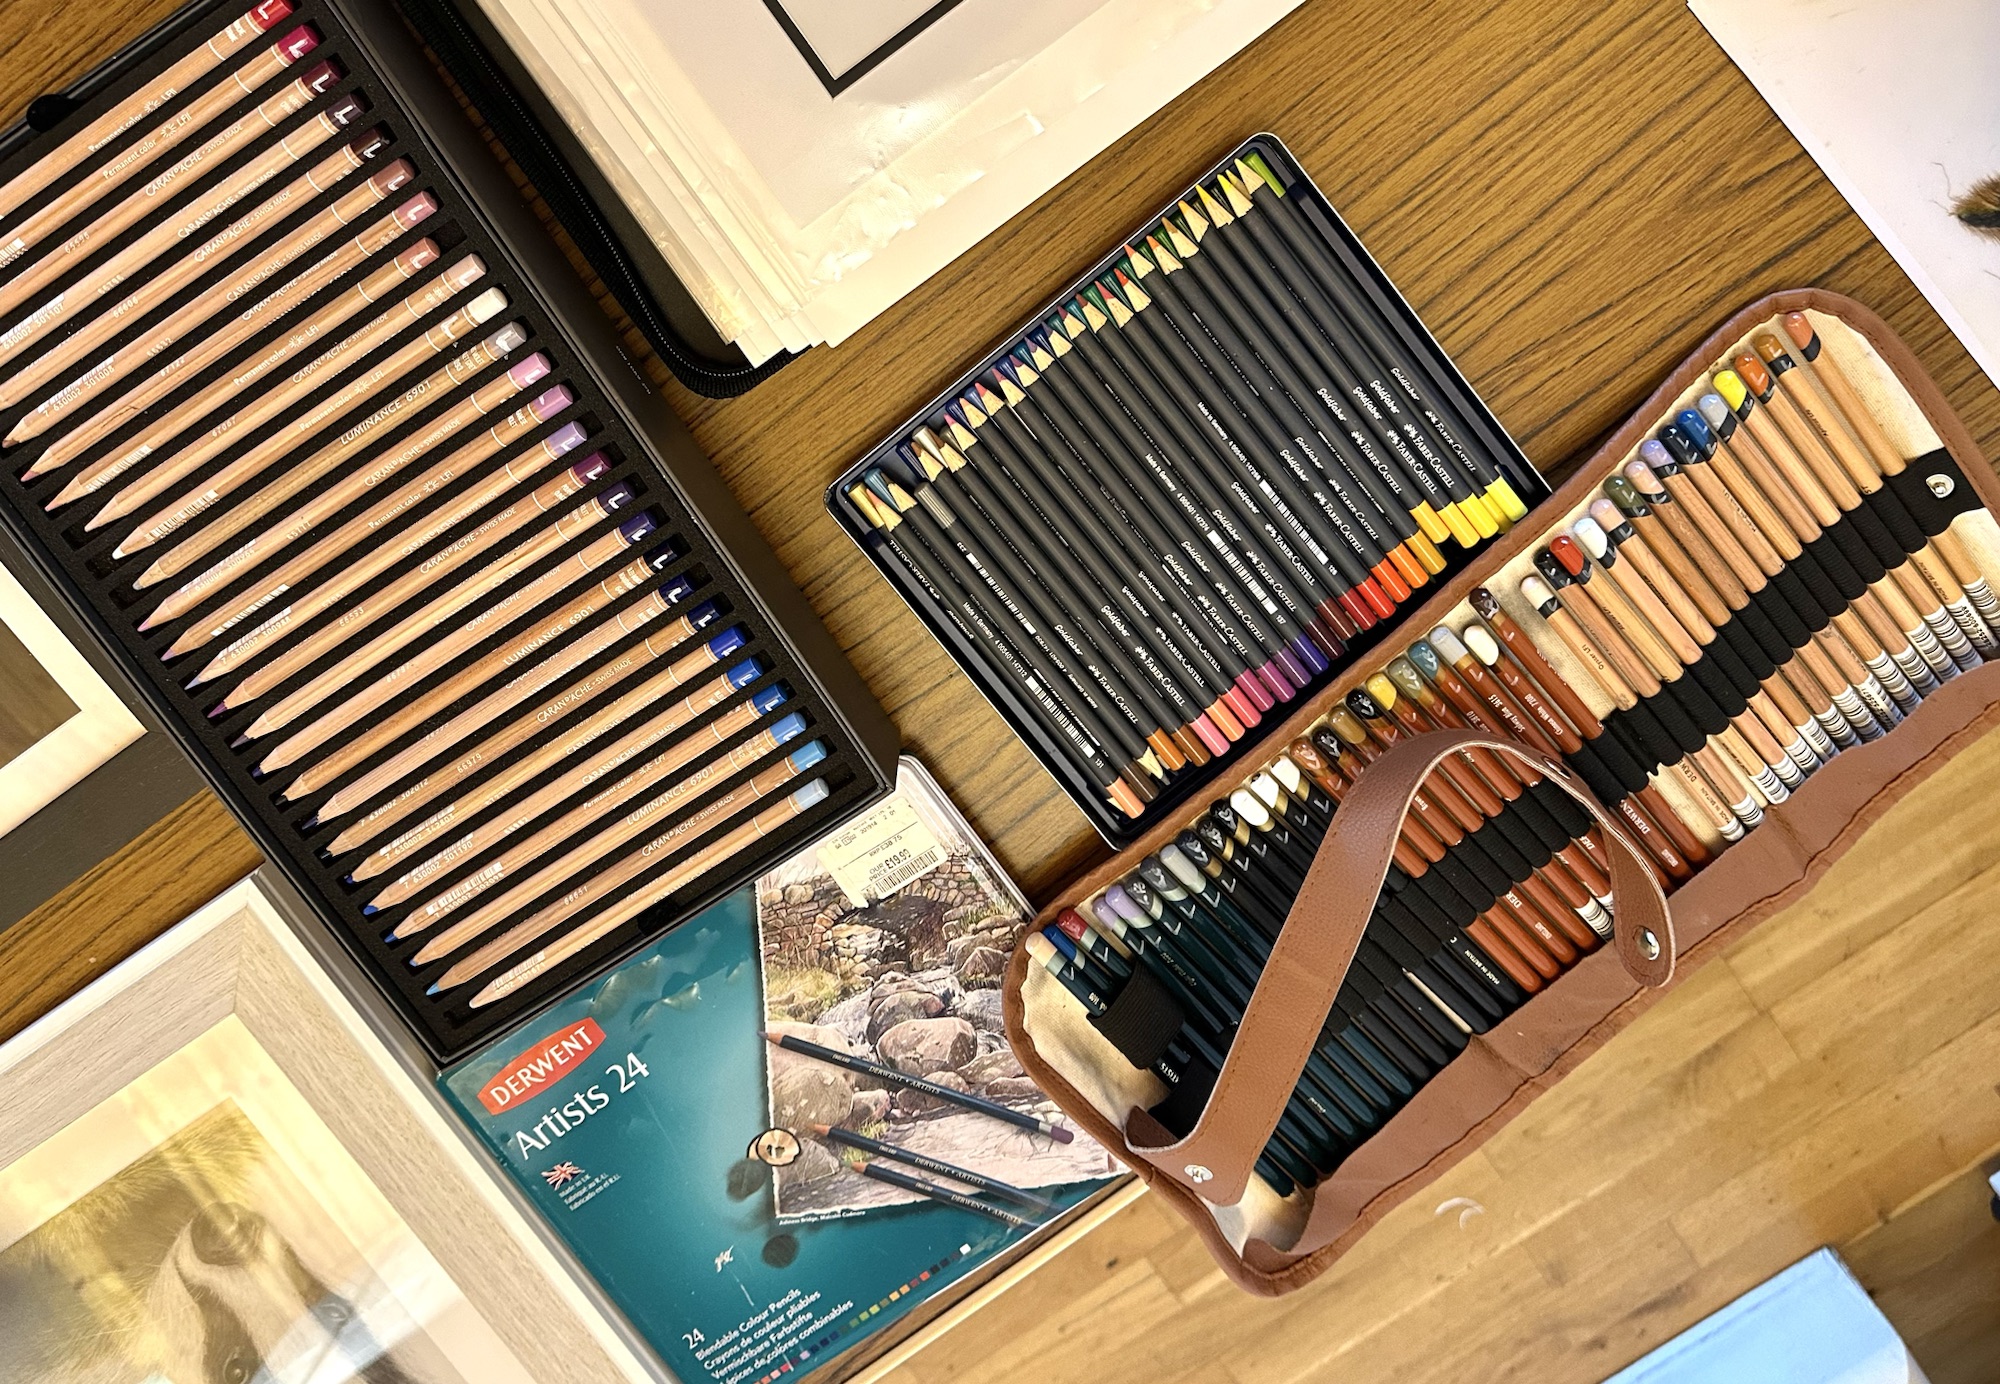
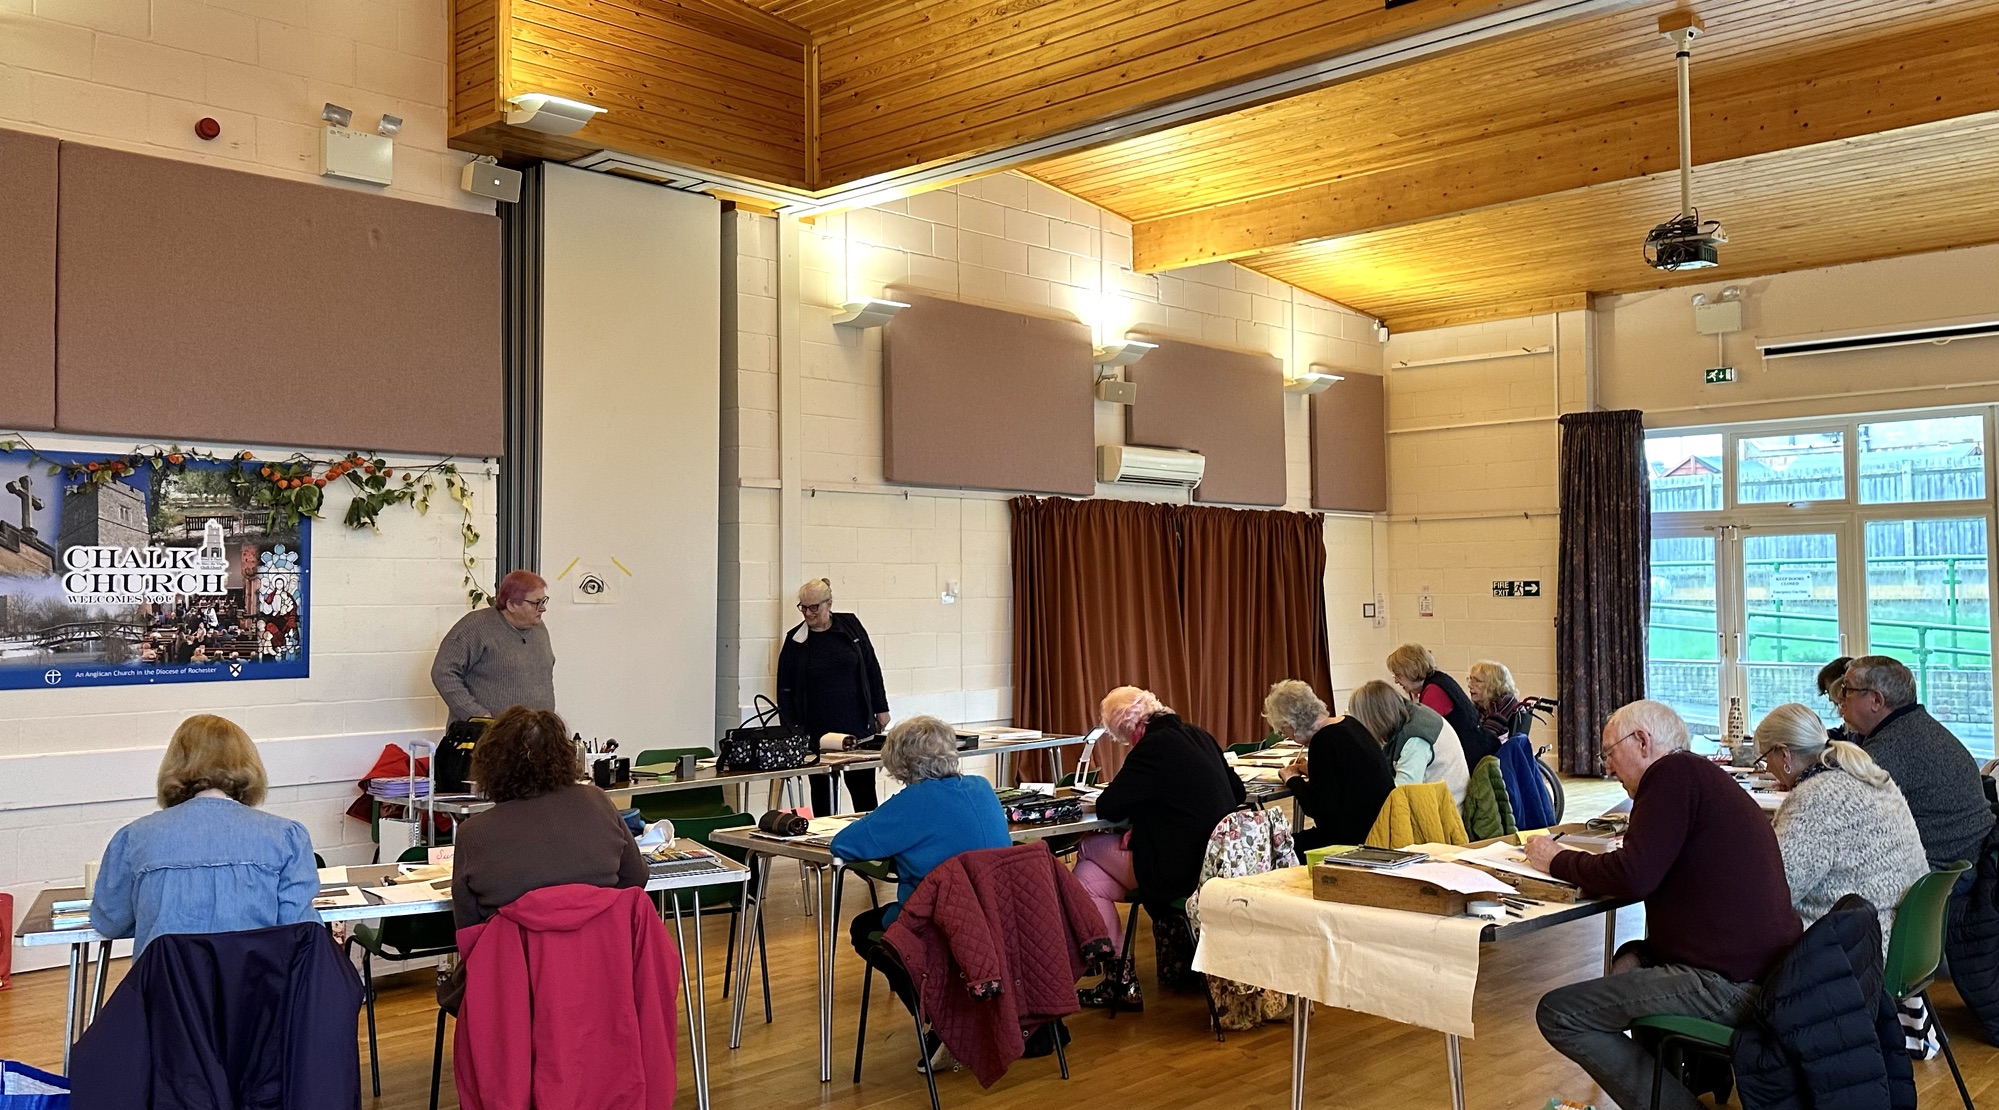
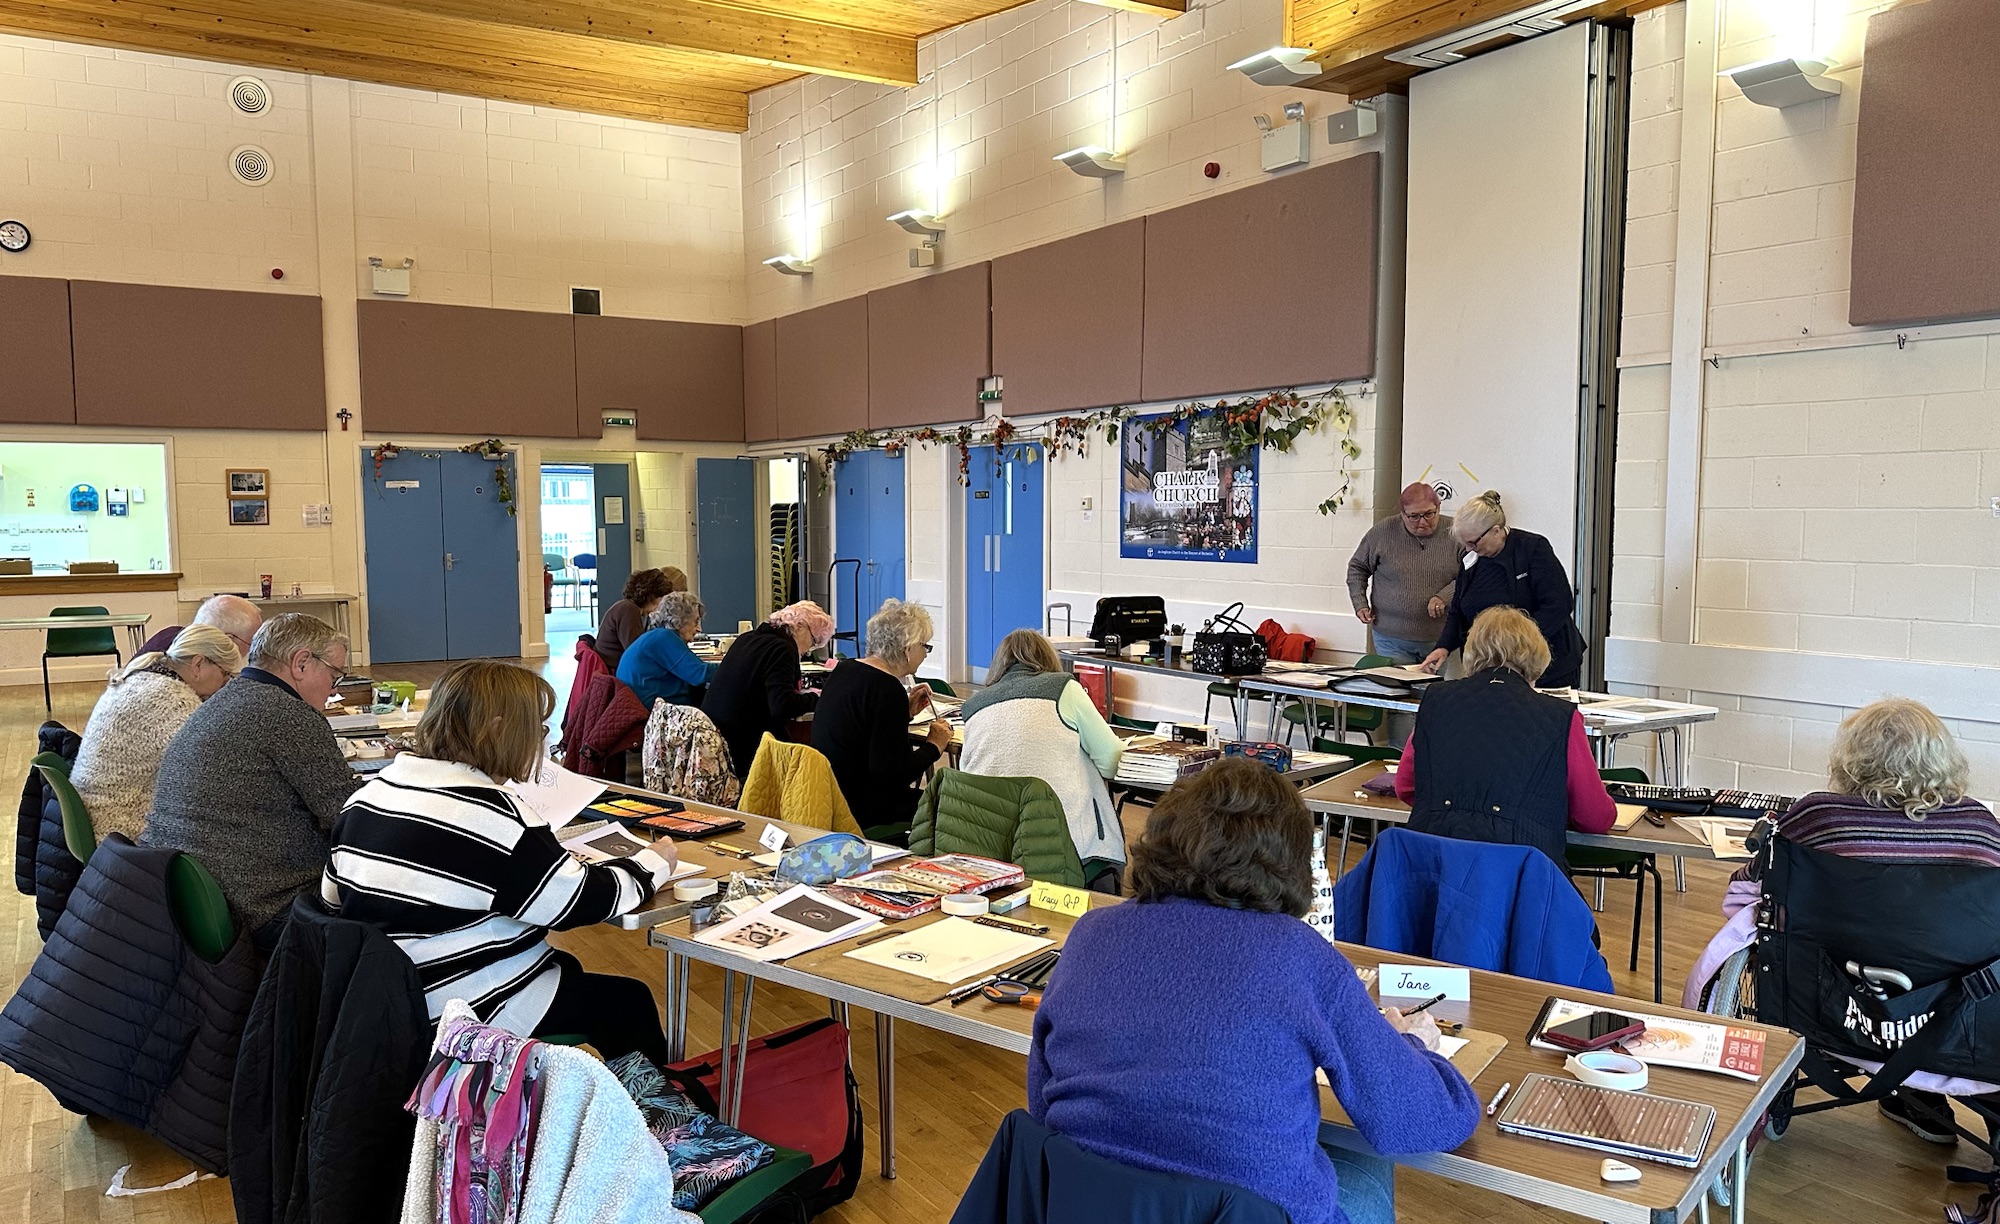
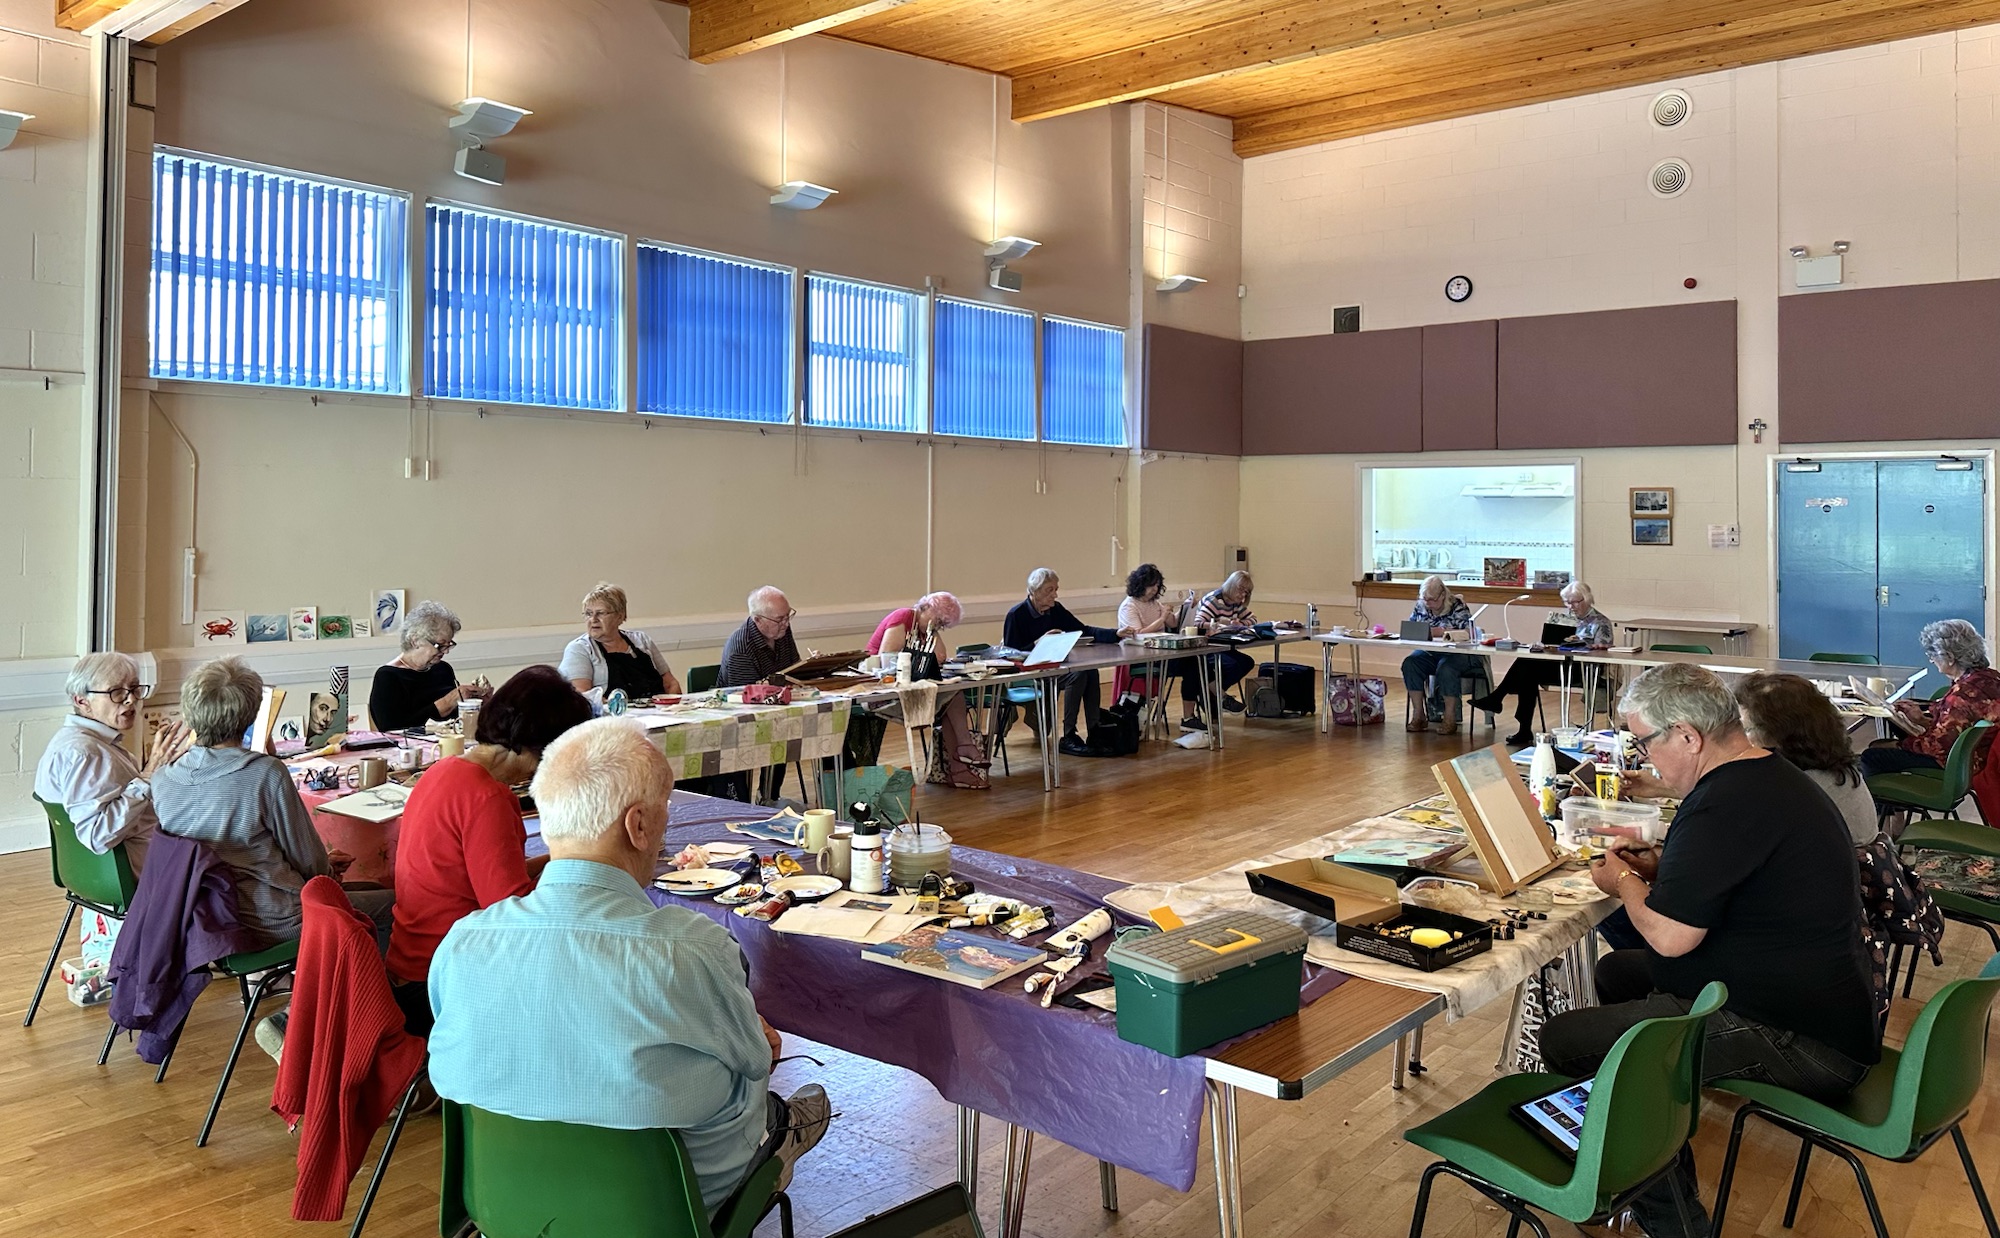
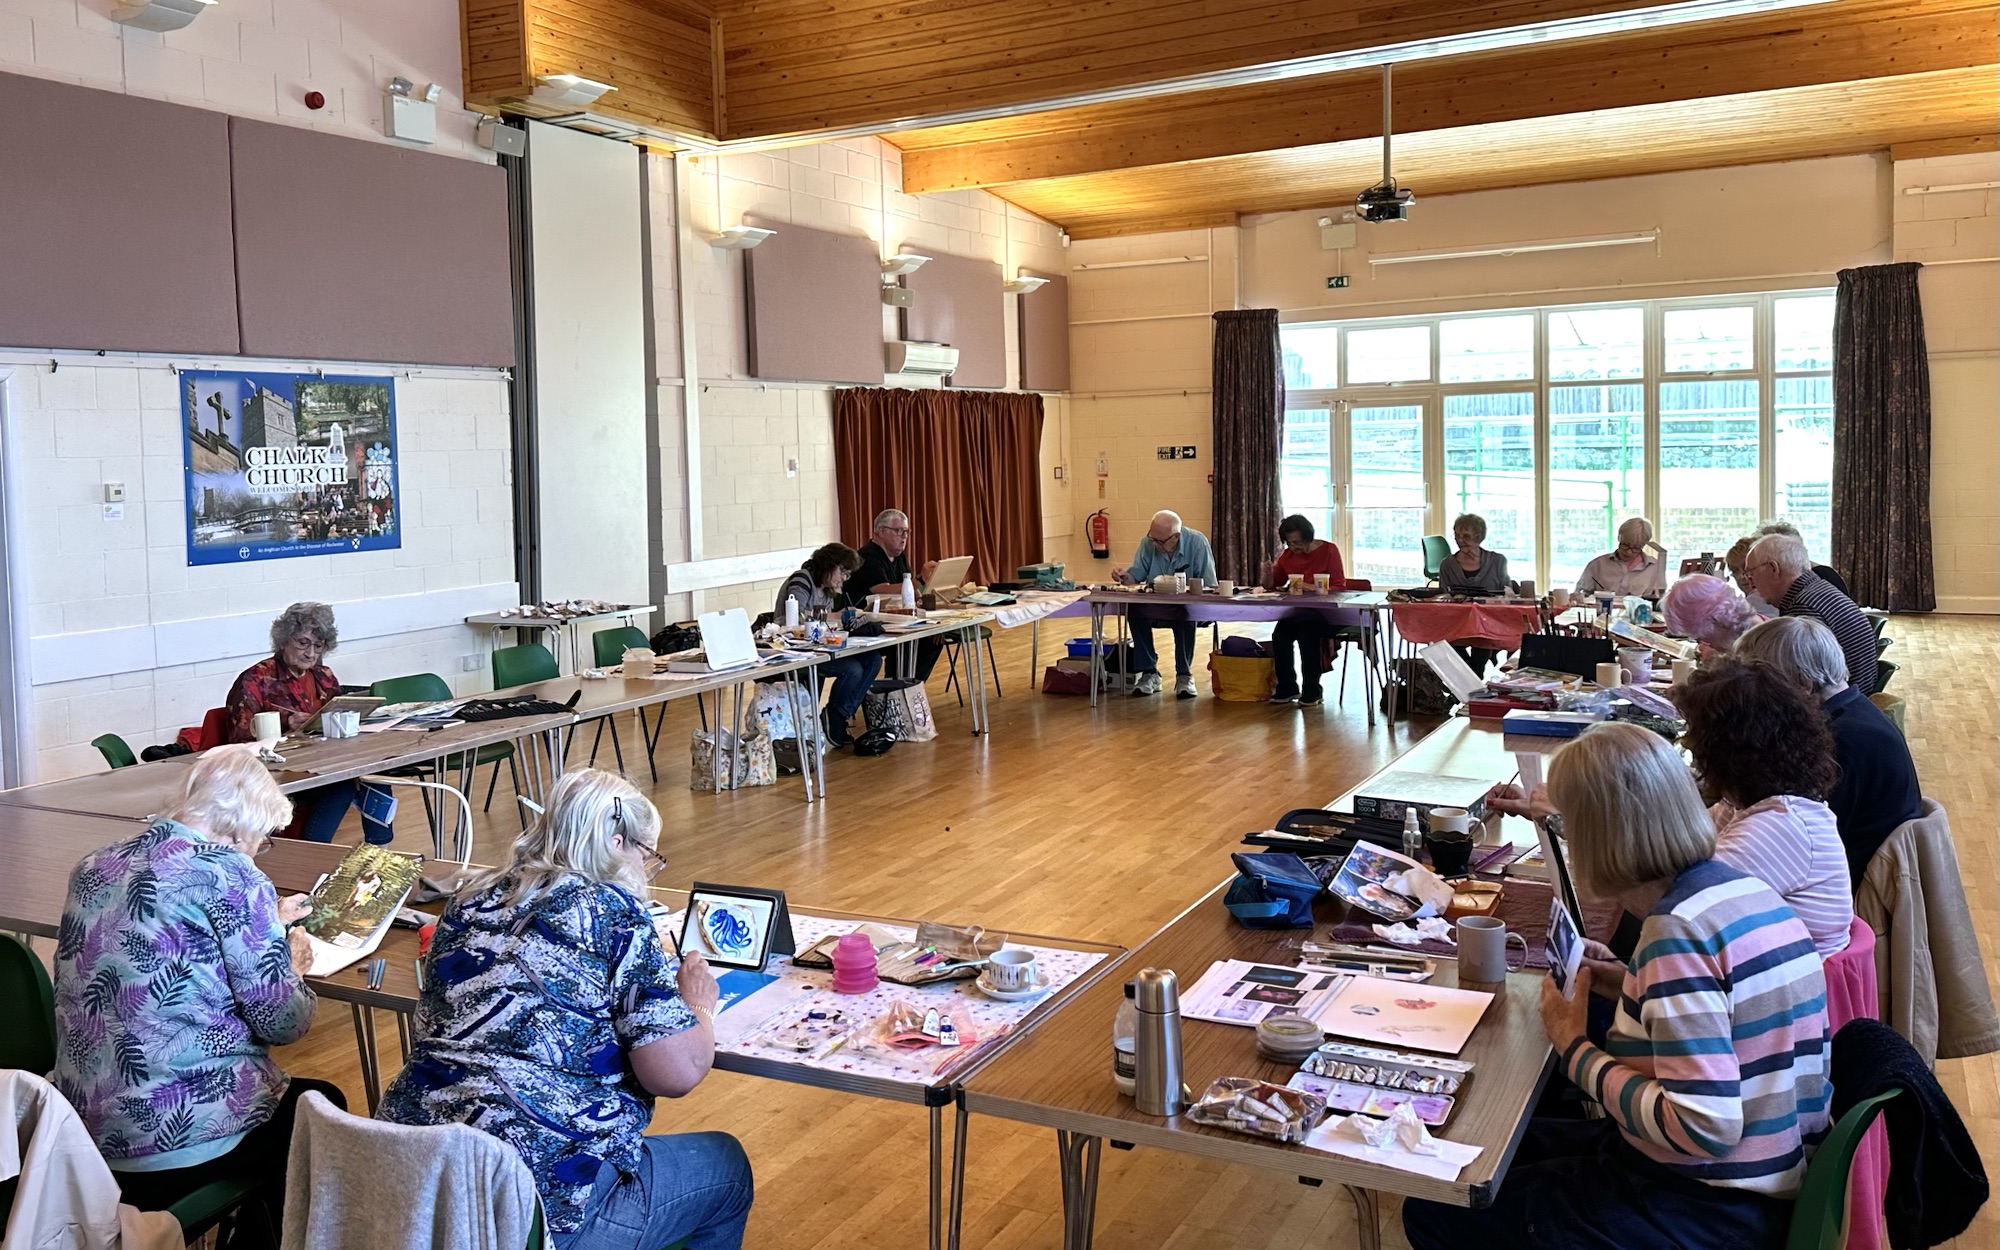
Fourteen members enjoyed an animal coloured pencil workshop run by local artists Liz and Helen. They met at Gravesend Art Group and both love creating pictures of animals using coloured pencil techniques learnt through online courses. Here are examples of their work that they sell at exhibitions and they also take commissions (apologies for the reflections of the hall lights). It’s amazing artwork with so much detail to look at.
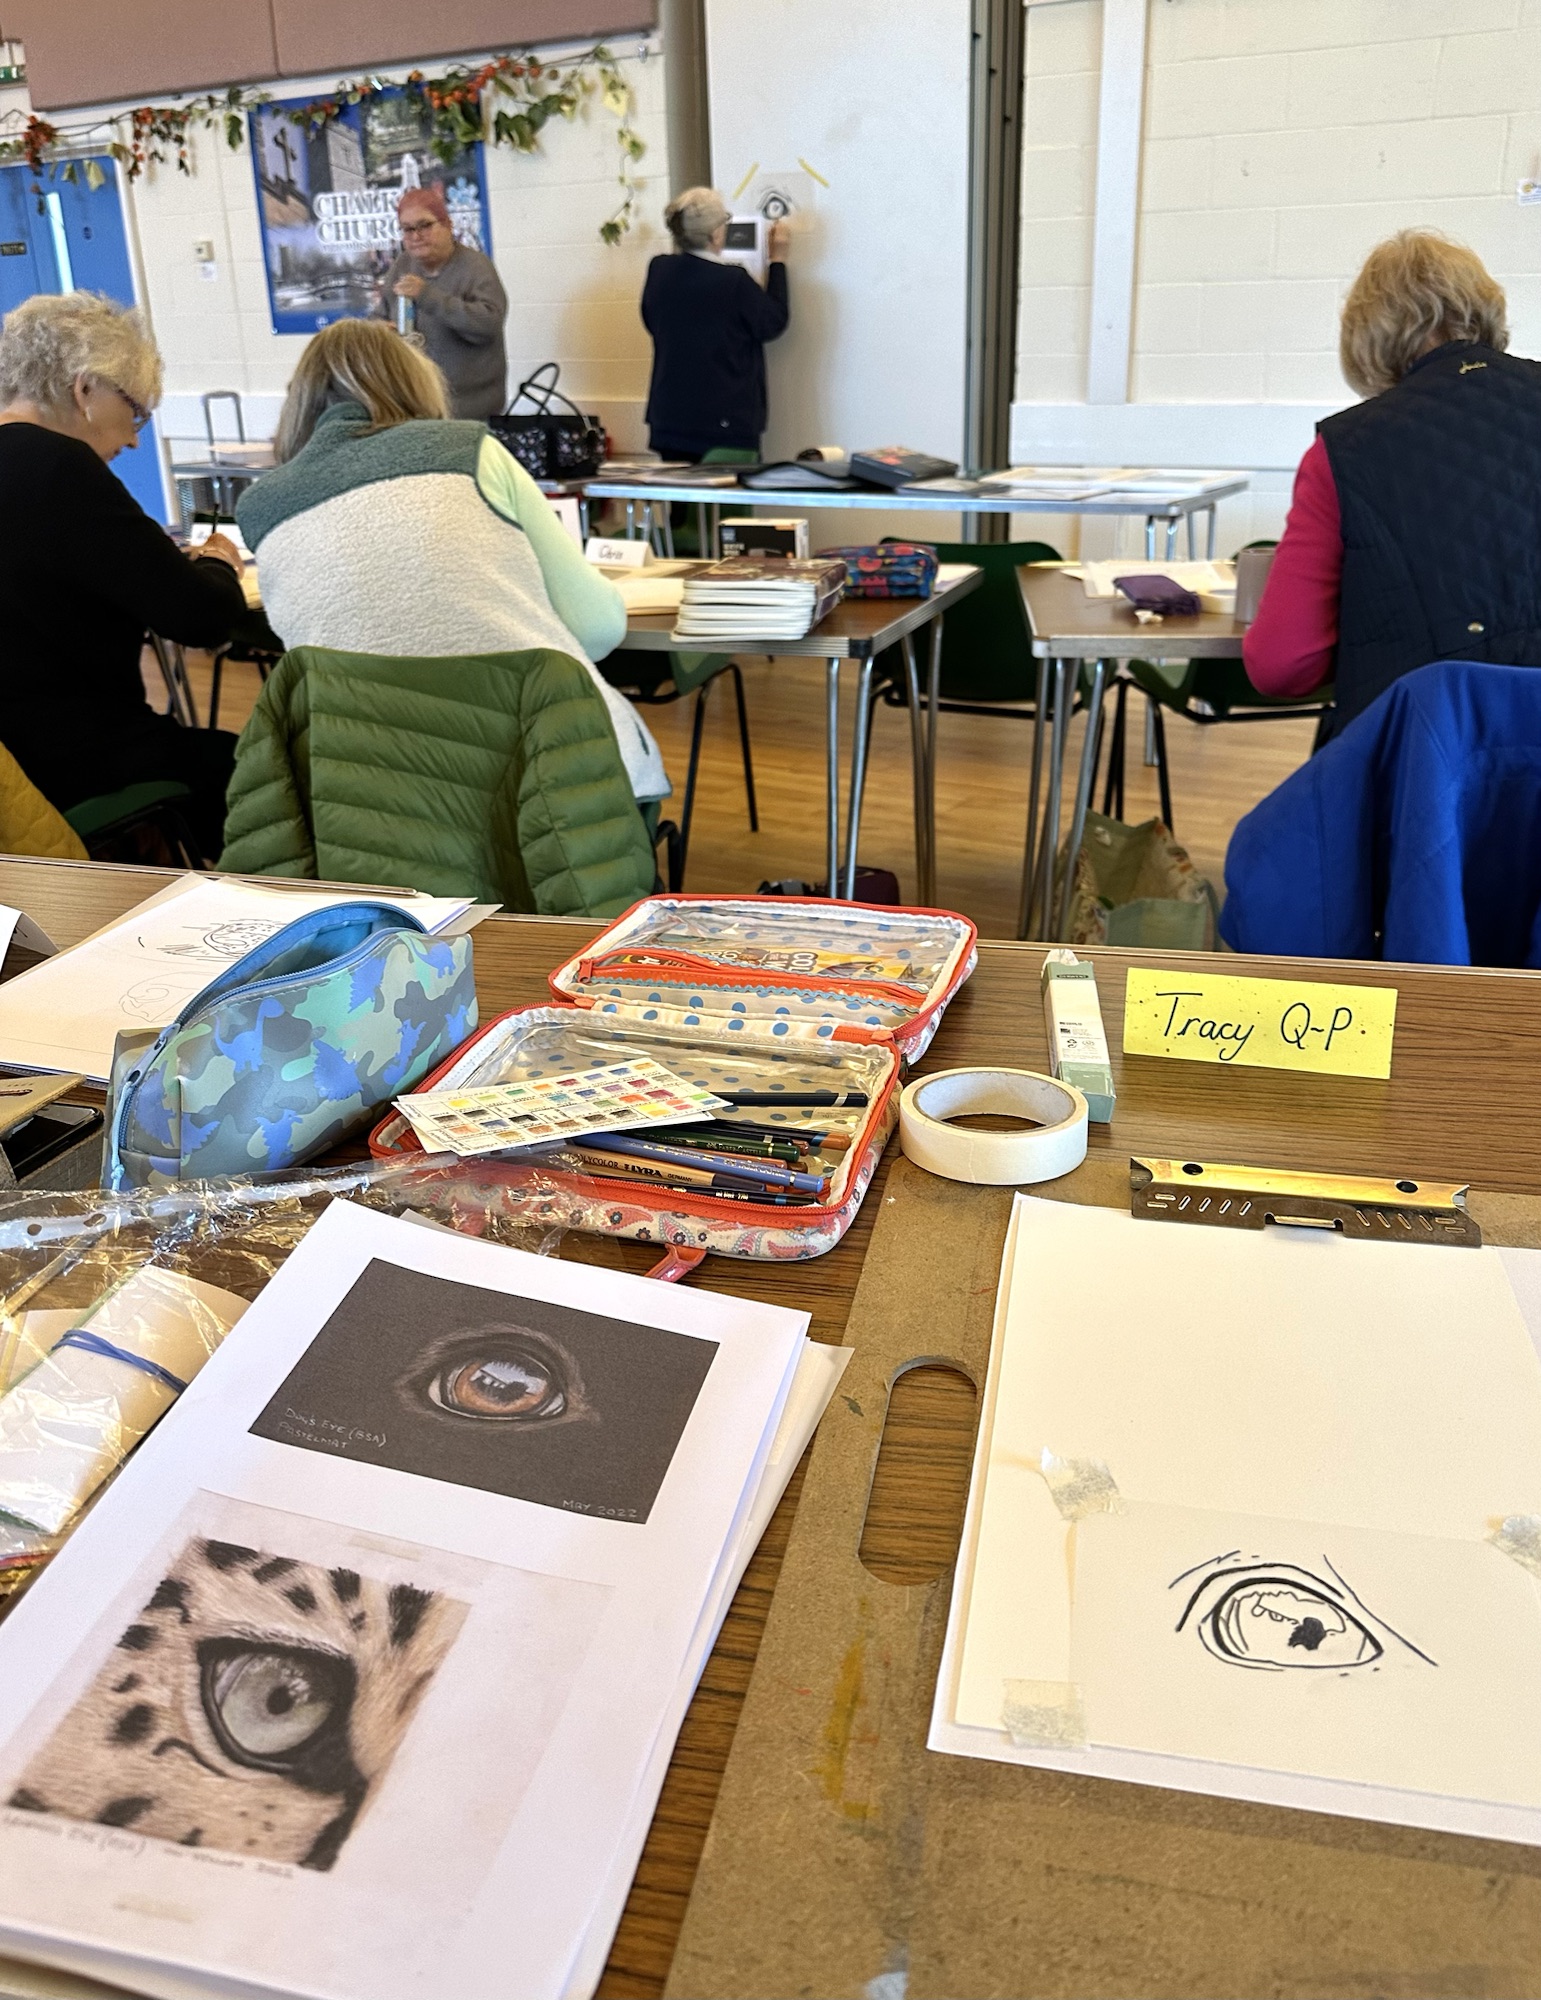
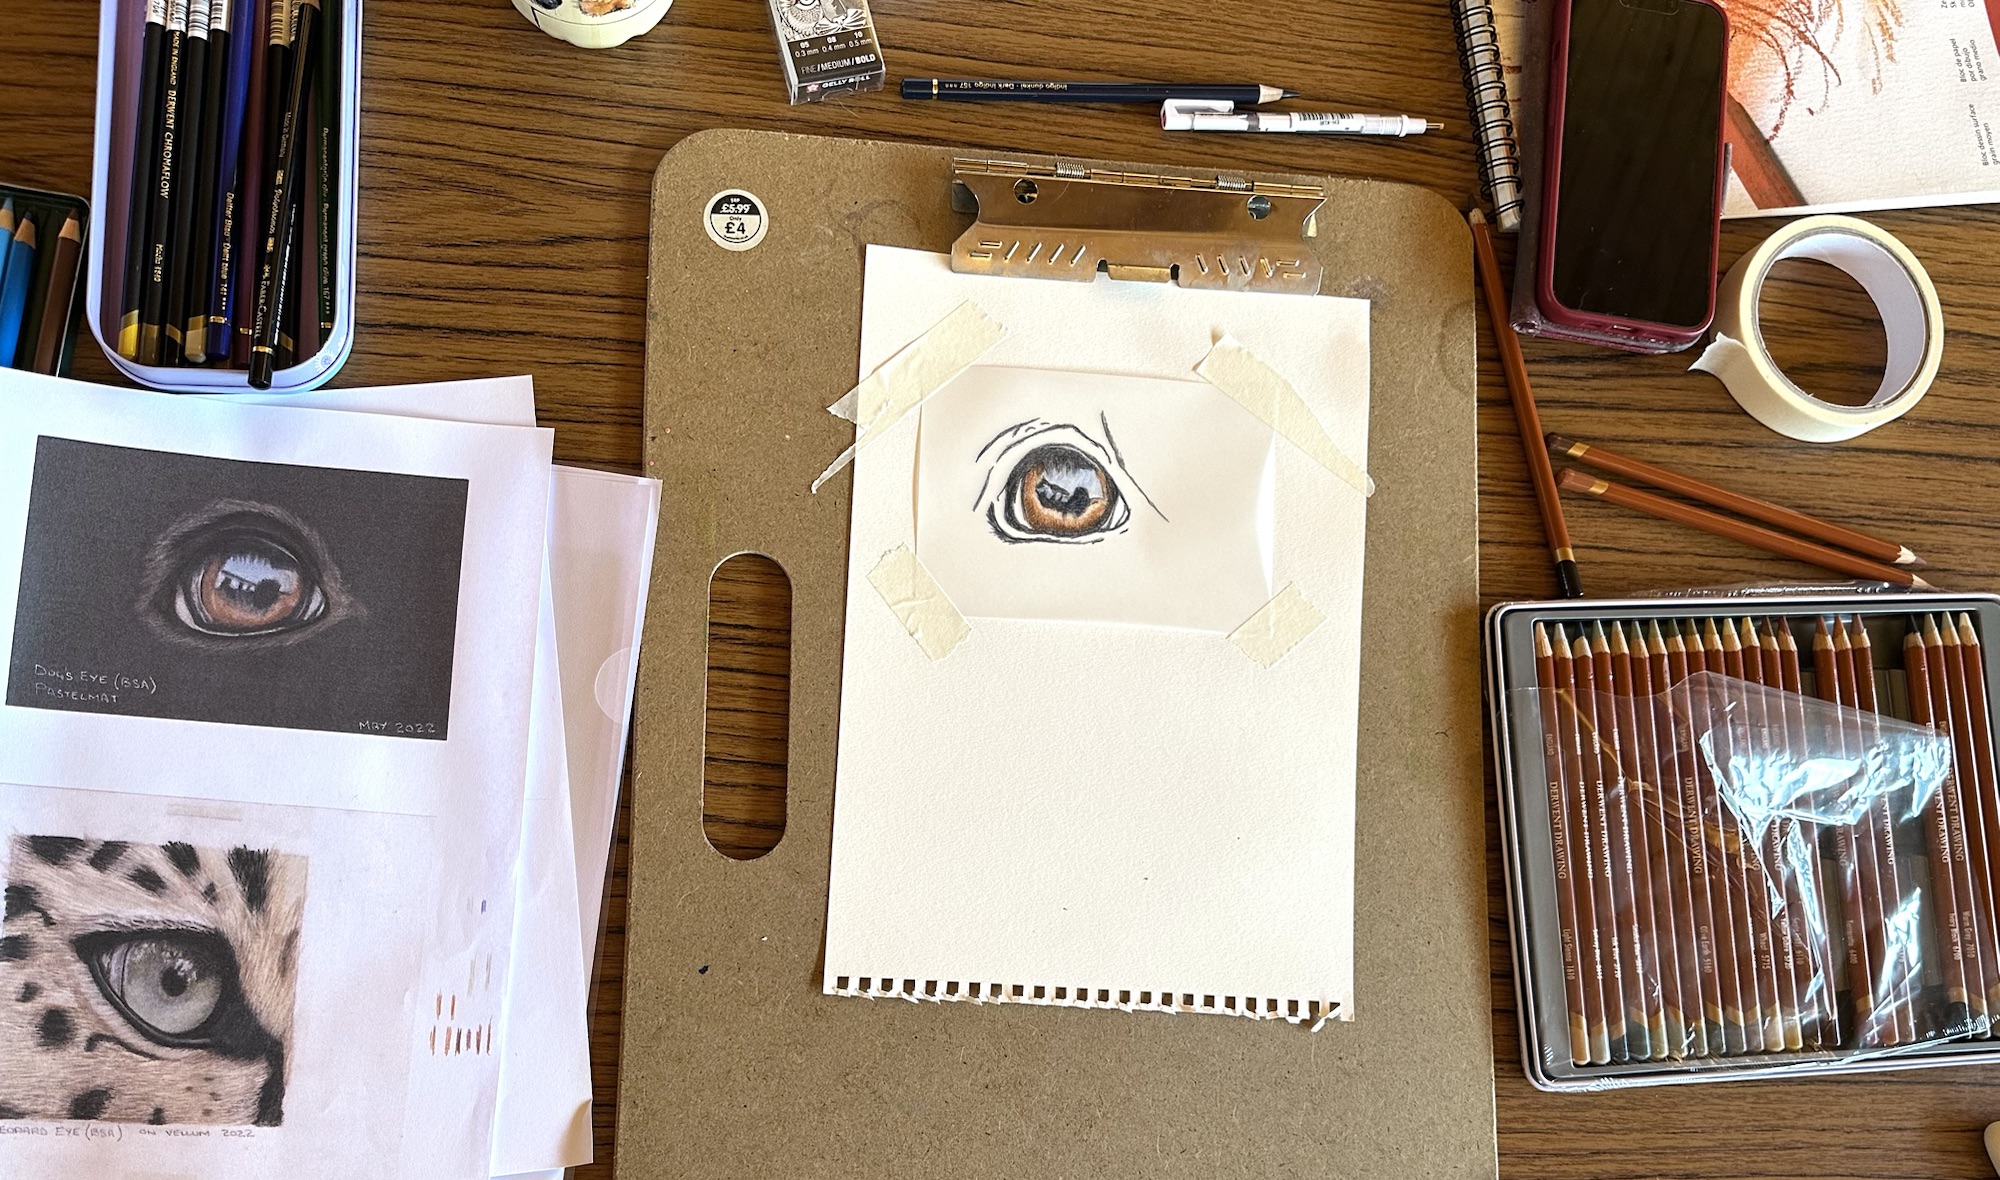
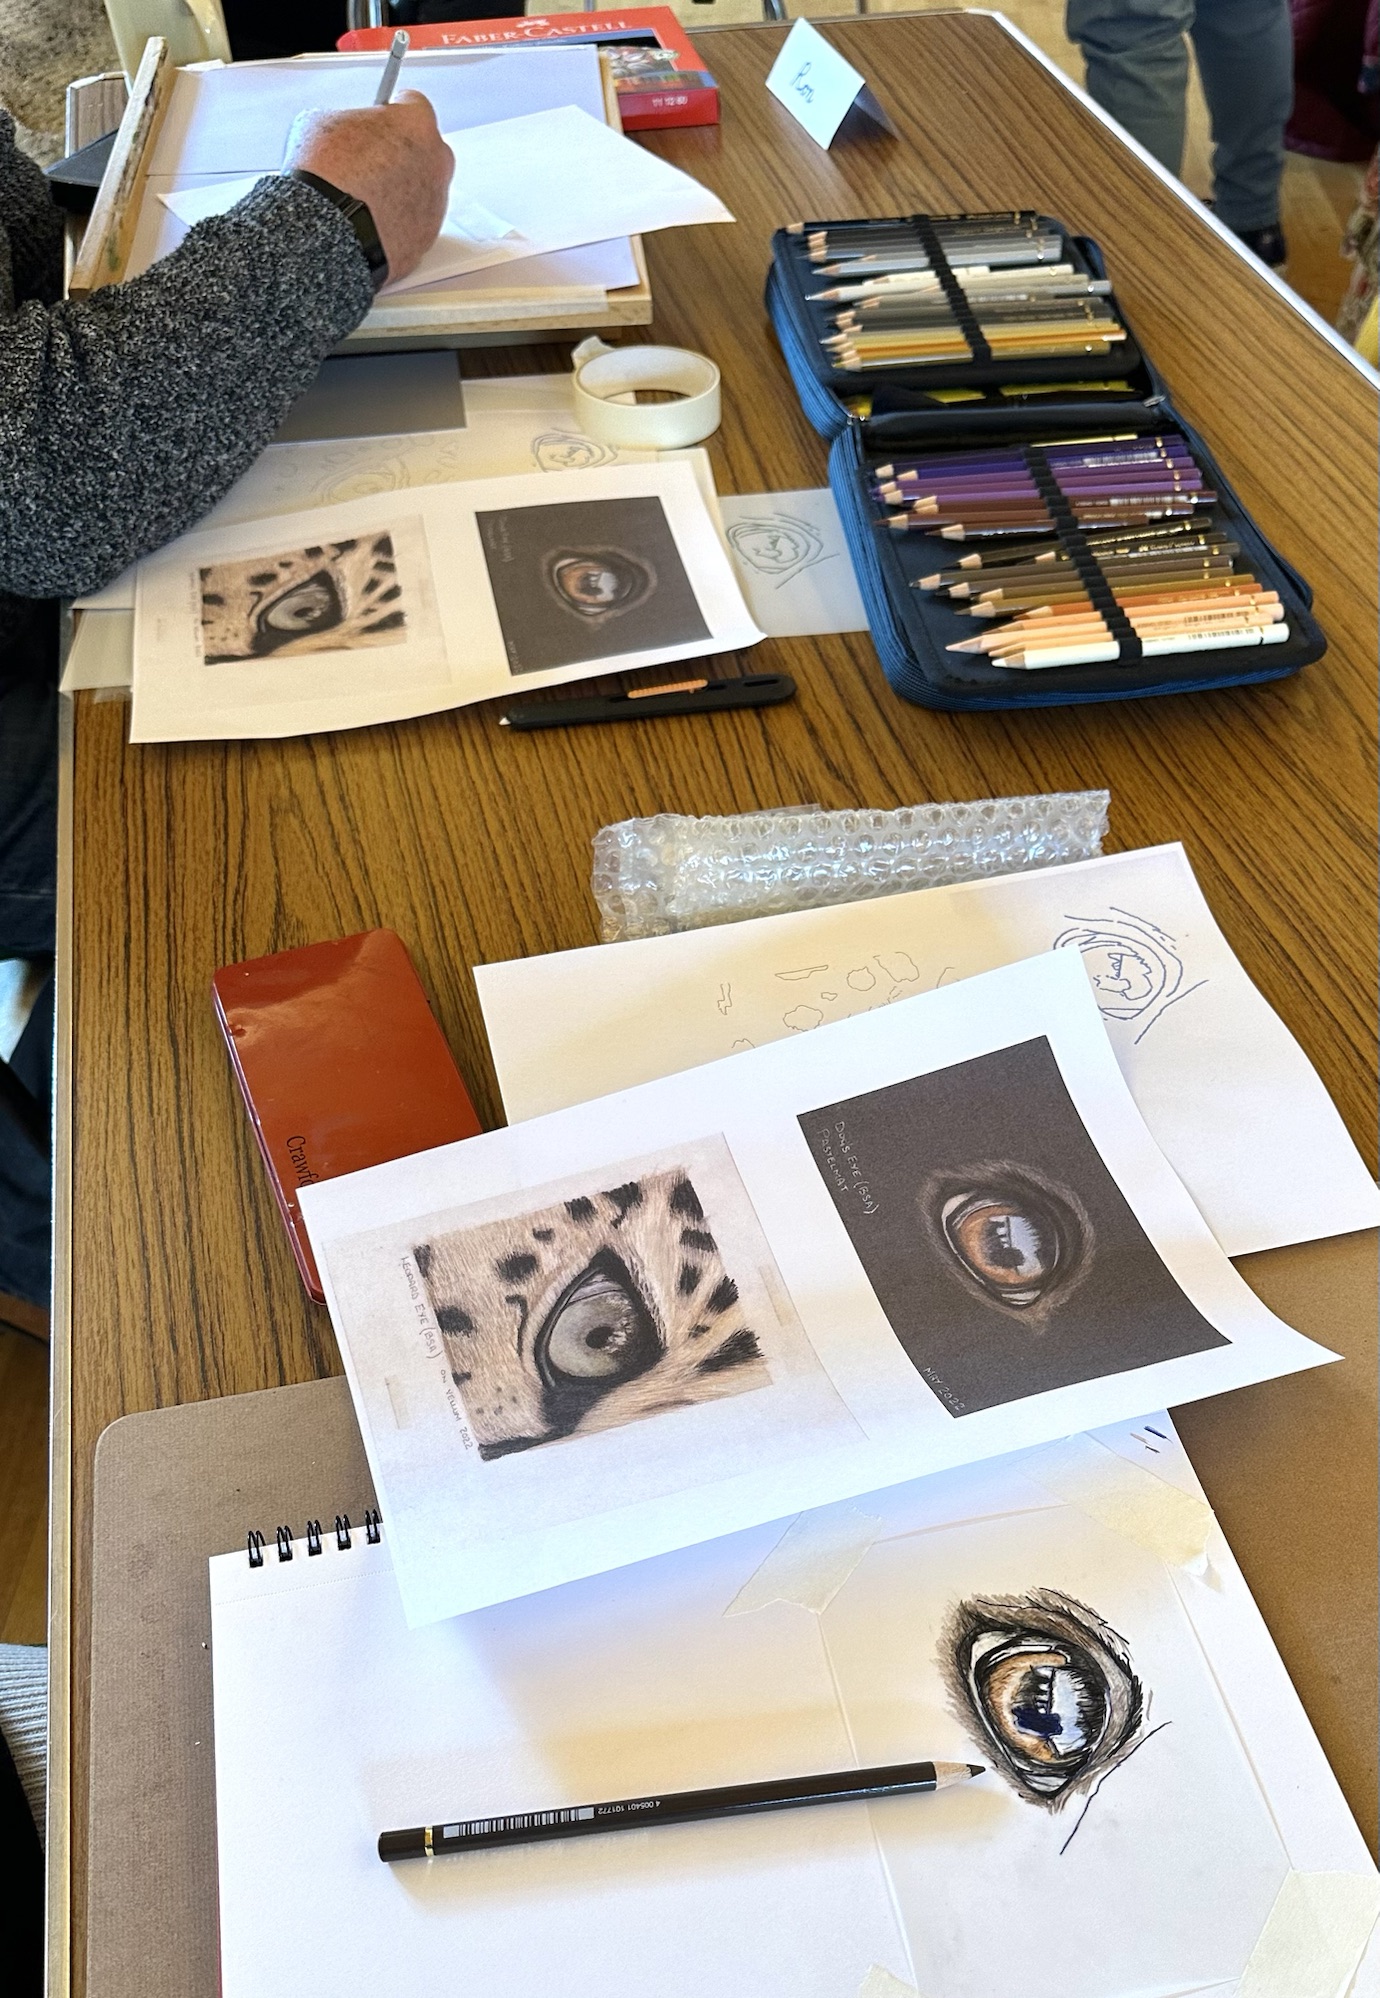
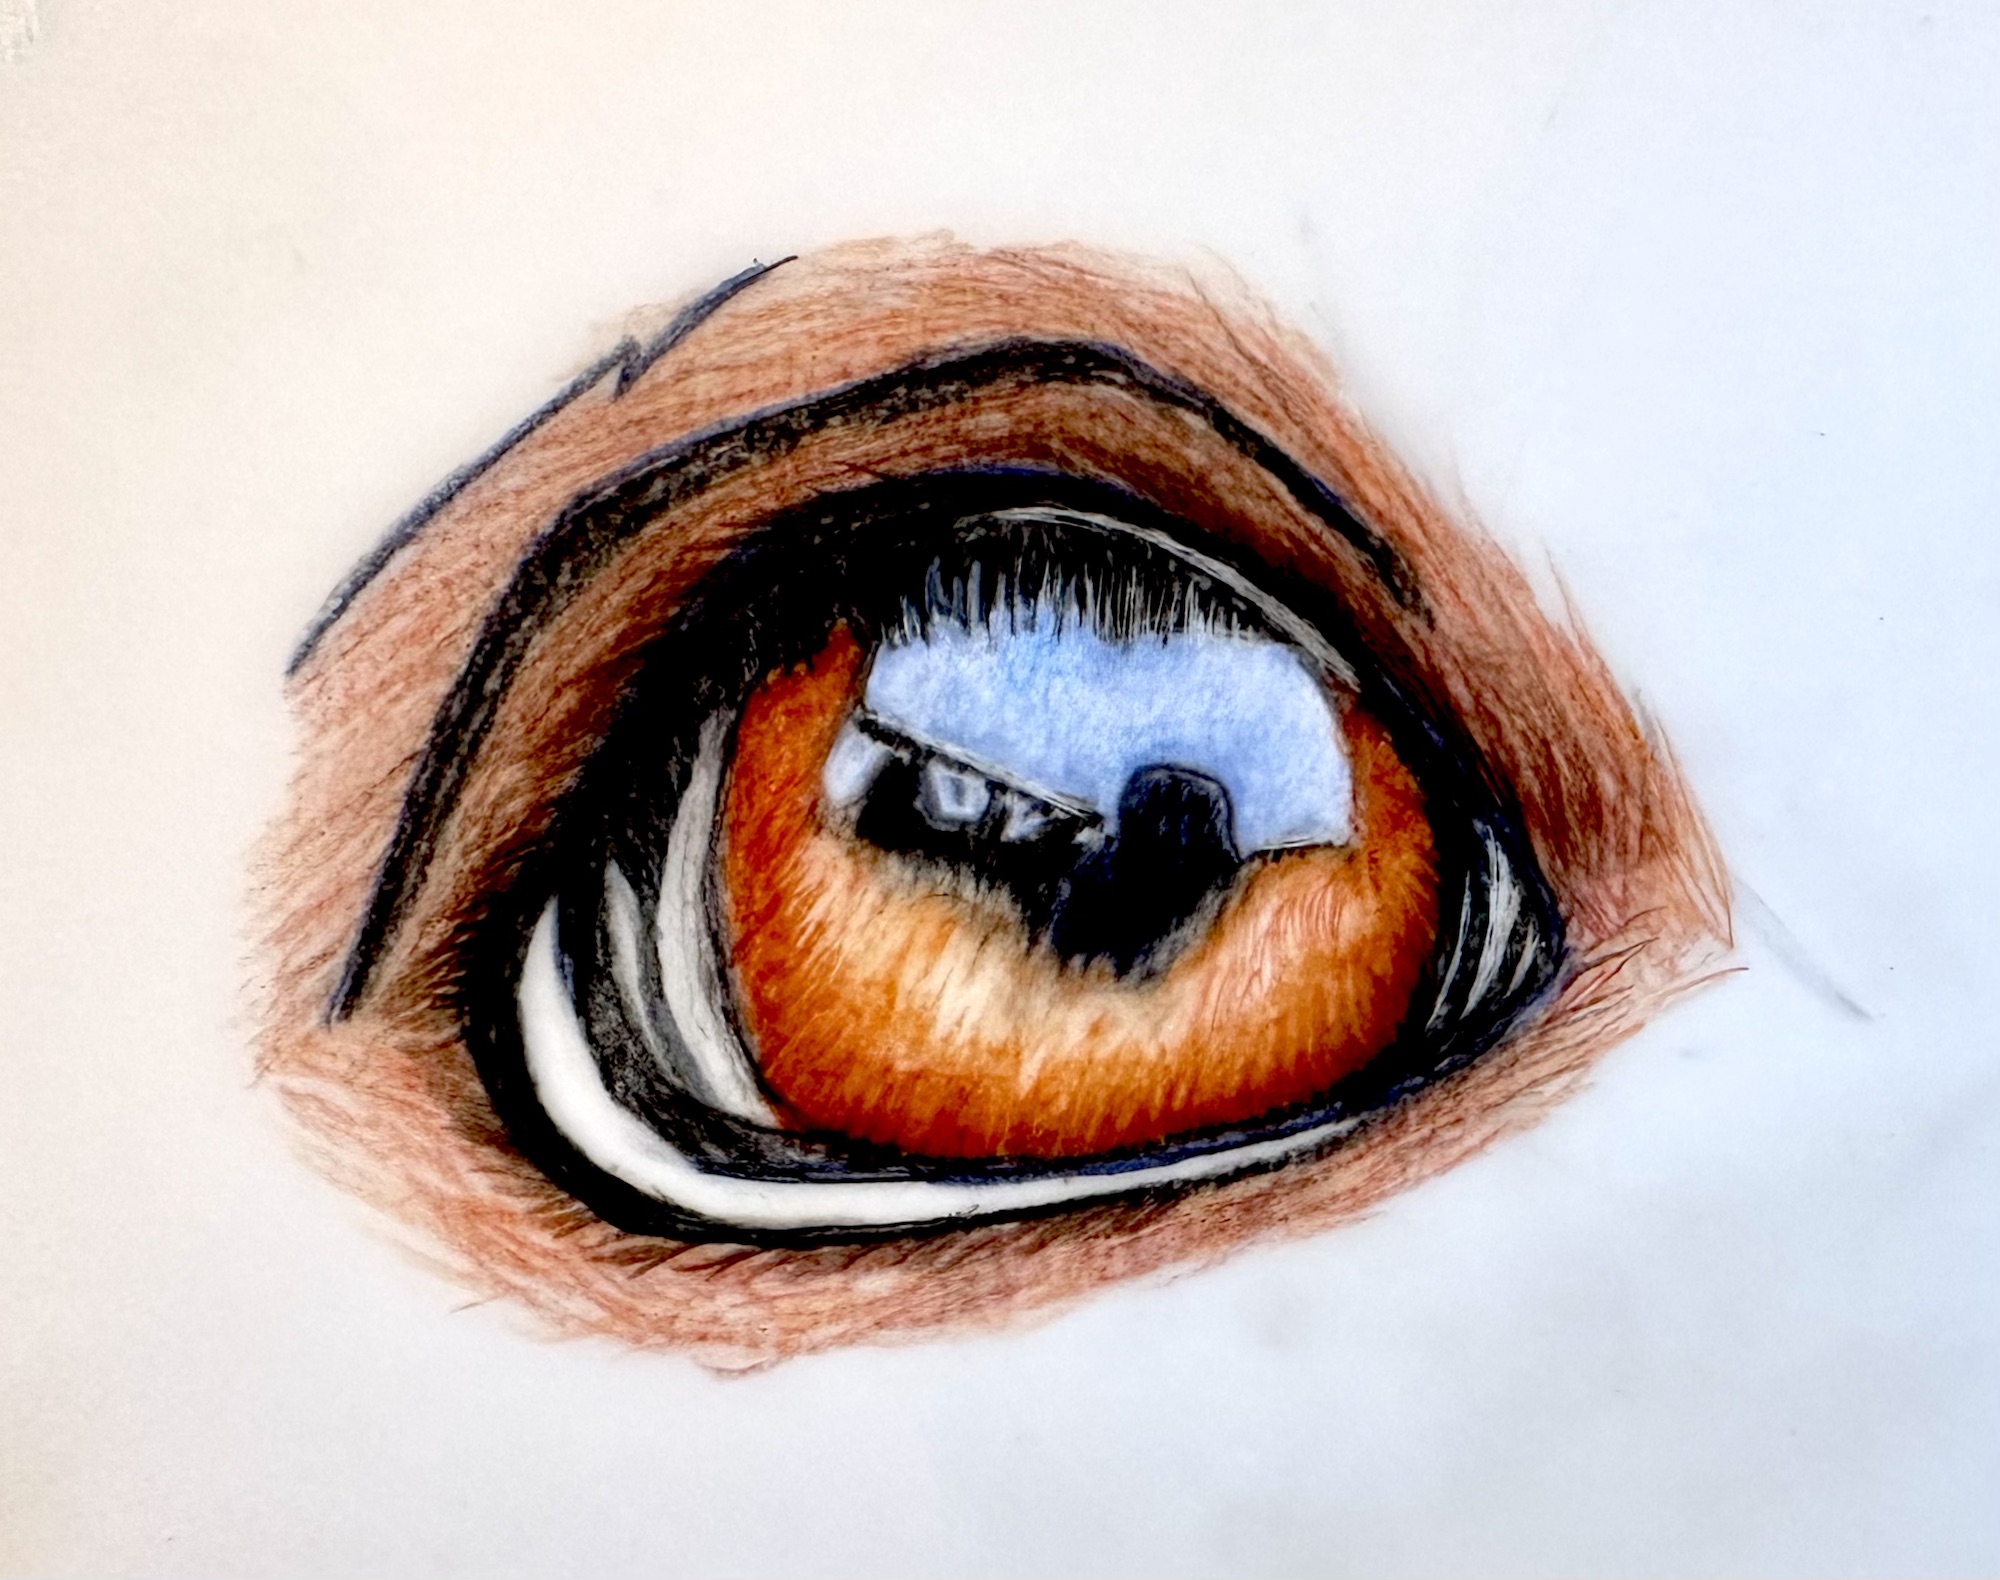
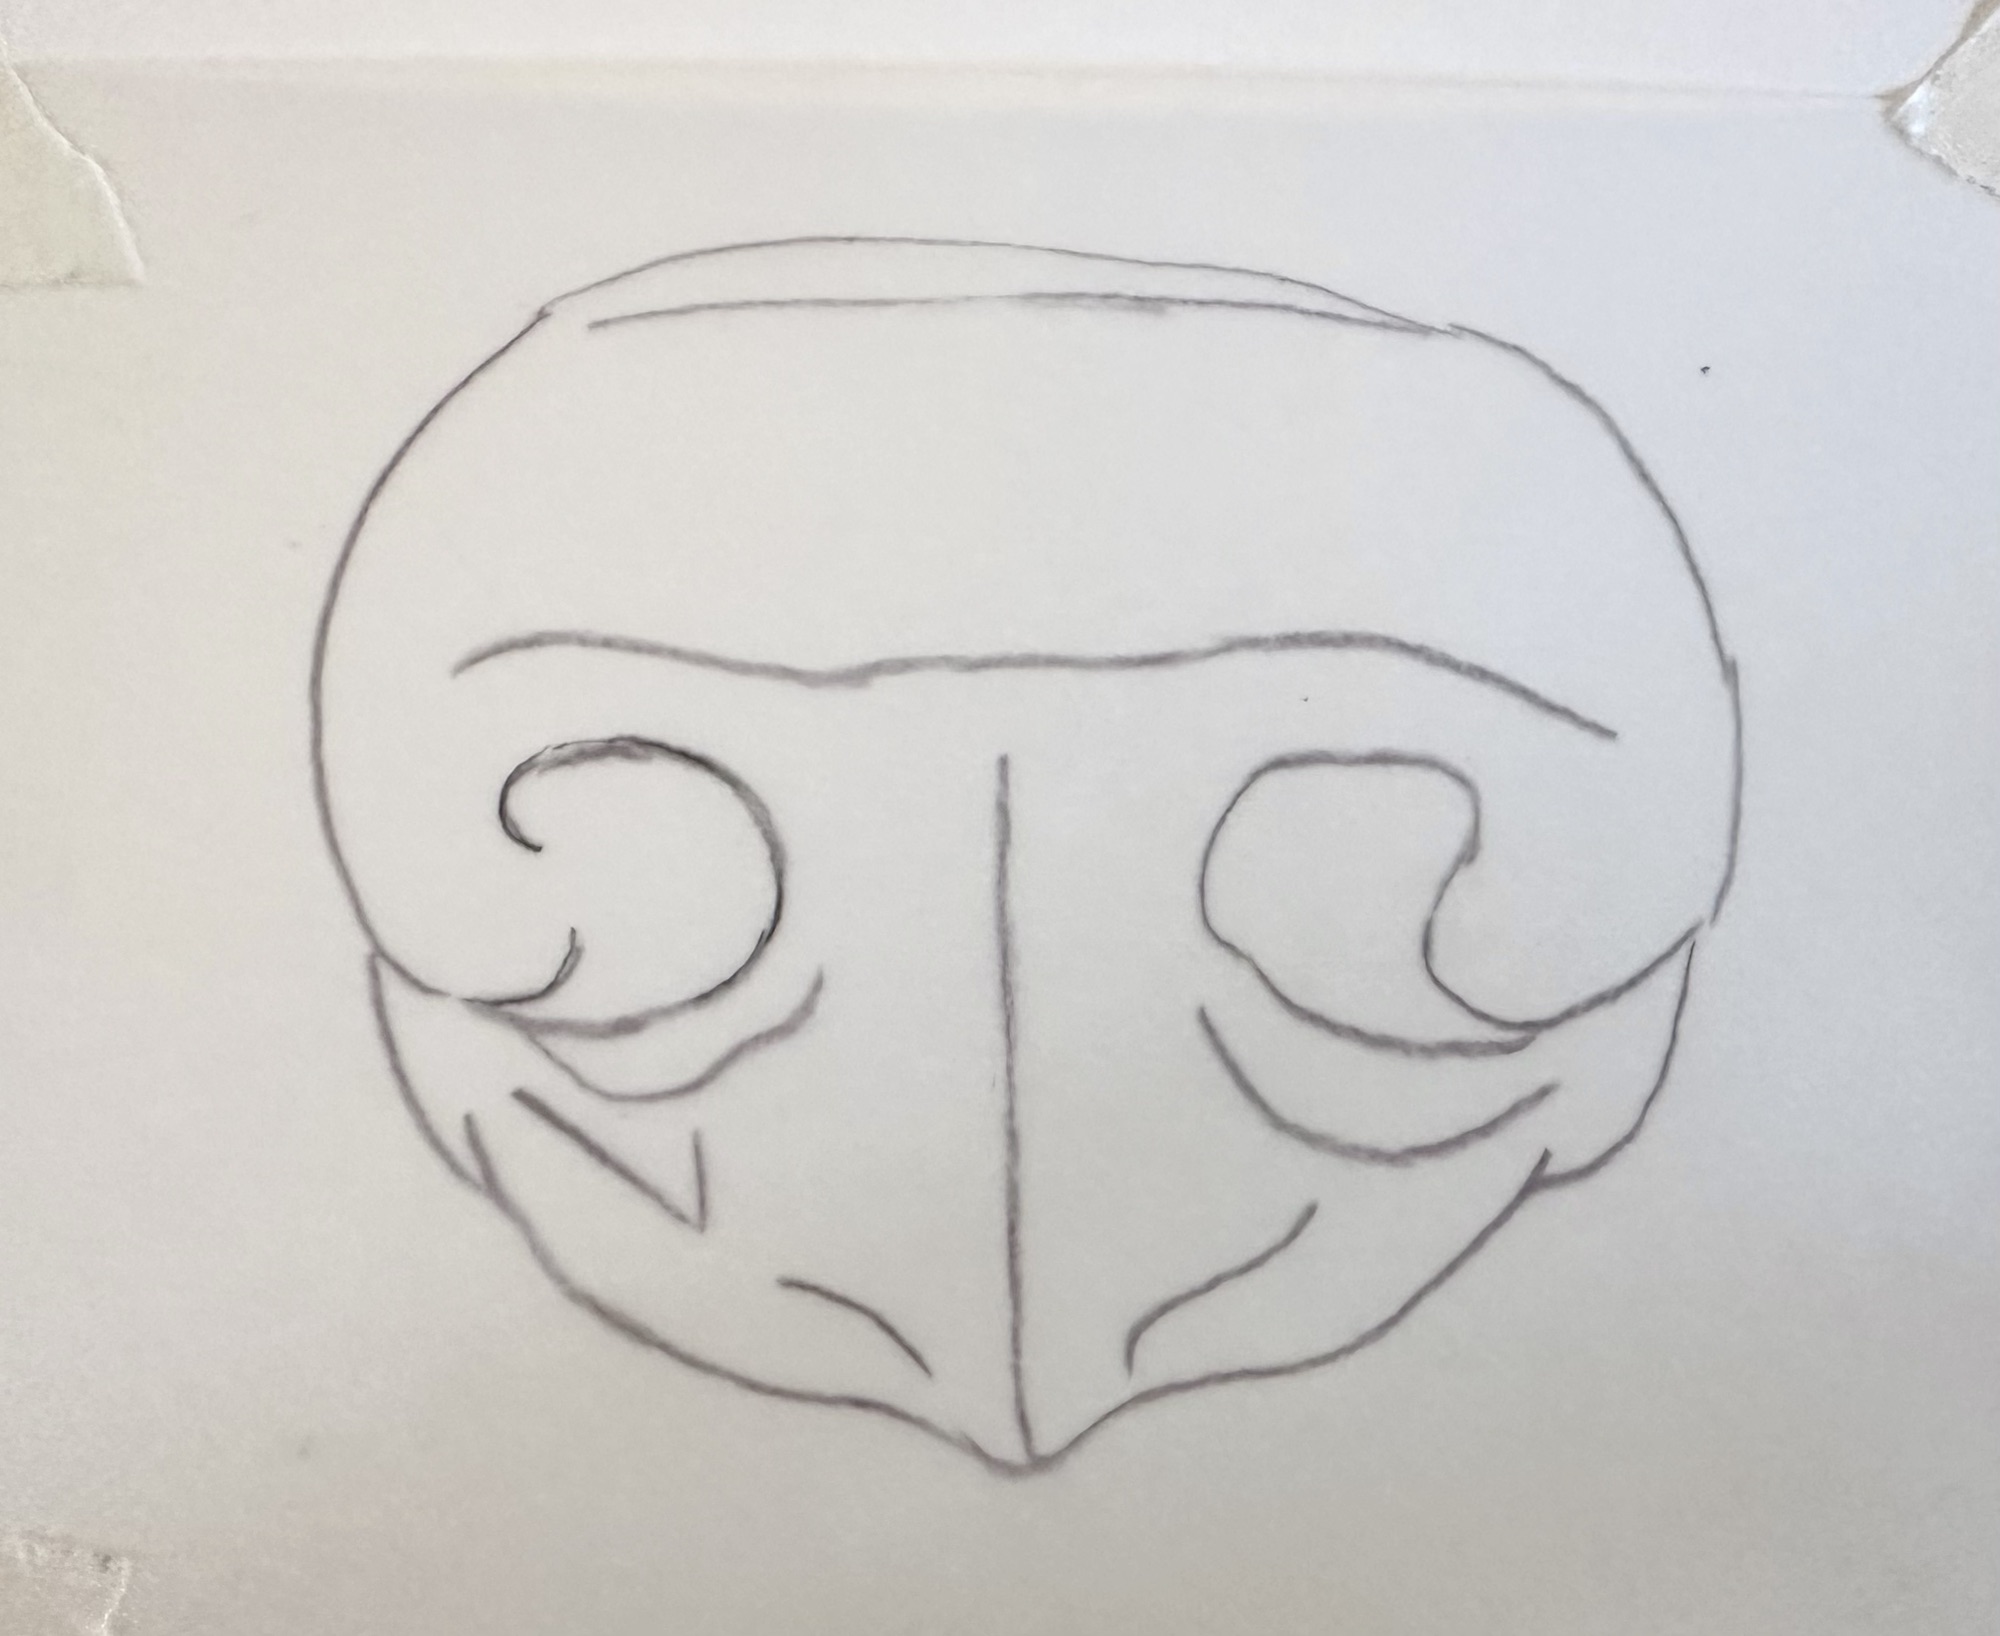
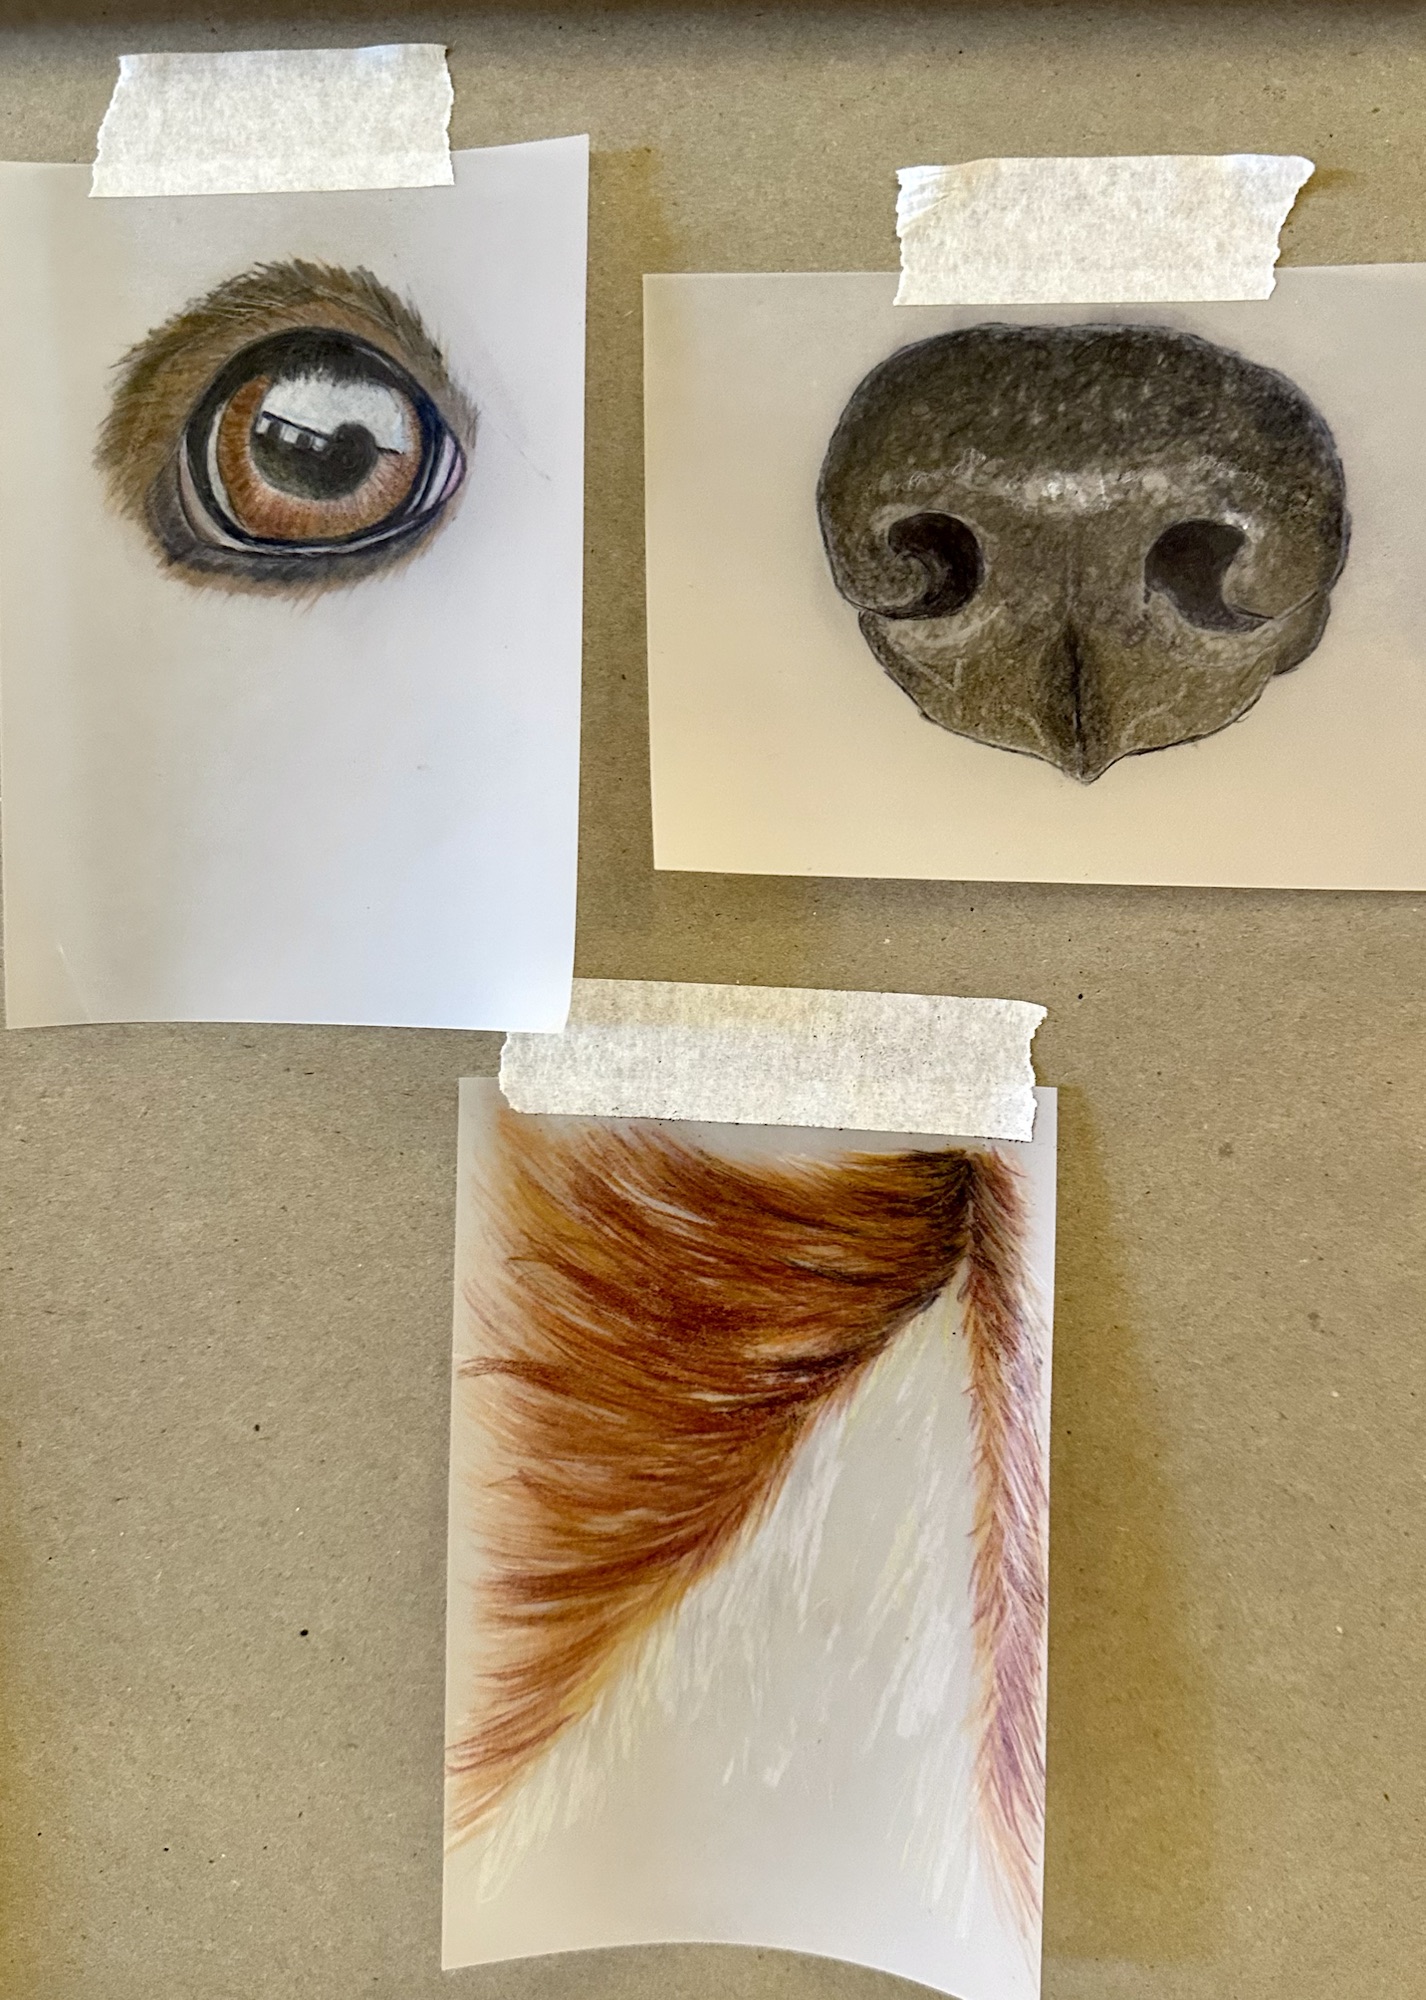
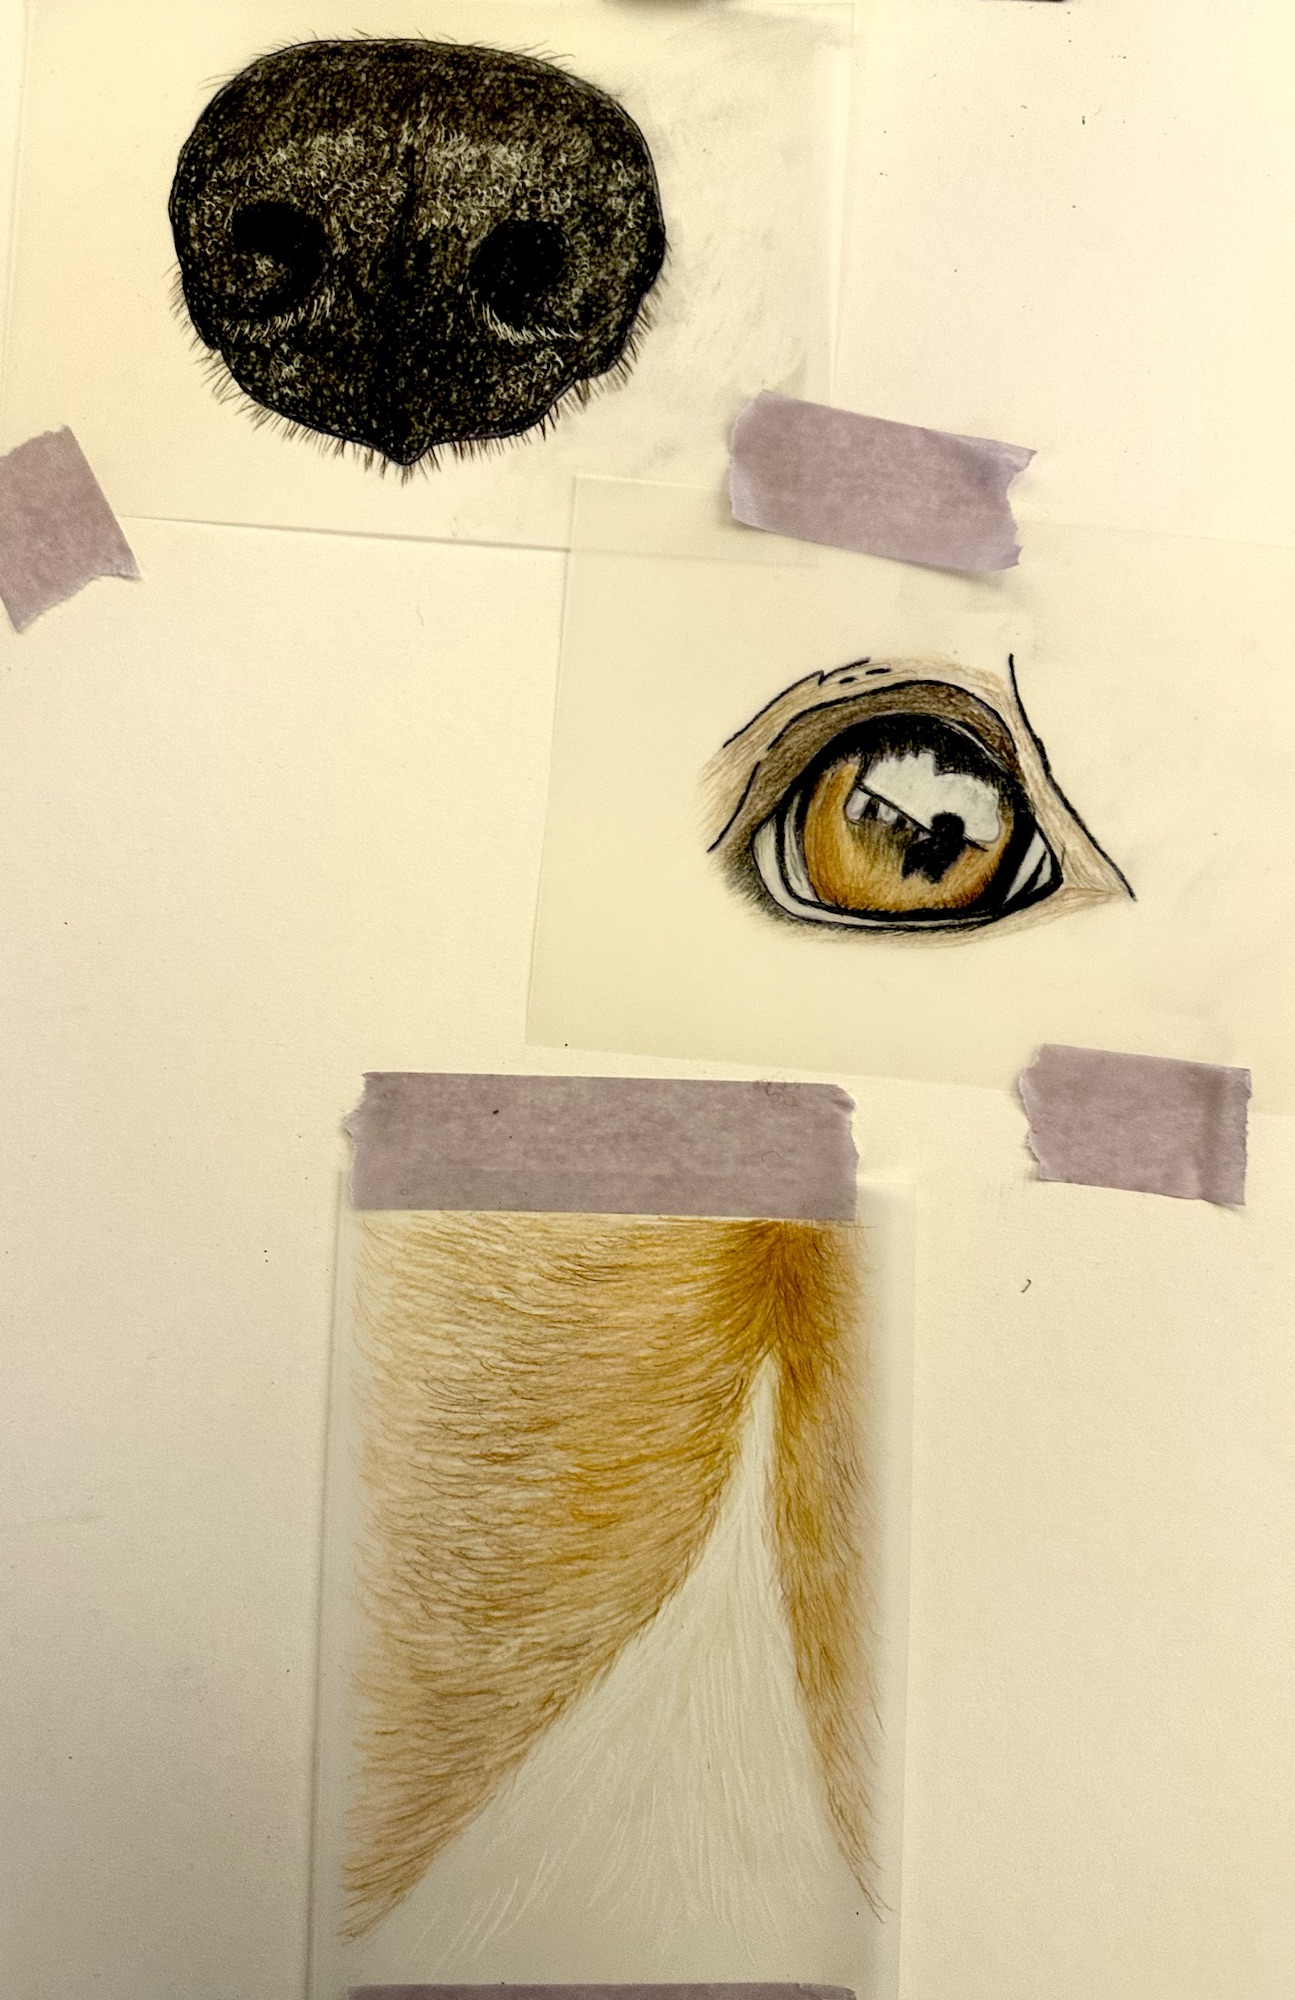
Helen made up packs of sheets of information for us to use and Liz showed us how to colour the eye, nose and fur. By learning these three basics we can go on to create a picture of an animal of our choice. Both ladies walked around all day showing people individually how to lay the colours down and generously loaned their extensive coloured pencil collection for everyone to use, along with their ceramic slices and erasers.
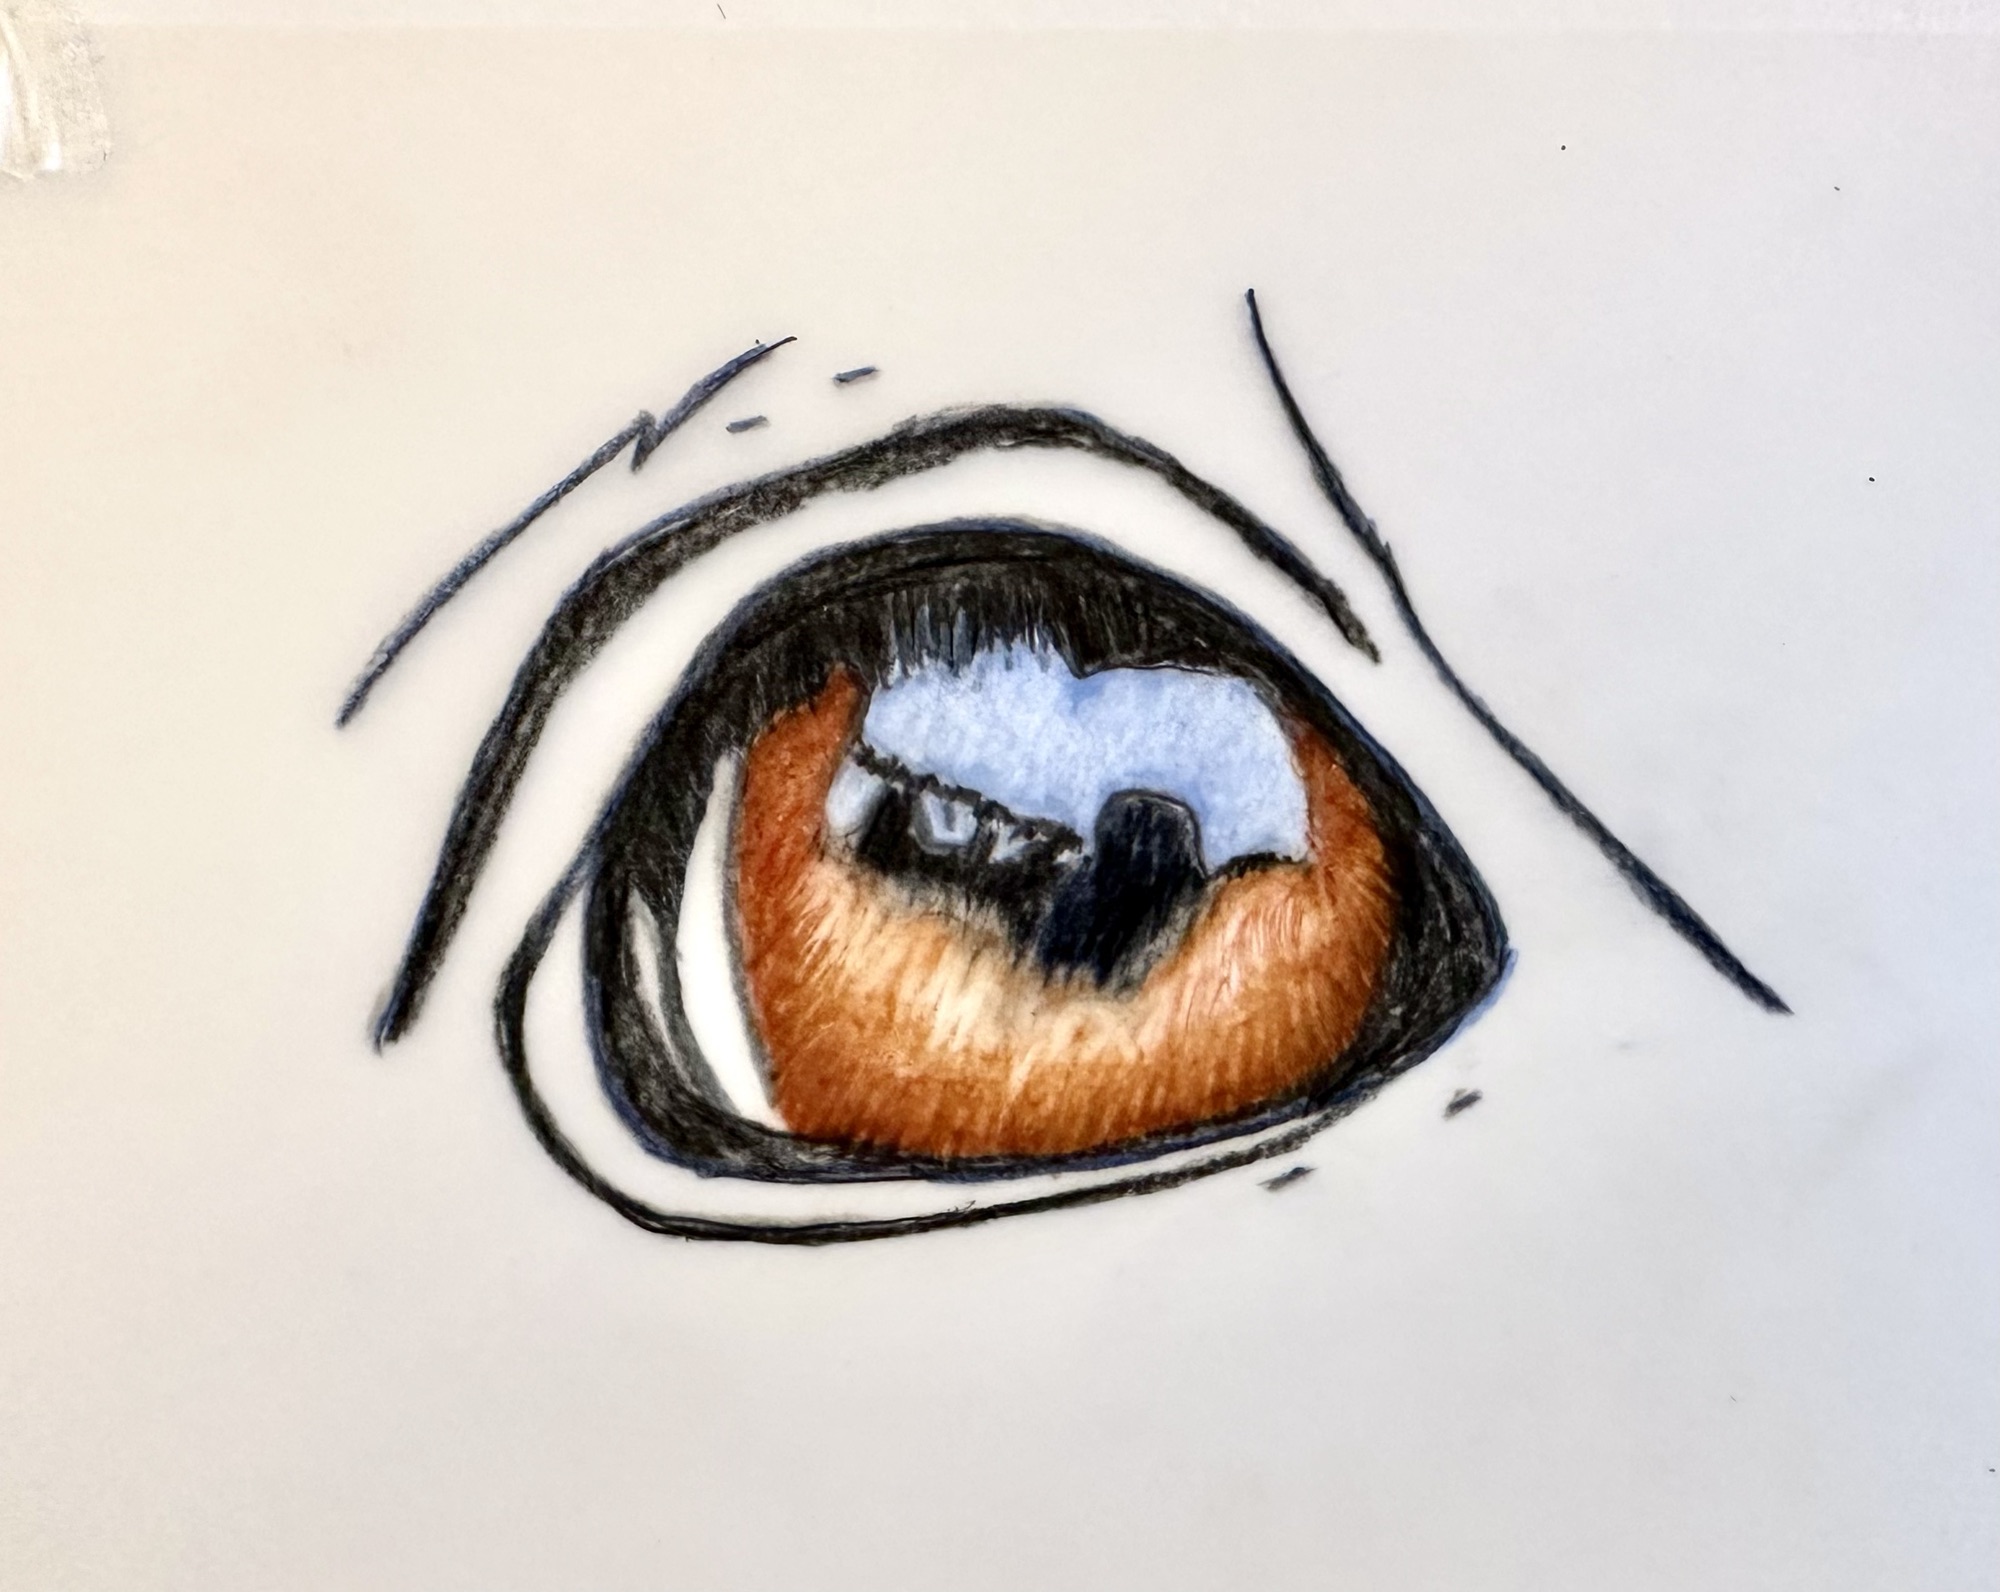
No one had drawn on drafting film before and we were all surprised how well the colour layers could be built up. We put a smooth sheet of hot pressed watercolour paper or cartridge paper underneath the drafting film so the colours could be easily seen. The Tombow Mono erasers were useful for removing tiny areas of colour as the eraser head is so small and the ceramic slices used to remove areas of colour for highlights and individual strands of fur.
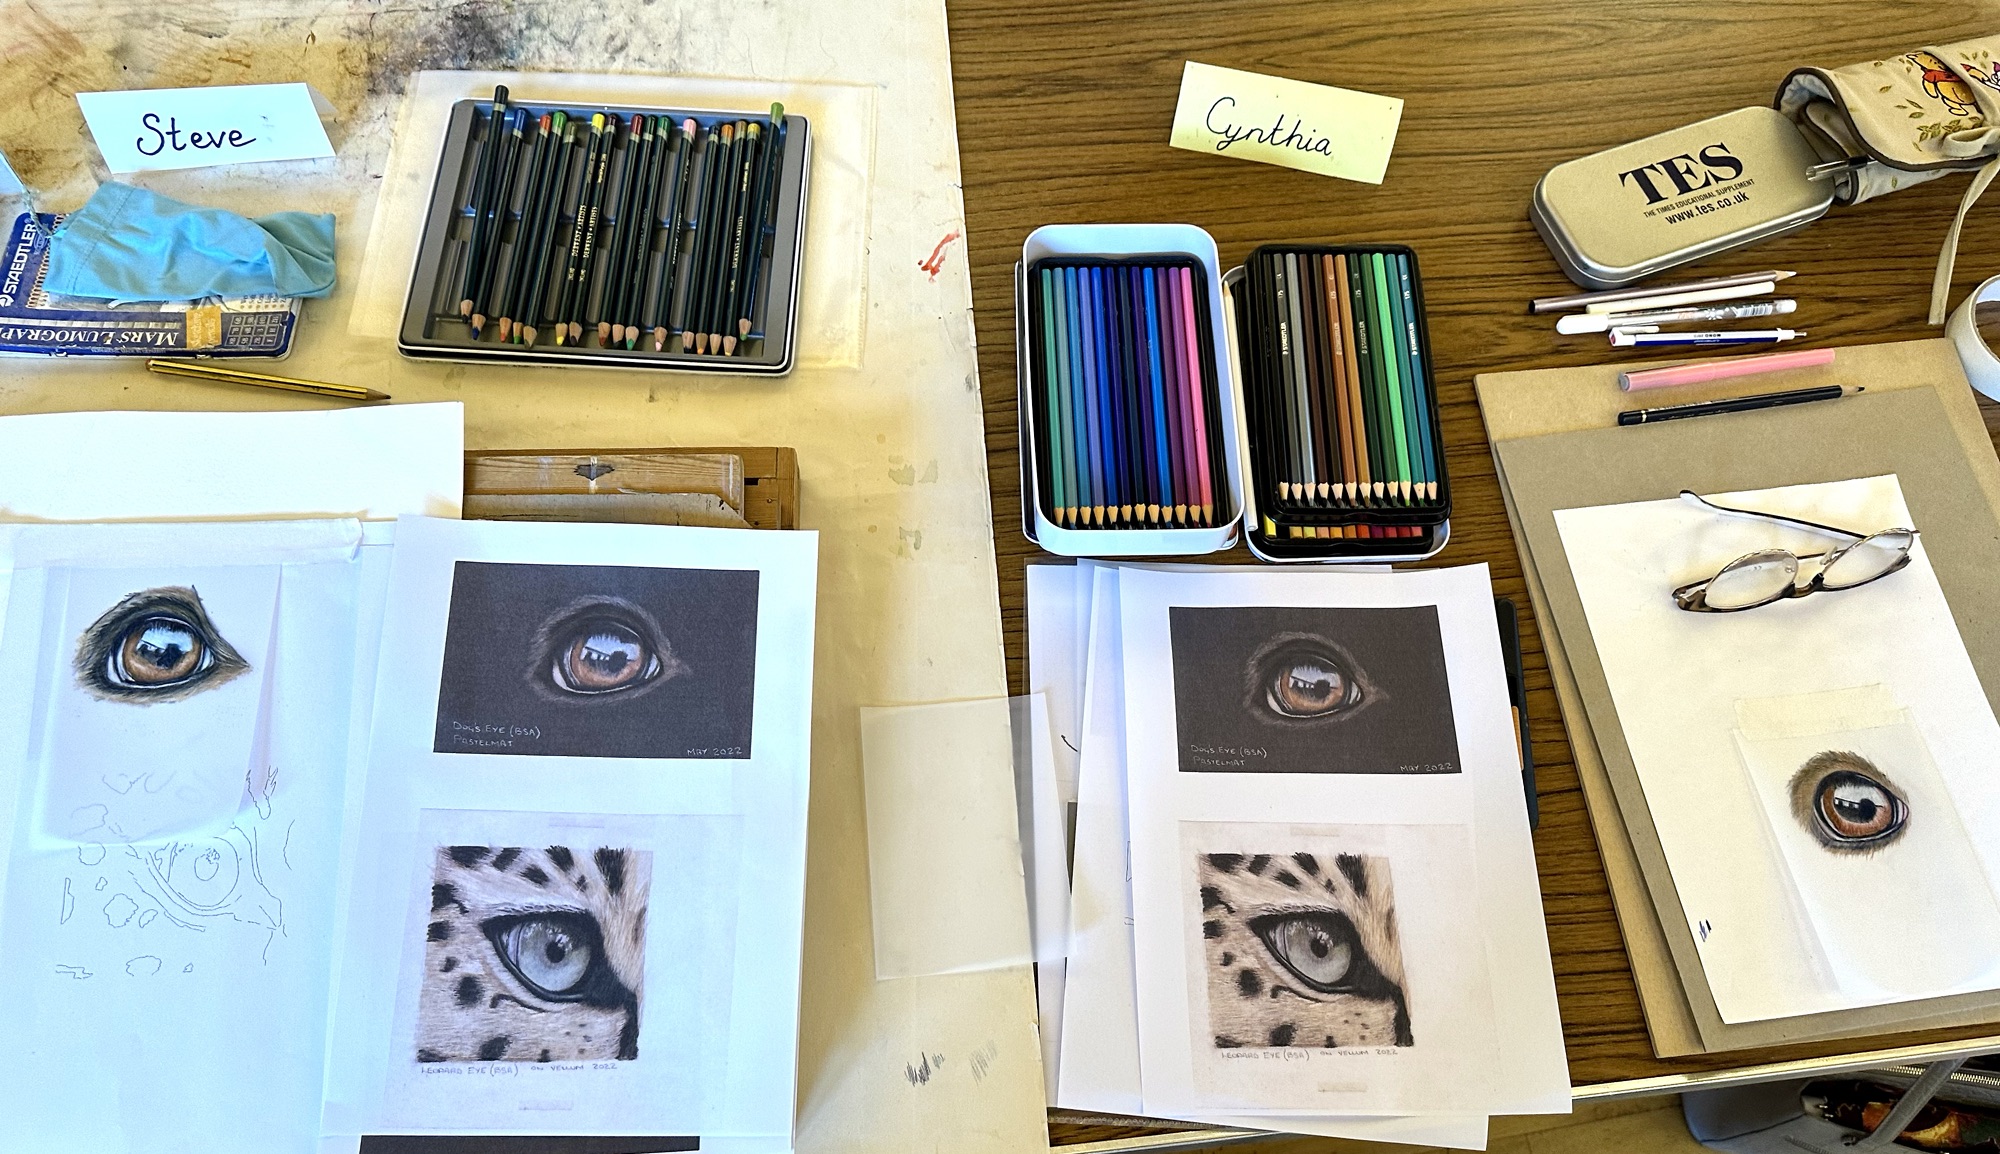
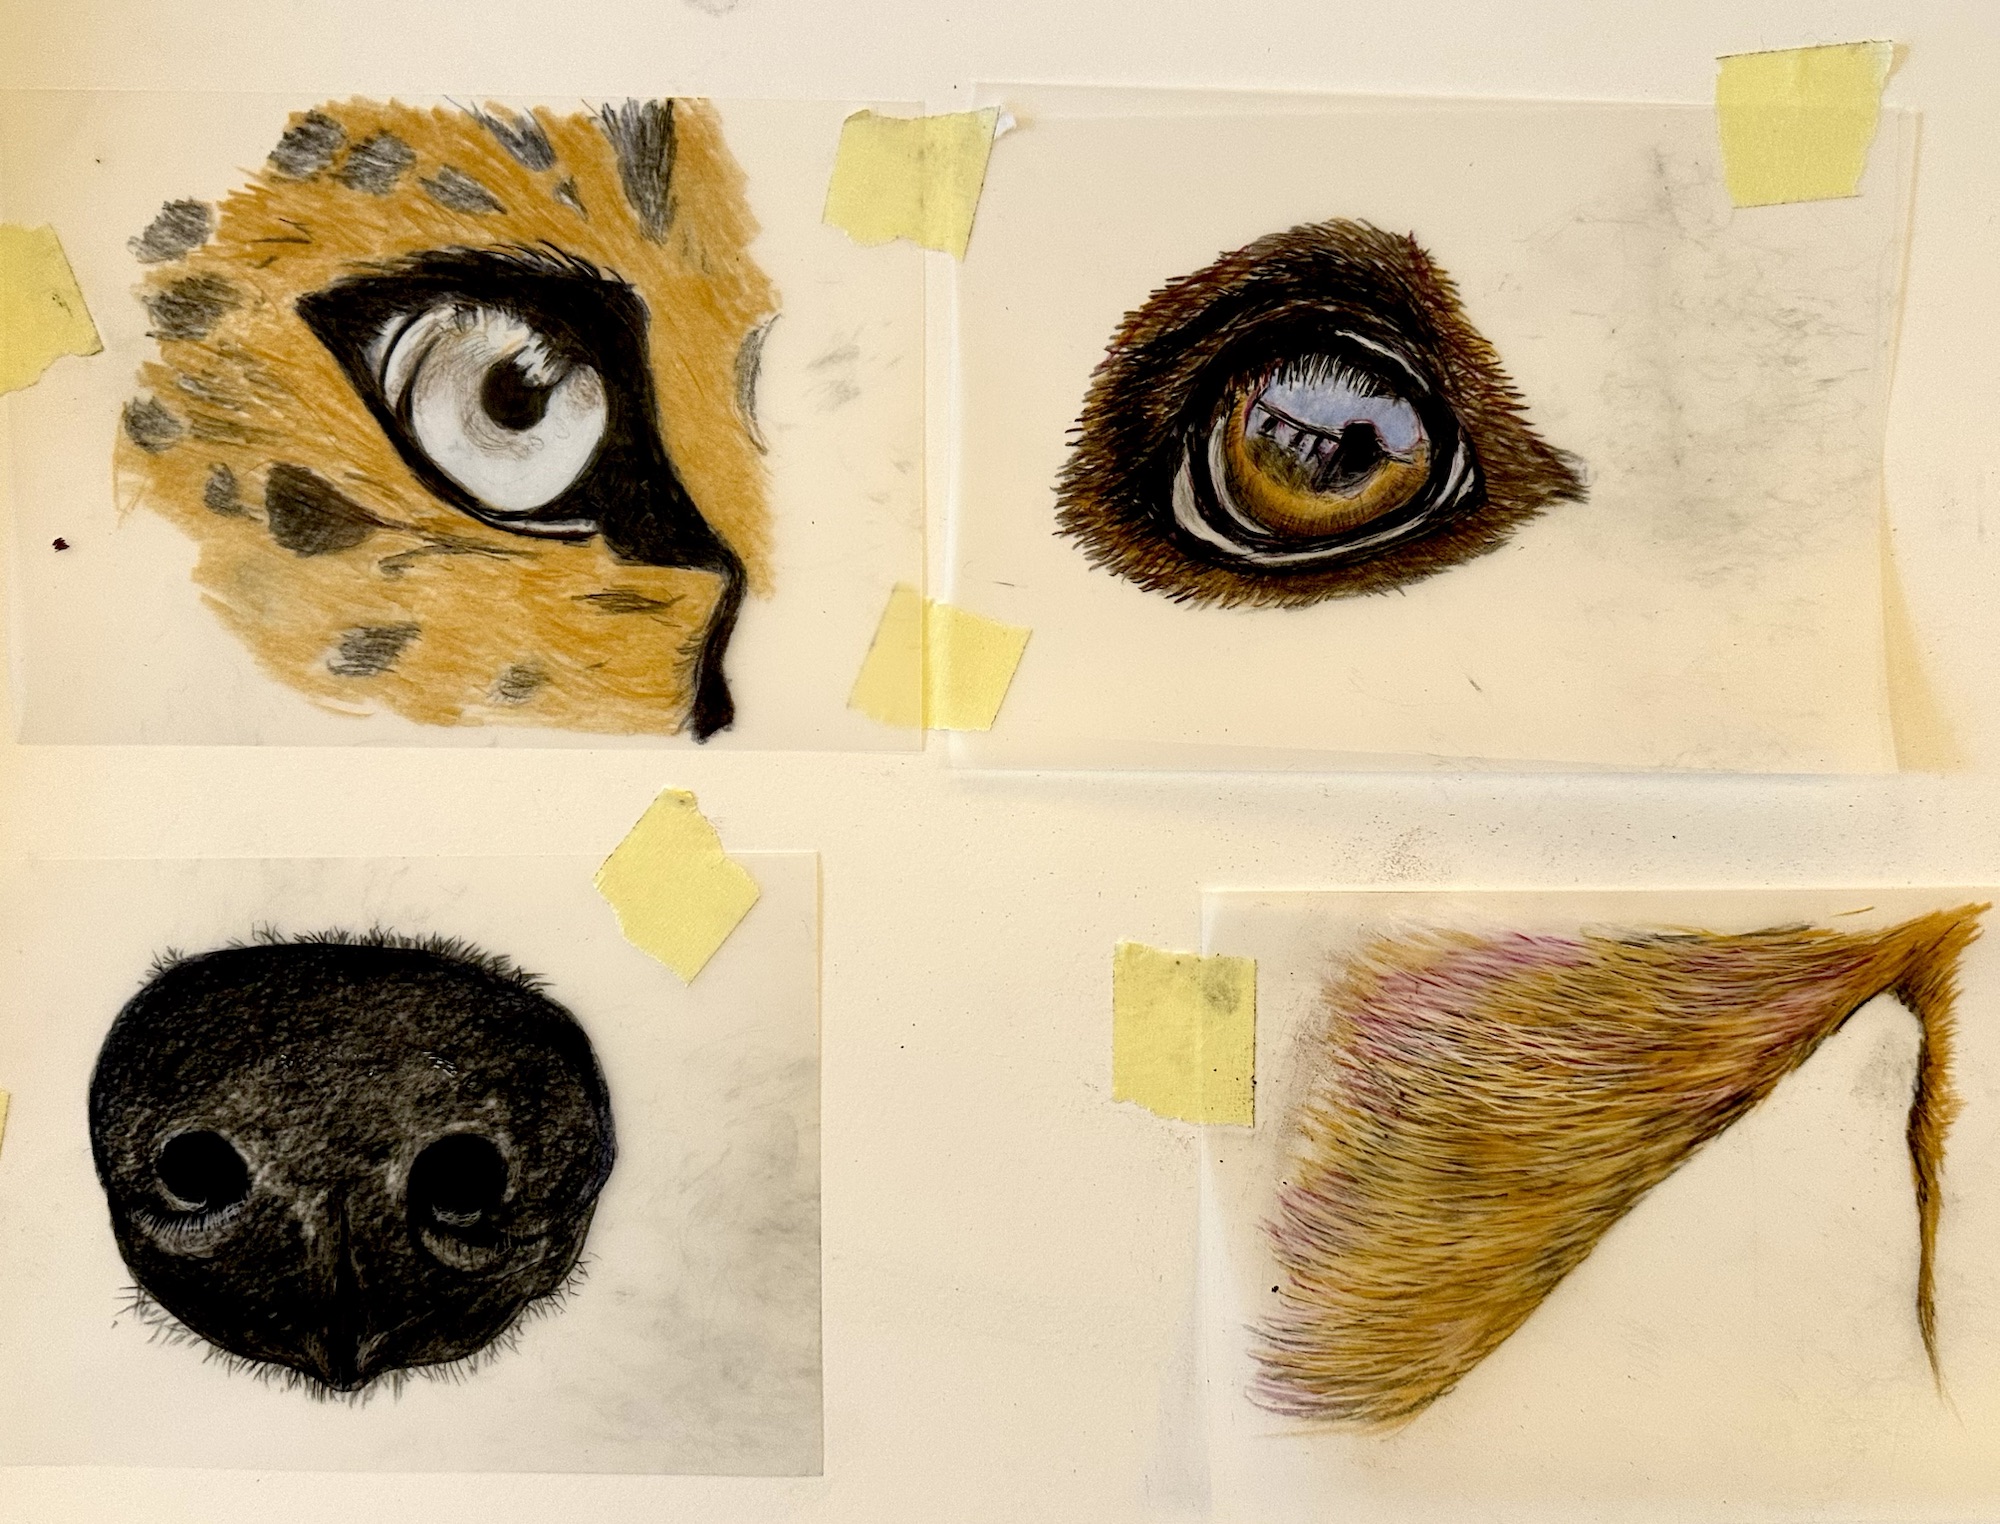
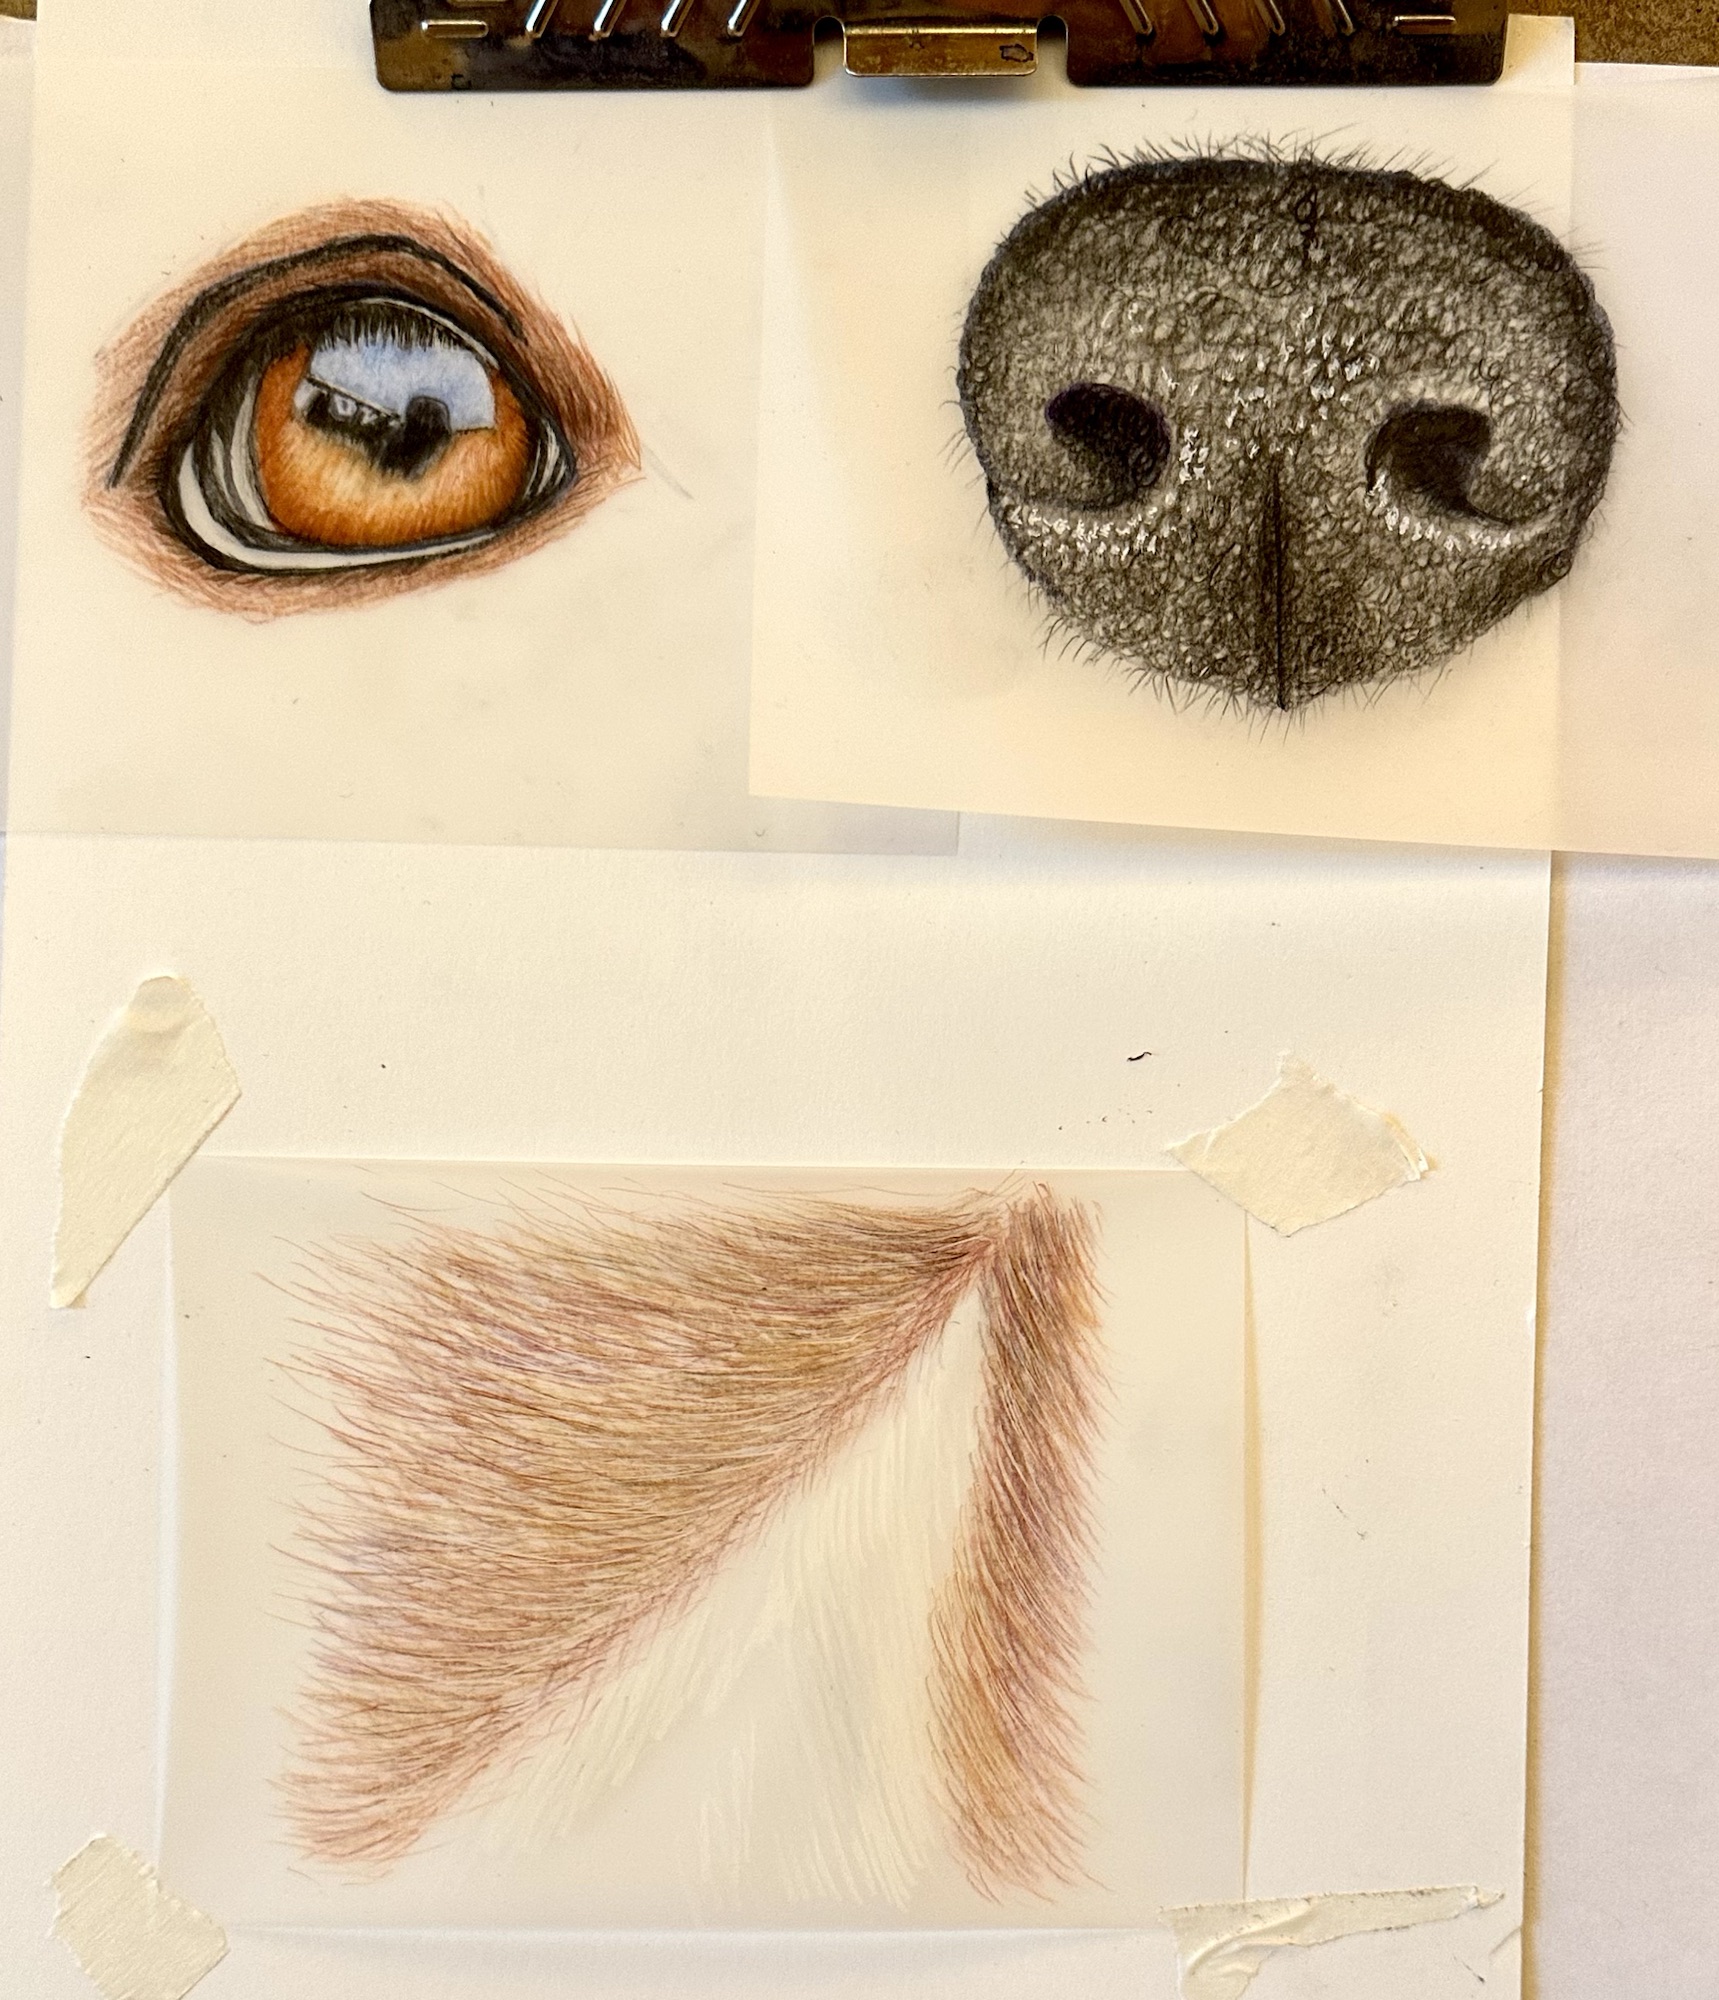
We all completed the eye, nose and fur and although we used the same templates the pictures look individual as we used many different coloured pencils in browns, reds, yellows and greys. Everyone was pleased to learn so much throughout the day, especially using the drafting film.
We’re all looking forward to drawing our next animal on the extra drafting film sheets which were given to us. When you finish your picture please email a photo to Tracy to be included in a future blog post.
Here are the finished pictures which were on the ledge at the back of the hall. (Apologies not to get the ones left on tables whilst we cleared up.)
Well done everyone you did really well and a huge thank you to Liz and Helen for such an informative workshop!
Our next session is on Wednesday 13th November 7-9pm, then it’s hanging evening on Friday 22nd November from 7pm and Open Day on Saturday 23rd November. On Open Day we meet from 10am with visitors from 10.30am to 2.30pm.
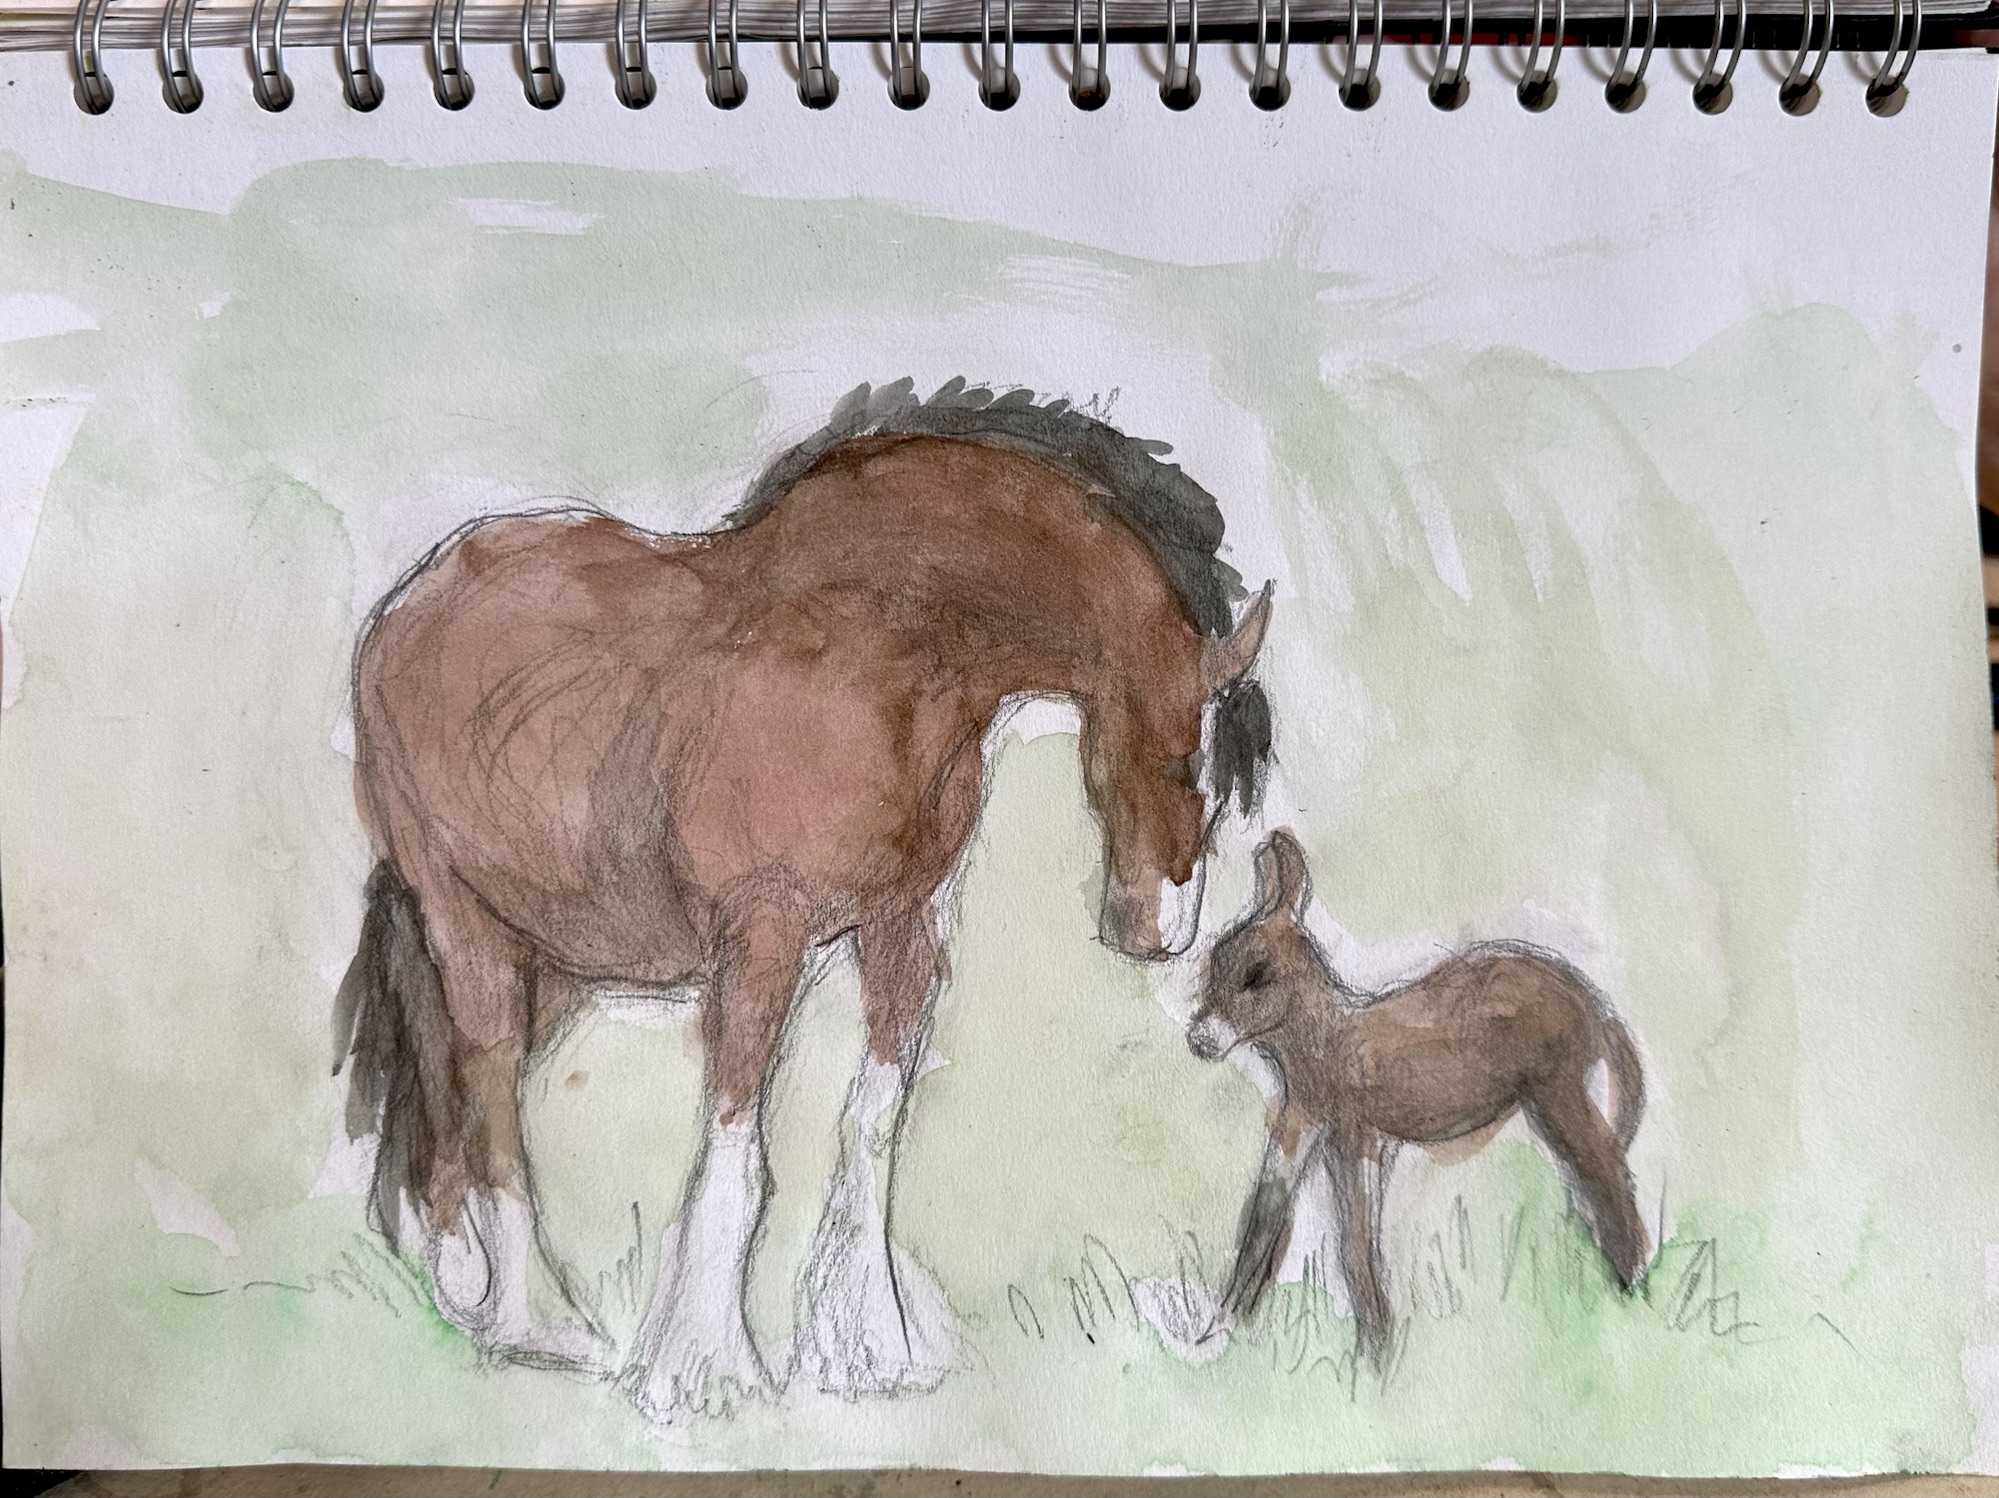
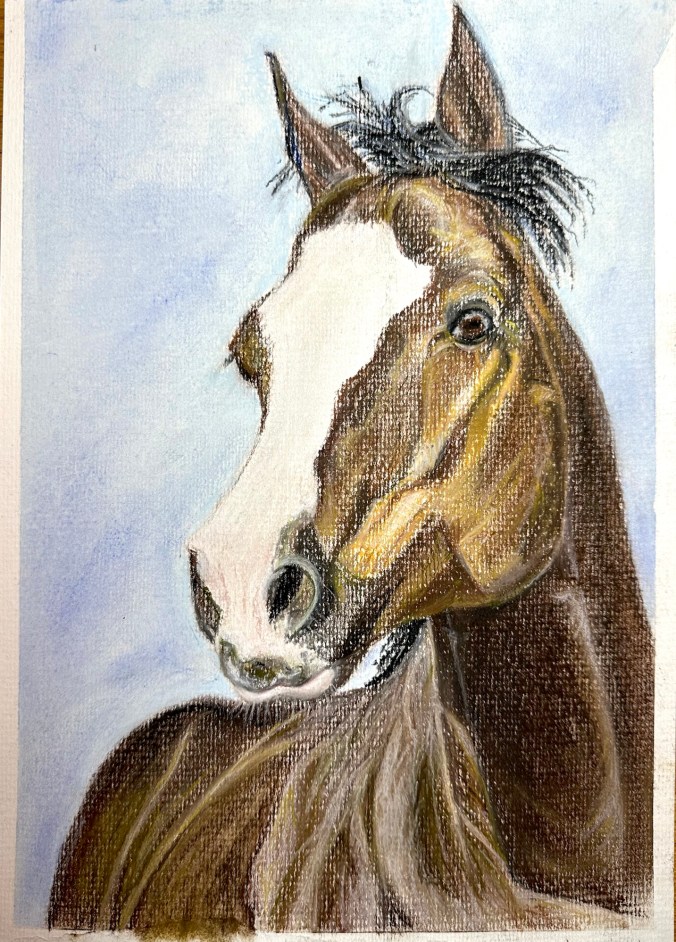
The subject of George Stubbs and his horse paintings was popular last month and several pictures were started. Four have now been finished…
Mary found an adorable photo of a huge shire horse and donkey foal in a newspaper, drew it carefully and painted it in watercolours.
Angela used pastels for her horse picture, using rich browns and tan colours for her bold horse head portrait.
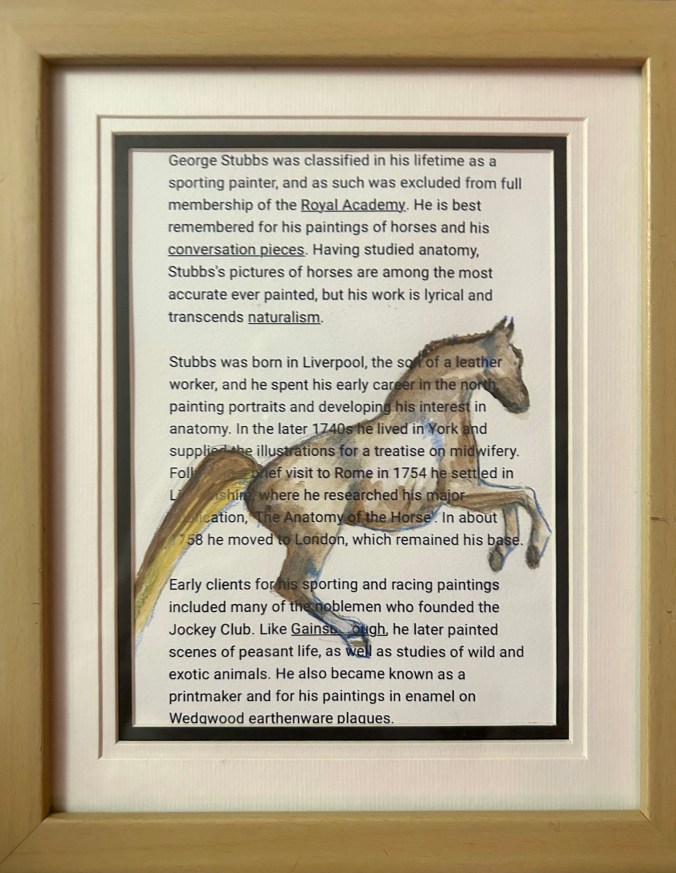
Janet W printed words about Stubbs on to Bockingford watercolour printer paper and painted a picture of Whistlejacket over the top in watercolour. She used the watercolours quite dryly so the words didn’t smudge. The painting is already framed as has just been exhibited in a Gravesend Art Group exhibition in the St.George’s Art Centre.
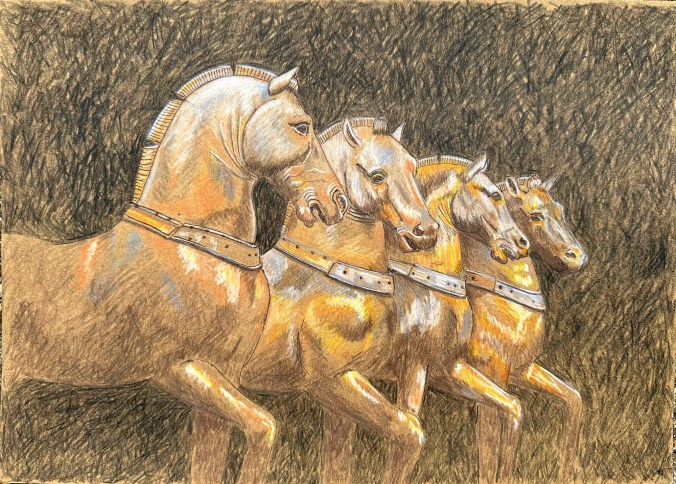
Tracy chose the Triumphal Quadriga as her subject, otherwise known as the Horses of Saint Mark, in St.Mark’s Basilica in Venice. Believed to have been sculpted in the 2nd or 3rd century CE in Rome or possibly the 5th or 4th century BCE in Greece, they were displayed for centuries at the Hippodrome of Constantinople until the sack and looting of the city by Venetian forces in 1204 during the Fourth Crusade. The four horses were then mounted above the entrance of the basilica in Venice until they were looted by Napoleon in 1797 and taken to Paris, but were returned to Venice in 1815. Copies of the four horses are now outside St. Mark’s Basilica whilst the originals are displayed inside under spotlights which highlight the original mercury gilding that remains.
Tracy started with brown paper and used black, white, yellow, orange and brown coloured pencils to create her picture of the horses.
Well done everyone! It’s always interesting to see finished pictures which were started at previous sessions.
The next session is at the hall on Saturday 28th September from 10am to 3pm.
We have so many different subjects in our sessions that we often start pictures but don’t get around to finishing them.
Here are several pictures that were finished at home from sessions on Frida Kahlo, painting on a book page, Underwater Life, In an English Country Garden, and Chalk Church.
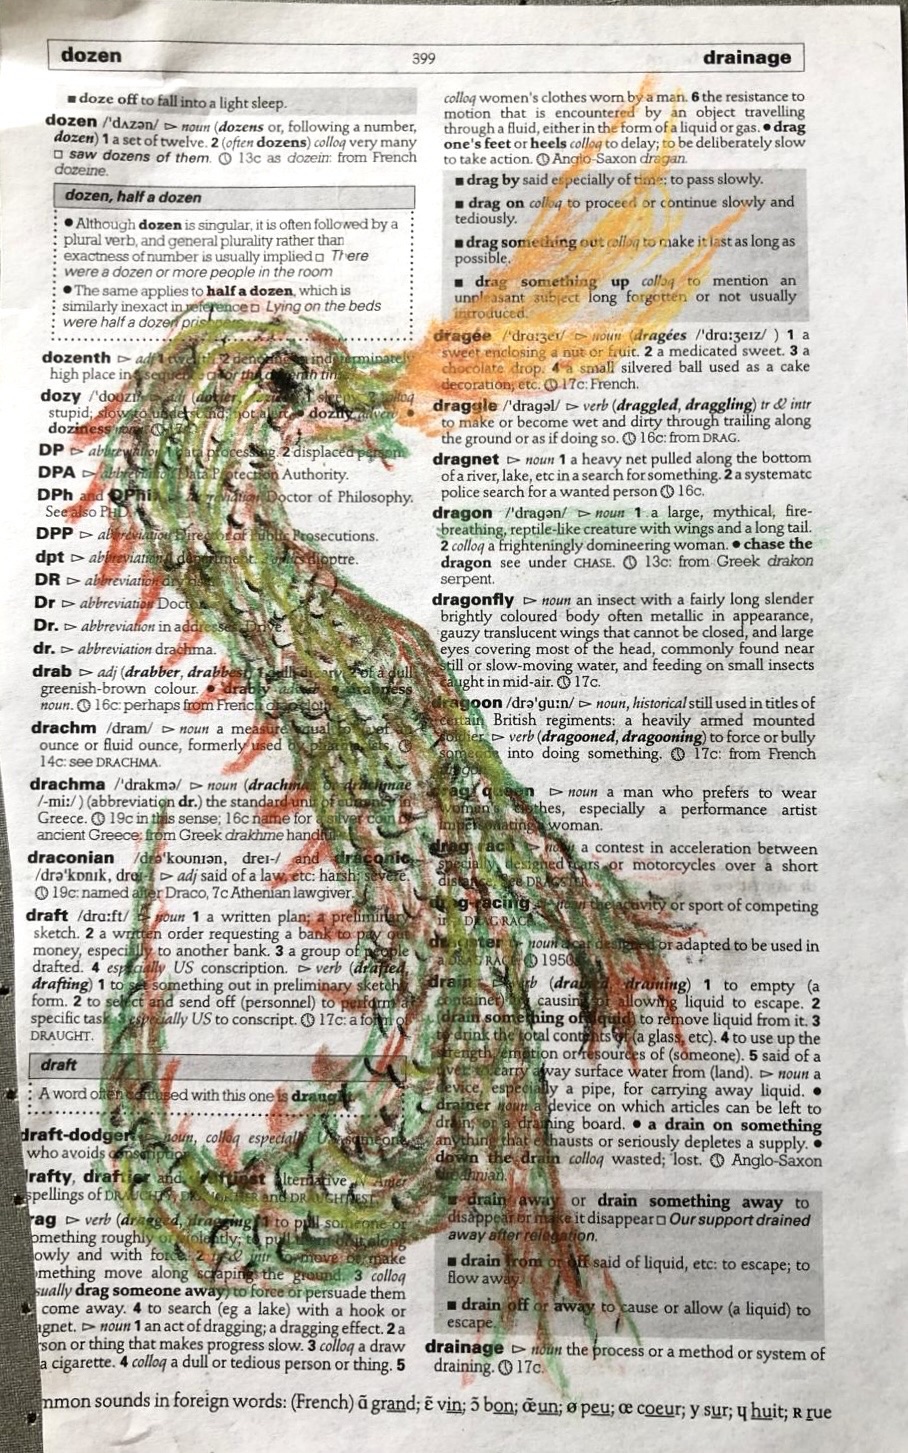
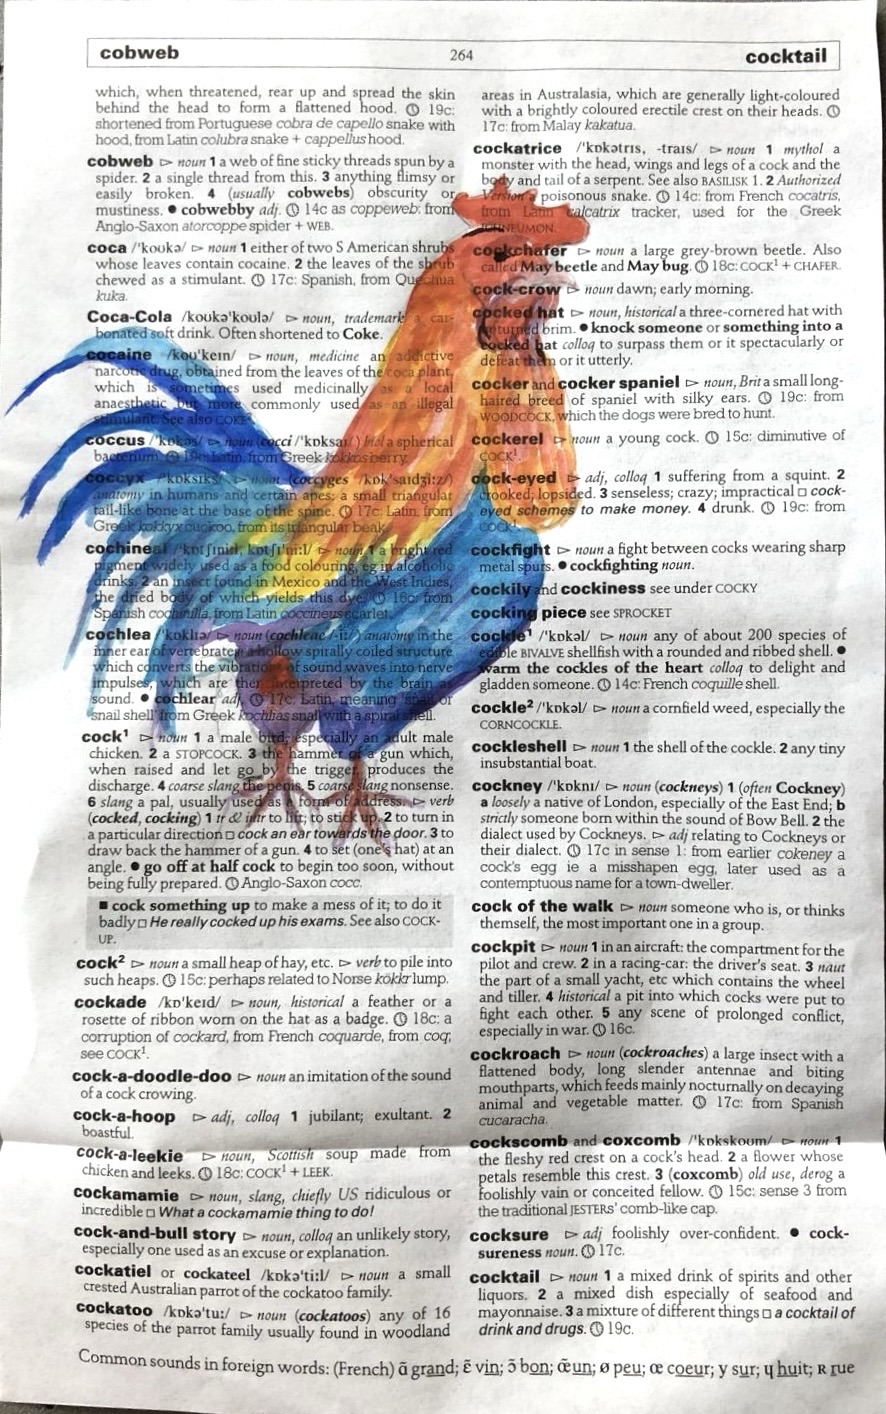
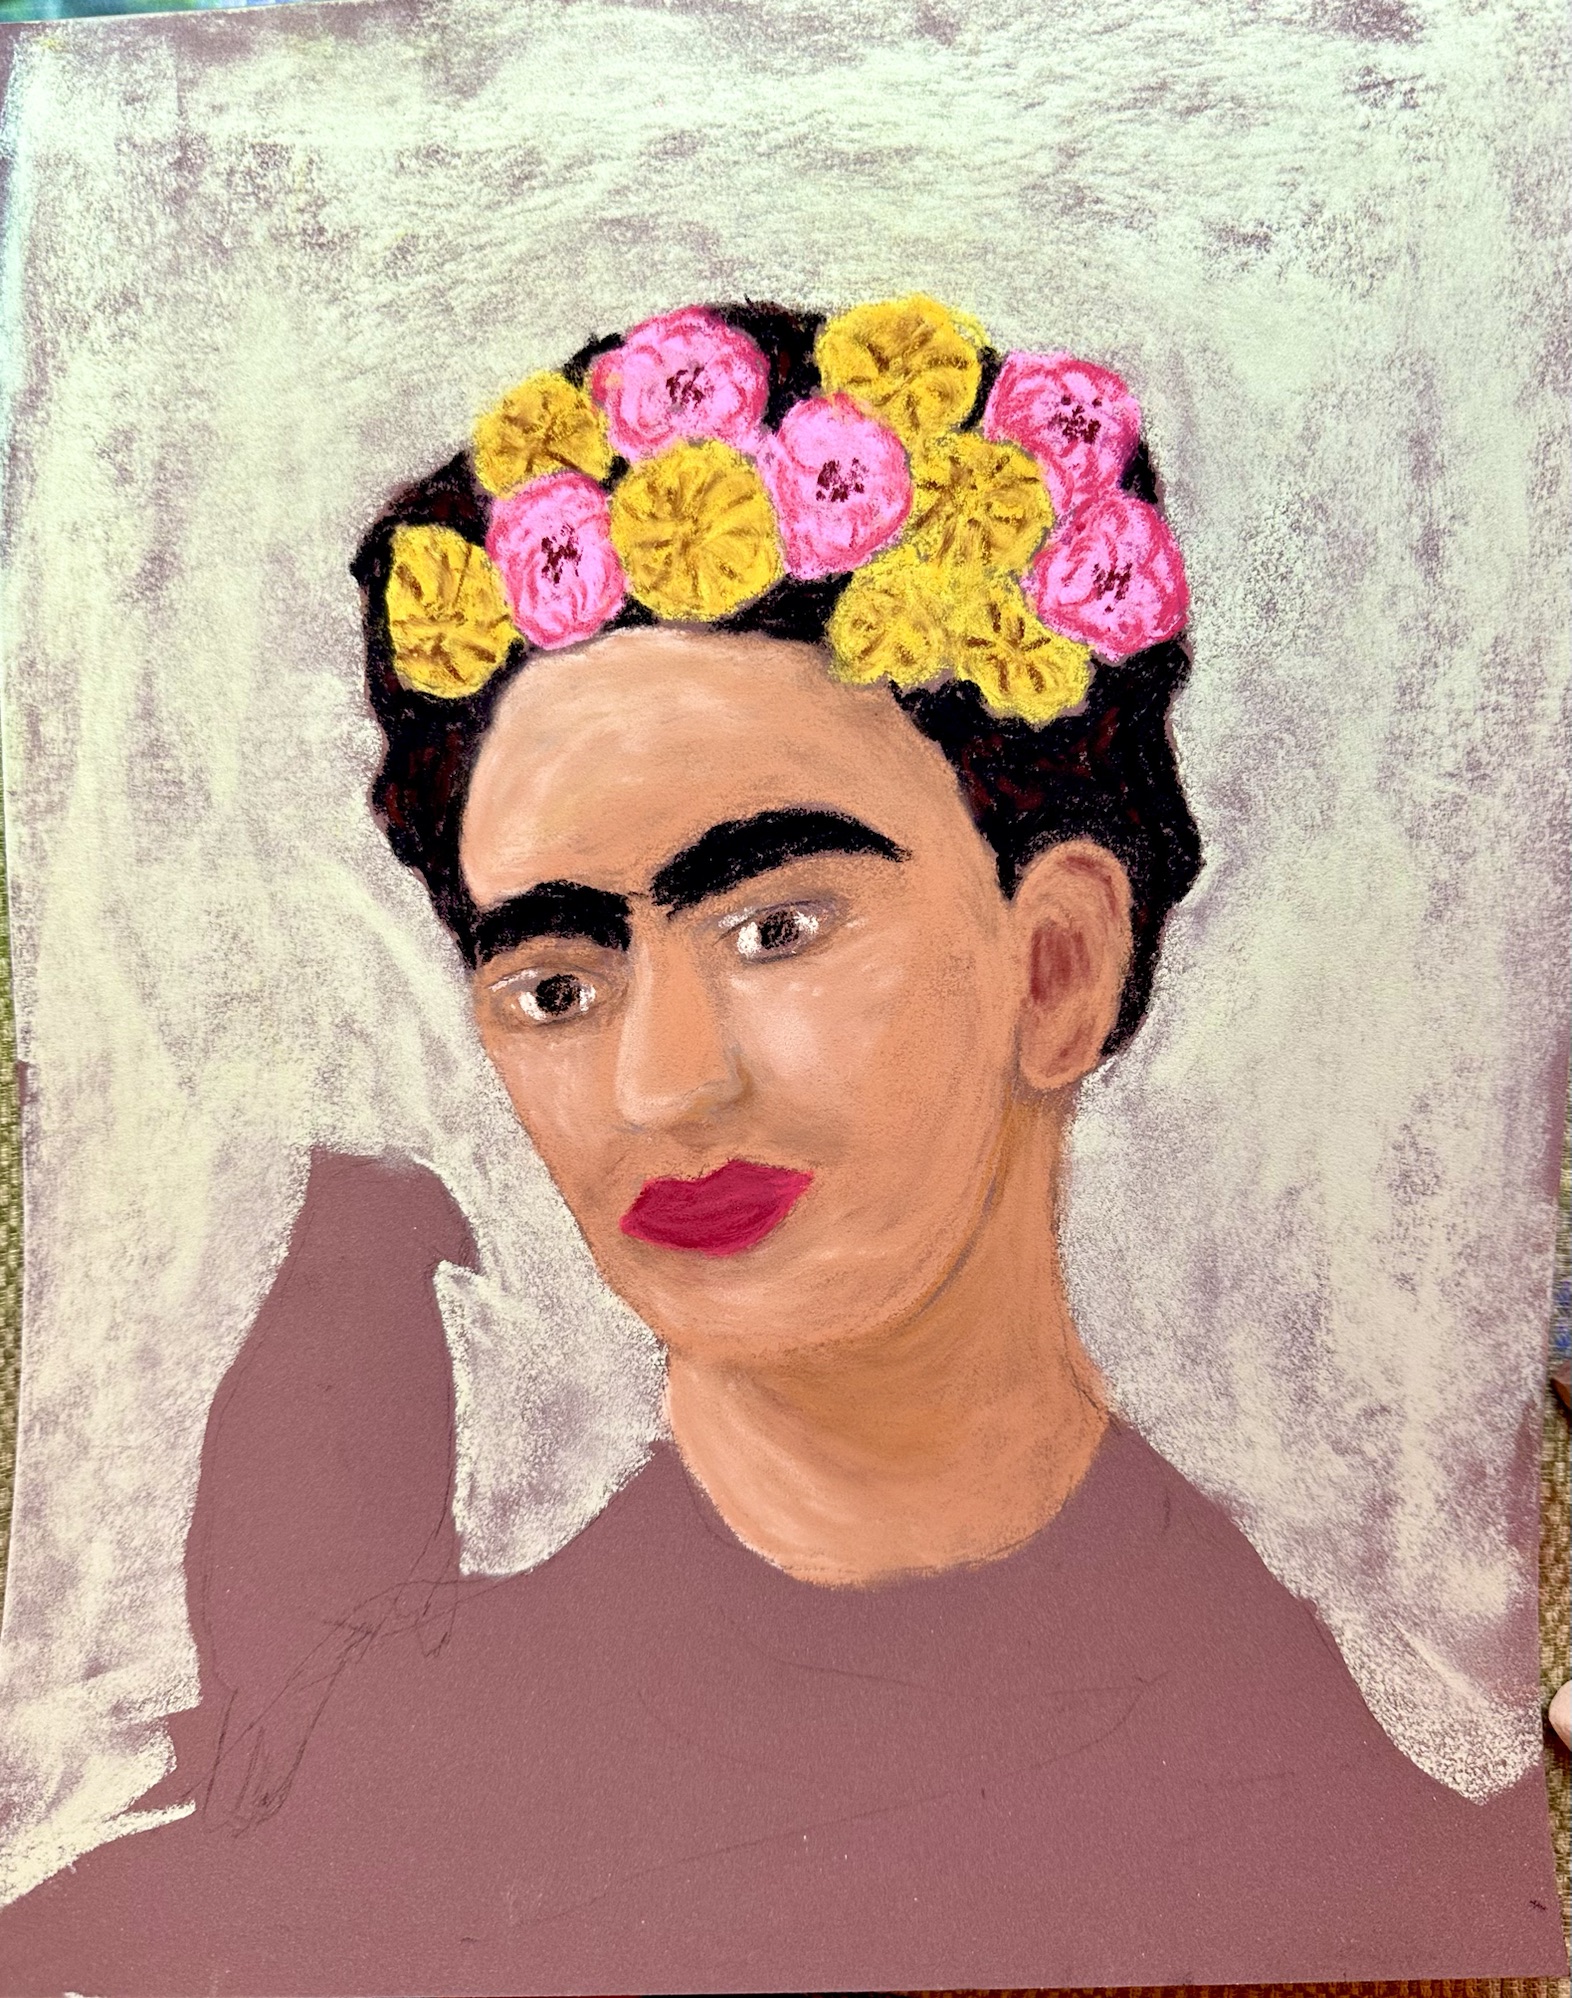
Brenda’s colourful picture of Frida Kahlo is in pastels as are her images of the dragon and the parrot on a dictionary page. The cockerel is painted in watercolours.
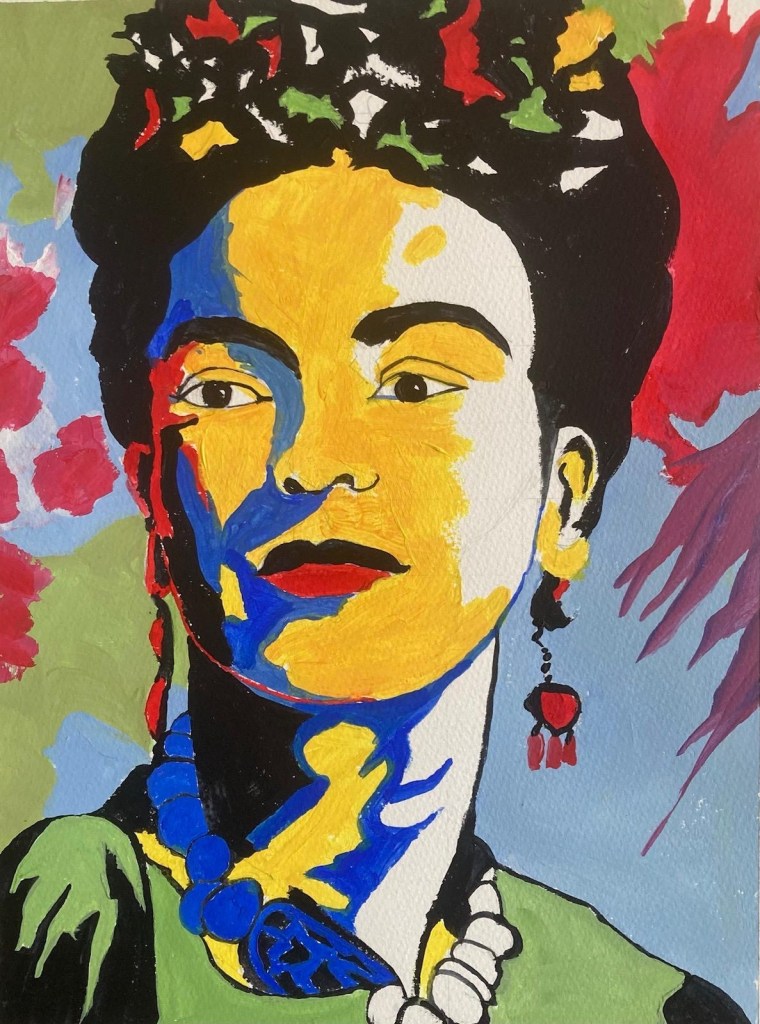
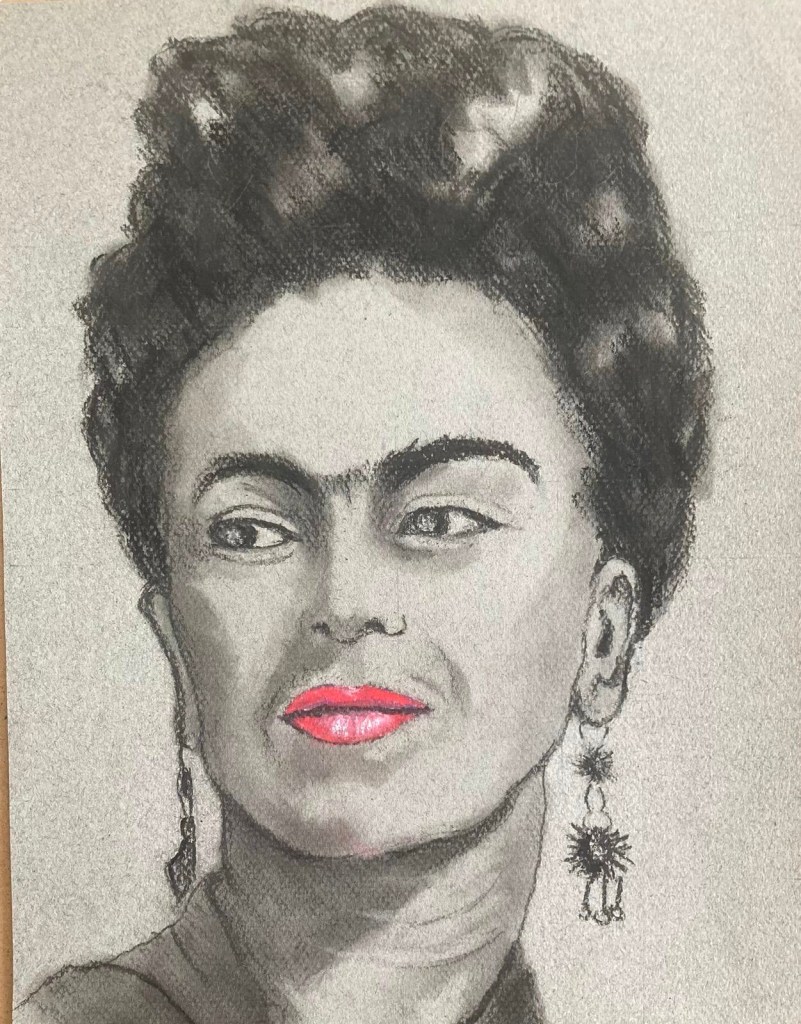
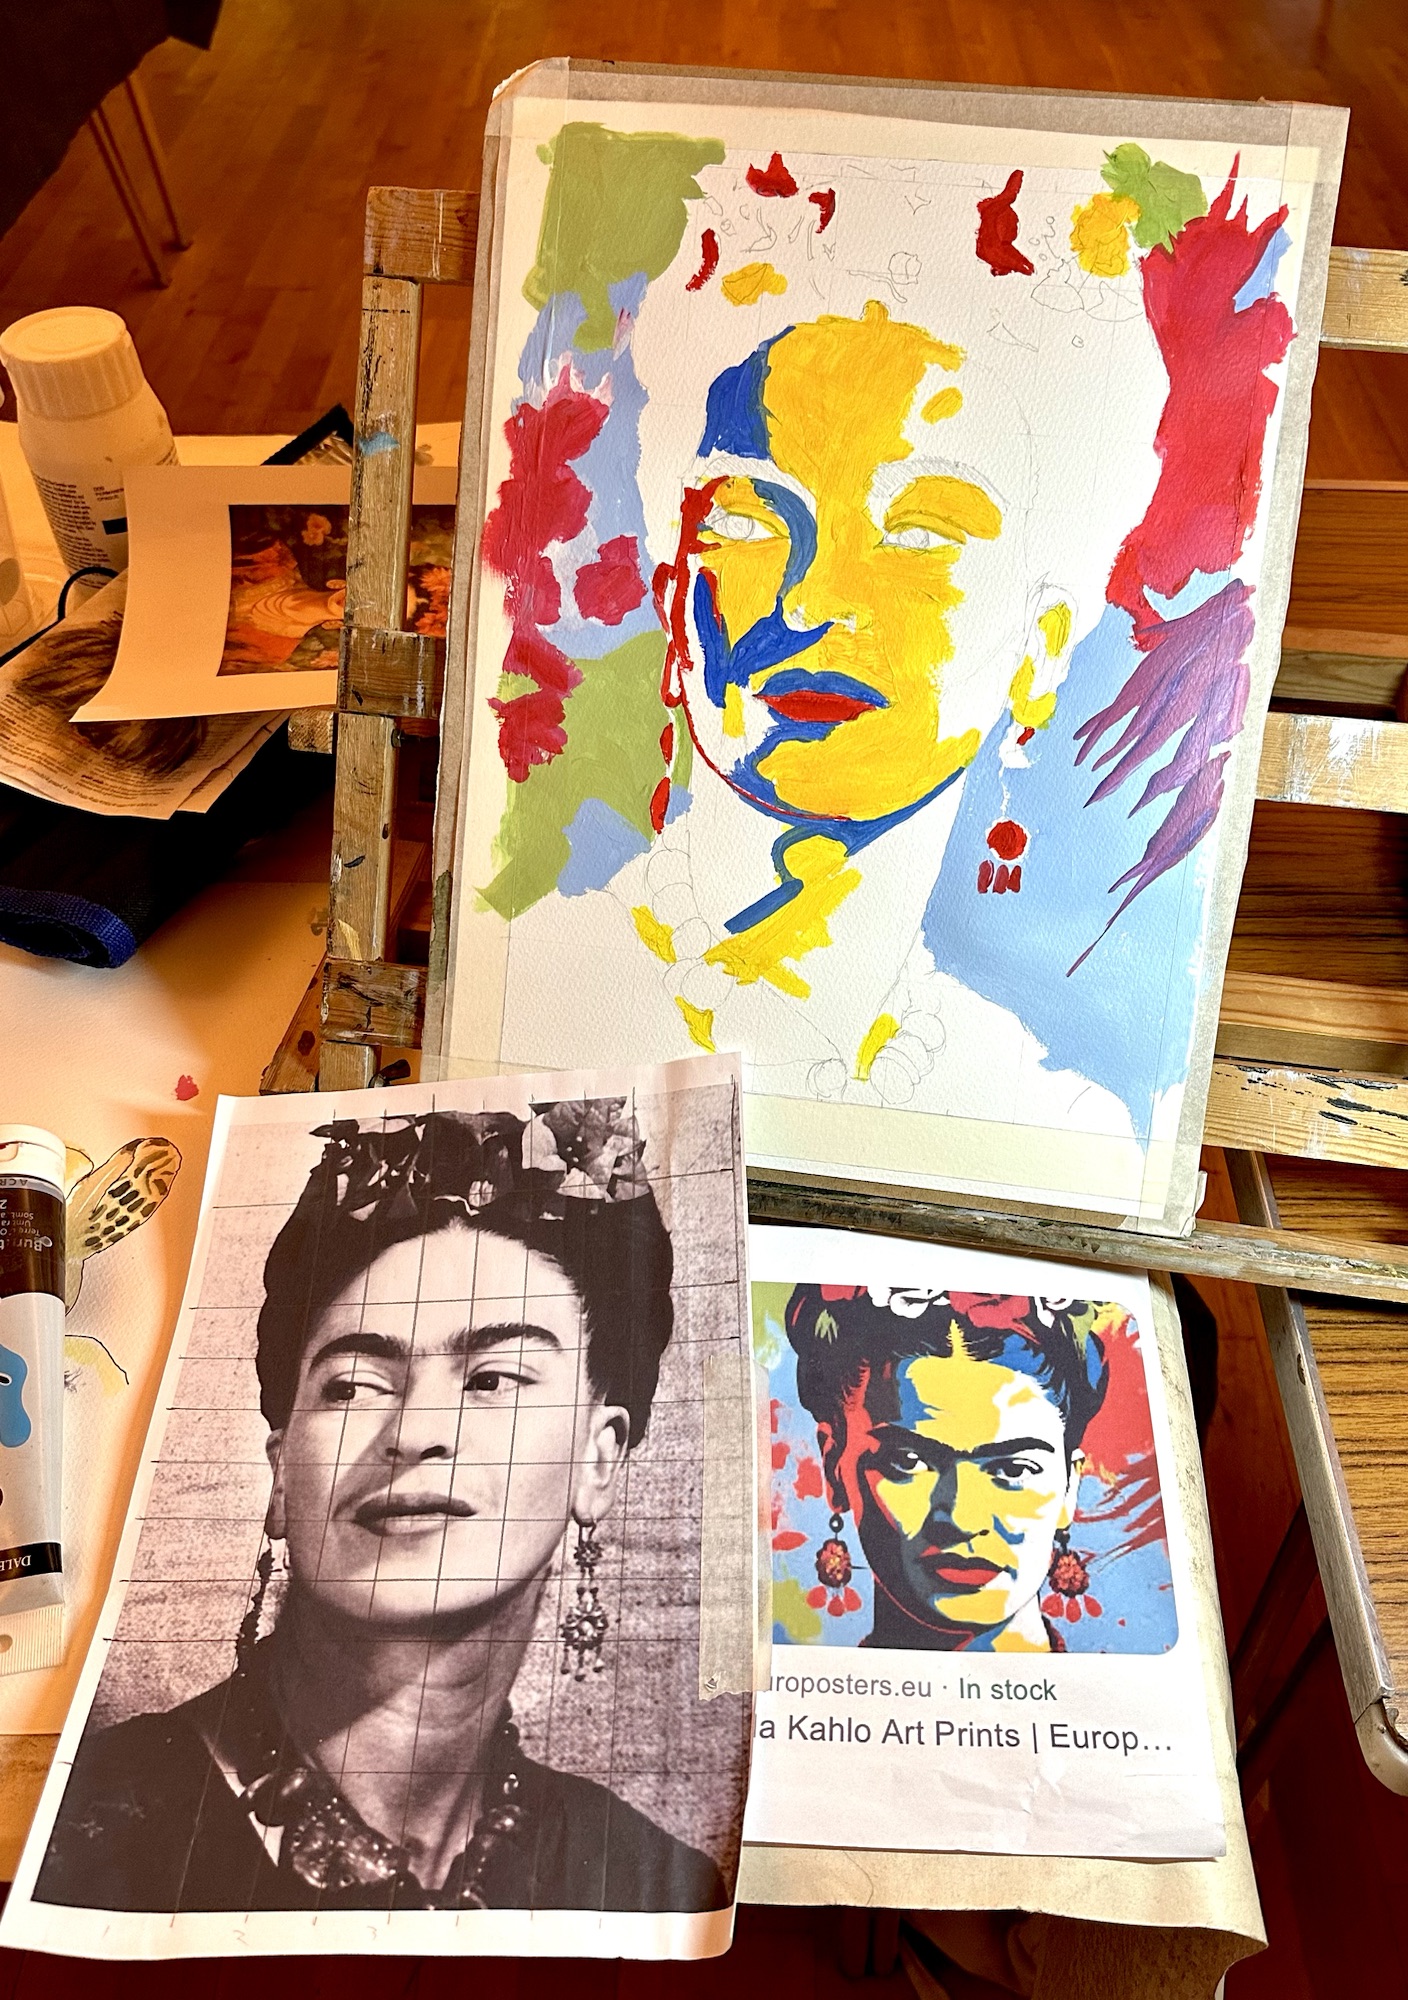
Steve’s posterised image of Frida Kahlo was painted in acrylics and the other in black pastel on grey pastel paper with a dramatic pop of lip colour in pink. Chalk Church was created when we visited last month, again in pastel but using many colours for a realistic picture.
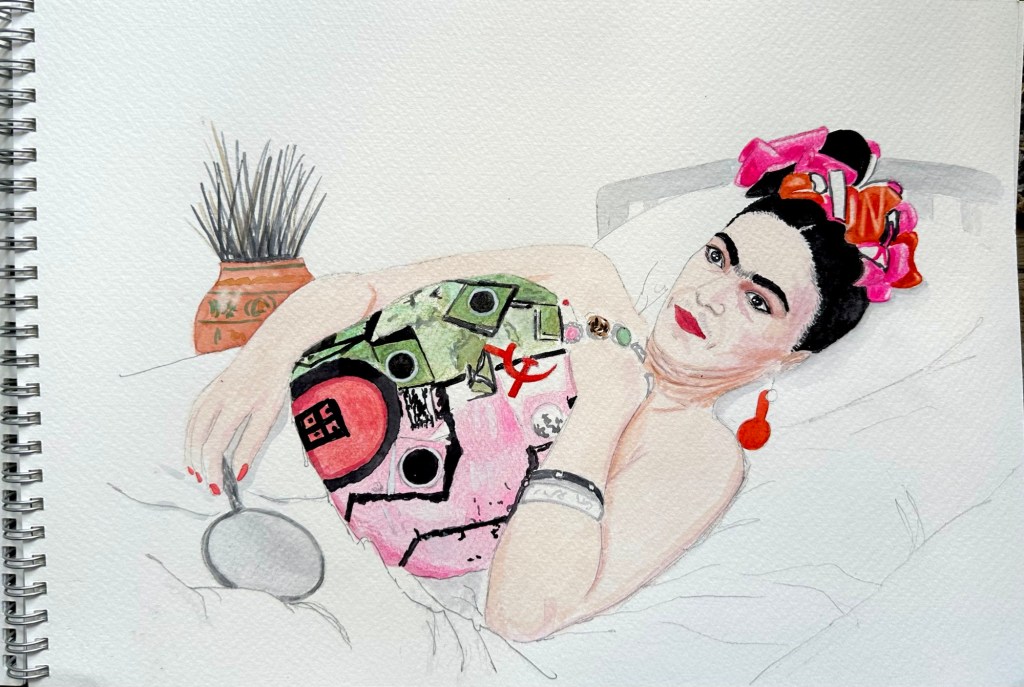
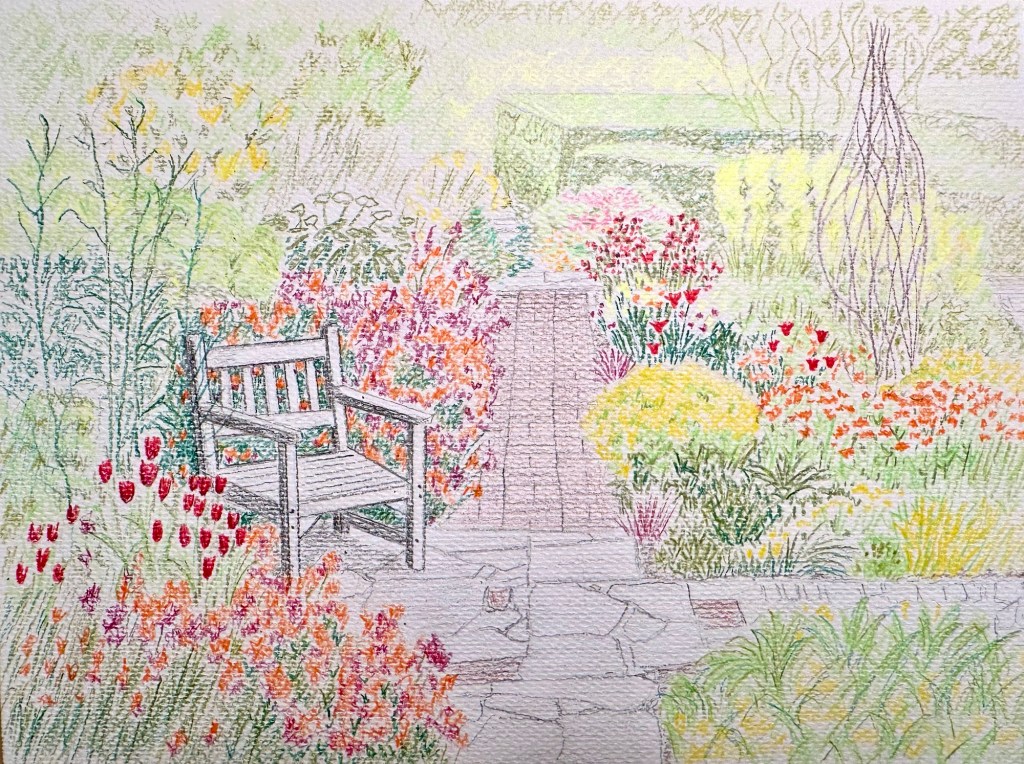
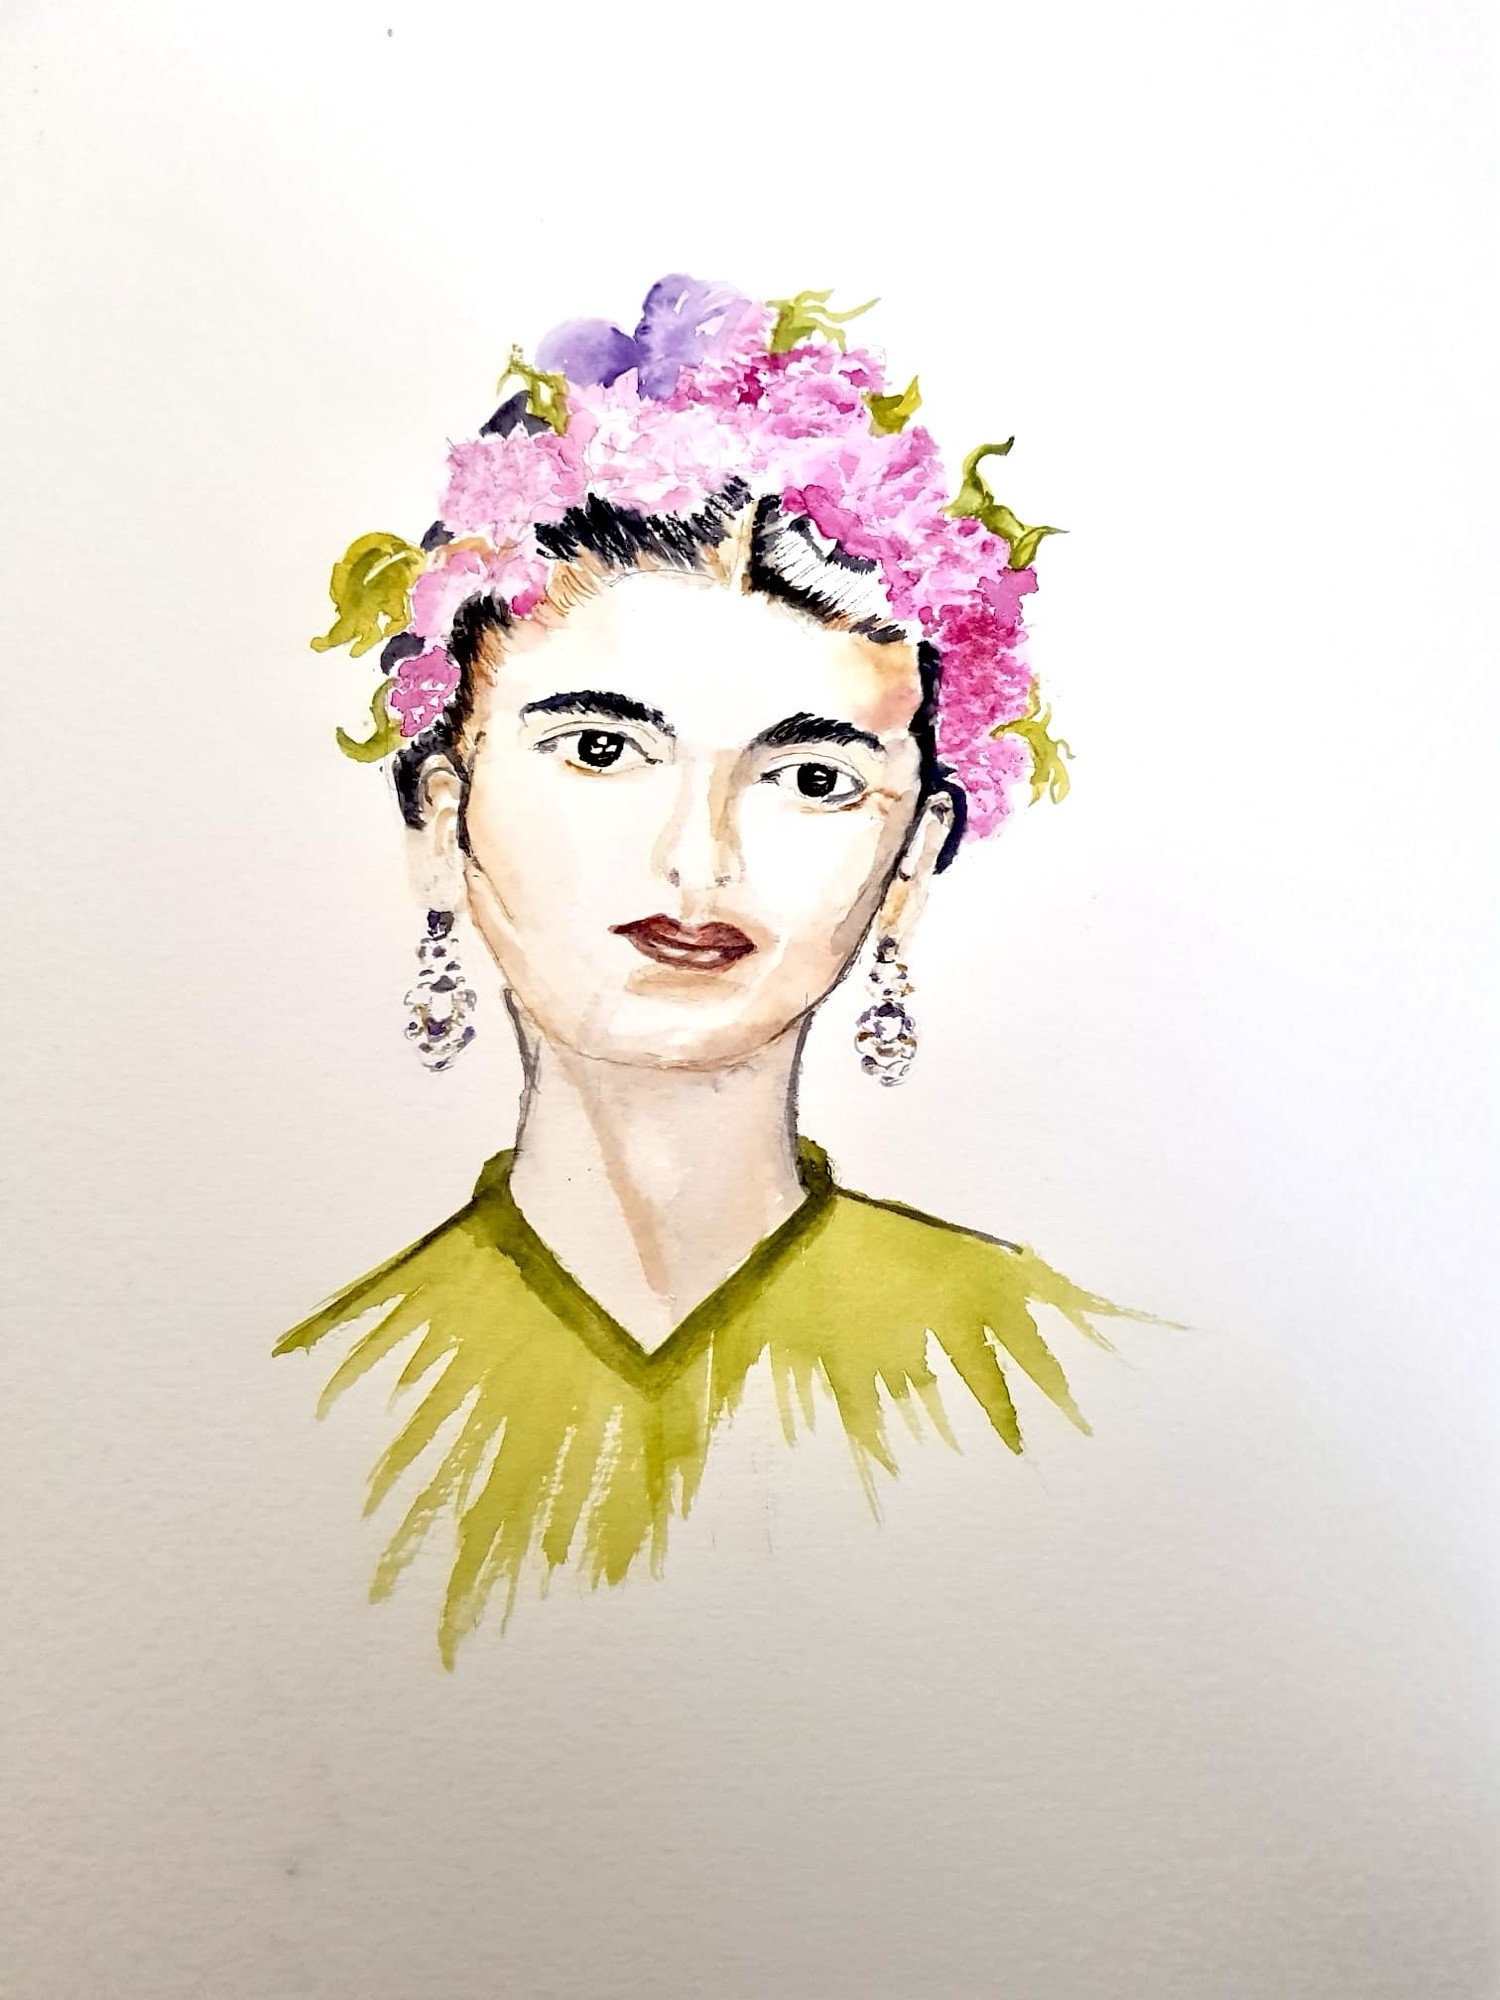
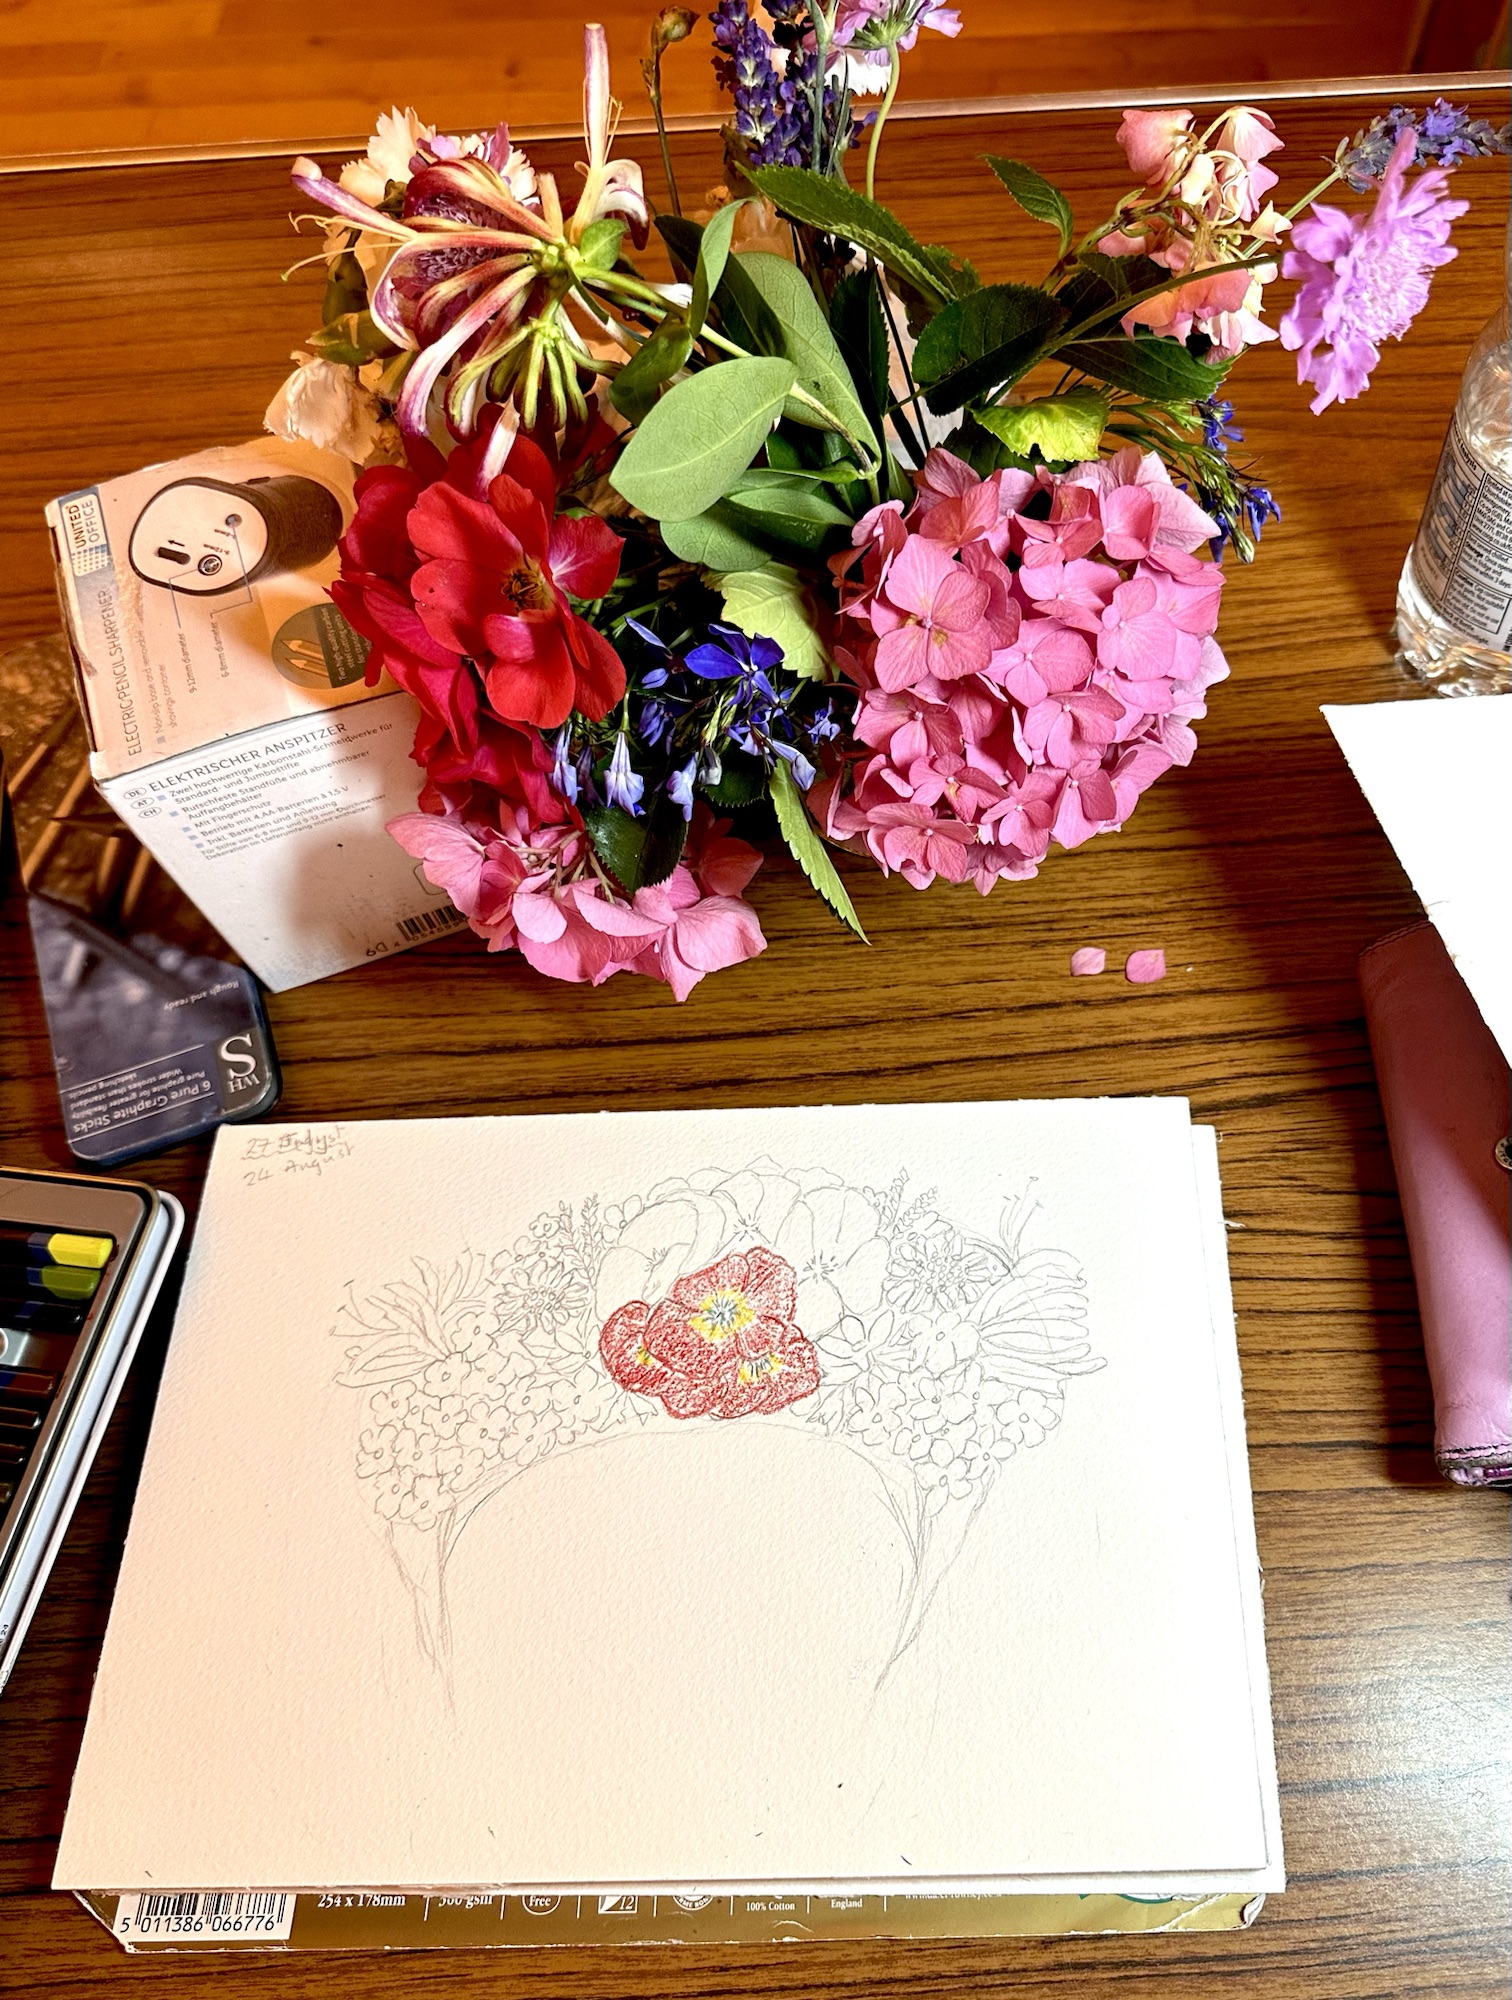
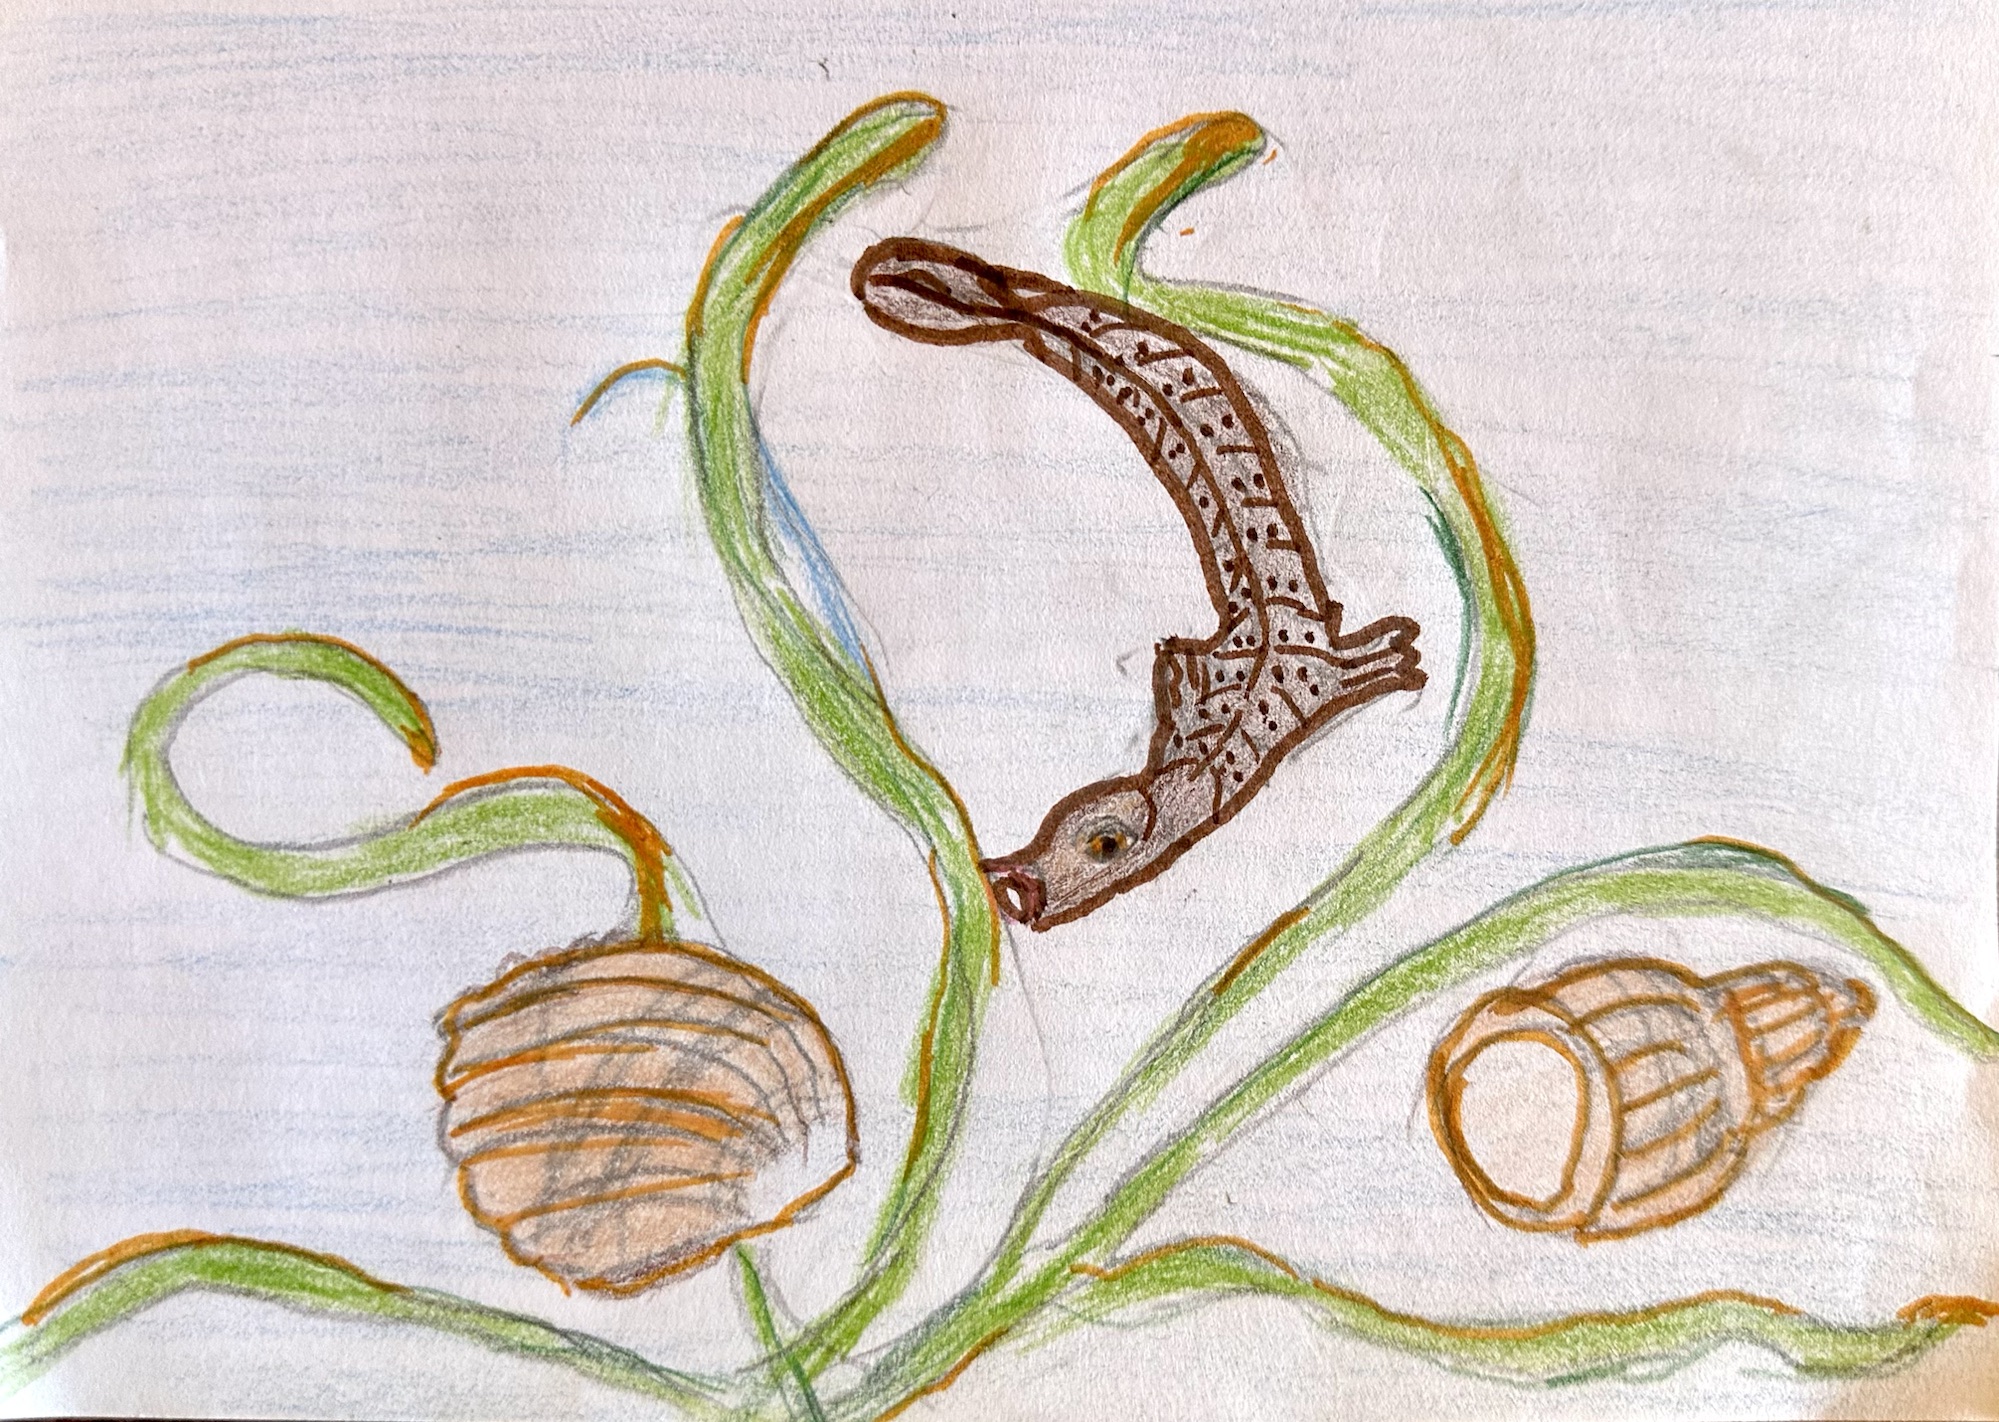
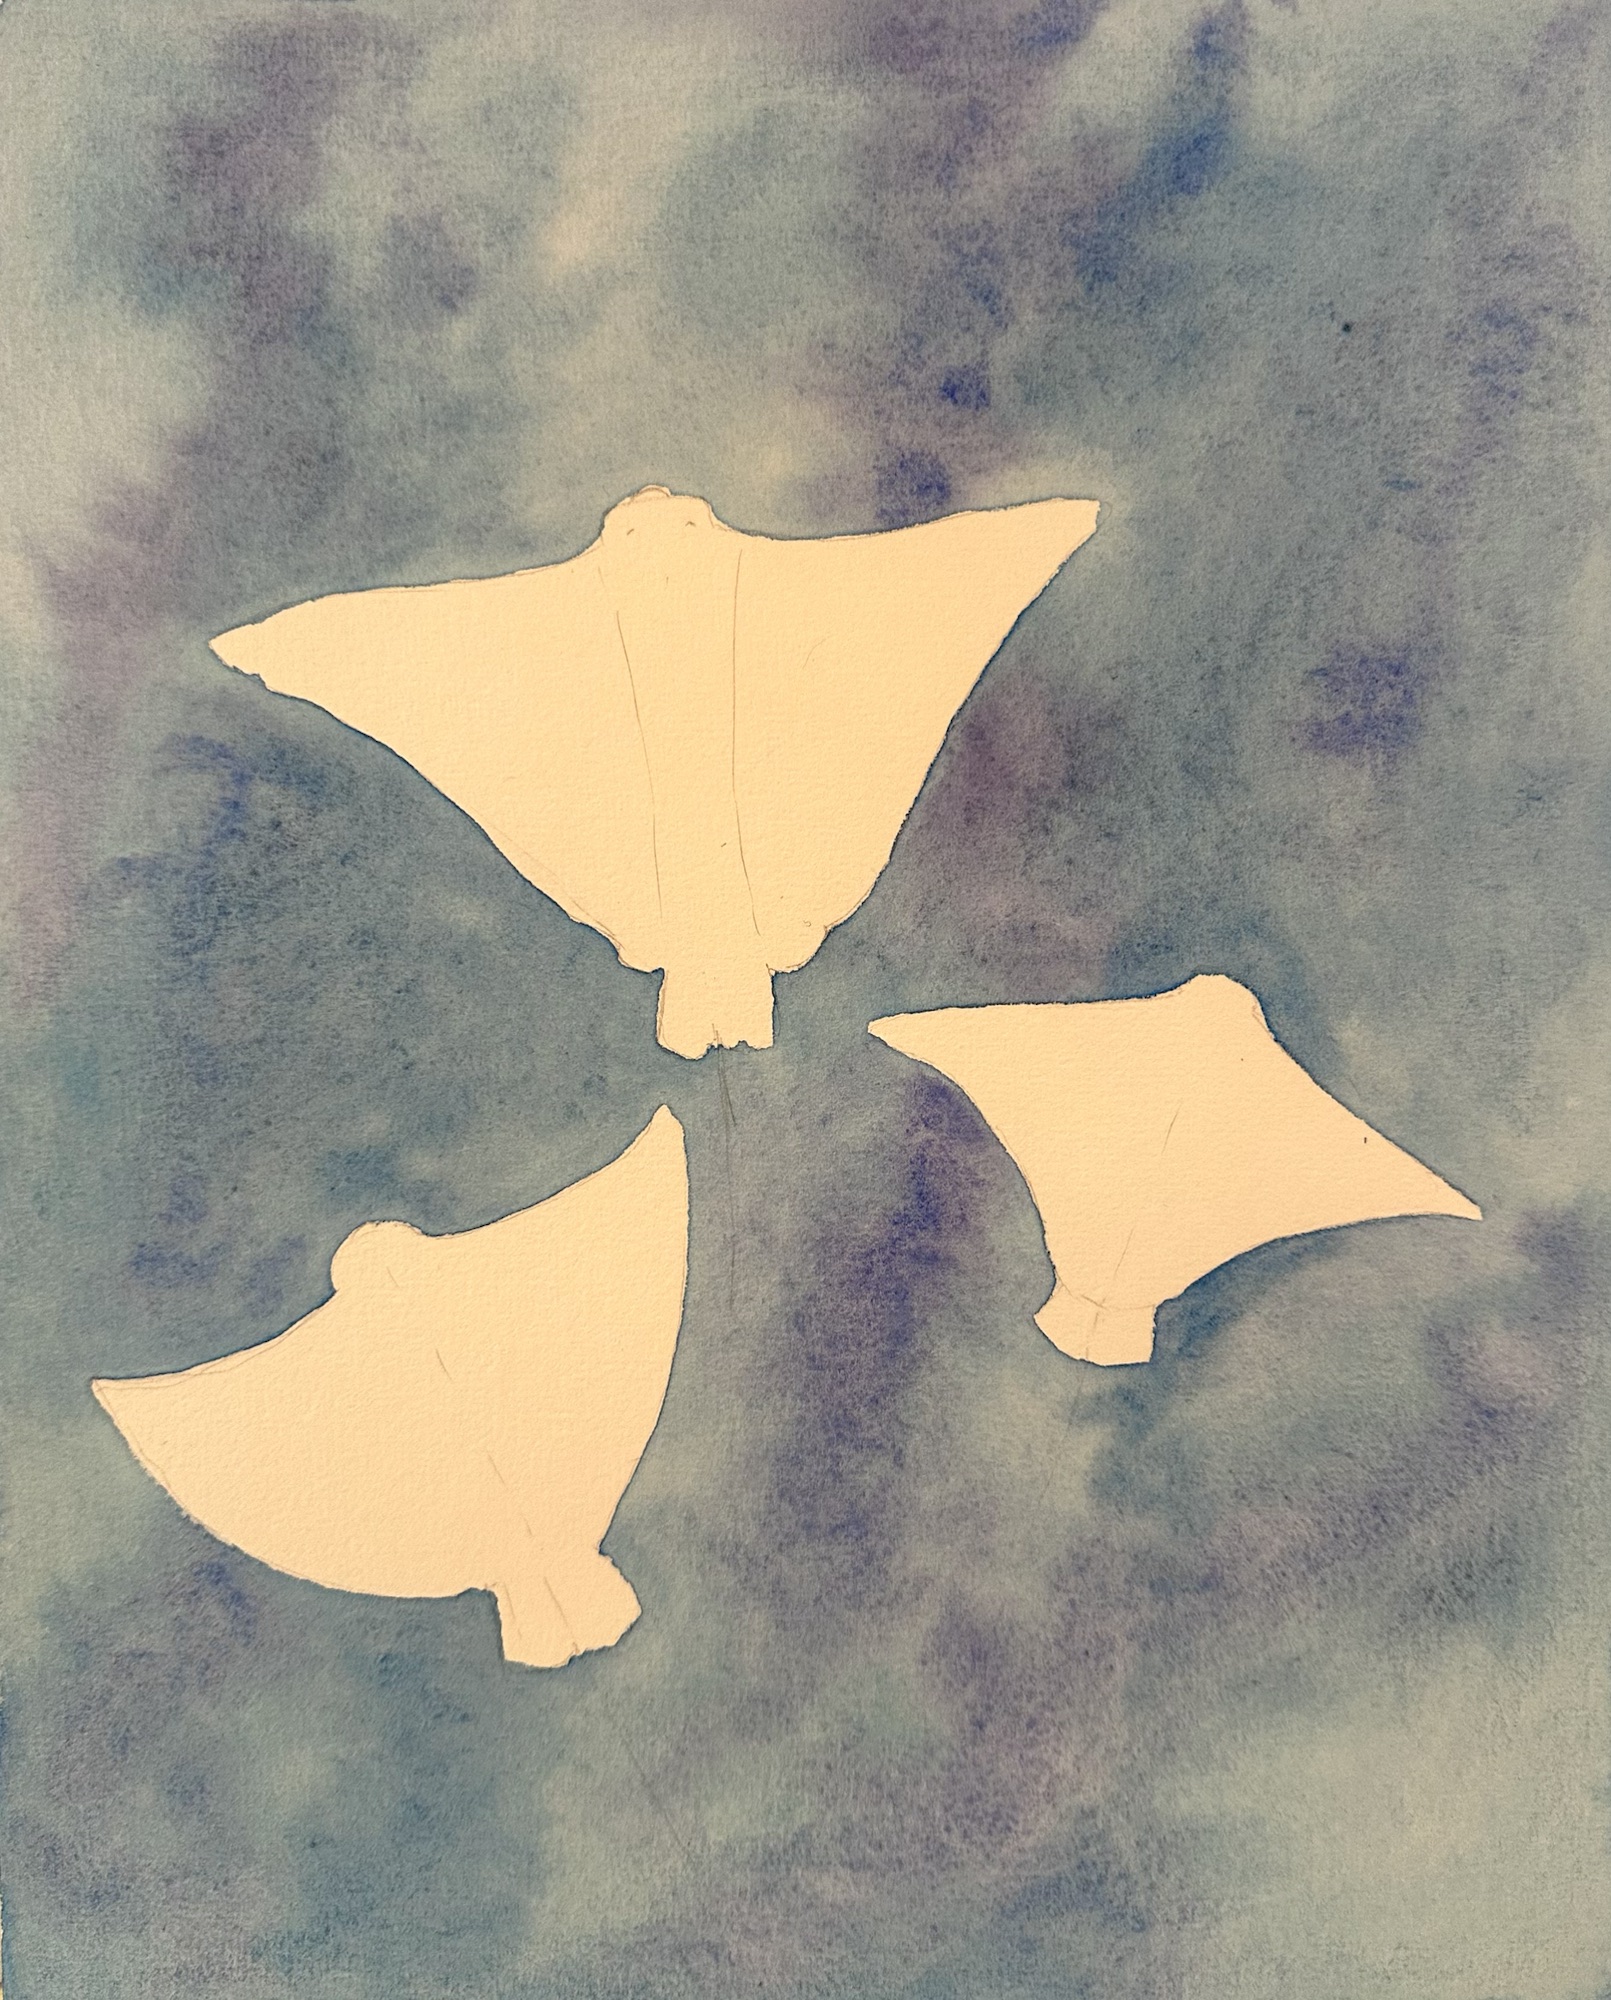
Tracy’s images of Frida Kahlo were painted in watercolours, as were the underwater eagle spotted rays. The cottage garden at Sissinghurst is in coloured pencils, lightly pressed on to the paper so the finished effect is delicate.
Well done, it’s great to see all your finished pictures!
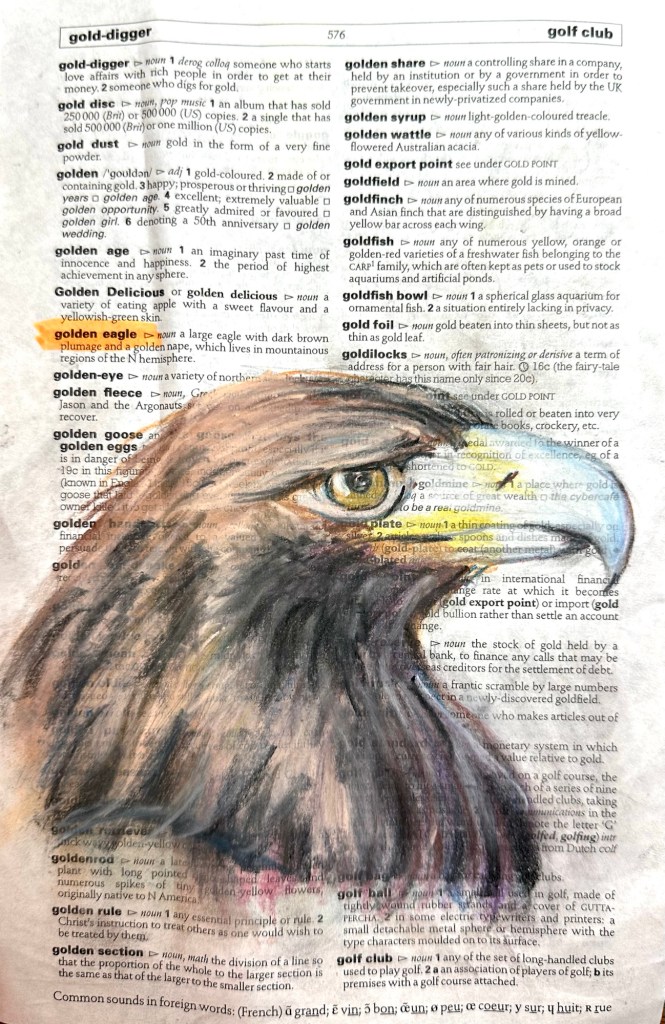
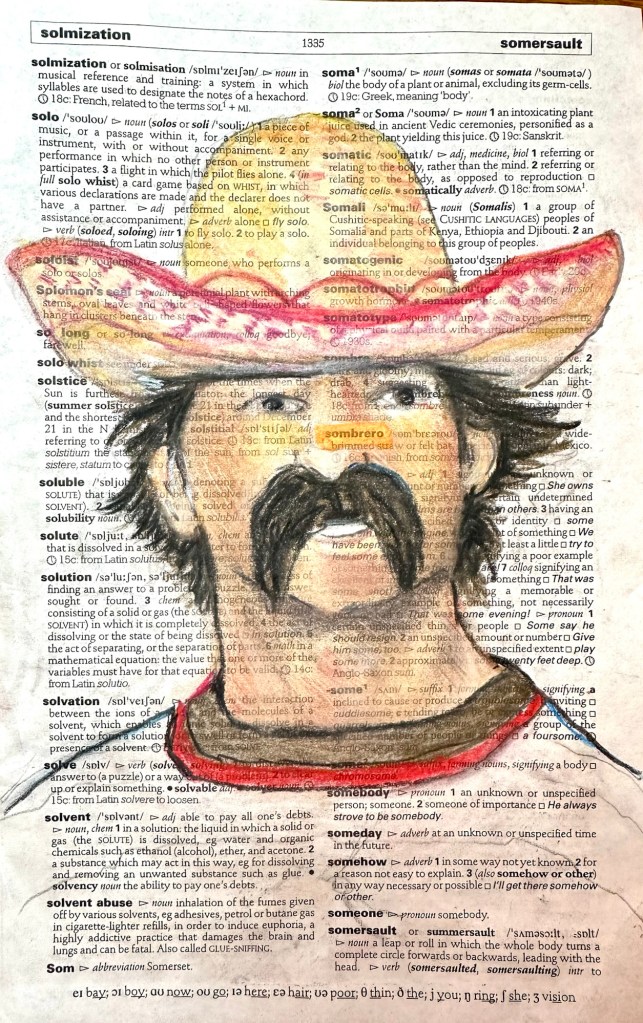
Steve’s surname of Goldson isn’t in the dictionary so he used the pages with the words ‘gold’ and ‘son’ on to create images of other words on the pages. He used soft pastels to draw a golden eagle and a man wearing a sombrero.
Very imaginative, Steve. Great colours and details you’ve achieved with the soft pastels, well done!
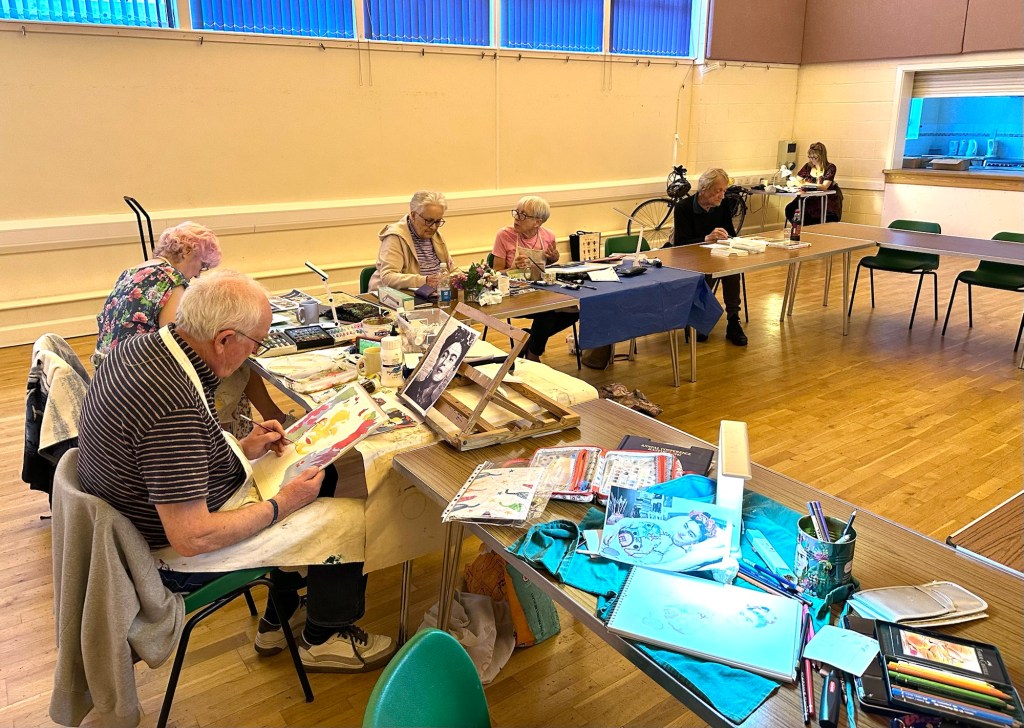
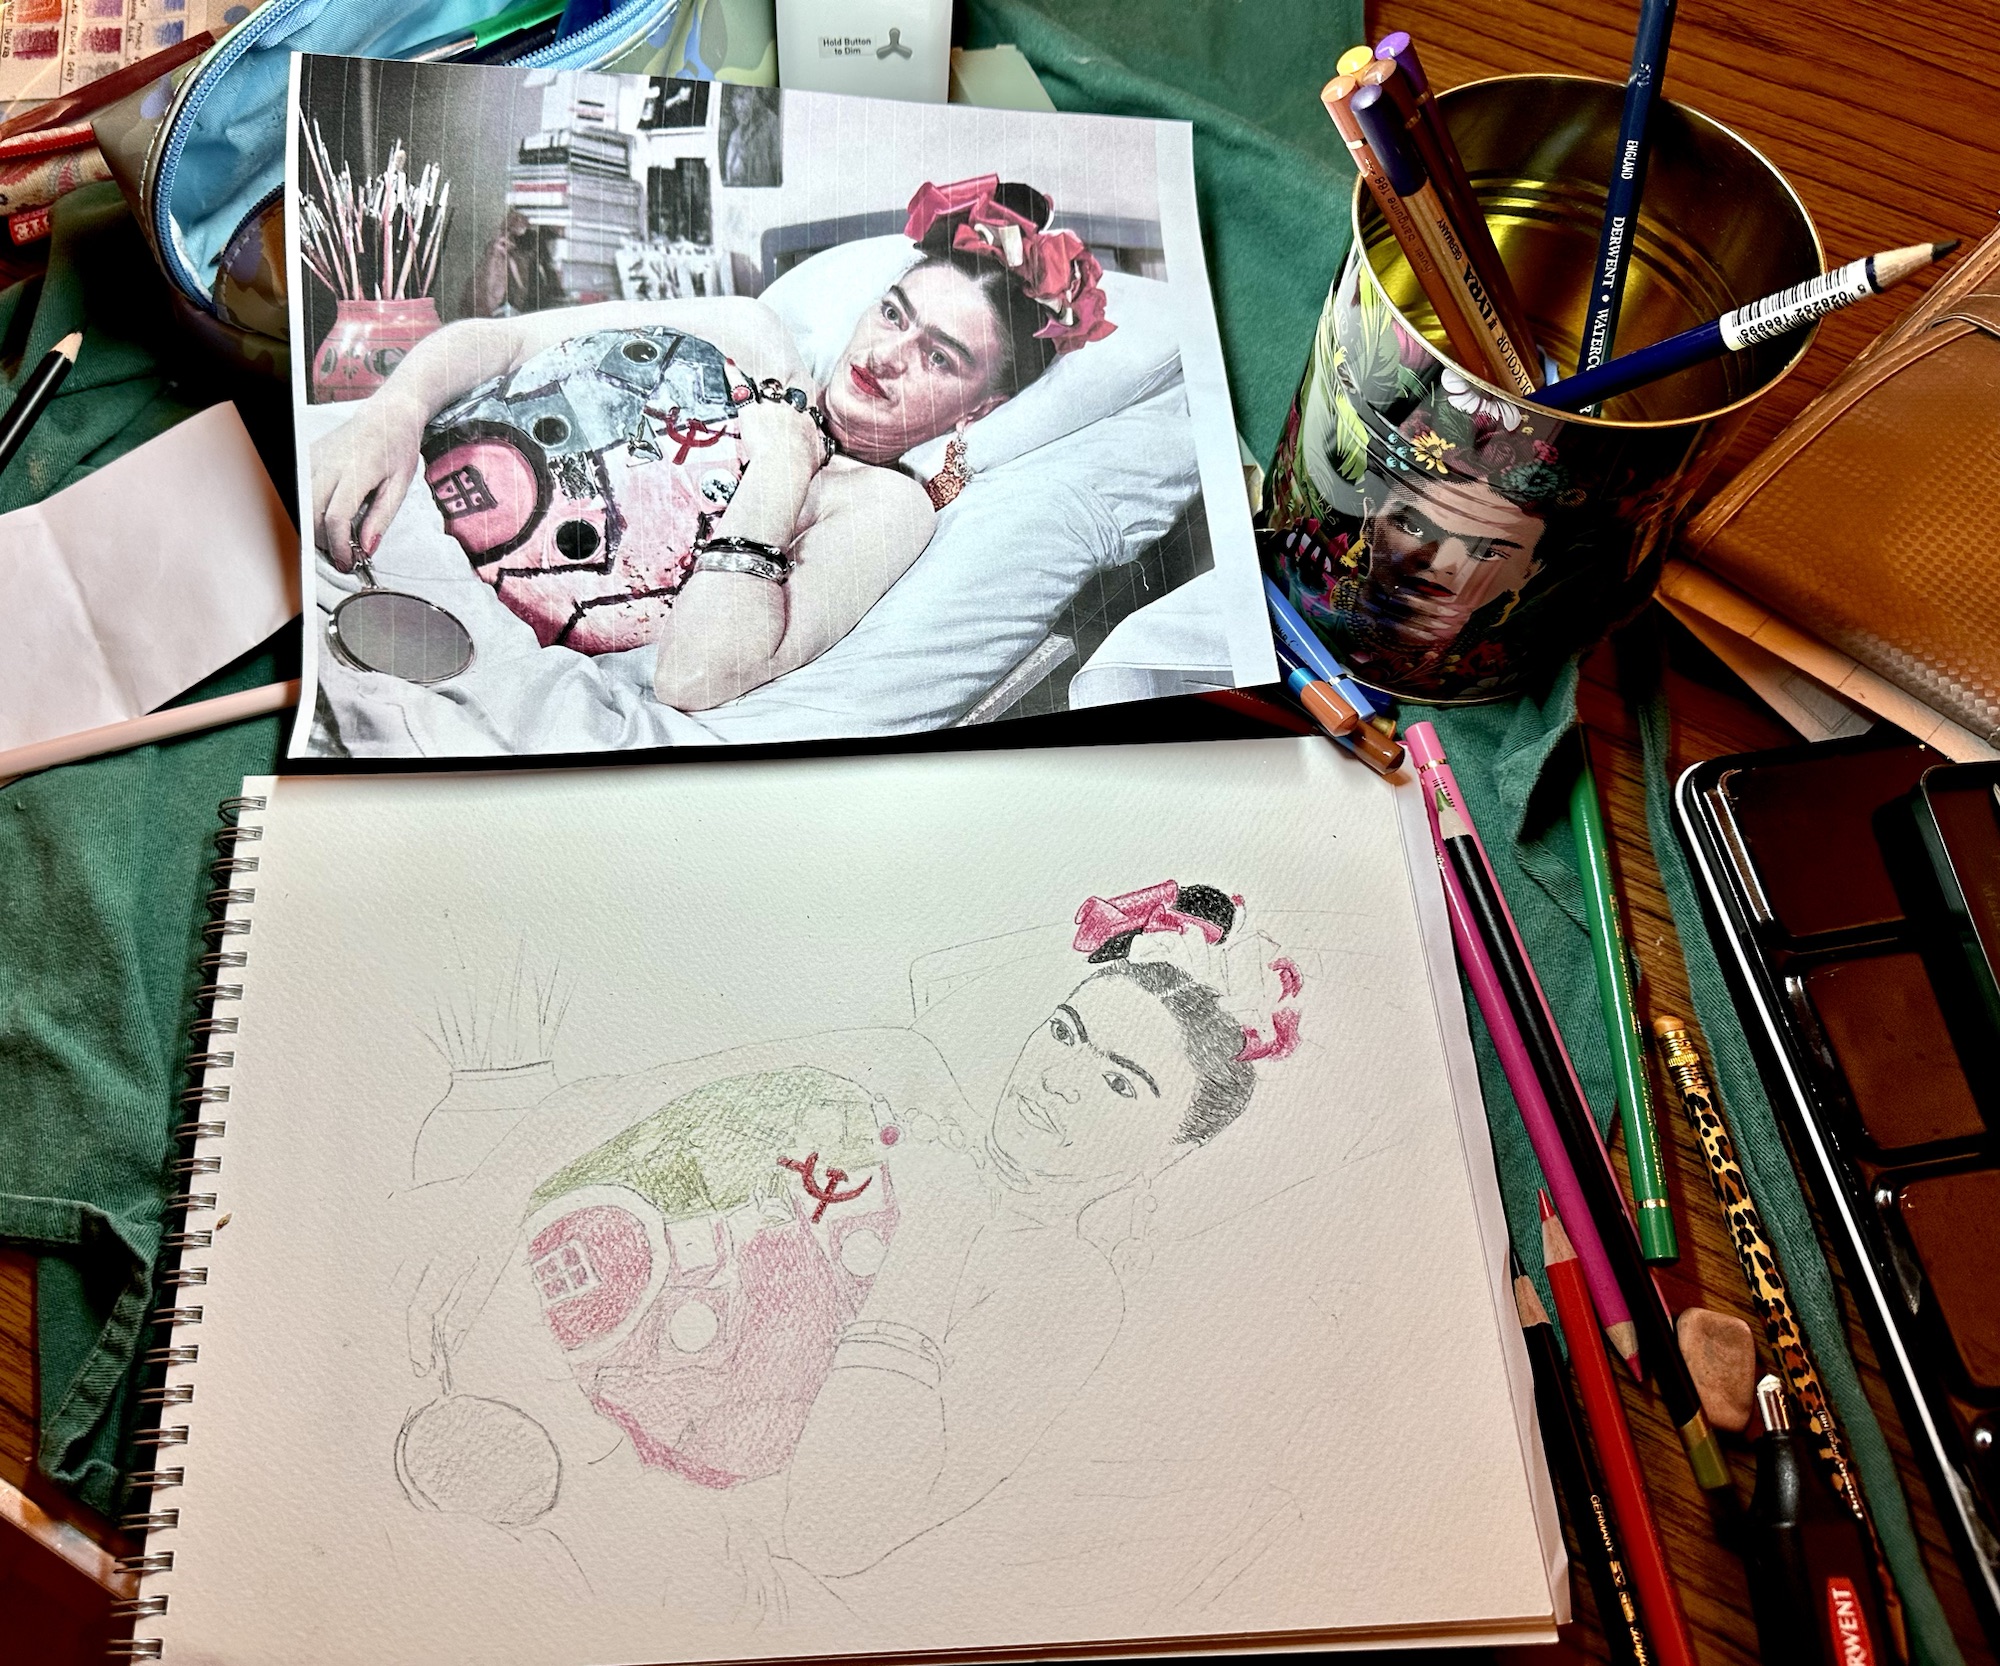
Just 7 members attended the session yesterday evening, with several members away on holiday or others watching England in the Euro football semi finals. We had a good natter and enjoyed creating our pictures to do with the life of artist Frida Kahlo.
Several portraits by Brenda, Steve and Tracy, a flower study of similar blooms Frida wore by Myrna and a picture by Angela of the Casa Azul (the Blue House) Frida’s family home were started and will hopefully be finished at home. Chris couldn’t attend the session but completed a portrait at home, sending a photo for inclusion. If you do draw or paint the suggested subject at home, please send a photo to Tracy or Steve and they’ll be happy to add to it the relevant post.
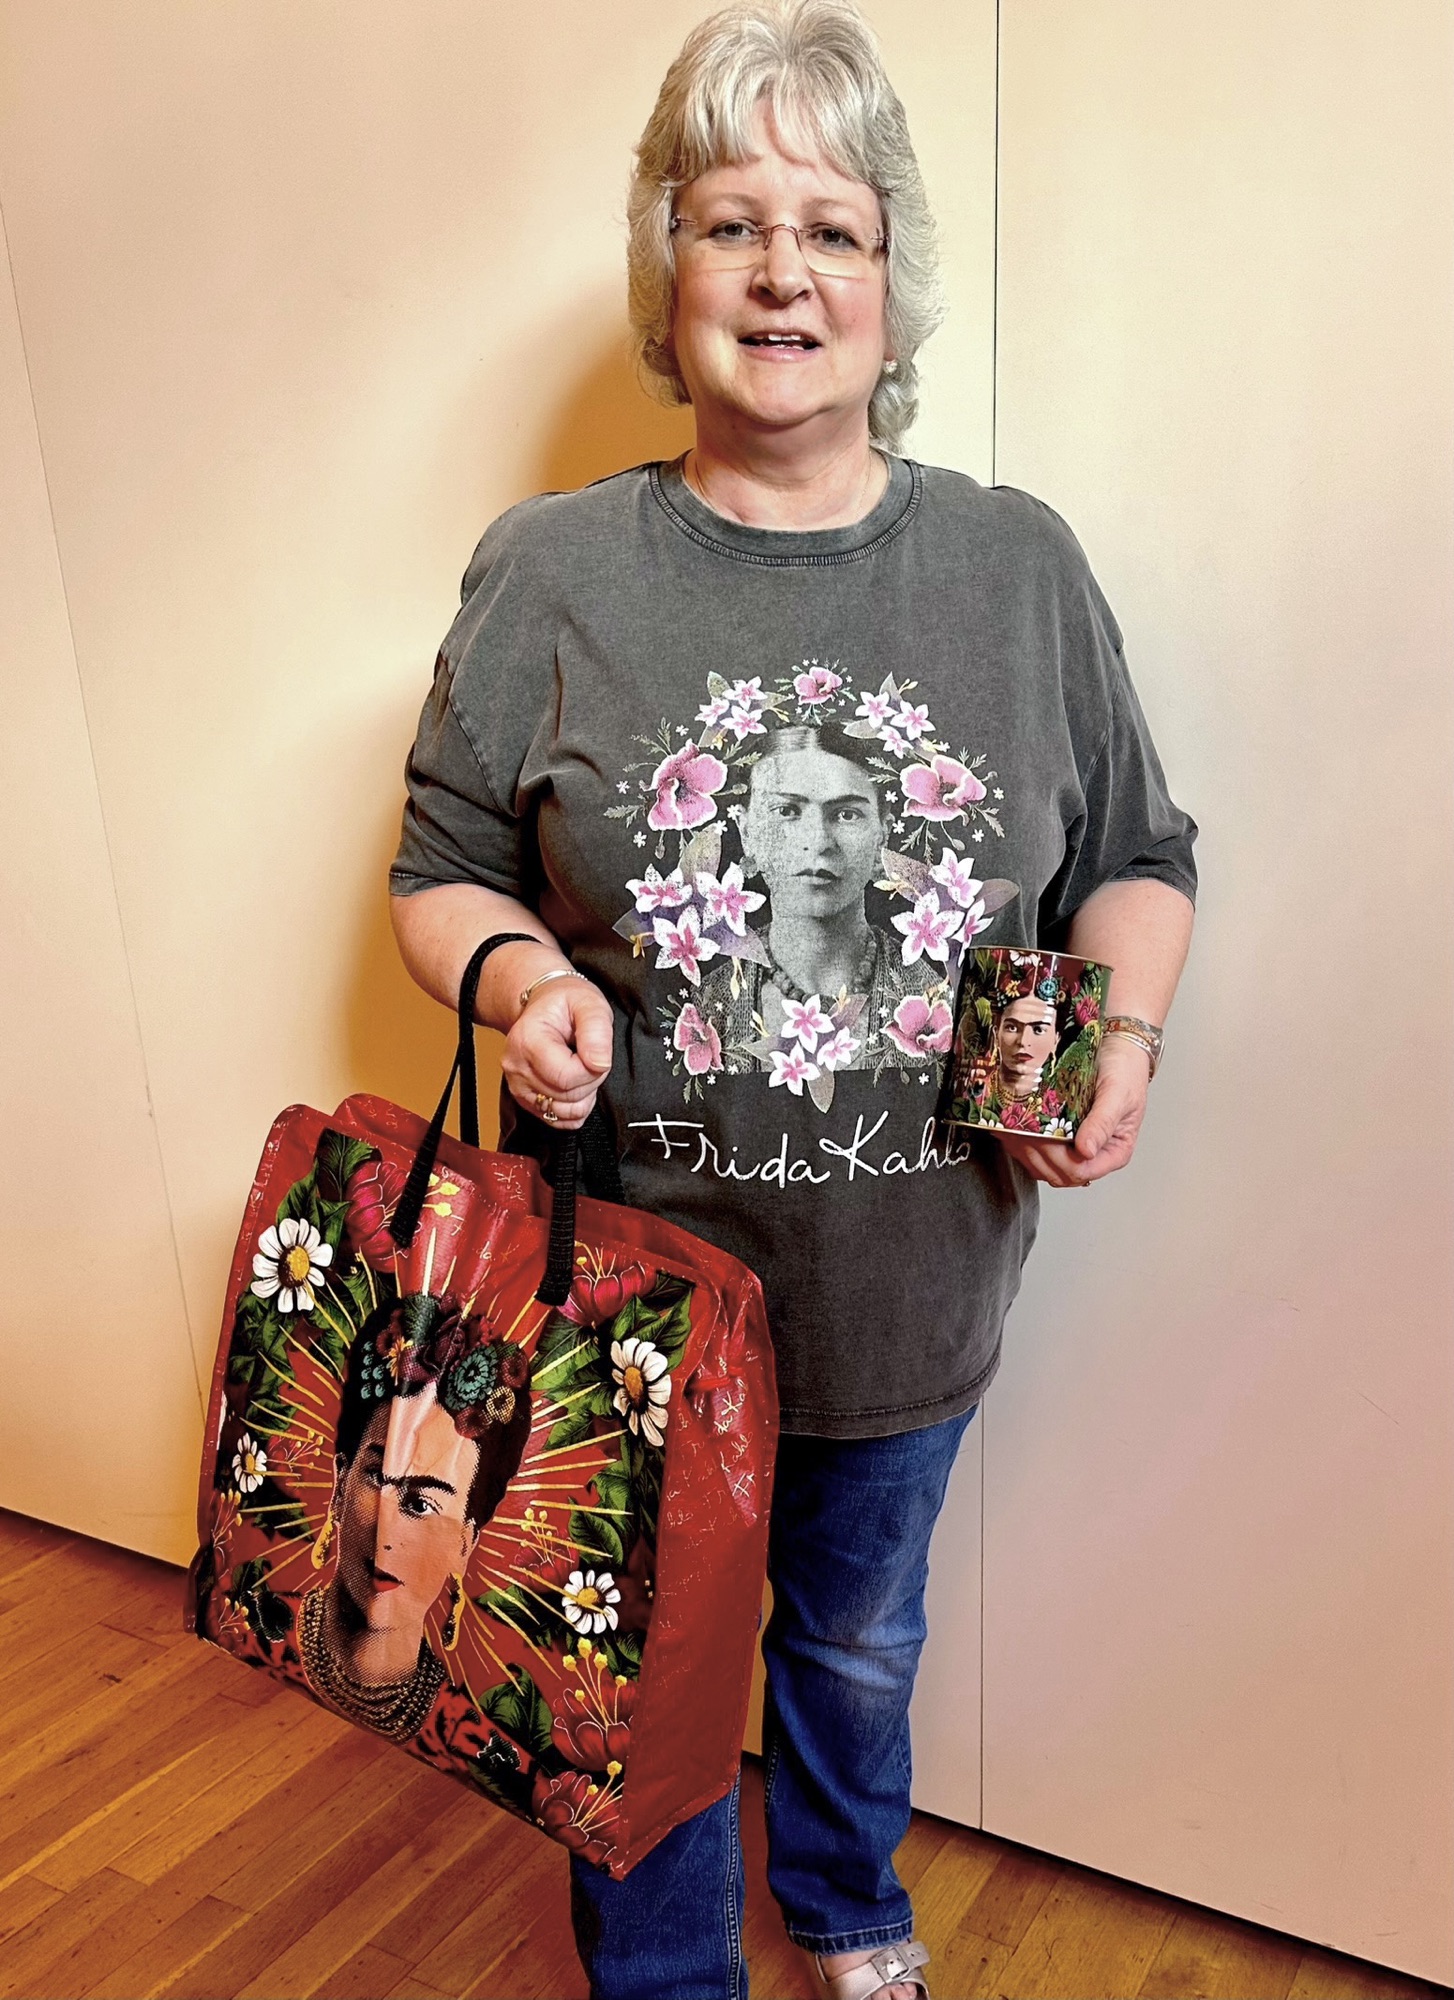
Here are our pictures, including a photo of Tracy wearing a t-shirt and holding a bag and tin all with Frida Kahlo’s image on.
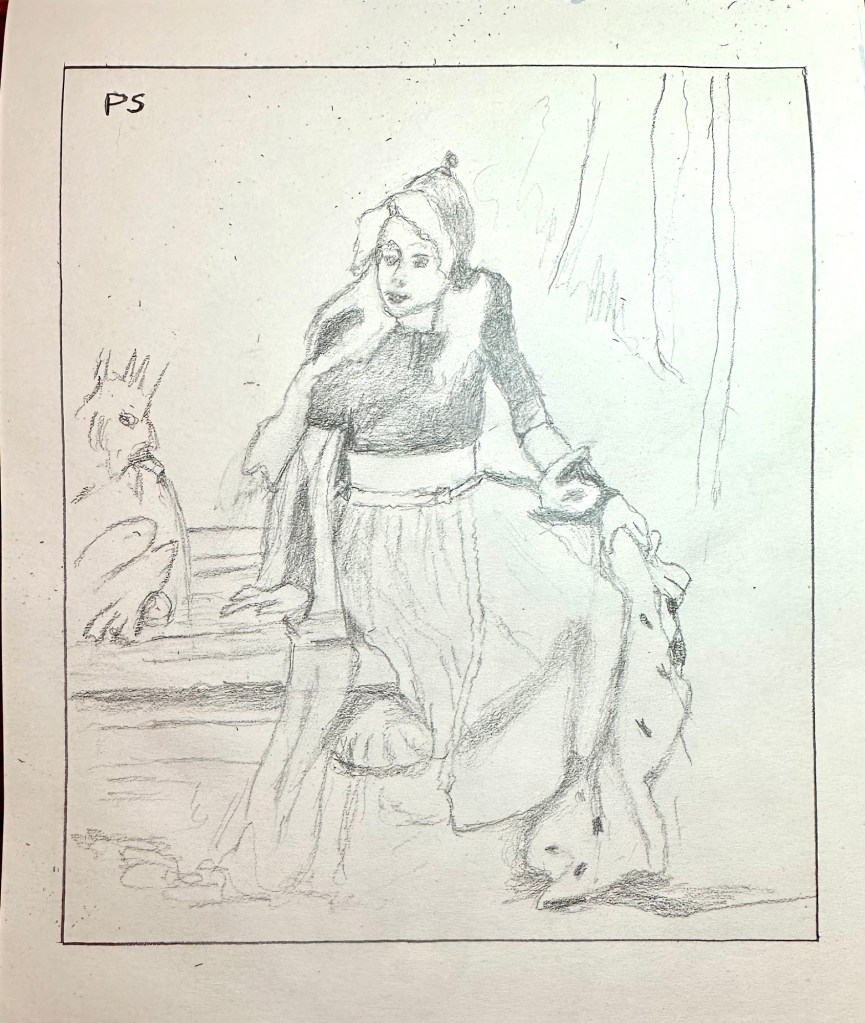
Patrick drew a picture of the Frog Princess.
Two more dictionary pages have been finished and they will be shown in the next post.
Our next session is at Chalk Church on Saturday 27th July from after 10am to just before 3pm
Graham chose several pages from the dictionary to paint on, but before he starts he tried painting on a spare dictionary page to experiment with how much water to use with watercolour and gouache paints and he tried using a pen too. His process is really interesting and is useful to everyone who has painted a dictionary page or who wants to paint one, especially his technique of mounting the page on scrap board to start with. The dictionary will be brought to future sessions in case anyone wants to paint more pages.
In Graham’s own words and photographs…
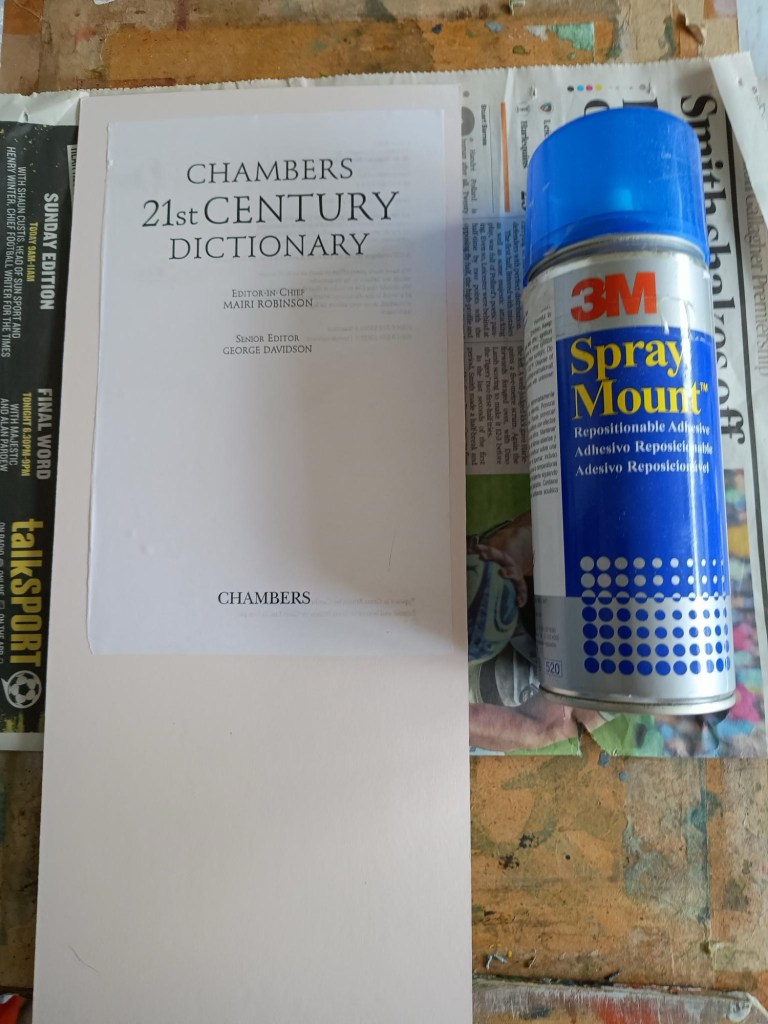
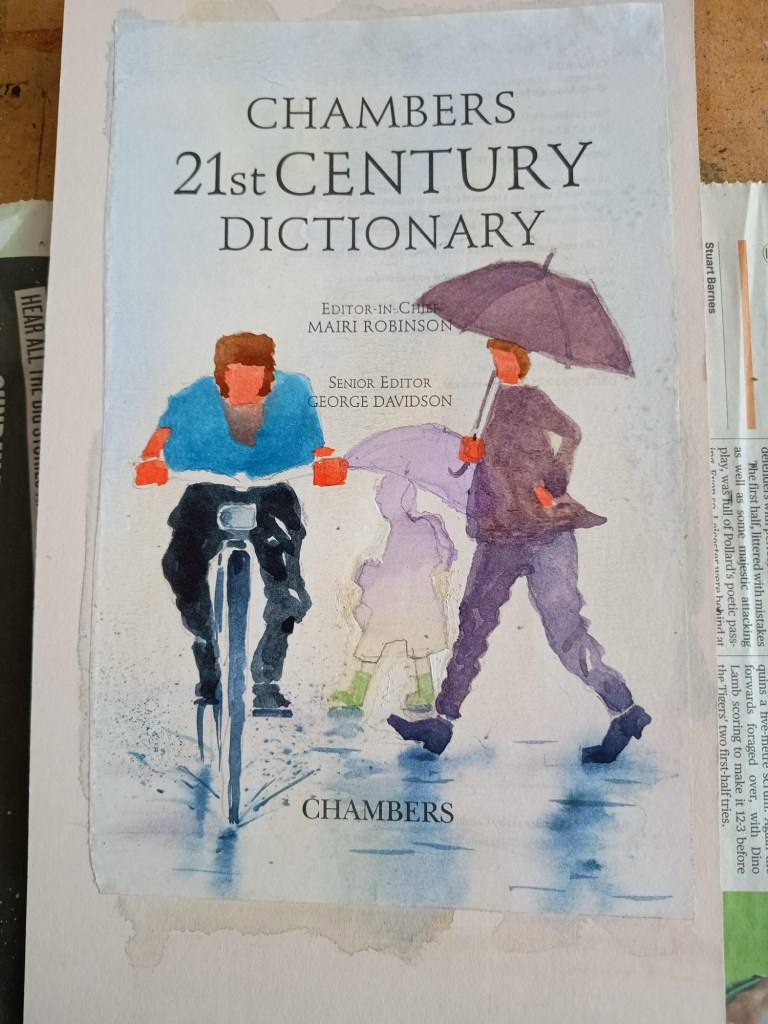
“I was determined to test the Dictionary Page paper to see how much abuse it would take. Firstly, I mounted it on some scrap board. This gave it rigidity. Then I drew on it, deliberately doing a fair bit of rubbing out and re-drawing.
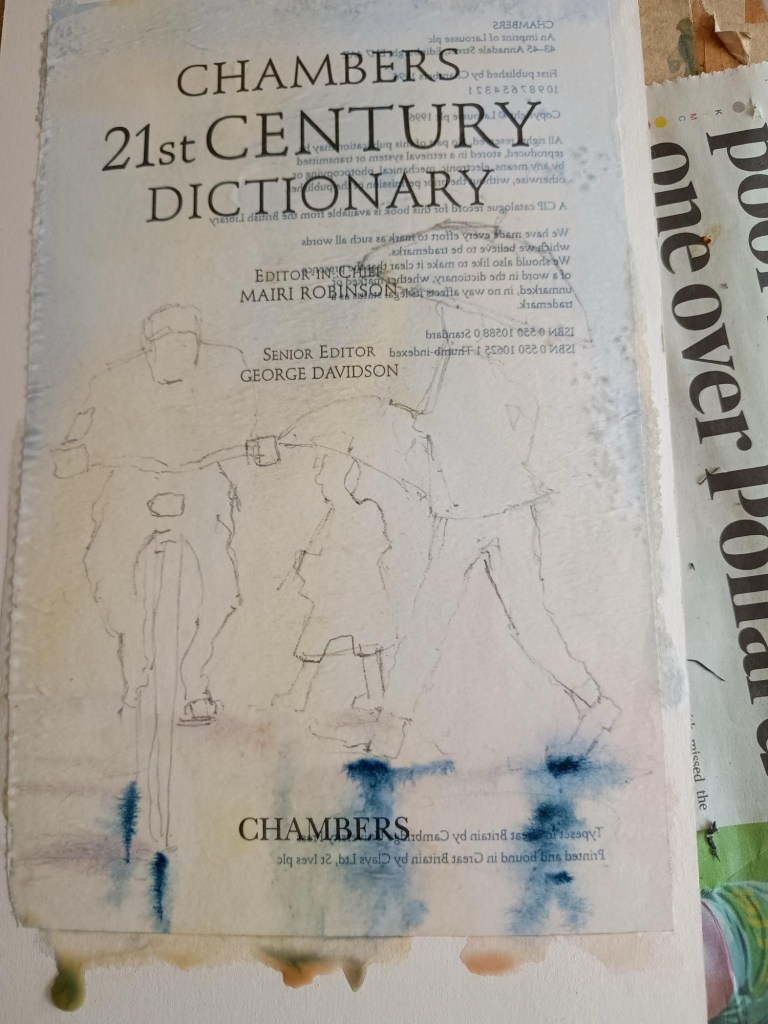
For the background watercolour wash I adopted my usual procedure of wetting the paper, then putting in very faint wet washes, and as the paper dried, ever stronger and less wet washes. The paper stood up to this exceedingly well. It might be interesting to see how the page reacts when fixed to watercolour paper.
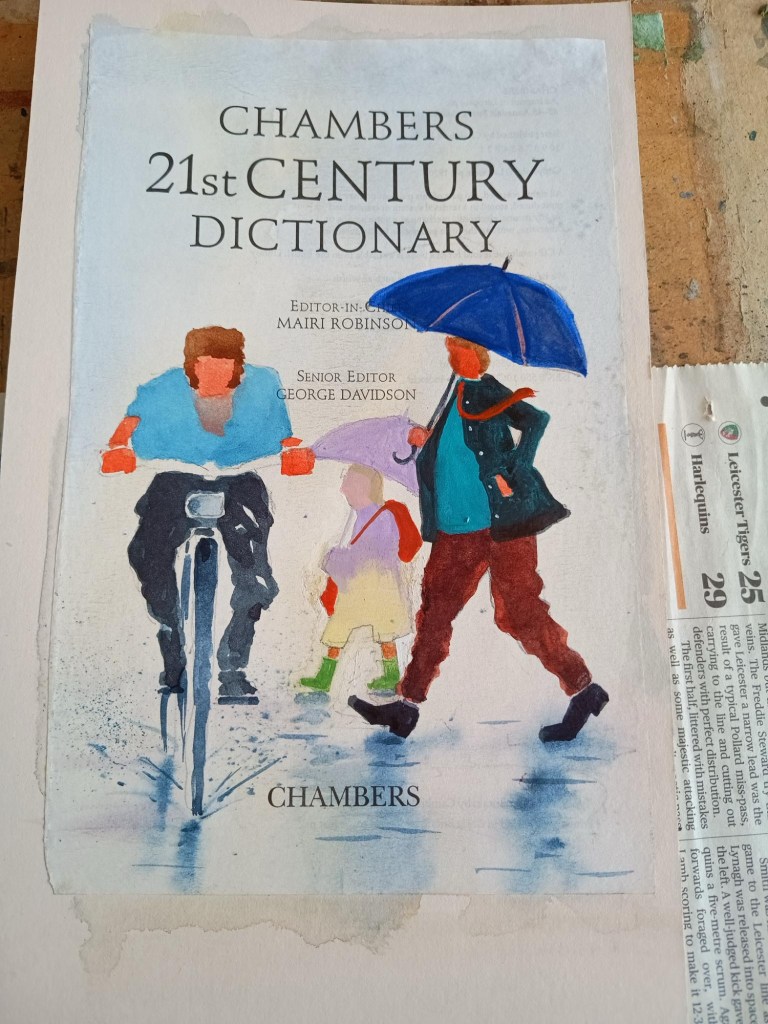
When this was all dry, I tried painting the rear figure with equally wet into wet washes. This failed abysmally. All the washes bled beyond where I had applied them, and they did not mix well. When dry, to try to redefine the edges of the figure, I applied some white gouache tinted with the background colours.
For the man with the umbrella I tried applying the watercolour with a 50/50 mix of water and gum arabic. This thickened the paint and stopped it bleeding but left it looking very streaky and unsightly.
For the man on the bicycle I mixed all the colours in the palette and applied them with a fairly dry brush, often taking most of the wet paint out of the brush with a tissue.
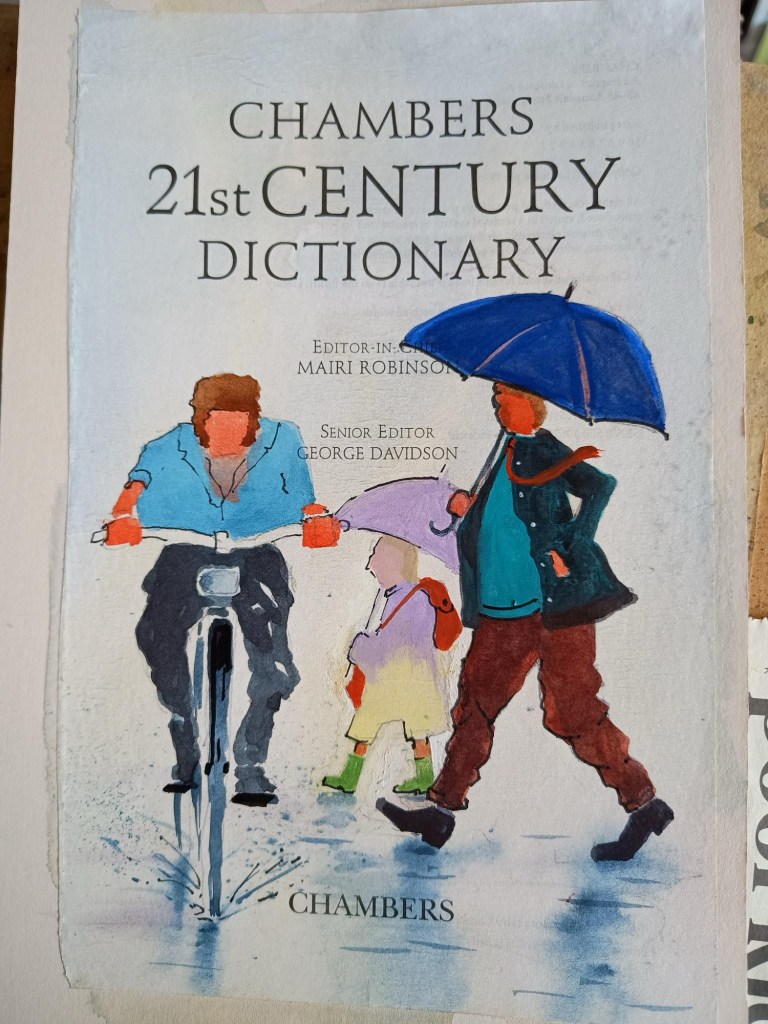
Once all the paint was dry I applied fresh colour to several of the washes on the other two figures. These were similarly applied fairly dry paint. The paler colours were again mixed with gouache so that under washes would be covered.
Finally, I did some ink drawing .. I’m not sure how successful that was.
This was all very experimental. Glueing the paper down was certainly a good idea for me, and I will continue to do so when using a wet medium. I was surprised how well the paper stood up to the original wet washes and to the number of layers of paint I could apply to the figures. I used watercolour throughout.
The lesson I learned was to apply it in a “dry brush” fashion. Although I suspect Gouache and acrylic paints may well work better on this sort of paper I shall continue to experiment using watercolour.
Happy Experimenting and Painting
Graham”
Thank you very much, Graham. To read your process from start to finish was very helpful and having the photos too made each stage easy to follow. Many of us have found that a dryer application of paint is the way forward and once one page is painted we want to paint several more!
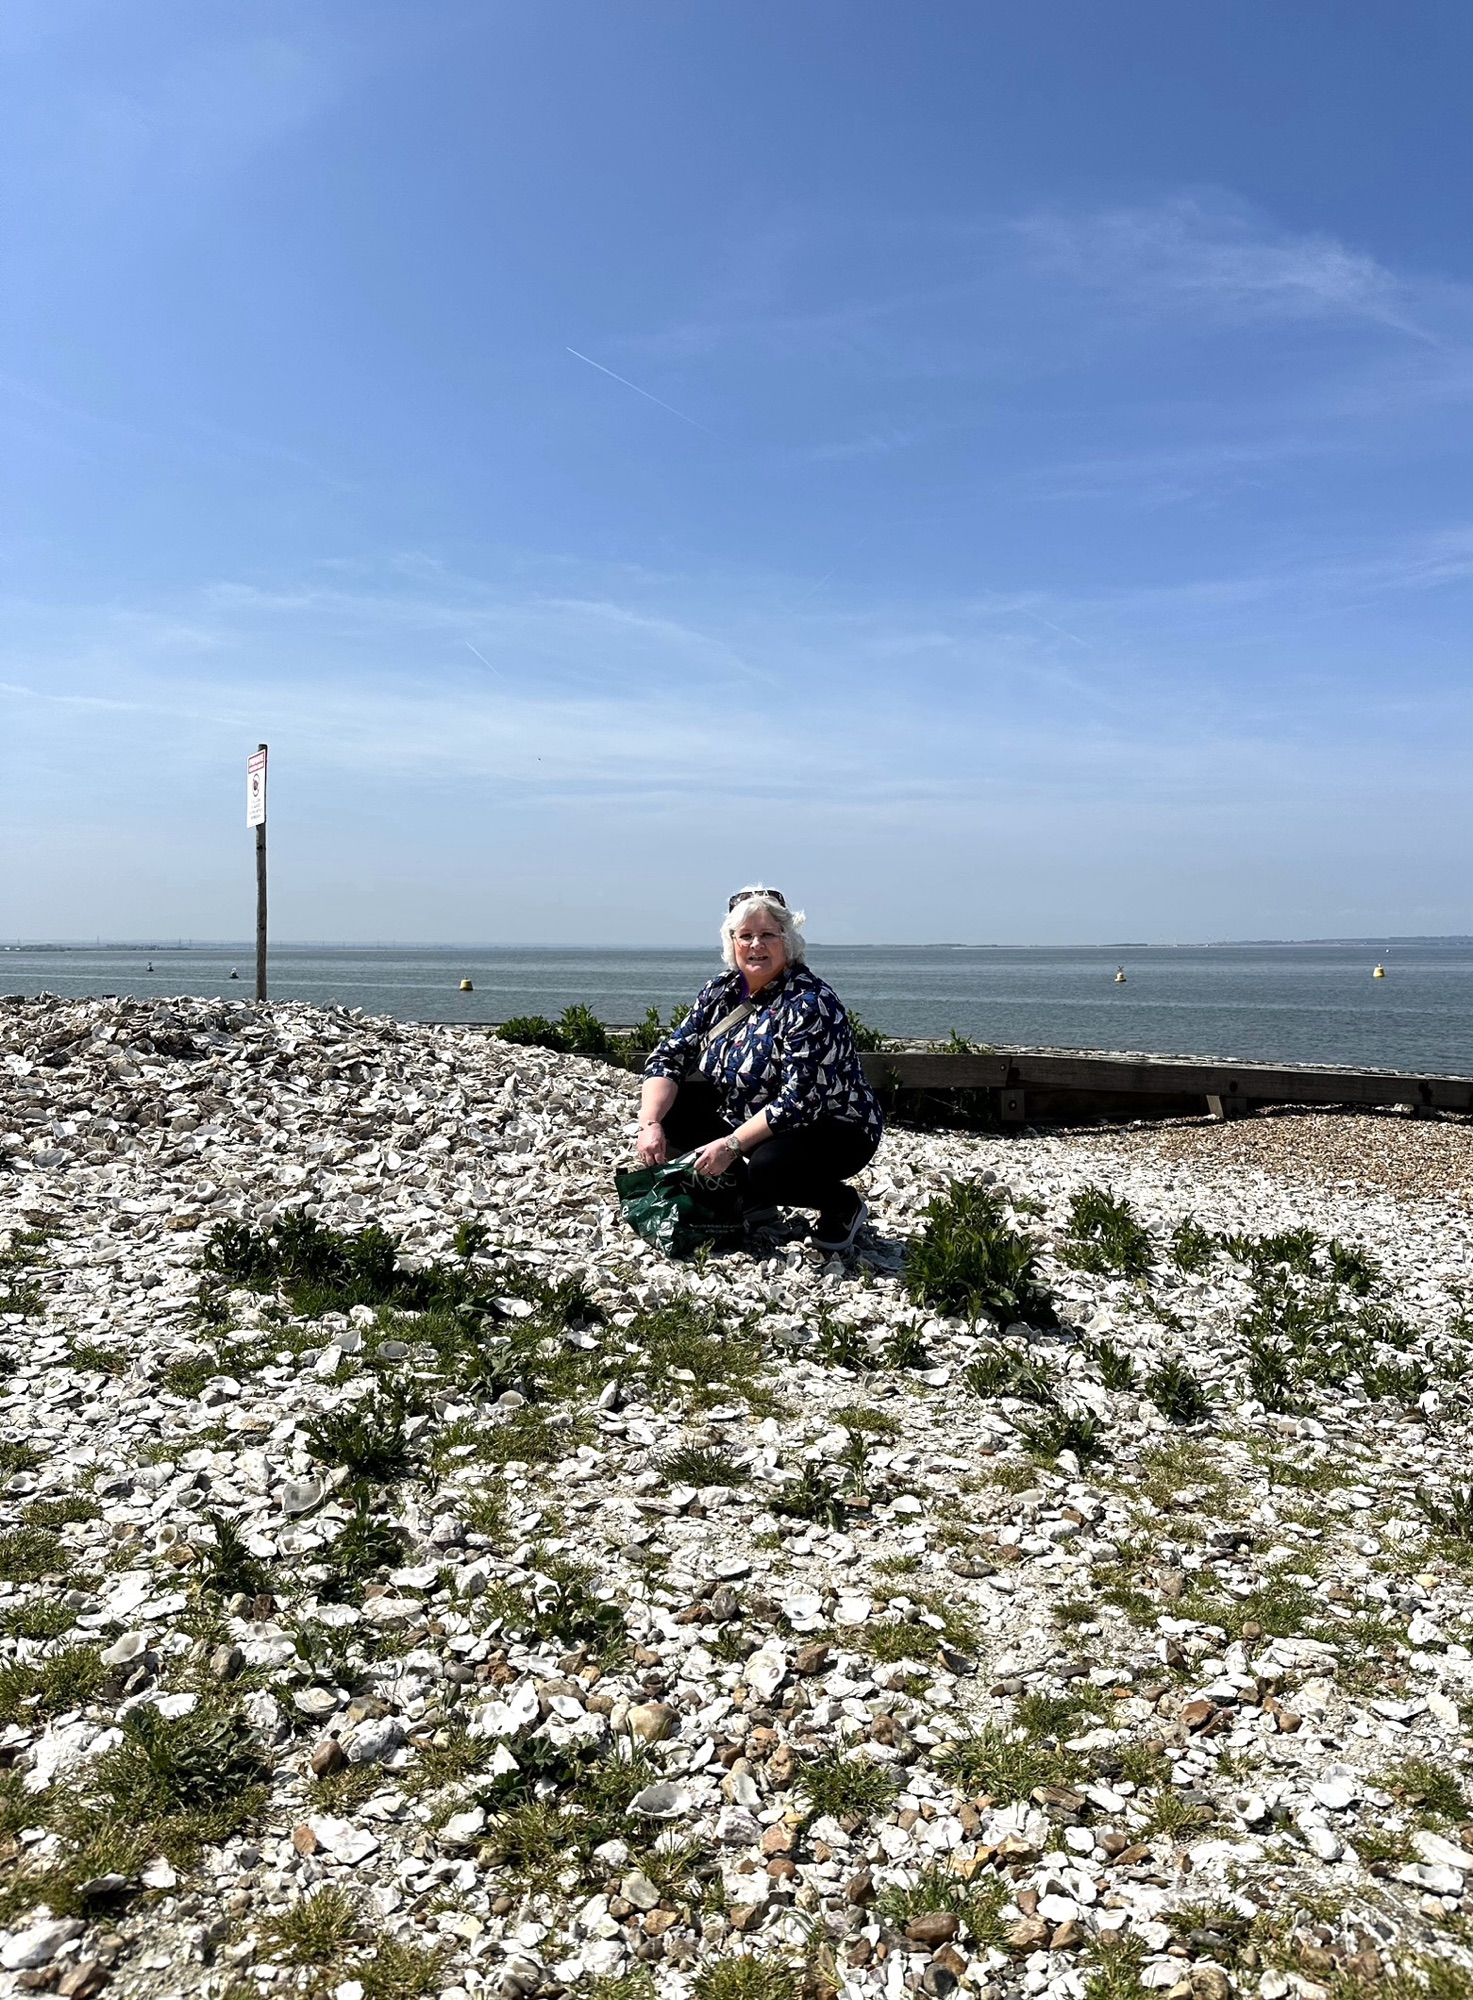
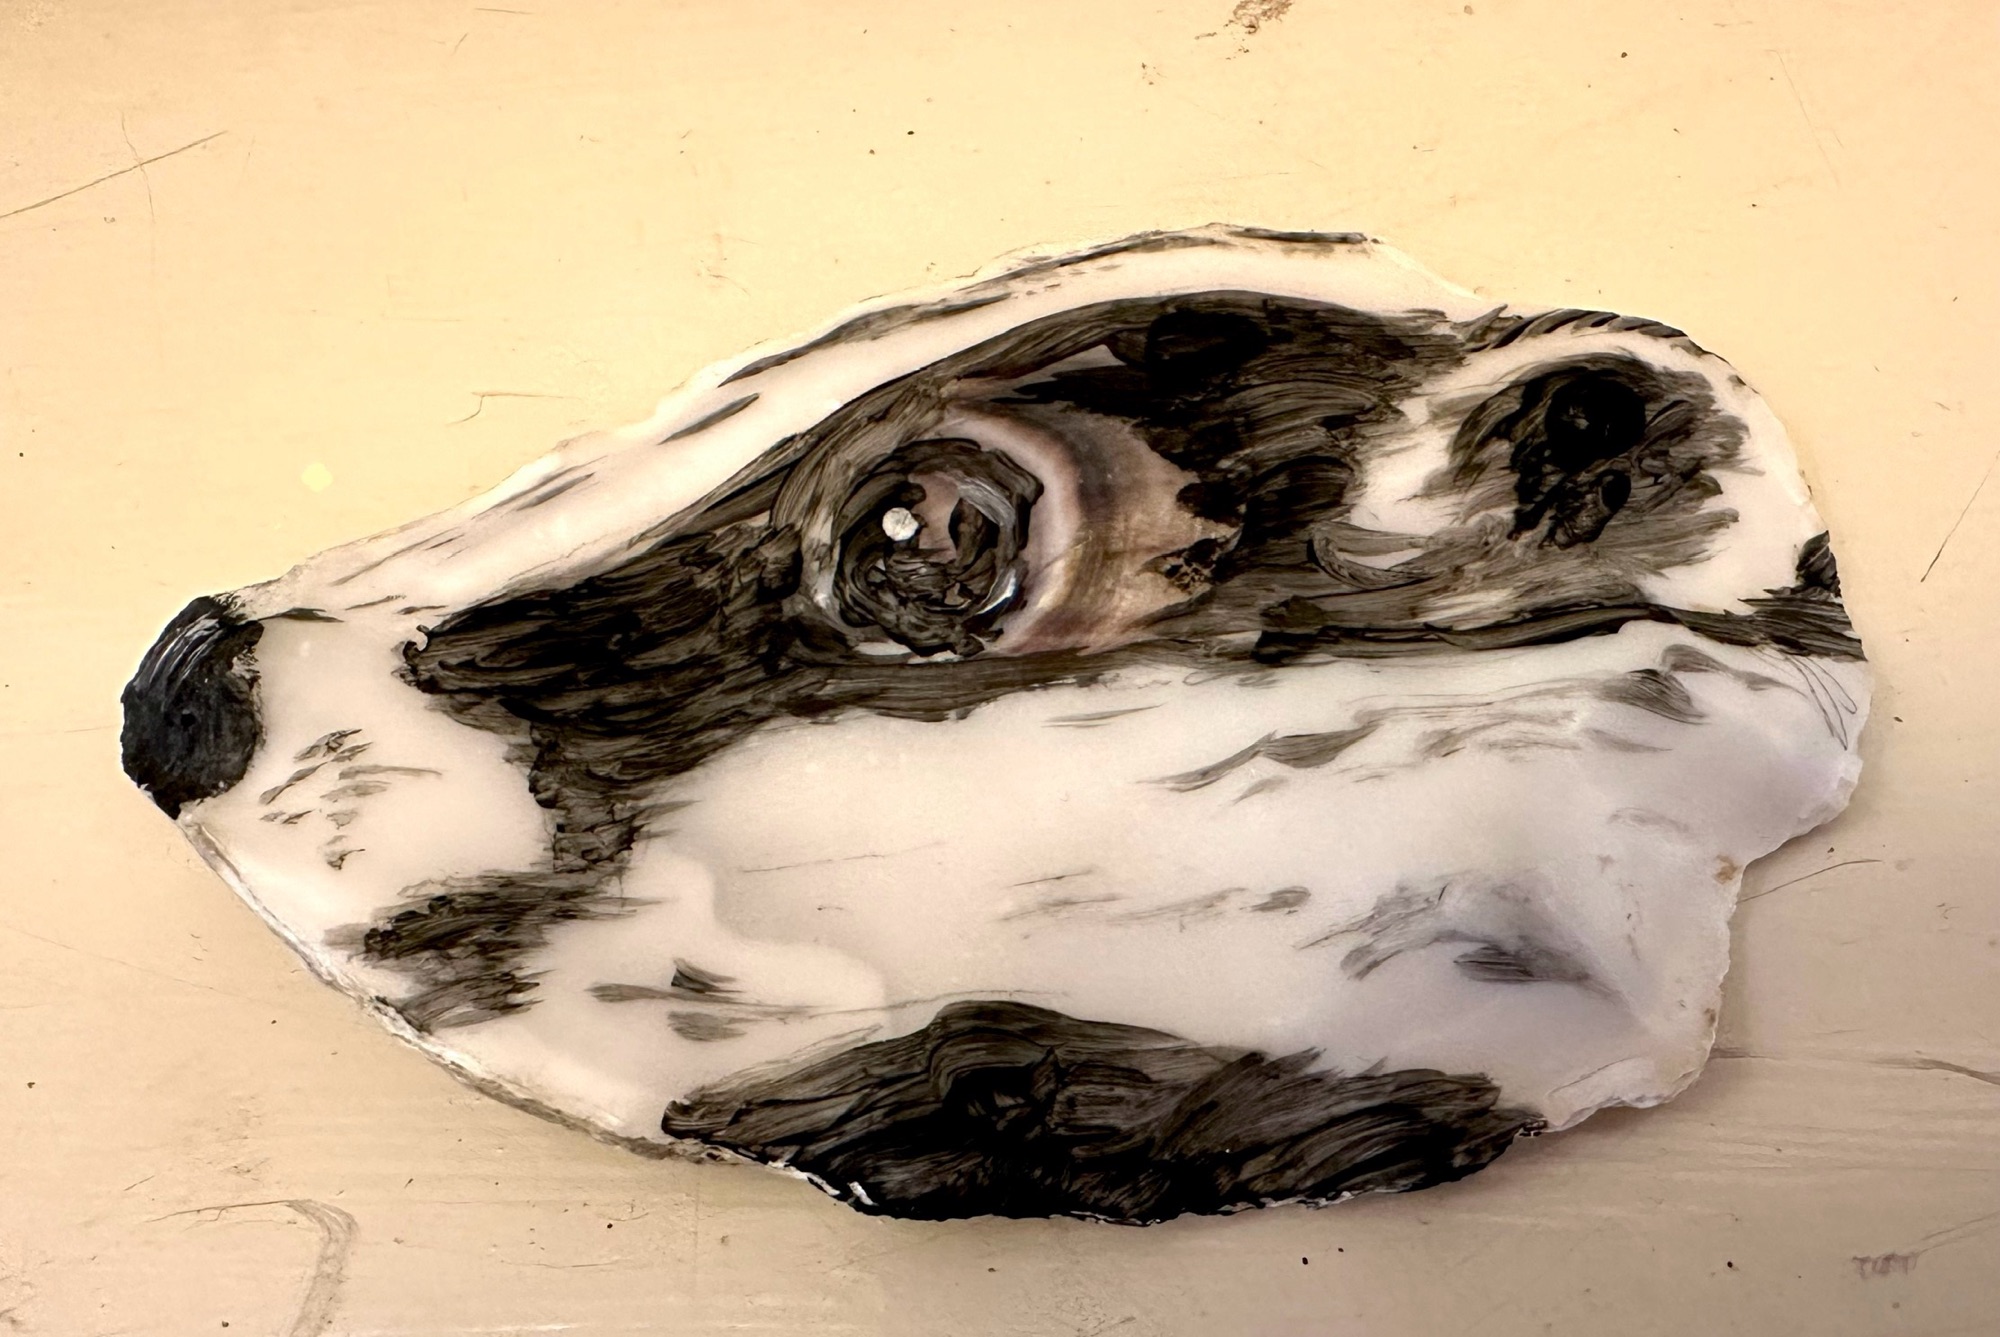
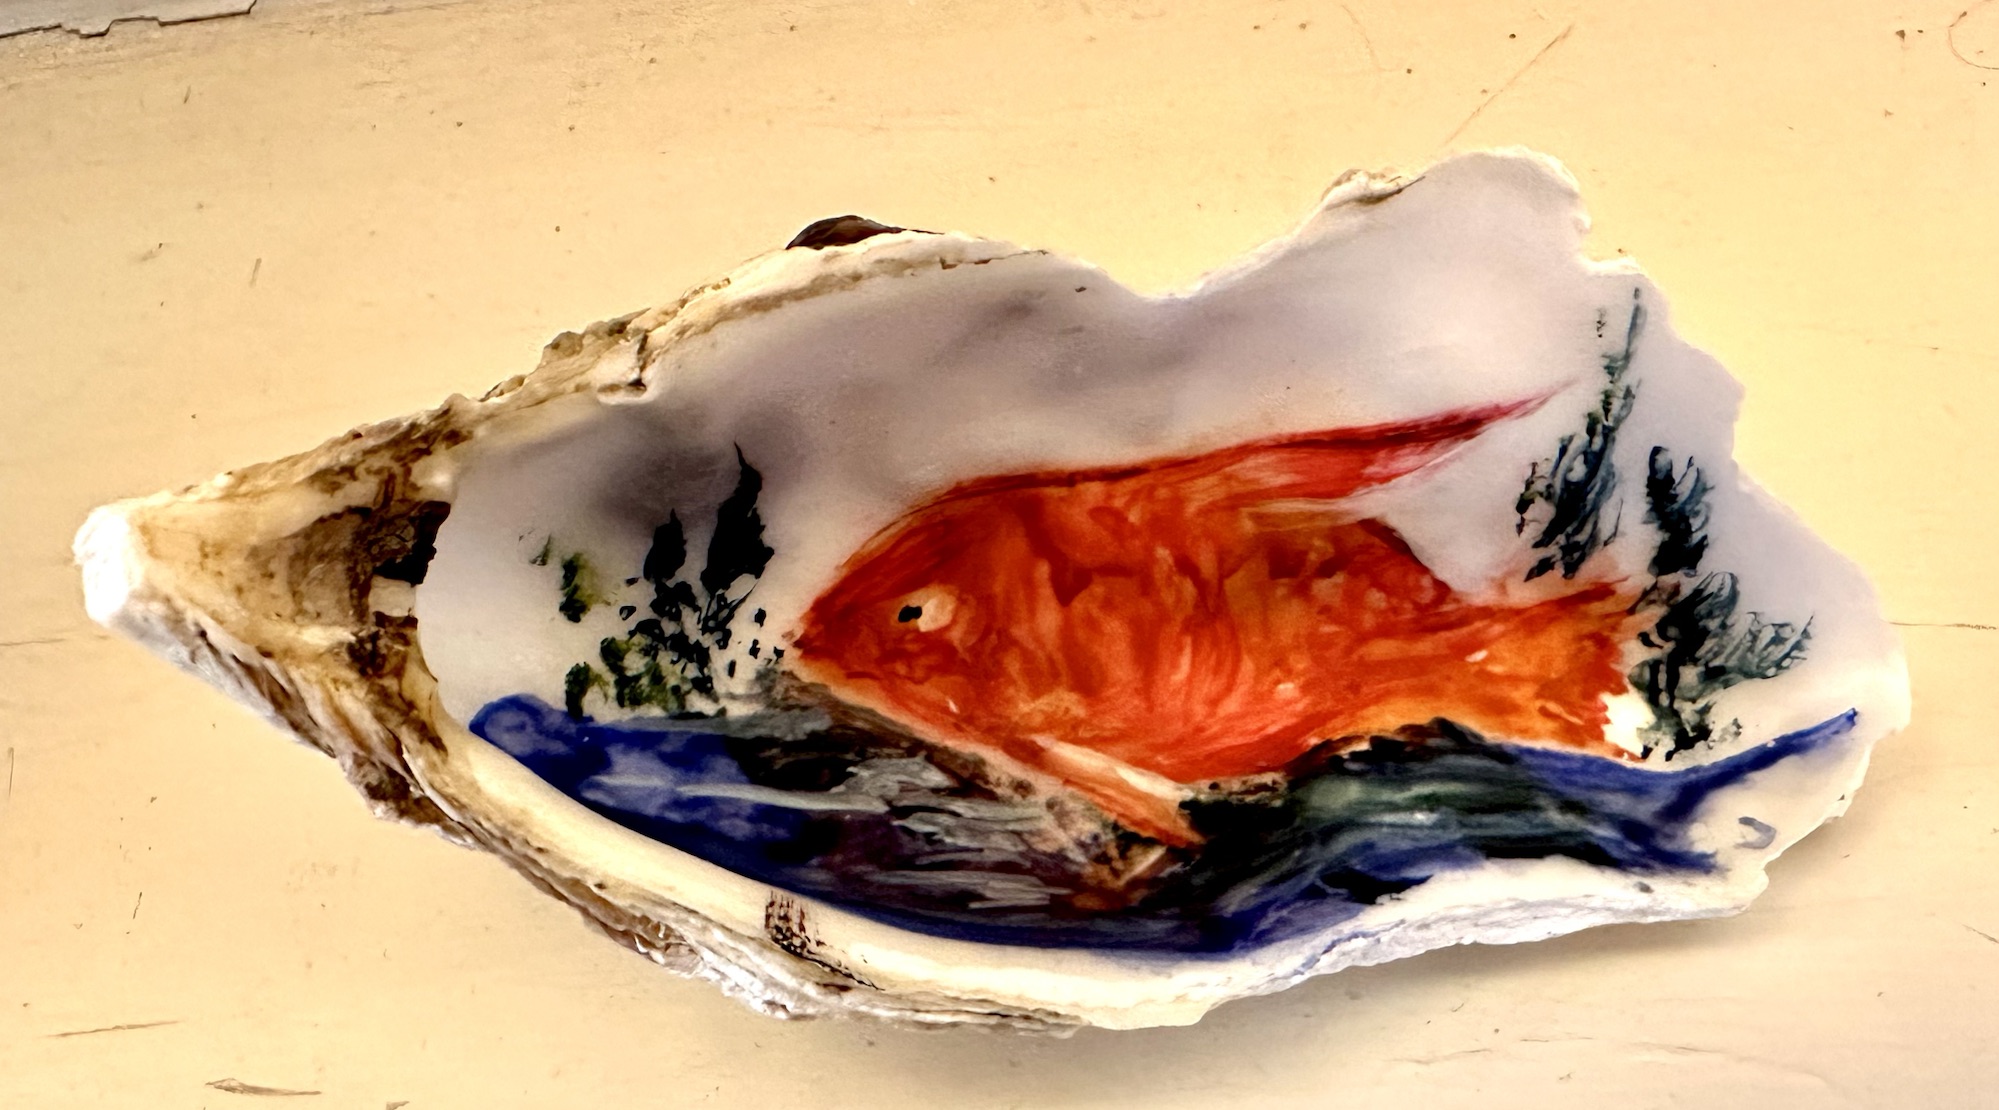
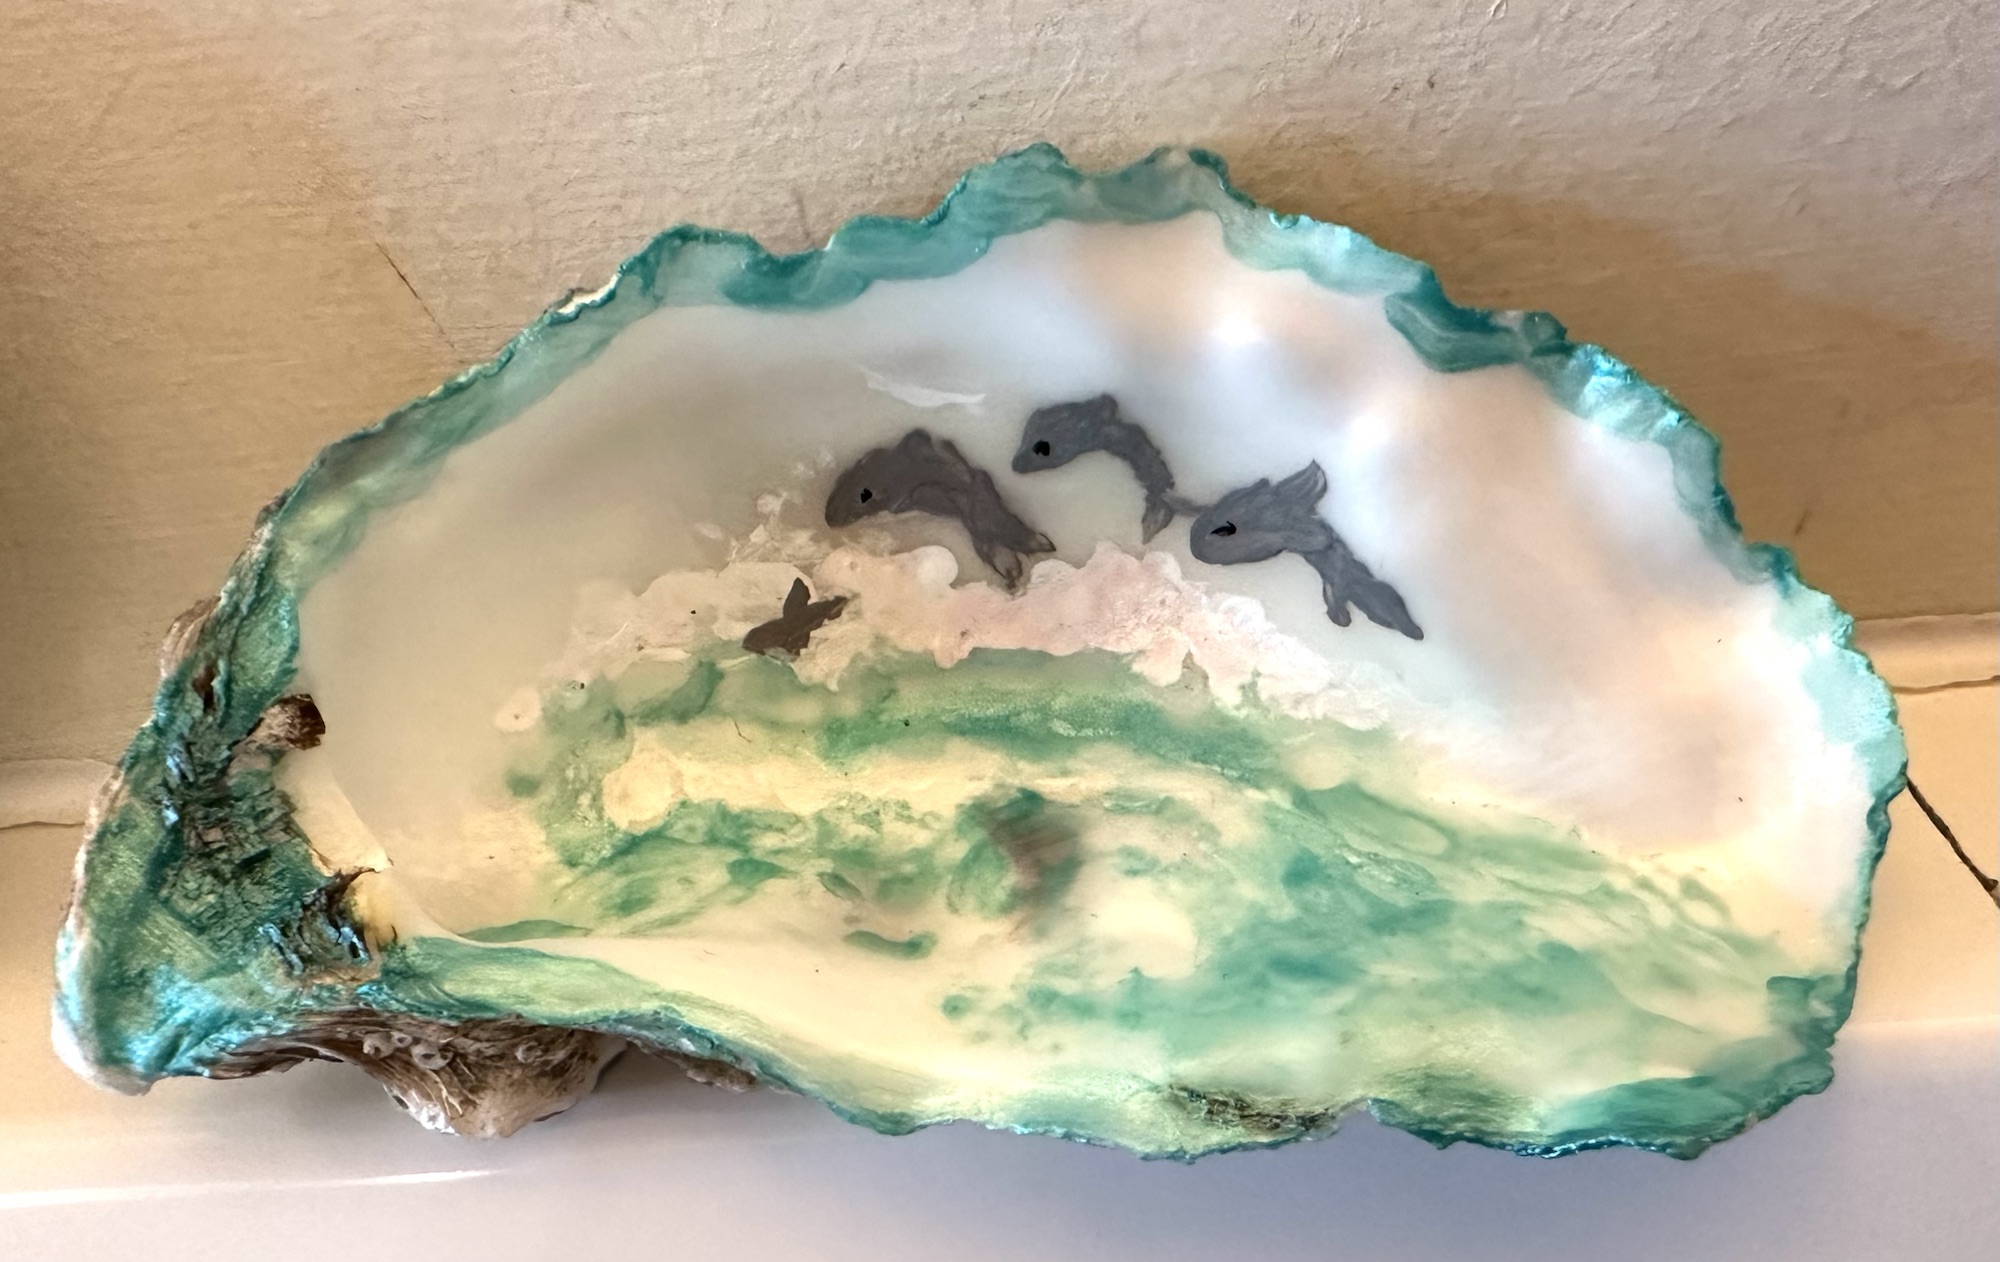
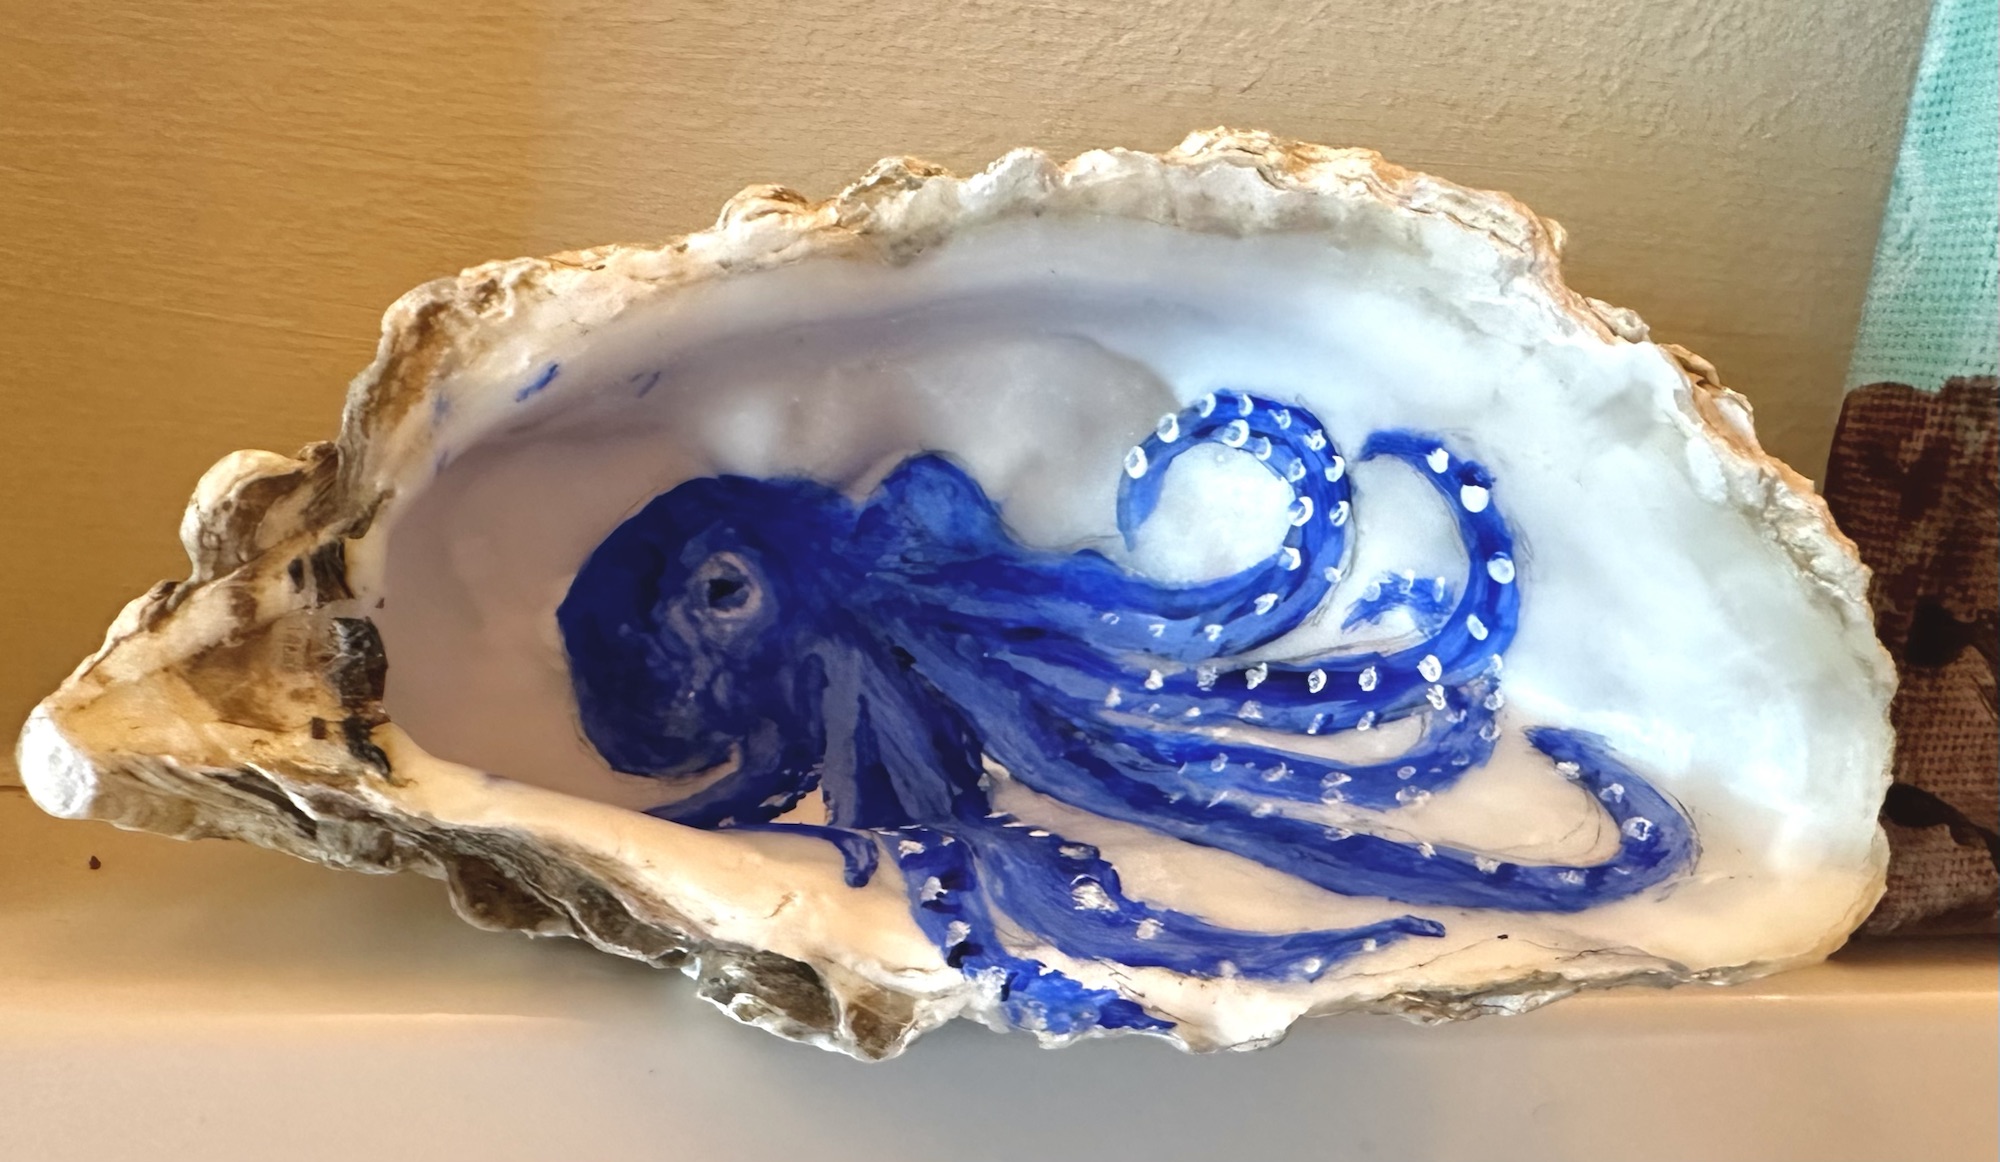
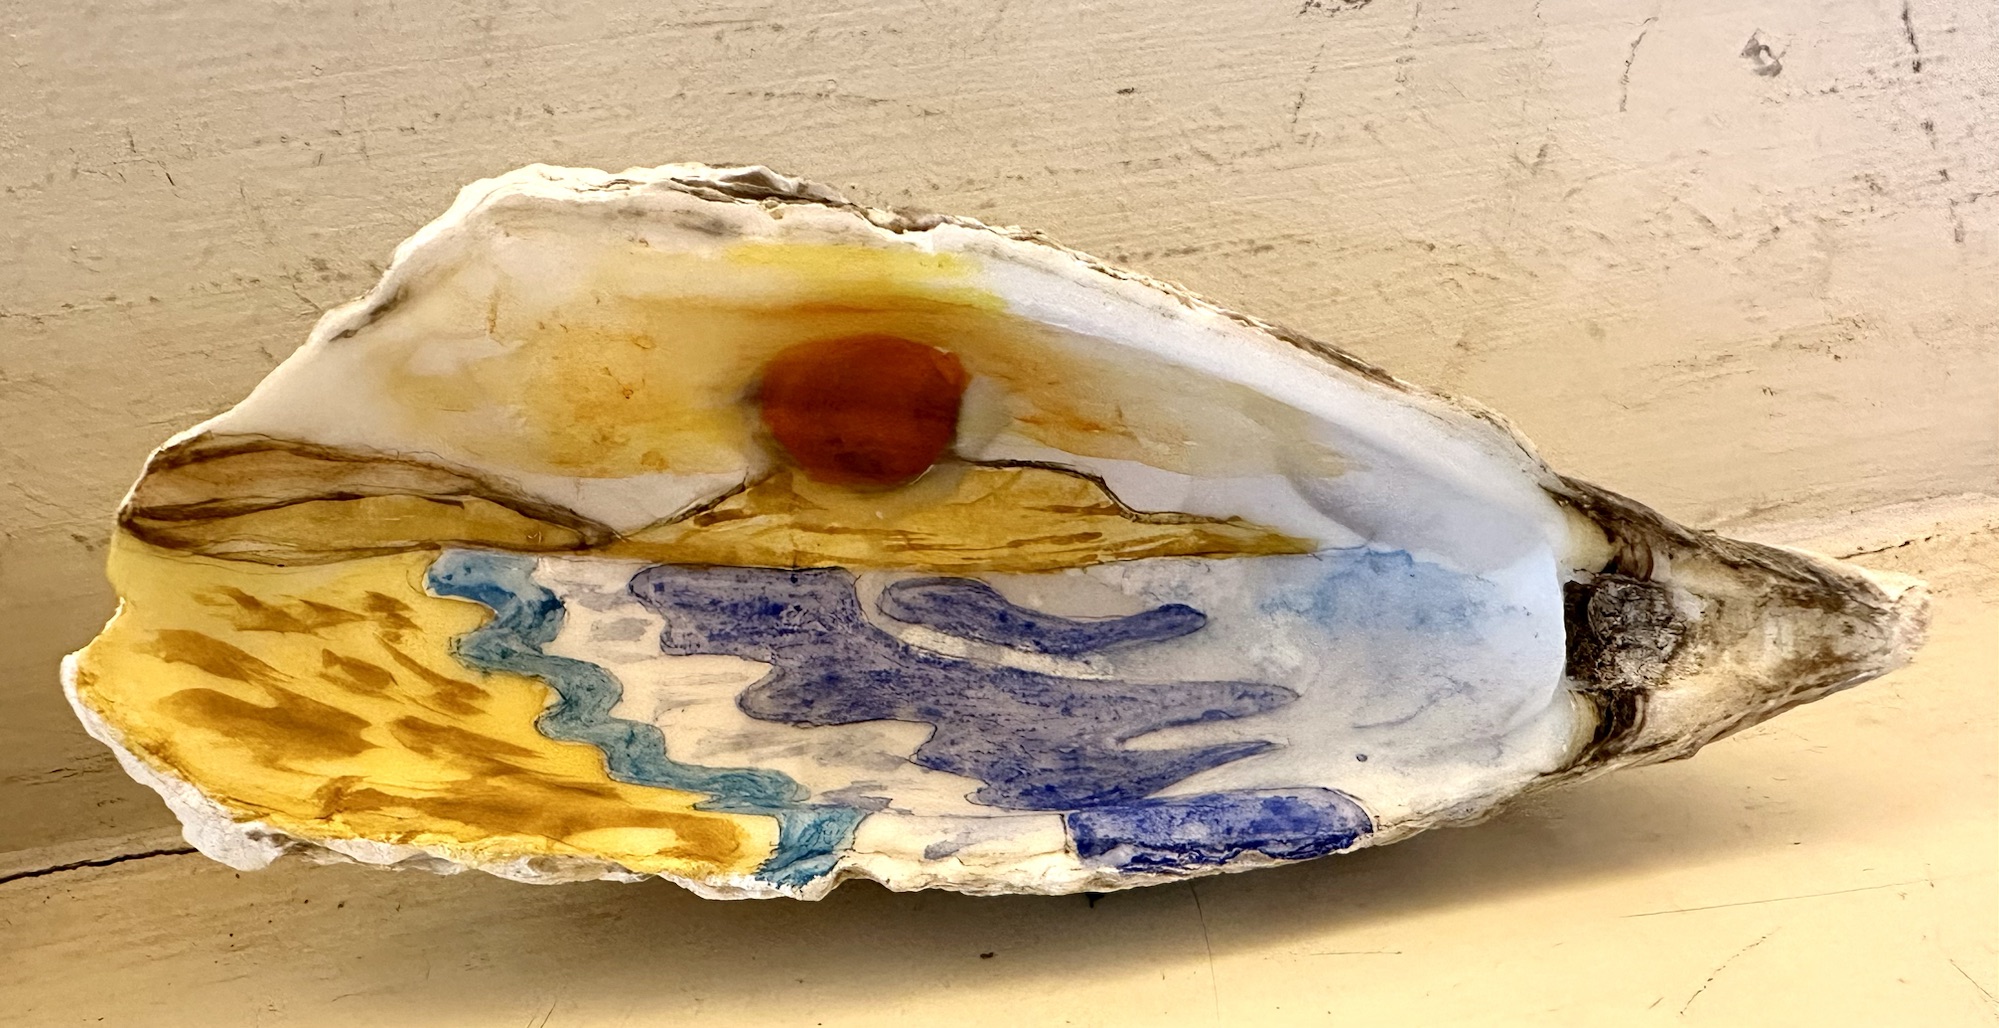
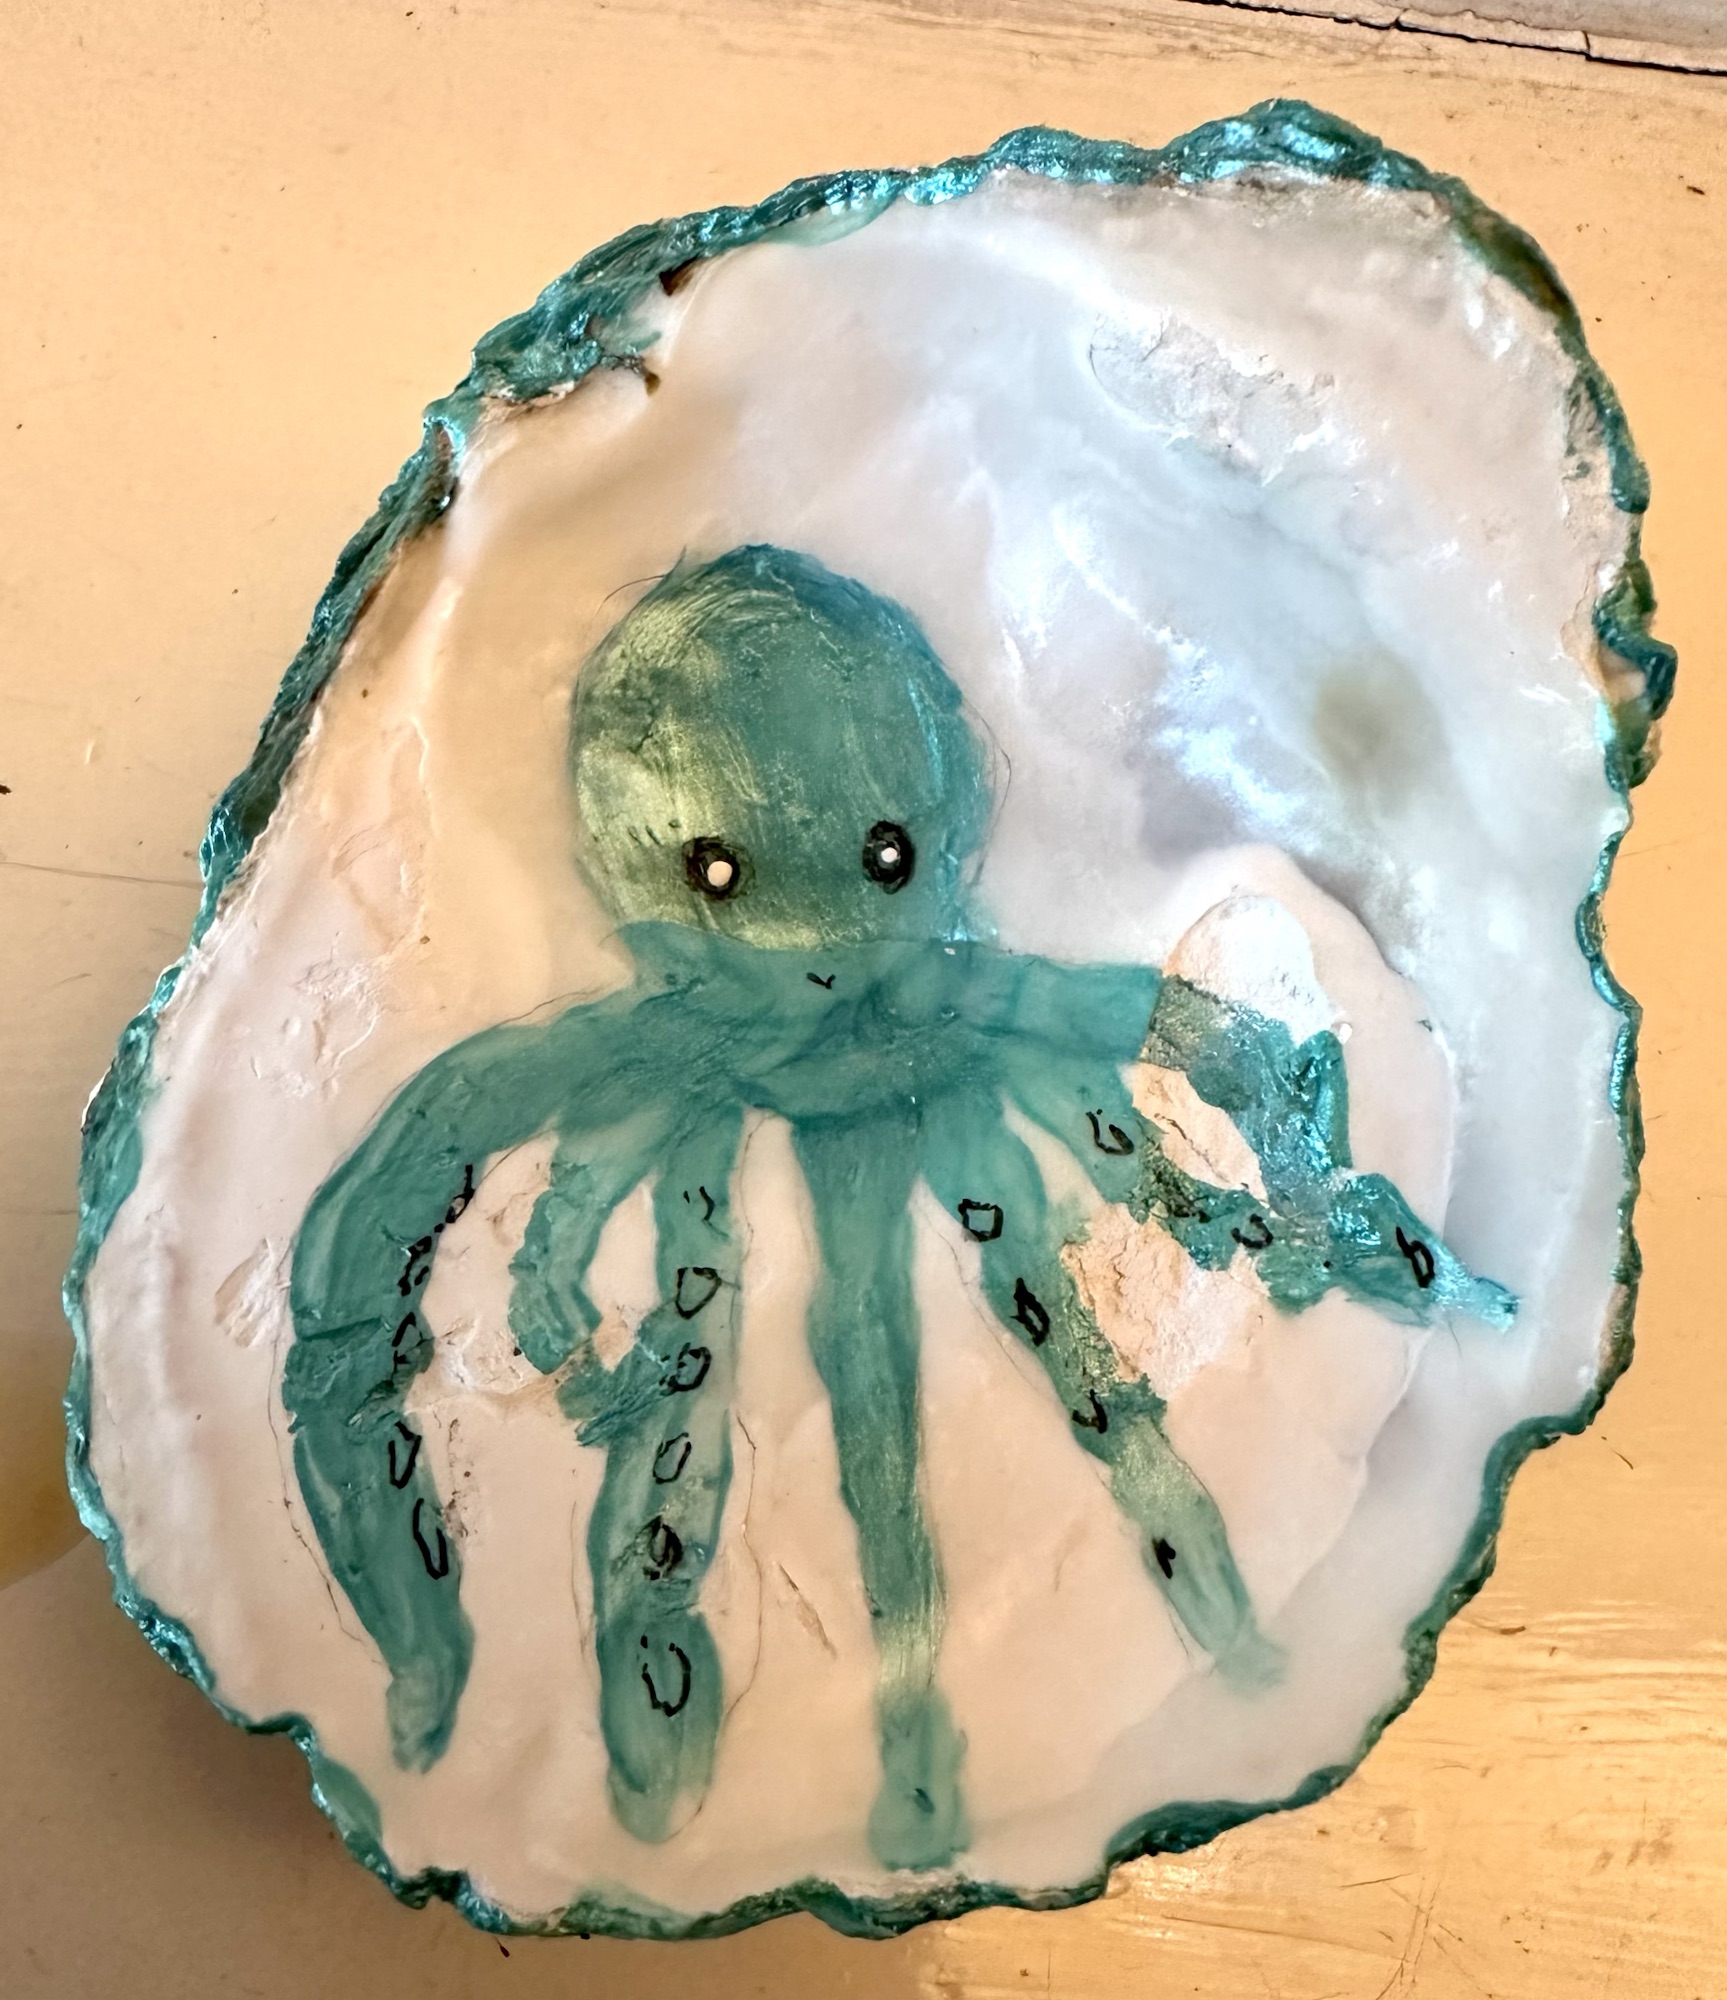
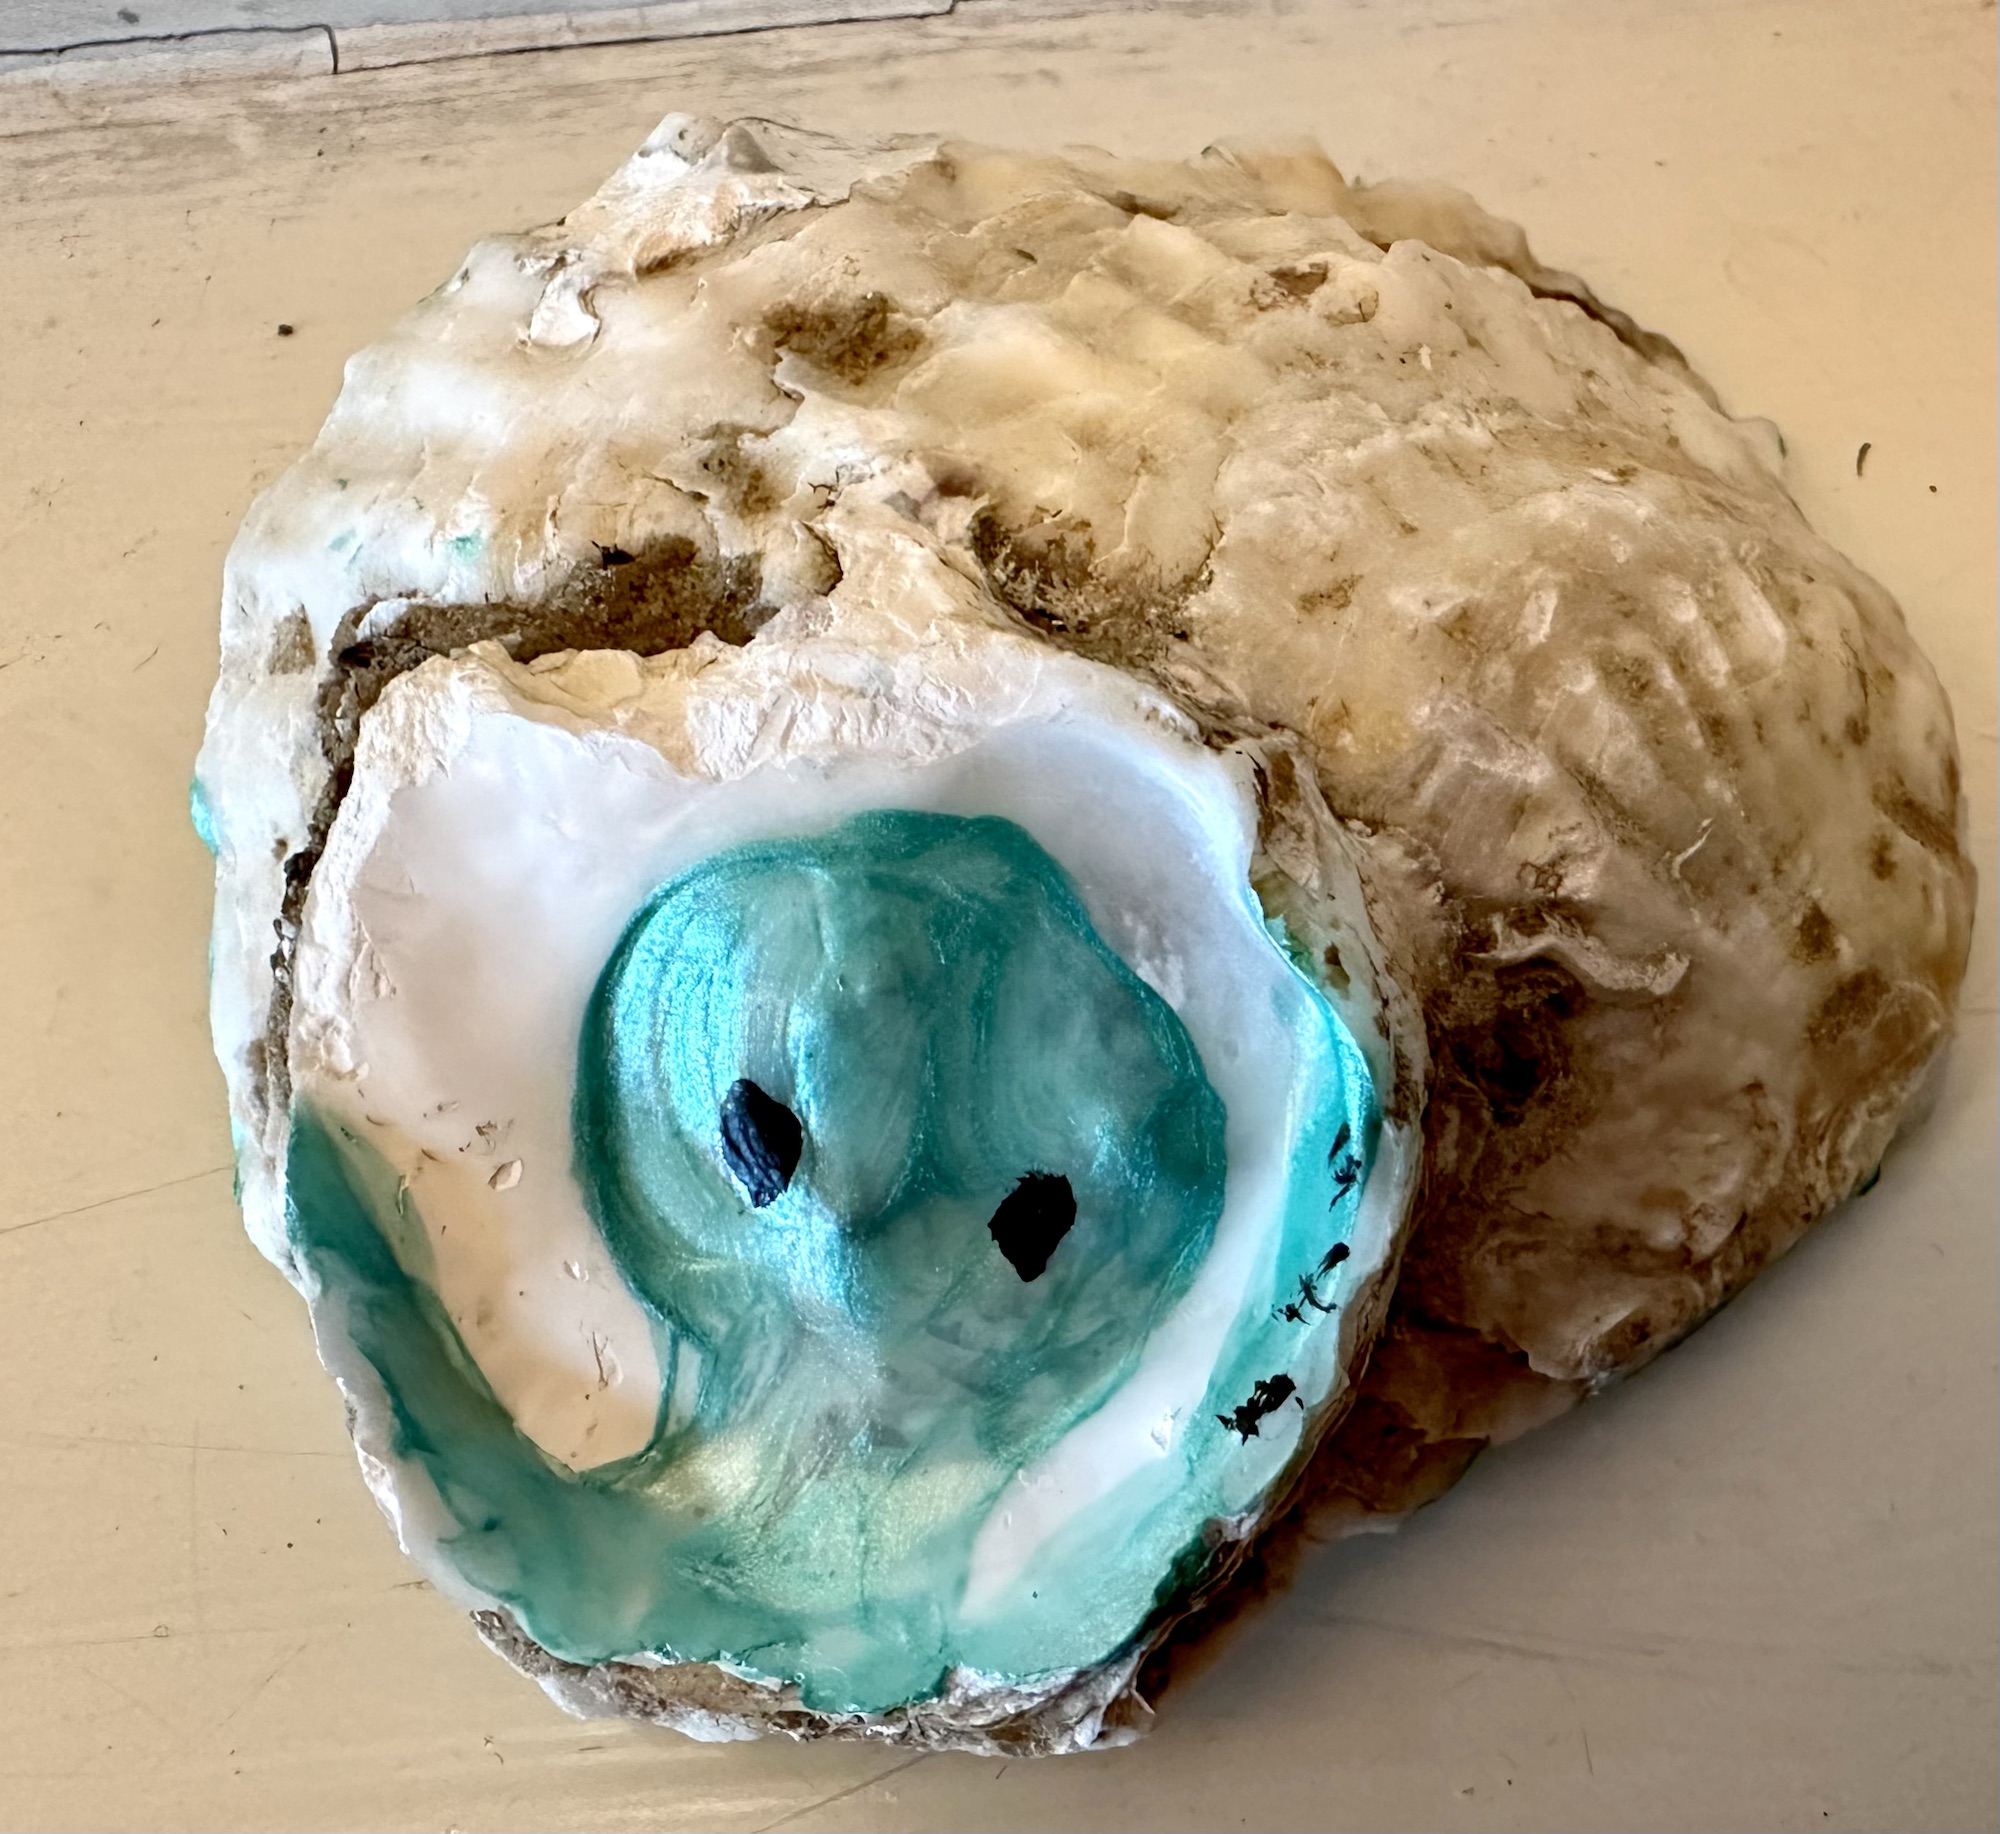
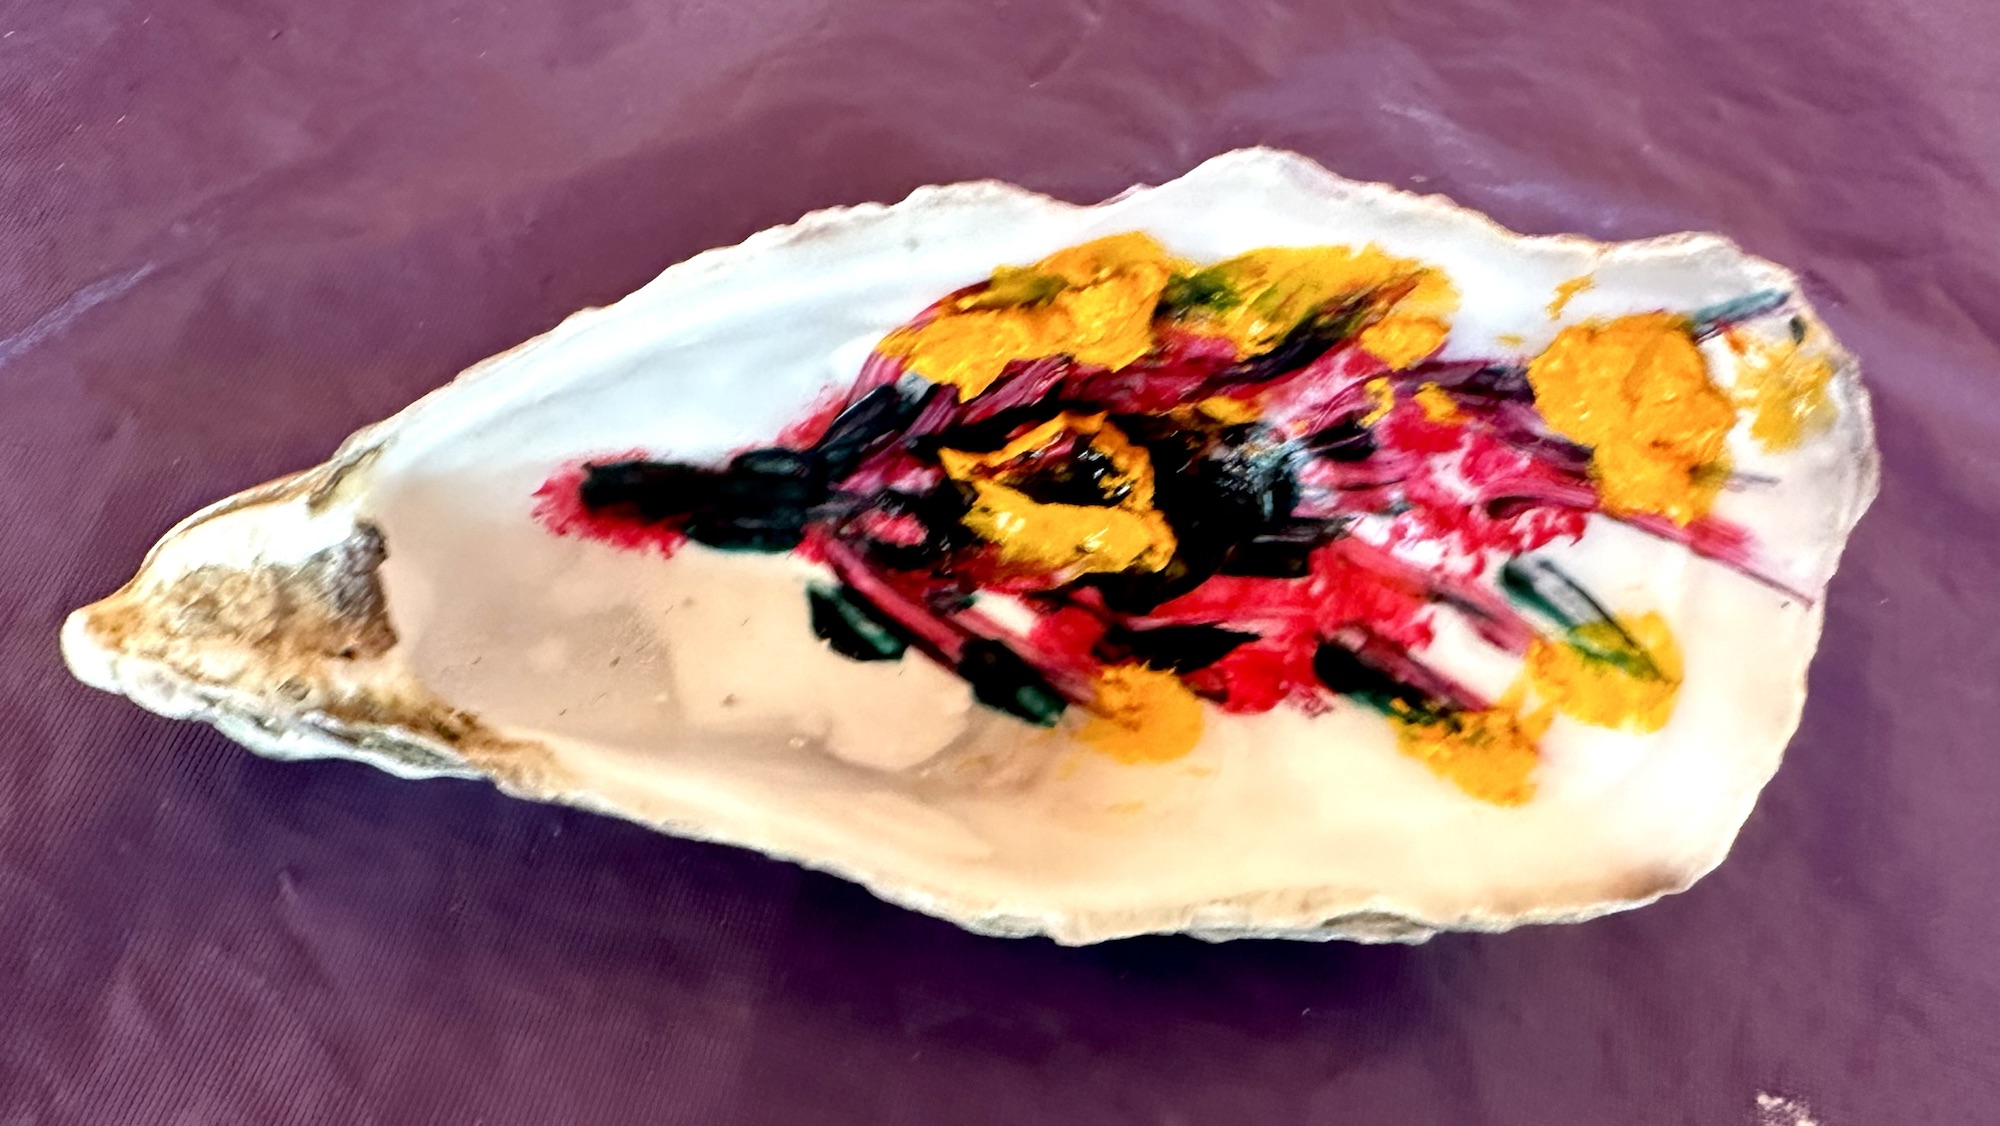
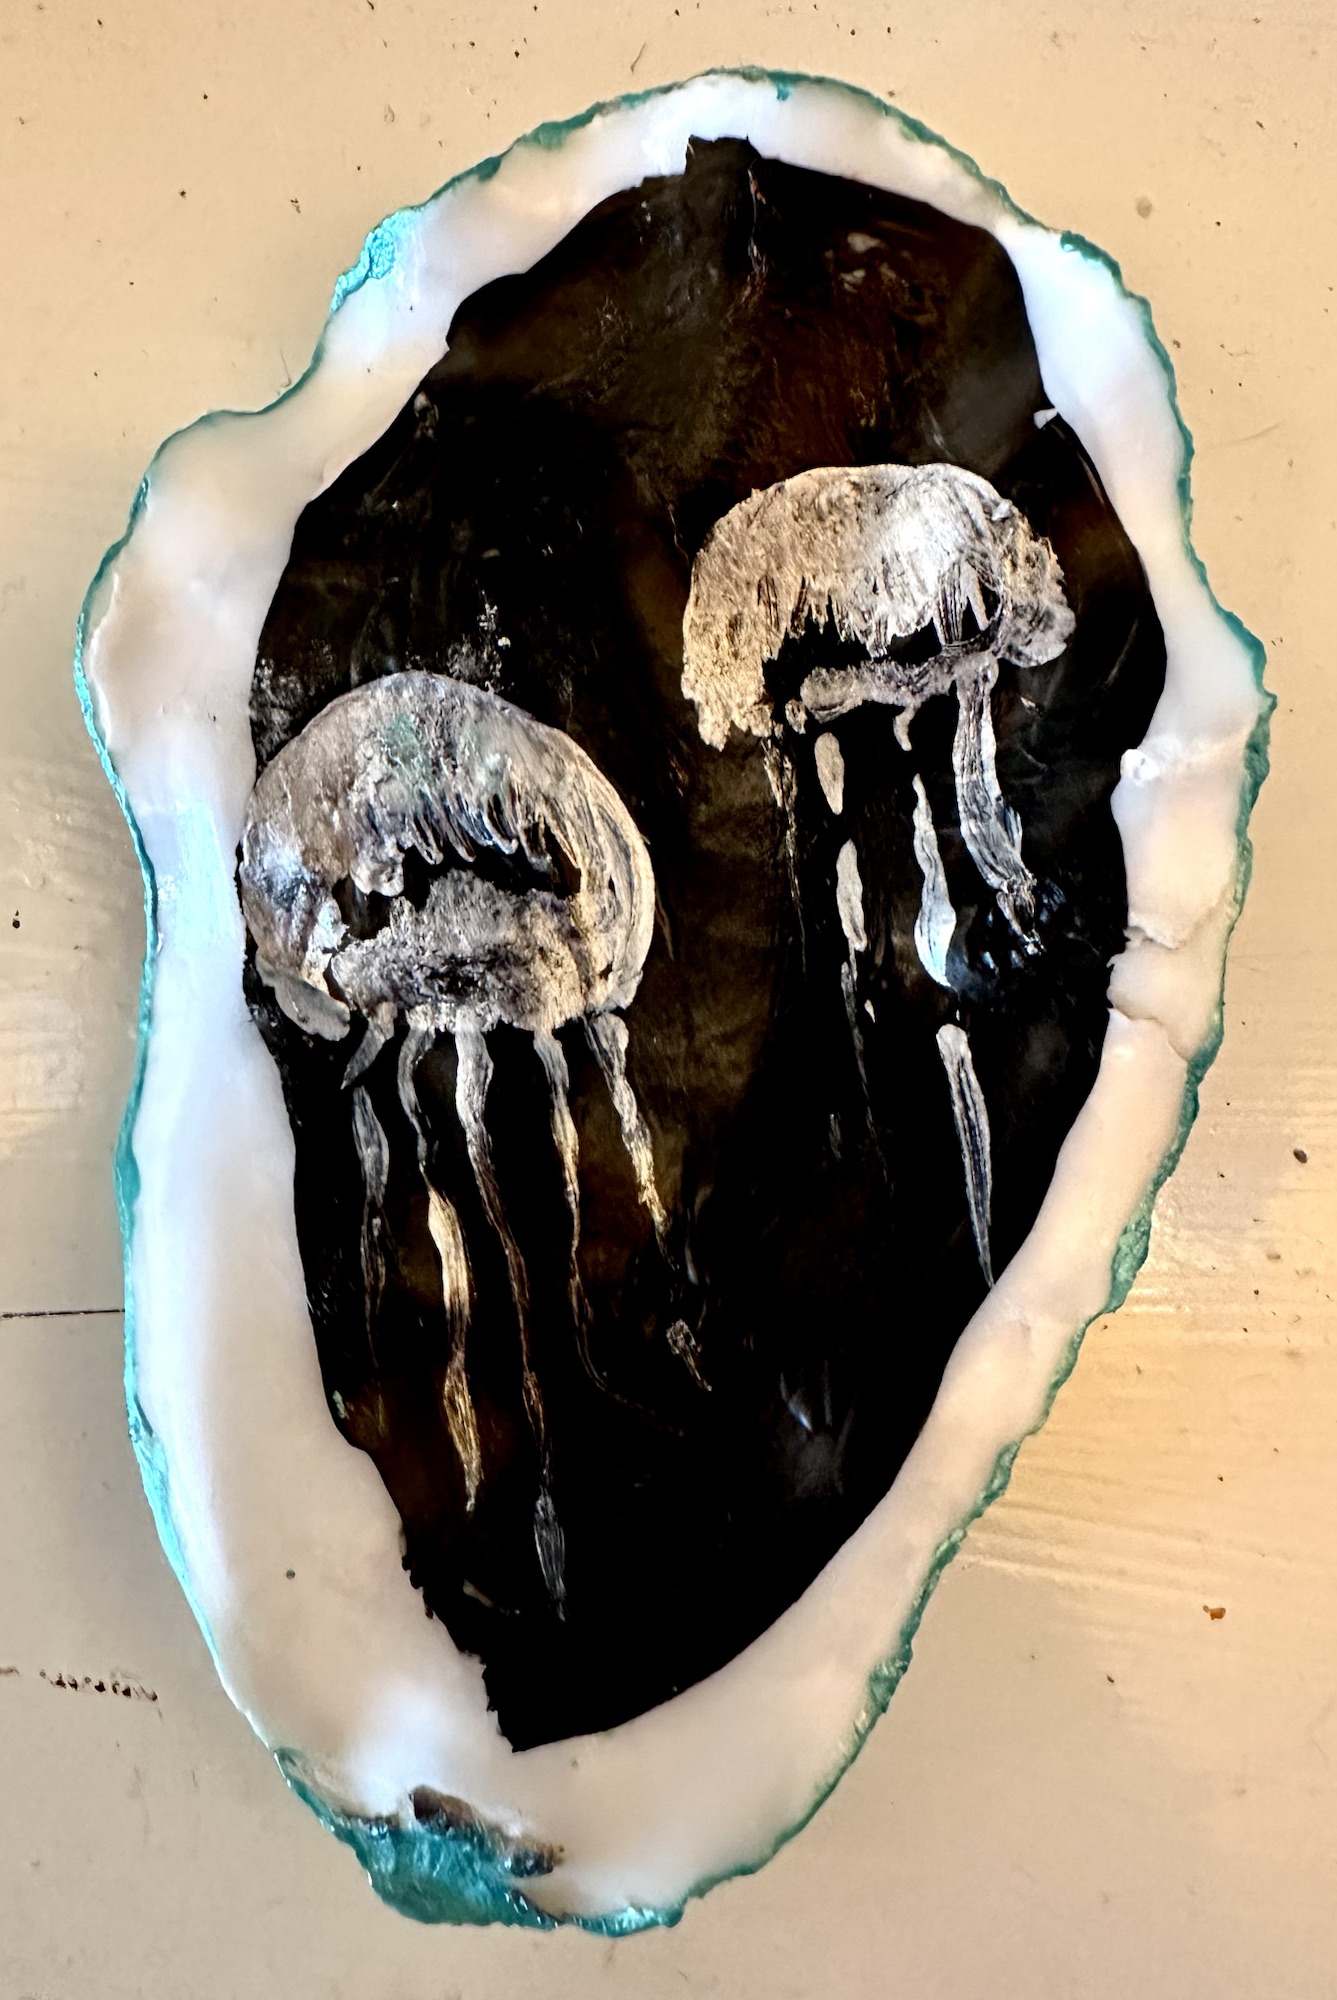
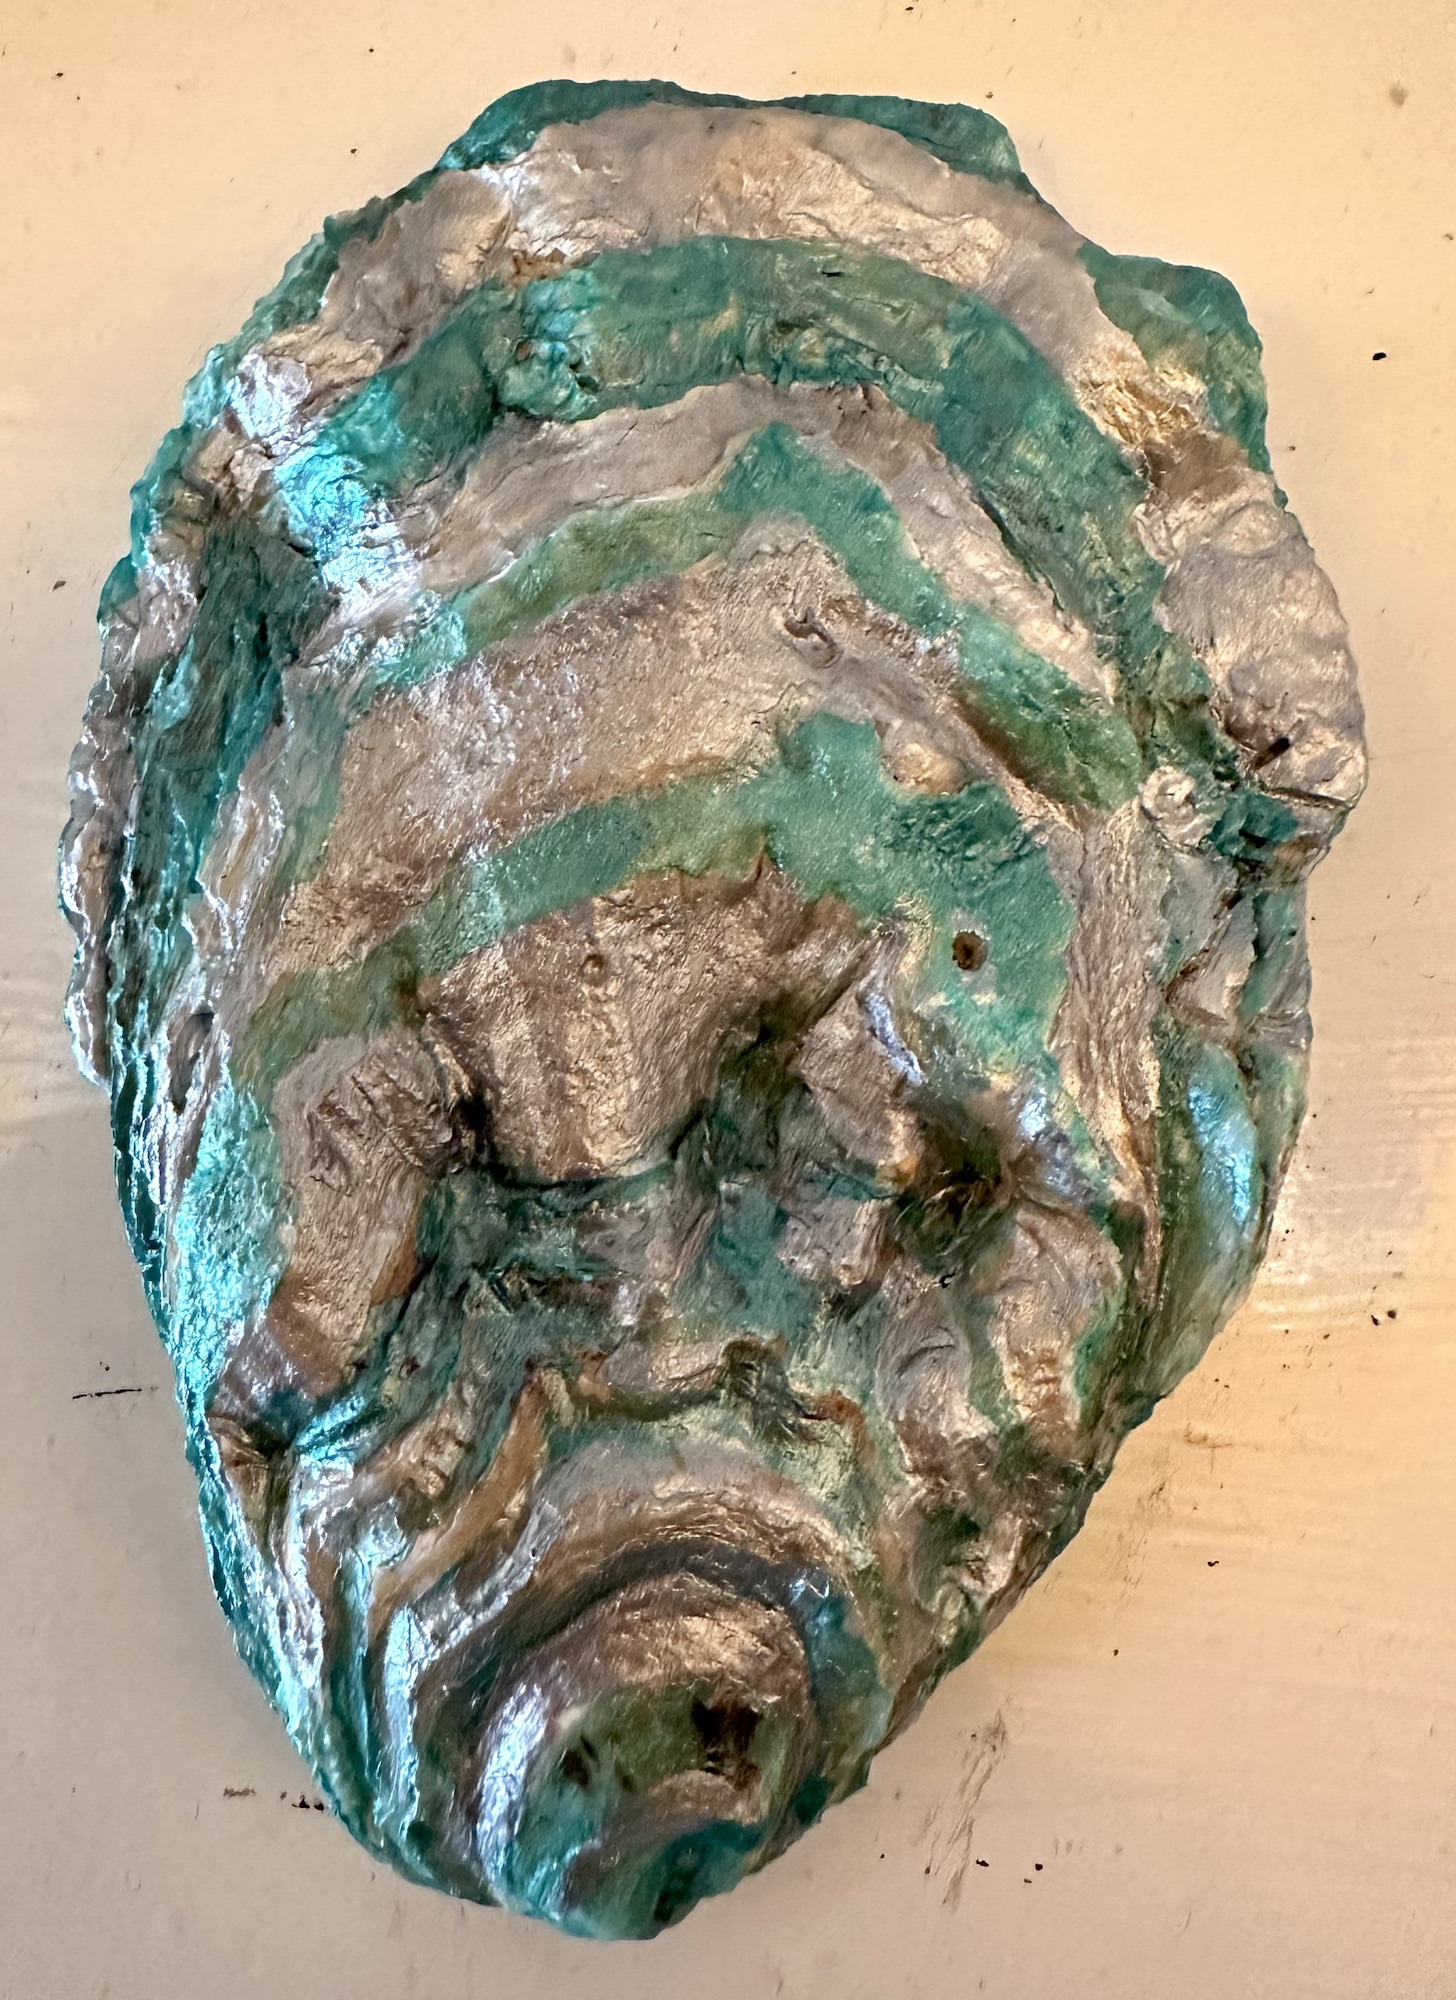
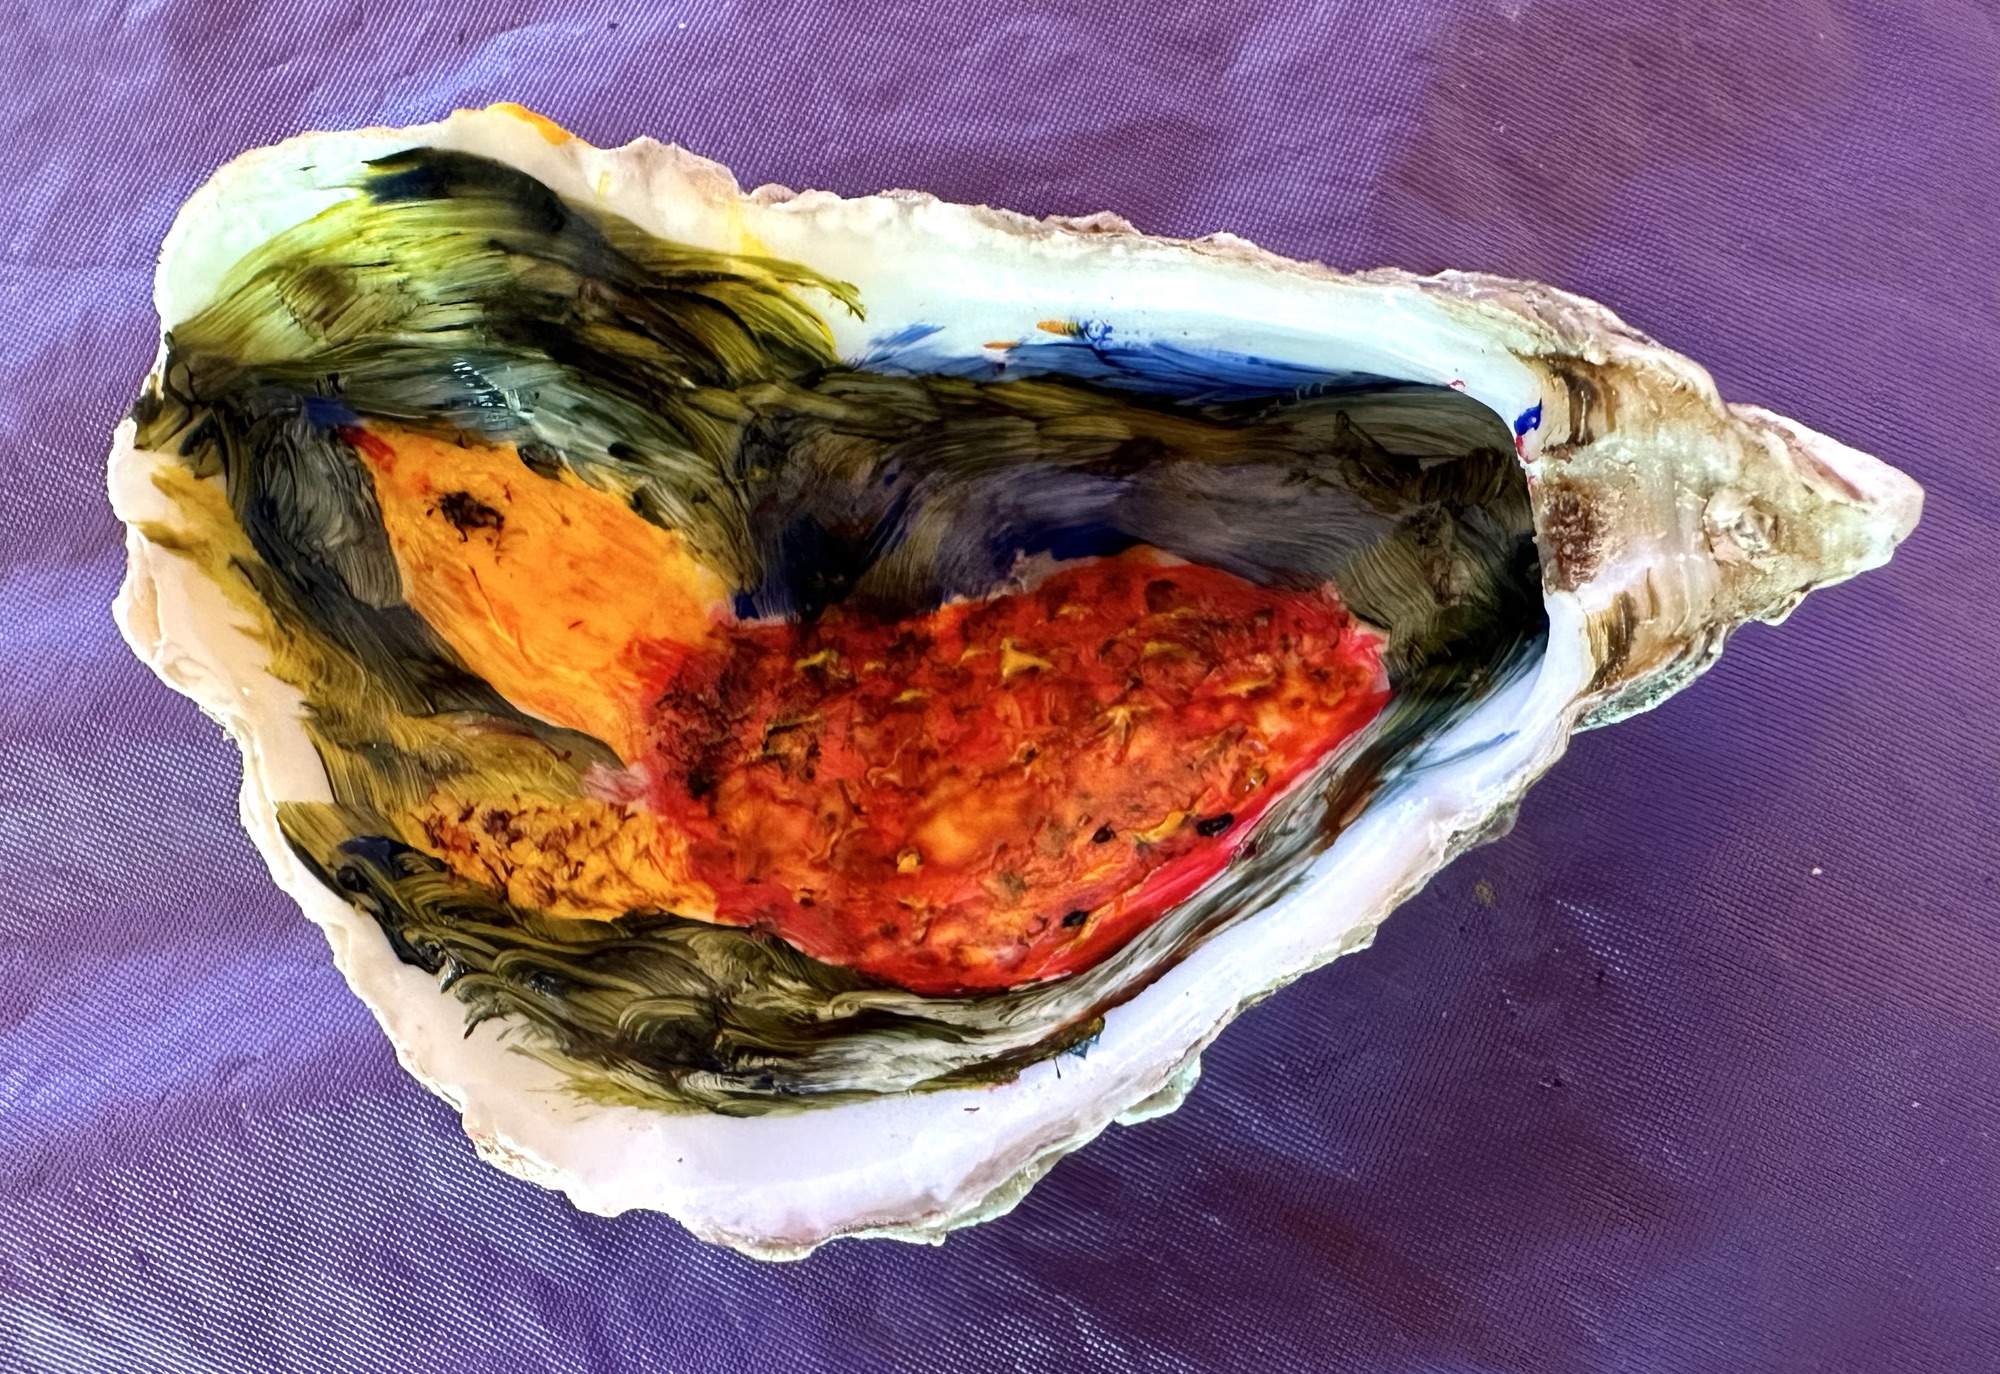
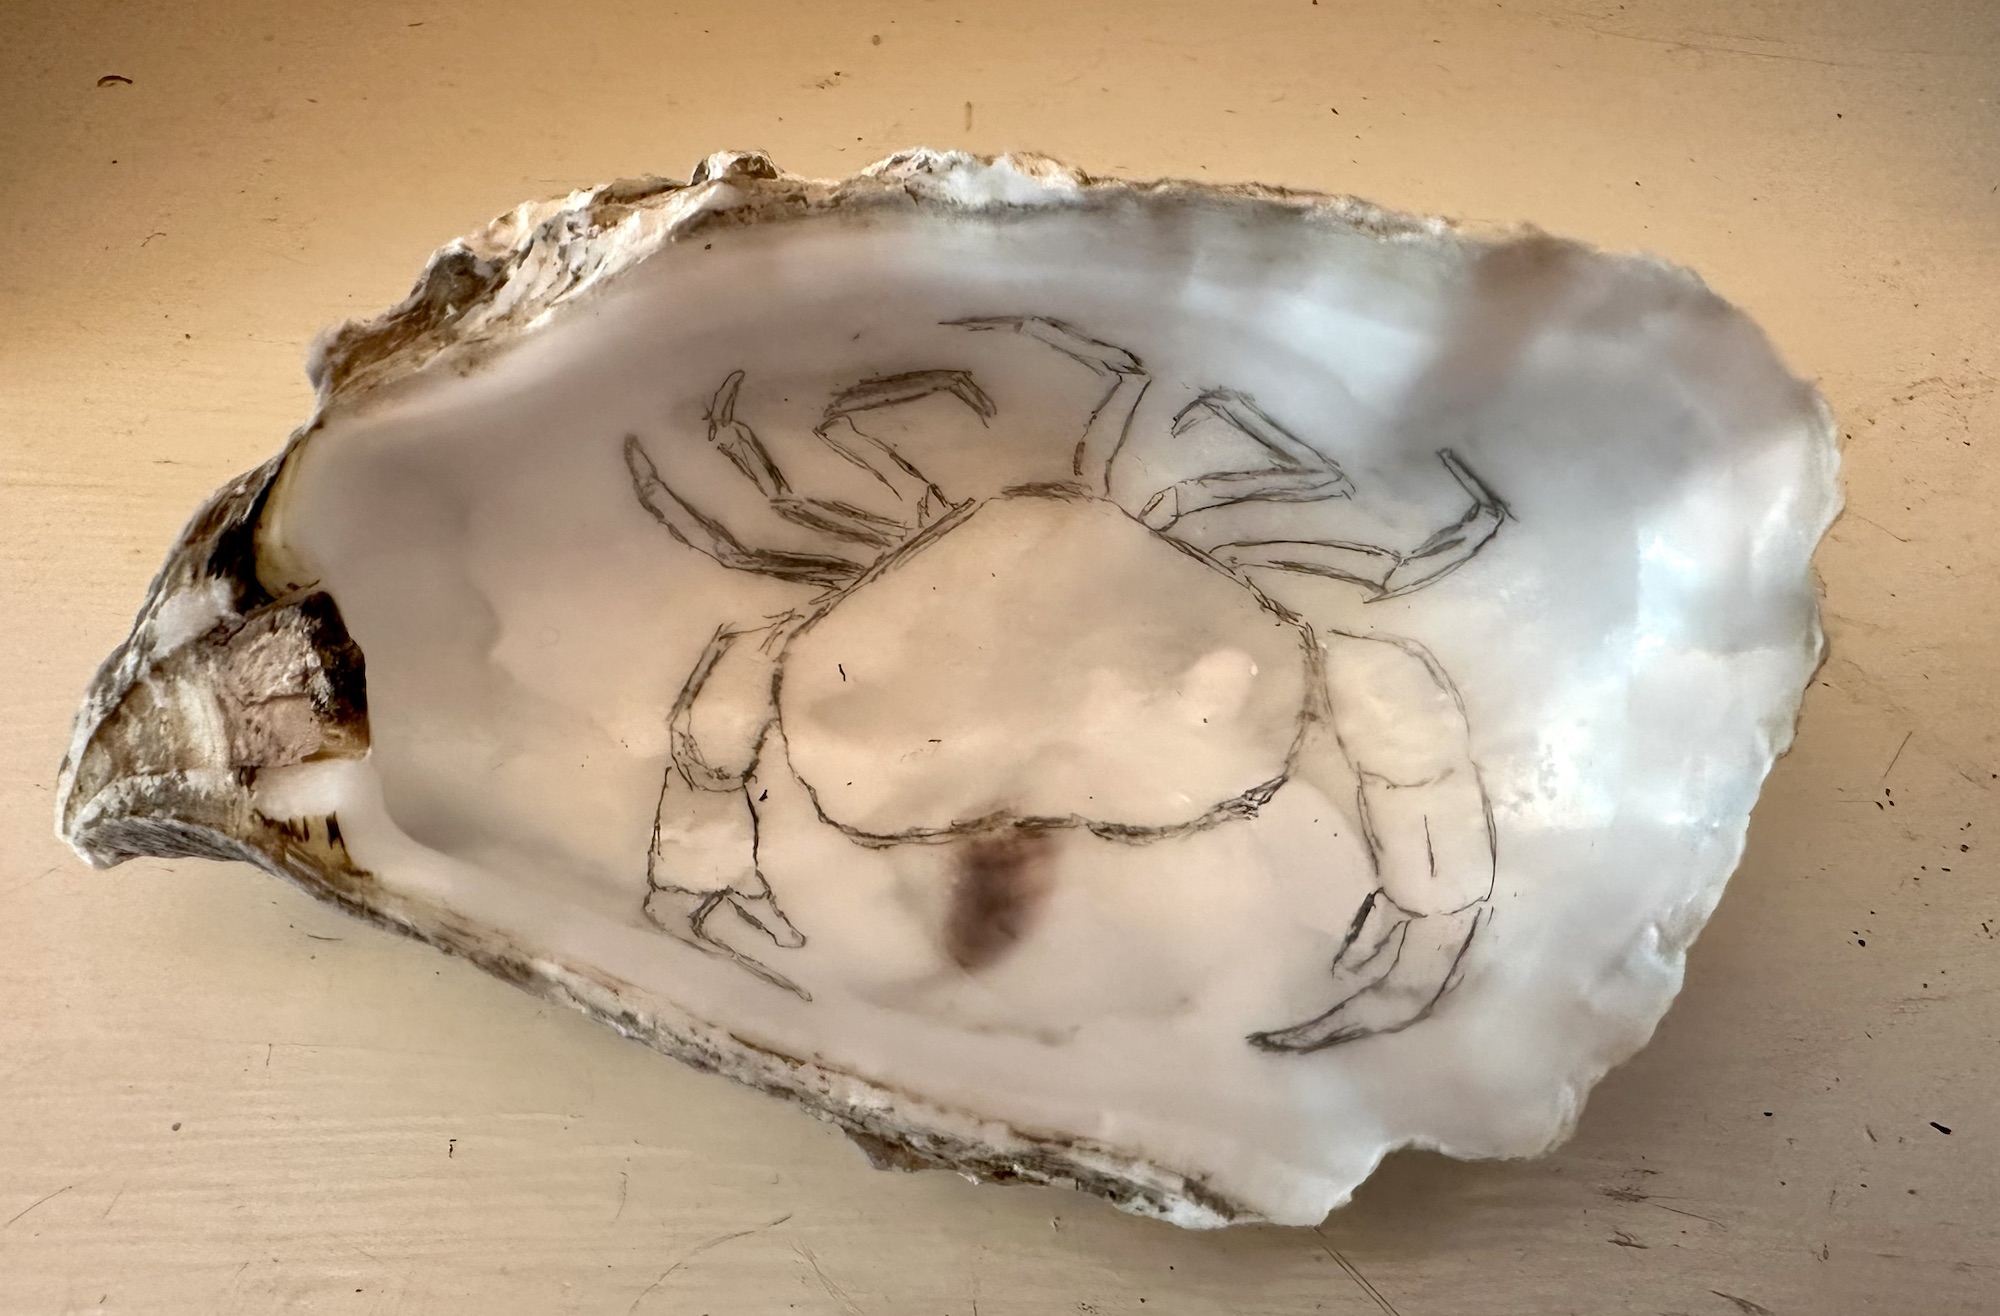
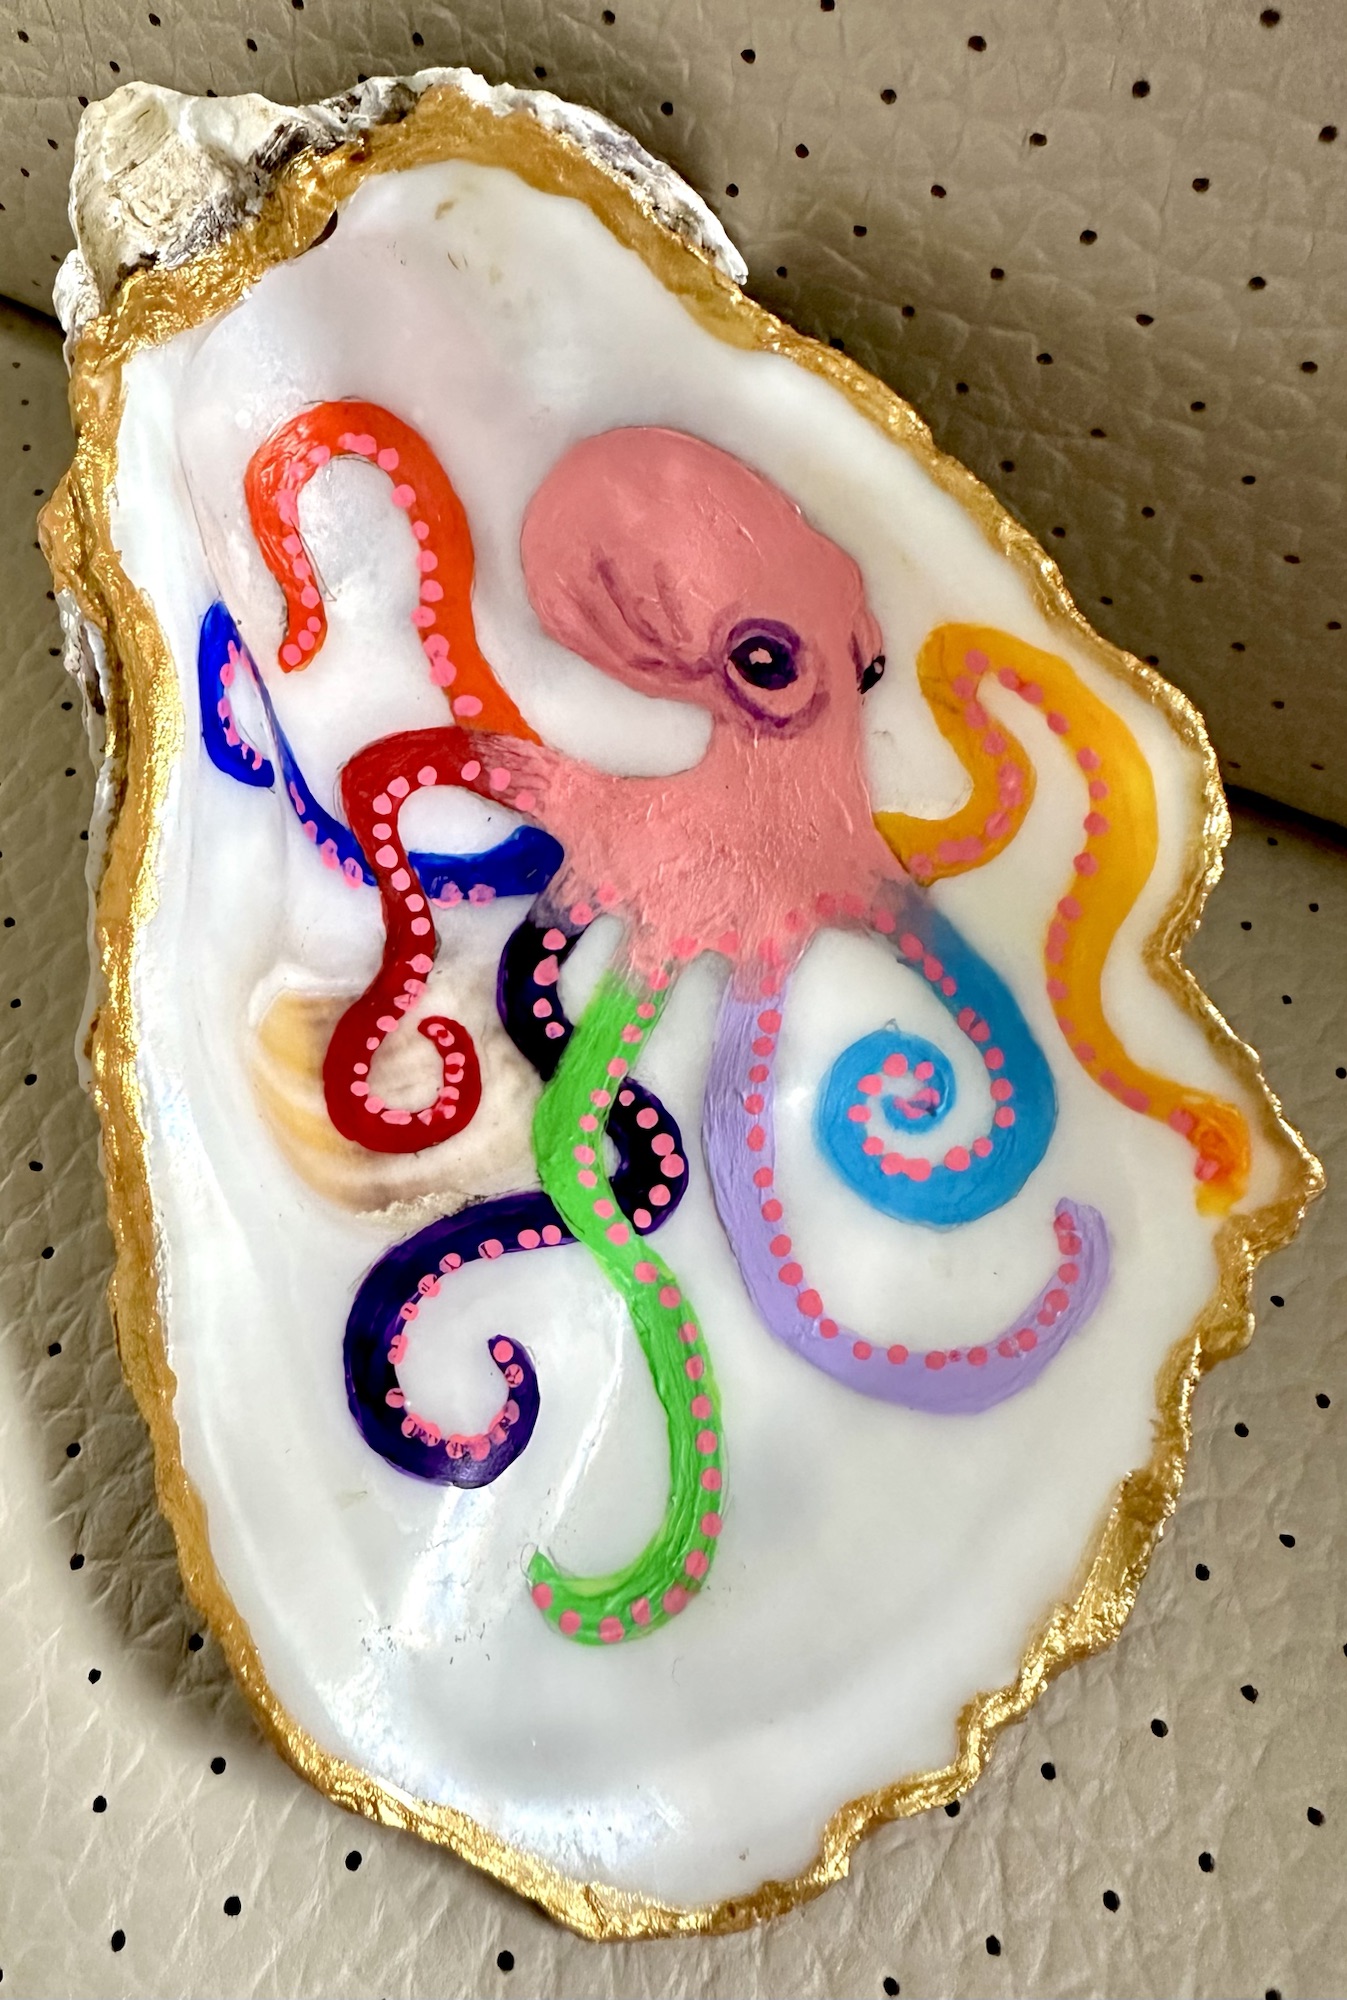
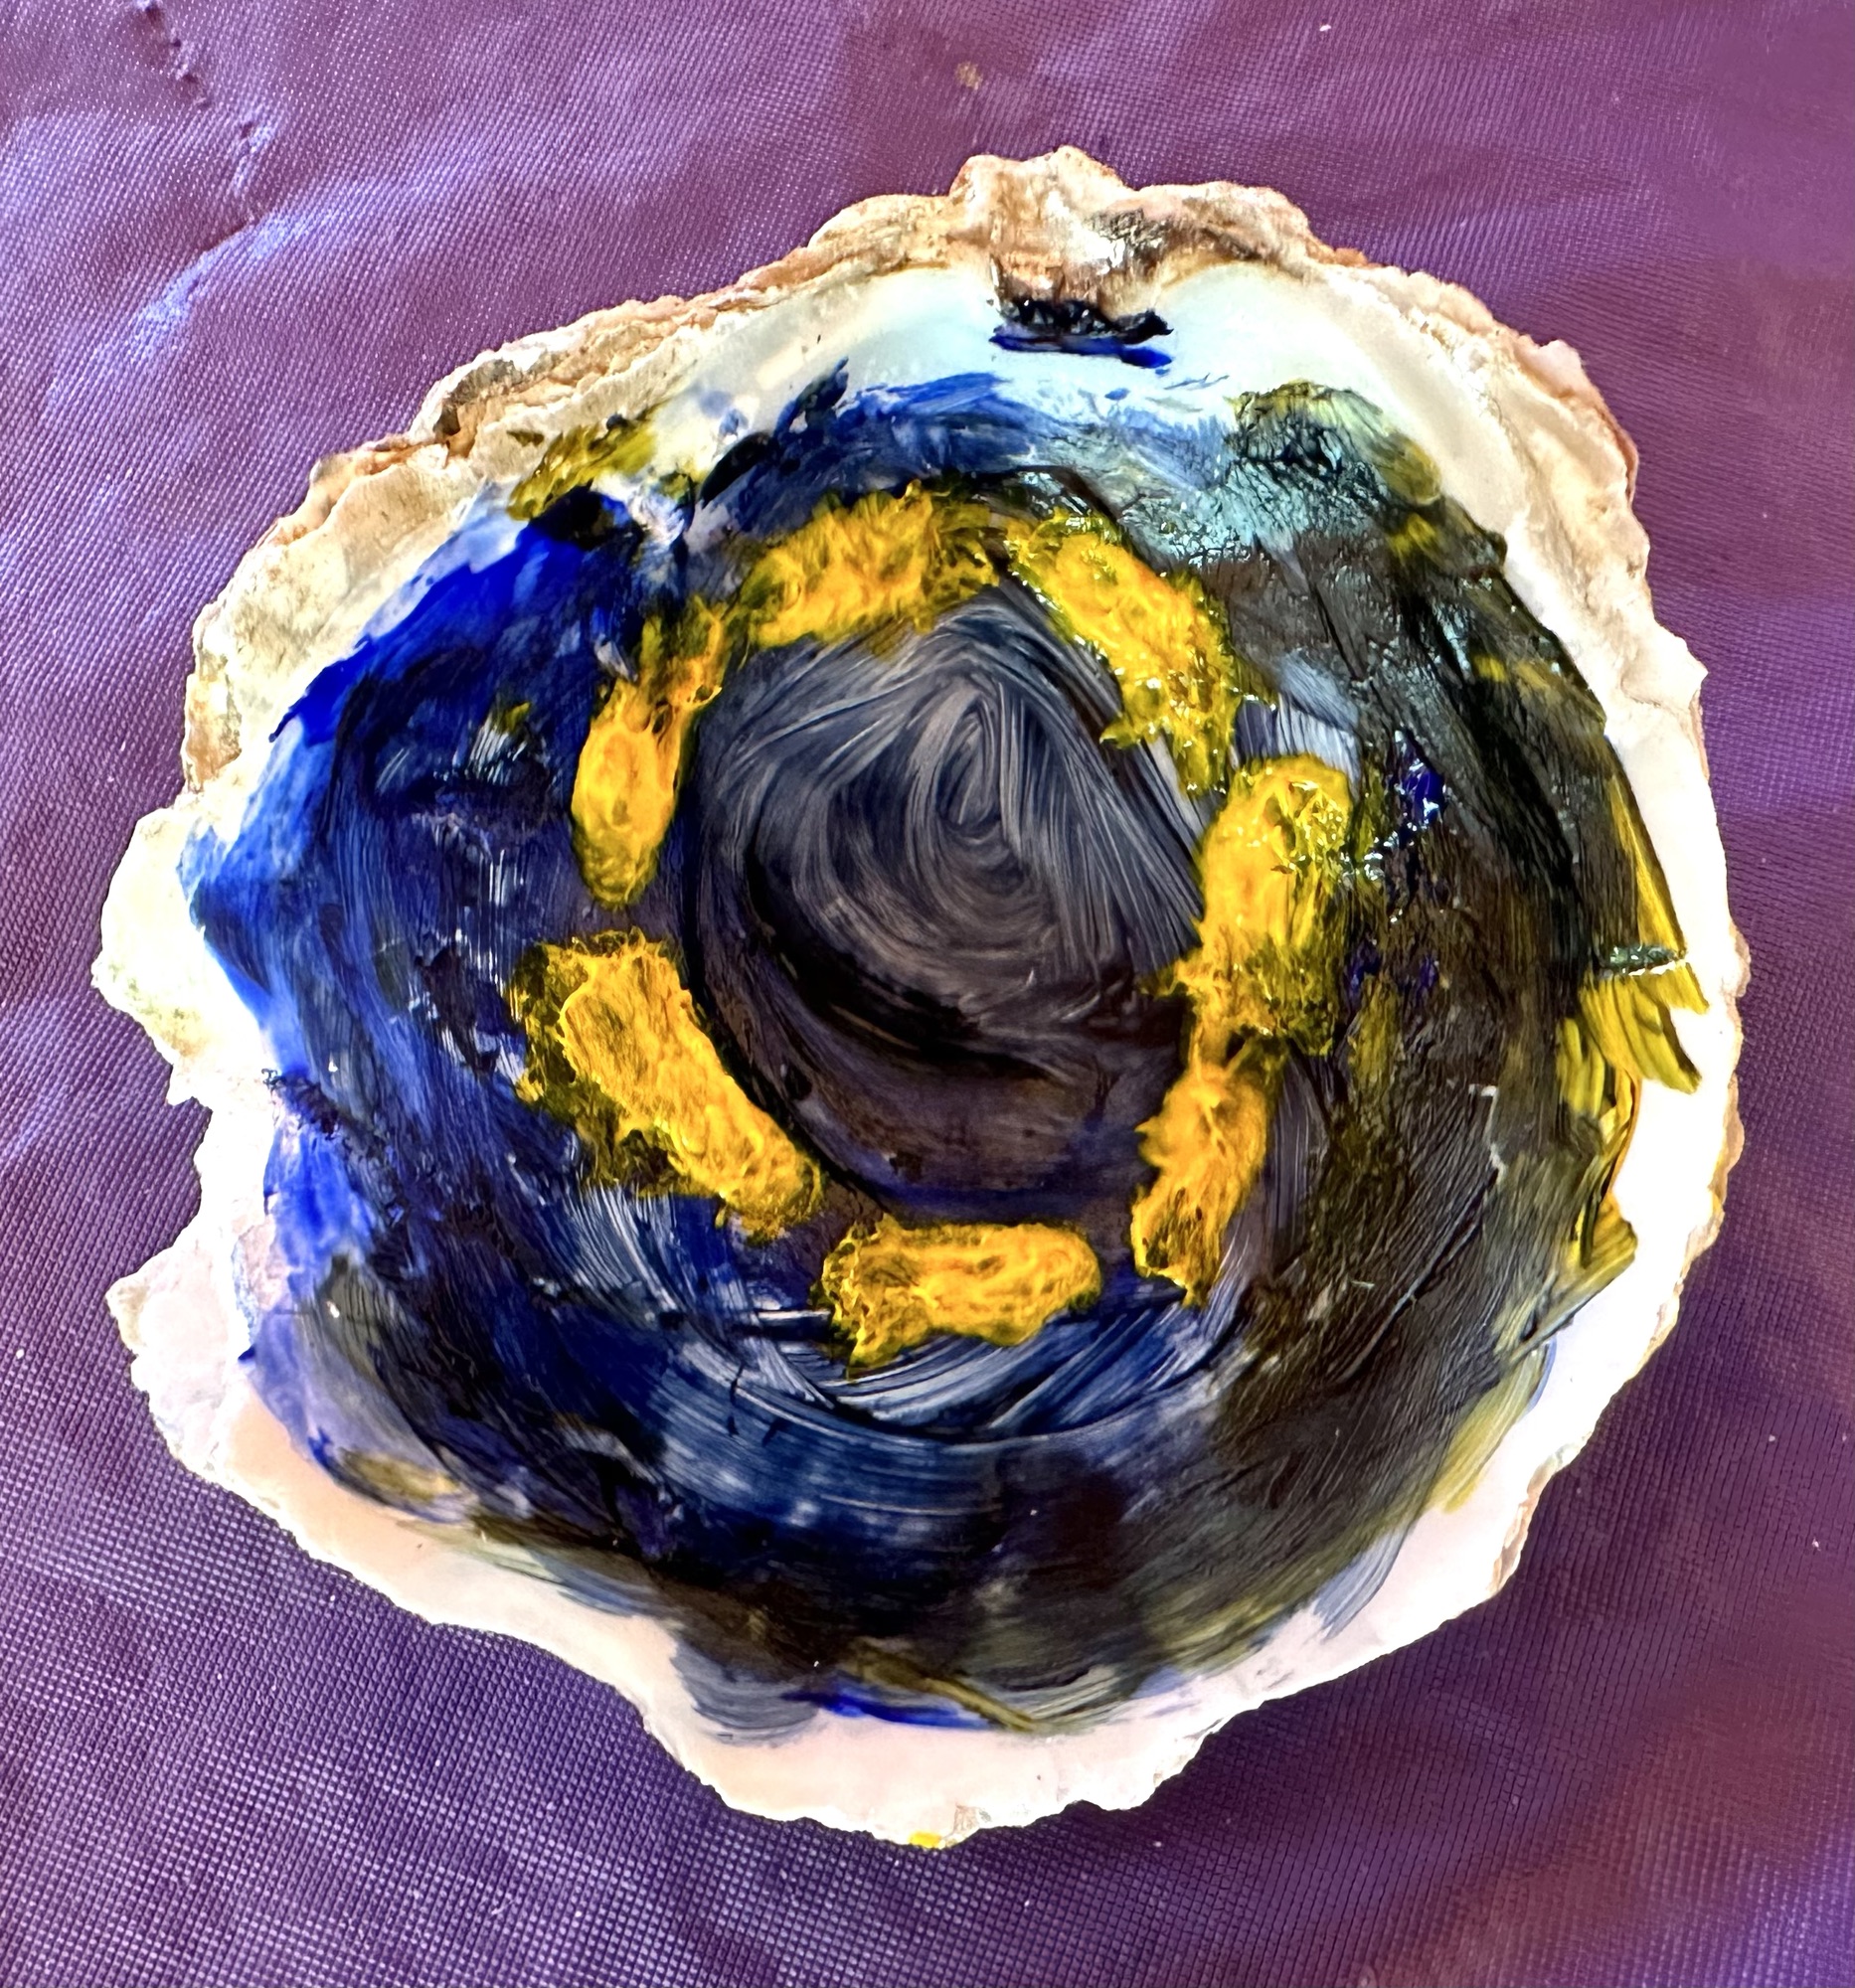
At last Saturday’s session about Underwater Life there were oyster shells to paint, either the traditional teardrop oyster shape or the flatter native oyster shells. Tracy had visited Whitstable beach and helped herself to lots of empty oyster shells which are thrown on the beach behind the Whitstable Oyster Company Restaurant. After a soak in hot water and washing up liquid she scraped off the last of the muscle at the dark muscle scar inside the shells, soaked them with antibacterial spray and left them to dry in the sun. The inside of the oyster shells were all clean to paint with no fishy smell and the outsides were patterned and interesting too.
Everyone who painted a shell came up with a design on the spur of the moment and drew inside the shell with pencil then painted with colourful acrylics. Kay painted with watercolours and the paint did stay on the inside. Her painting of a badger’s head on a flat native oyster shell was much admired and we all agreed it was the highlight of all the shells.
Well done everyone, you painted the shells beautifully and it was fun to try something different!
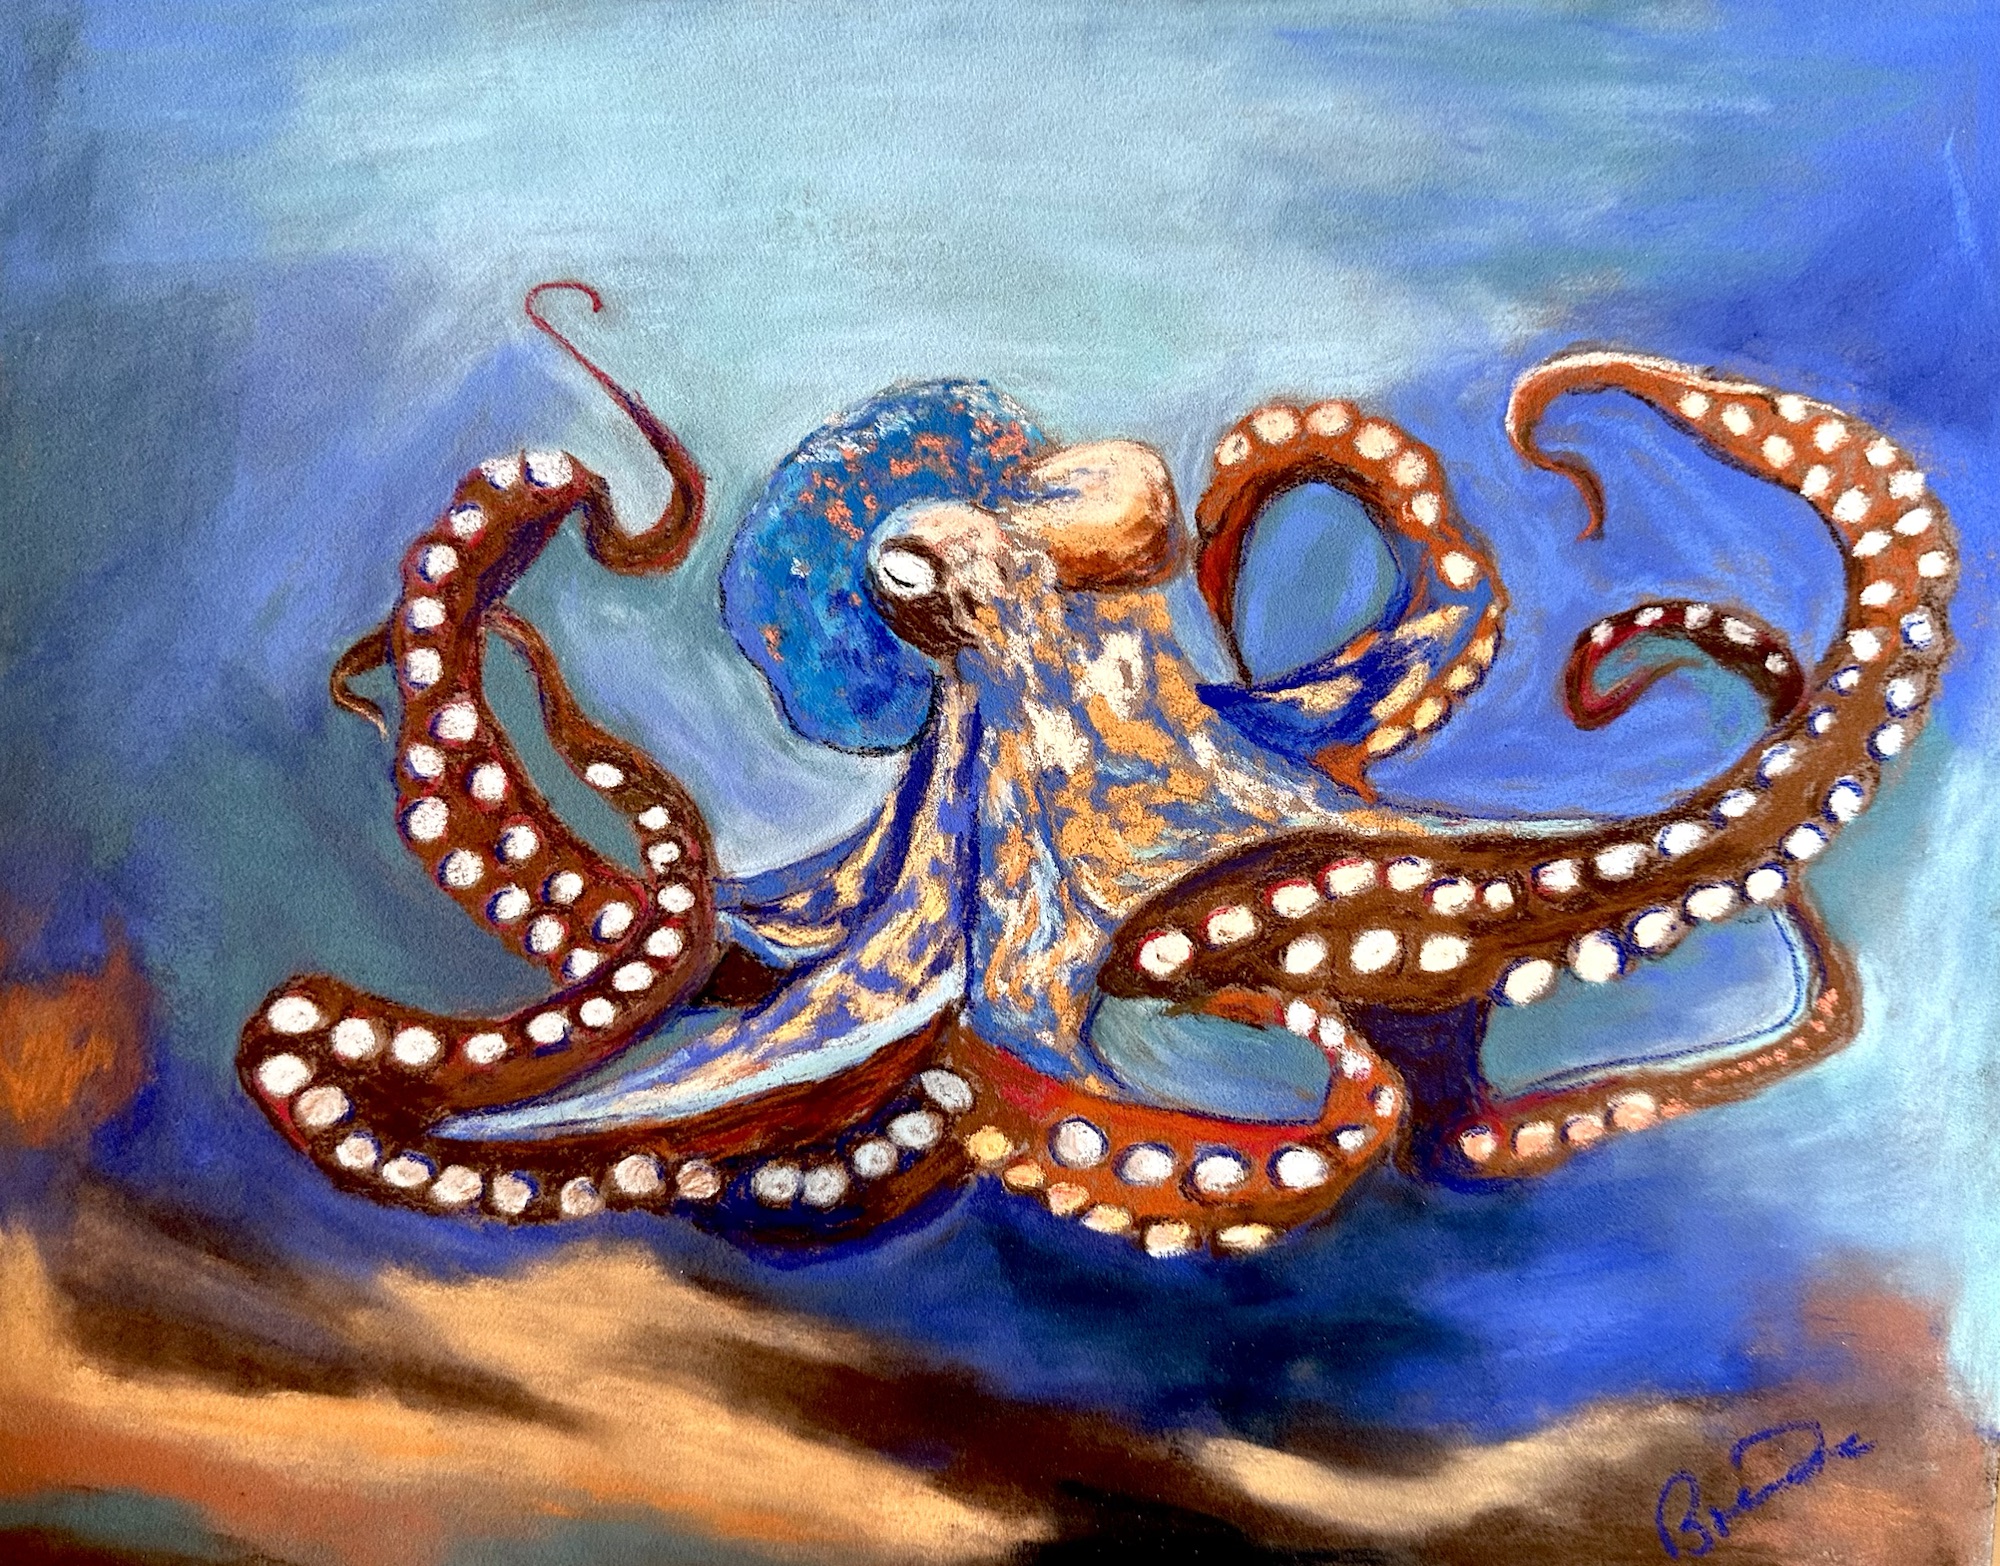
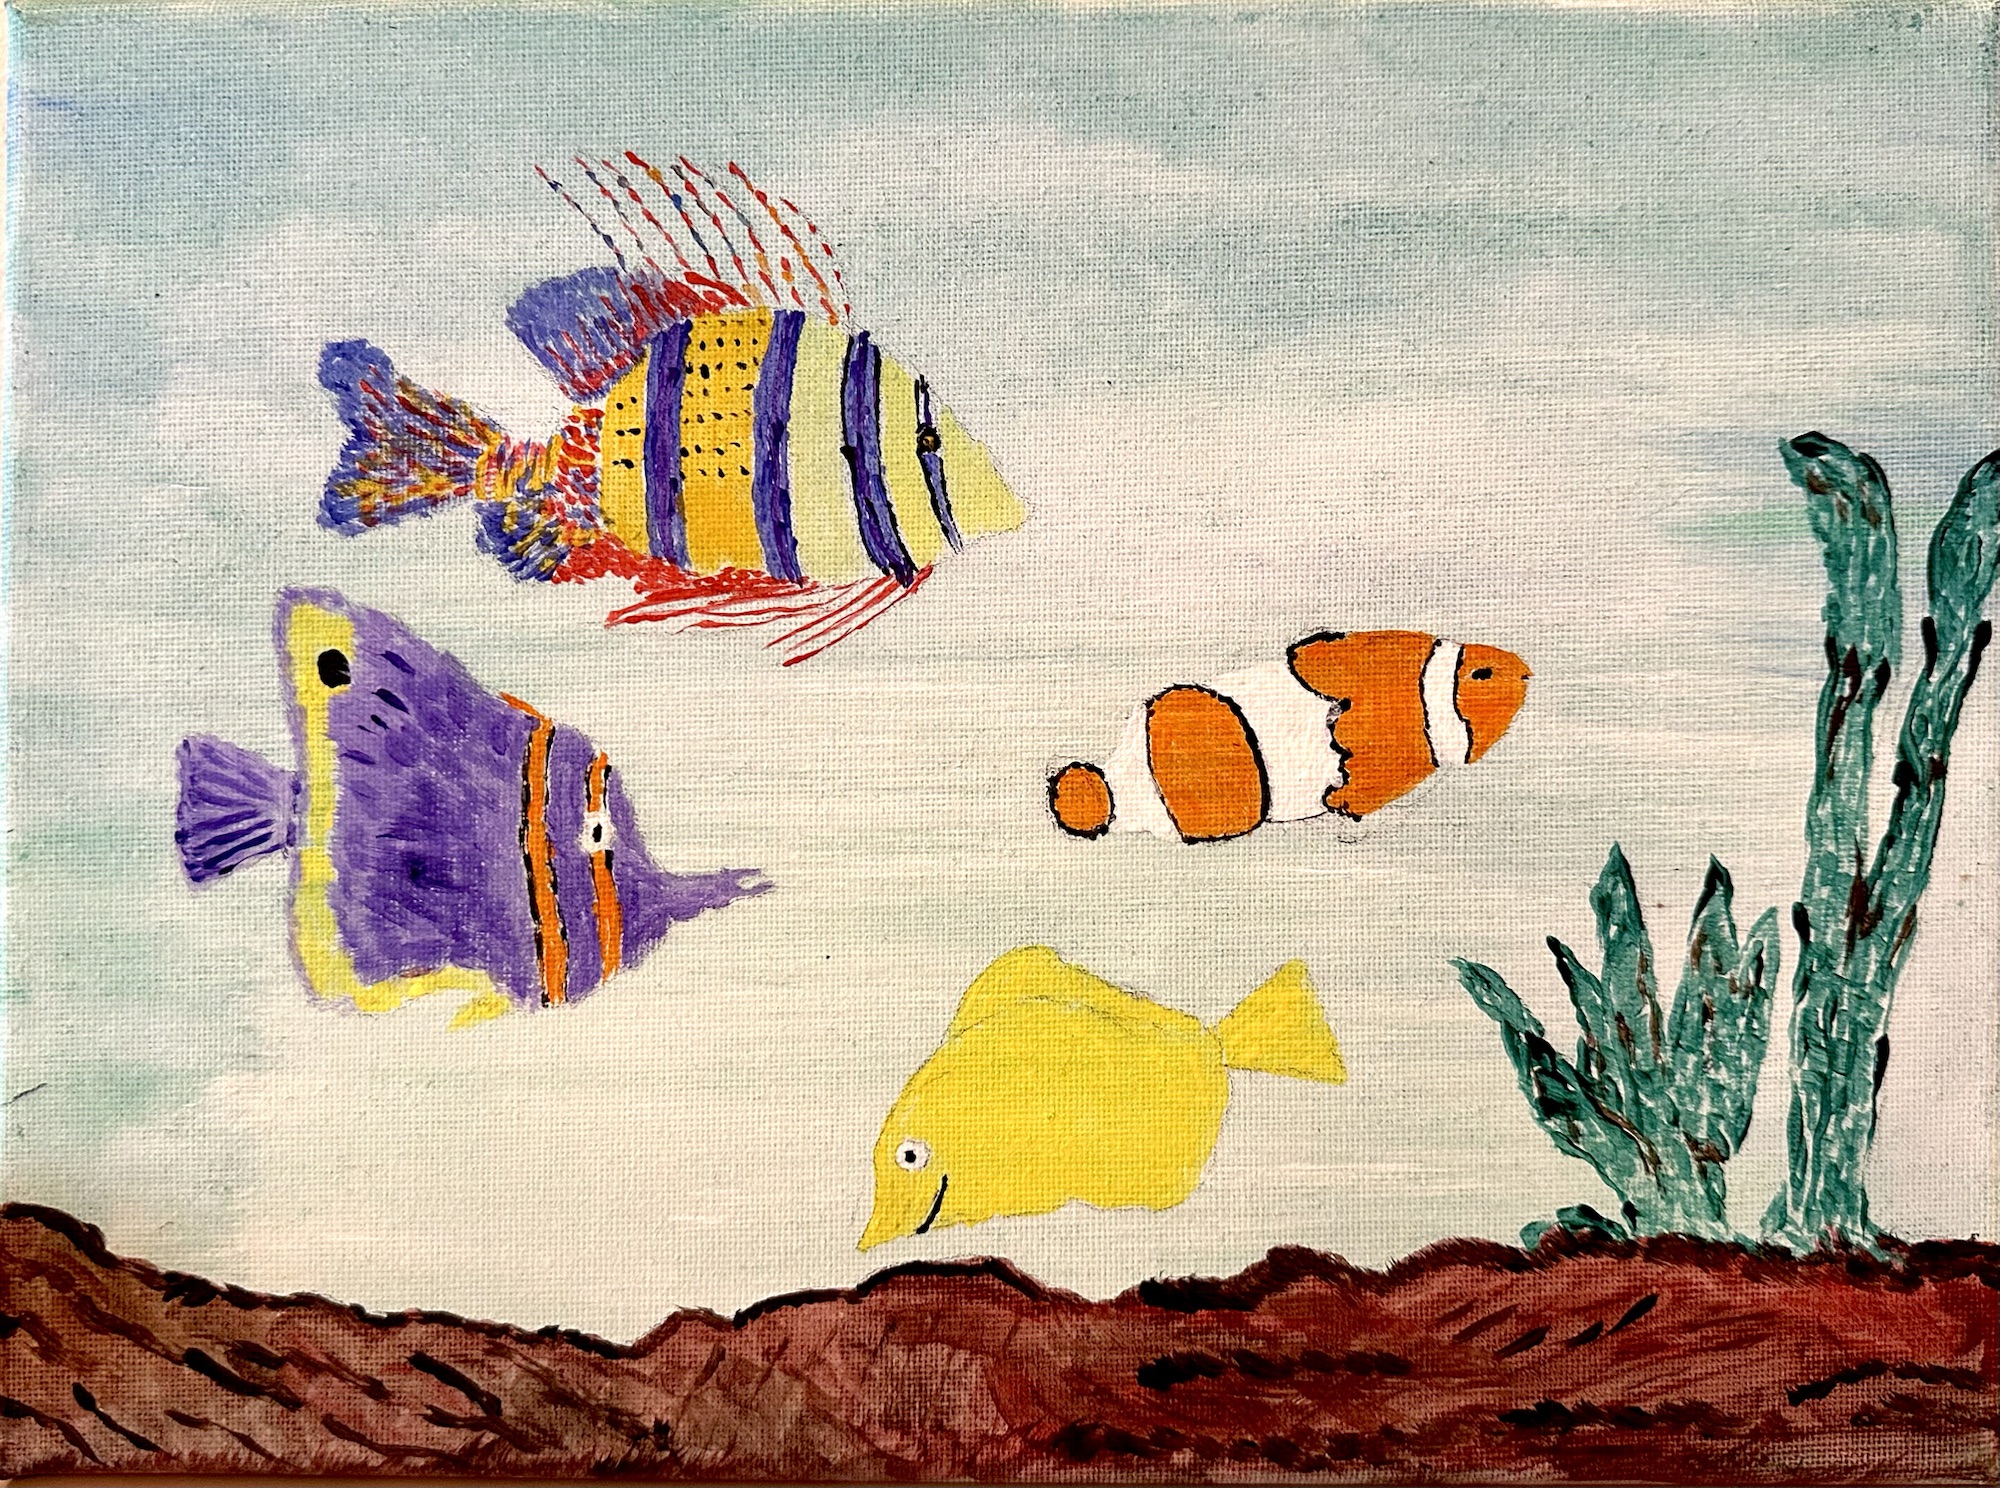
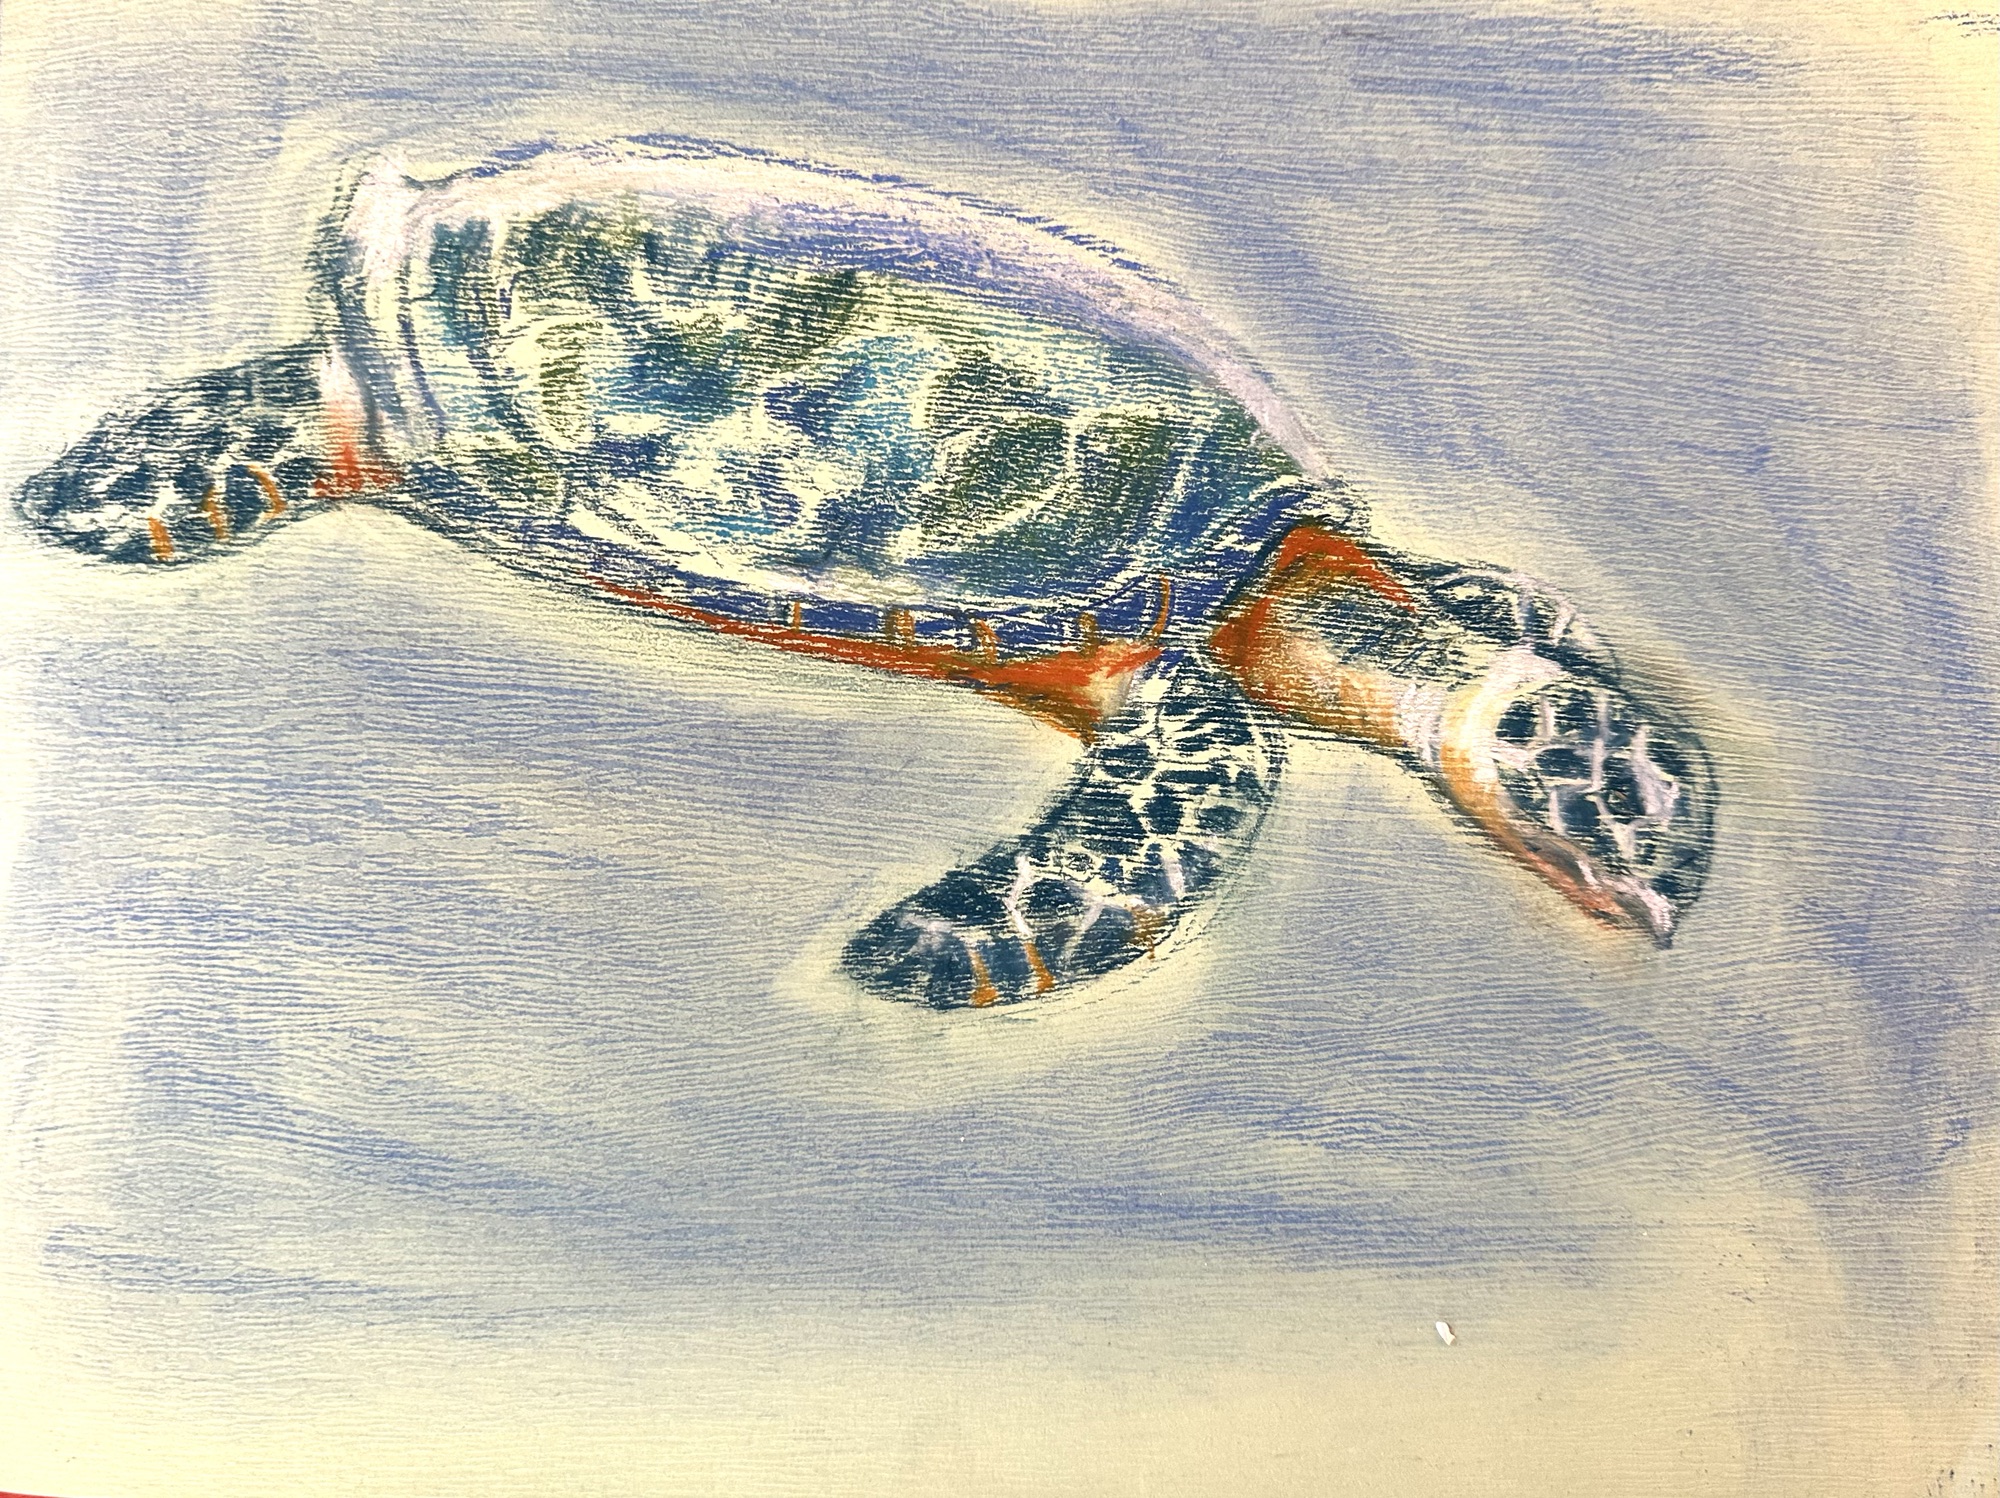
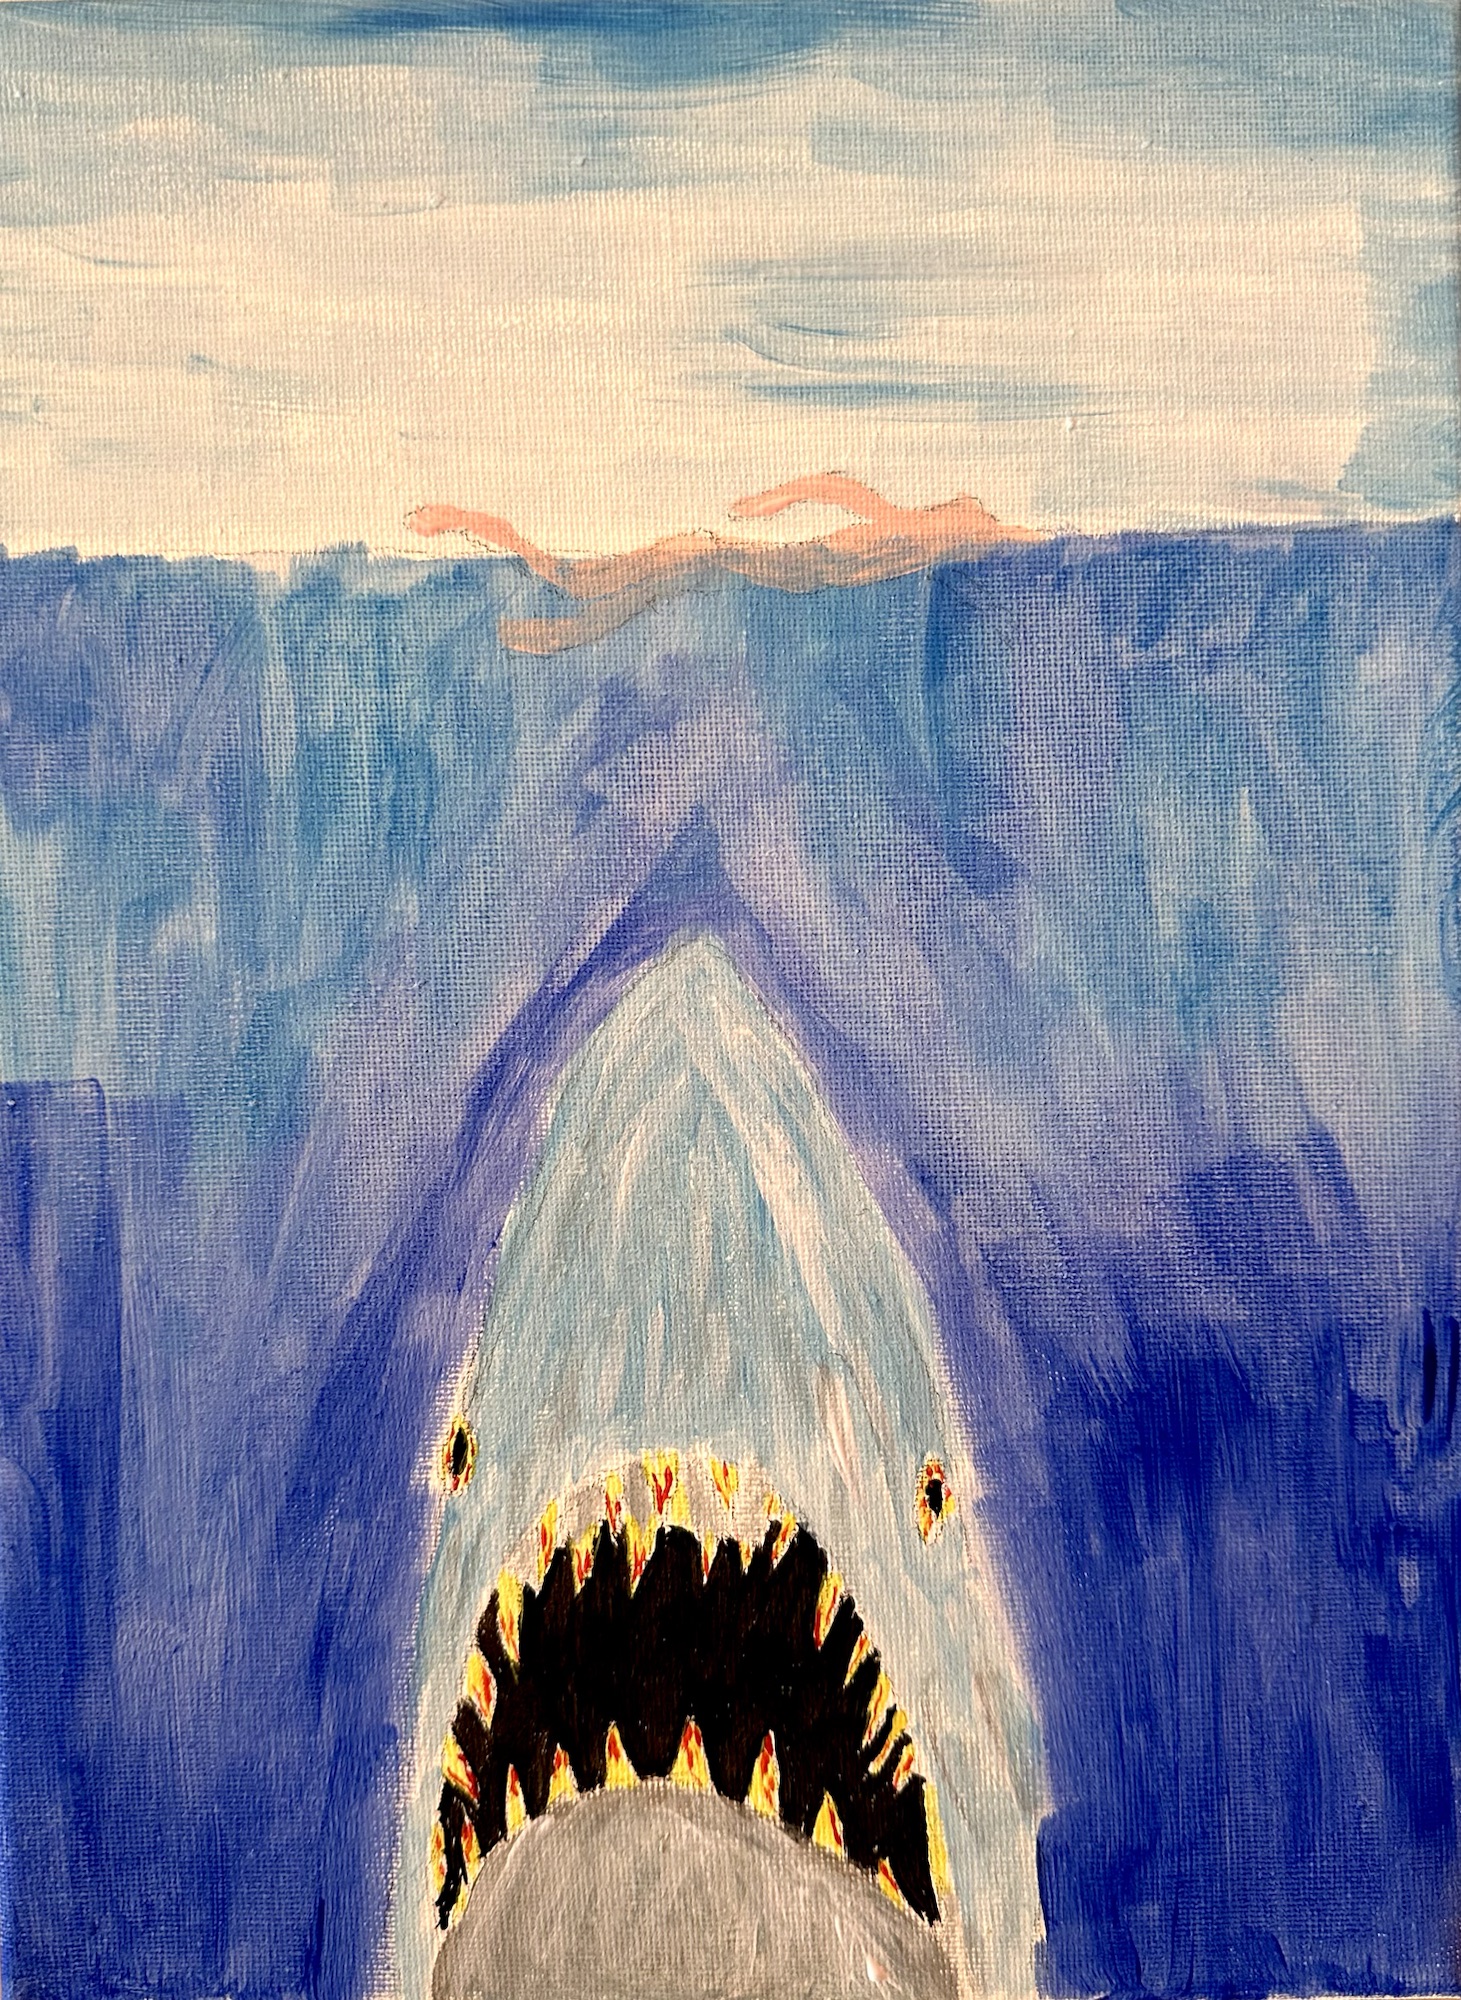
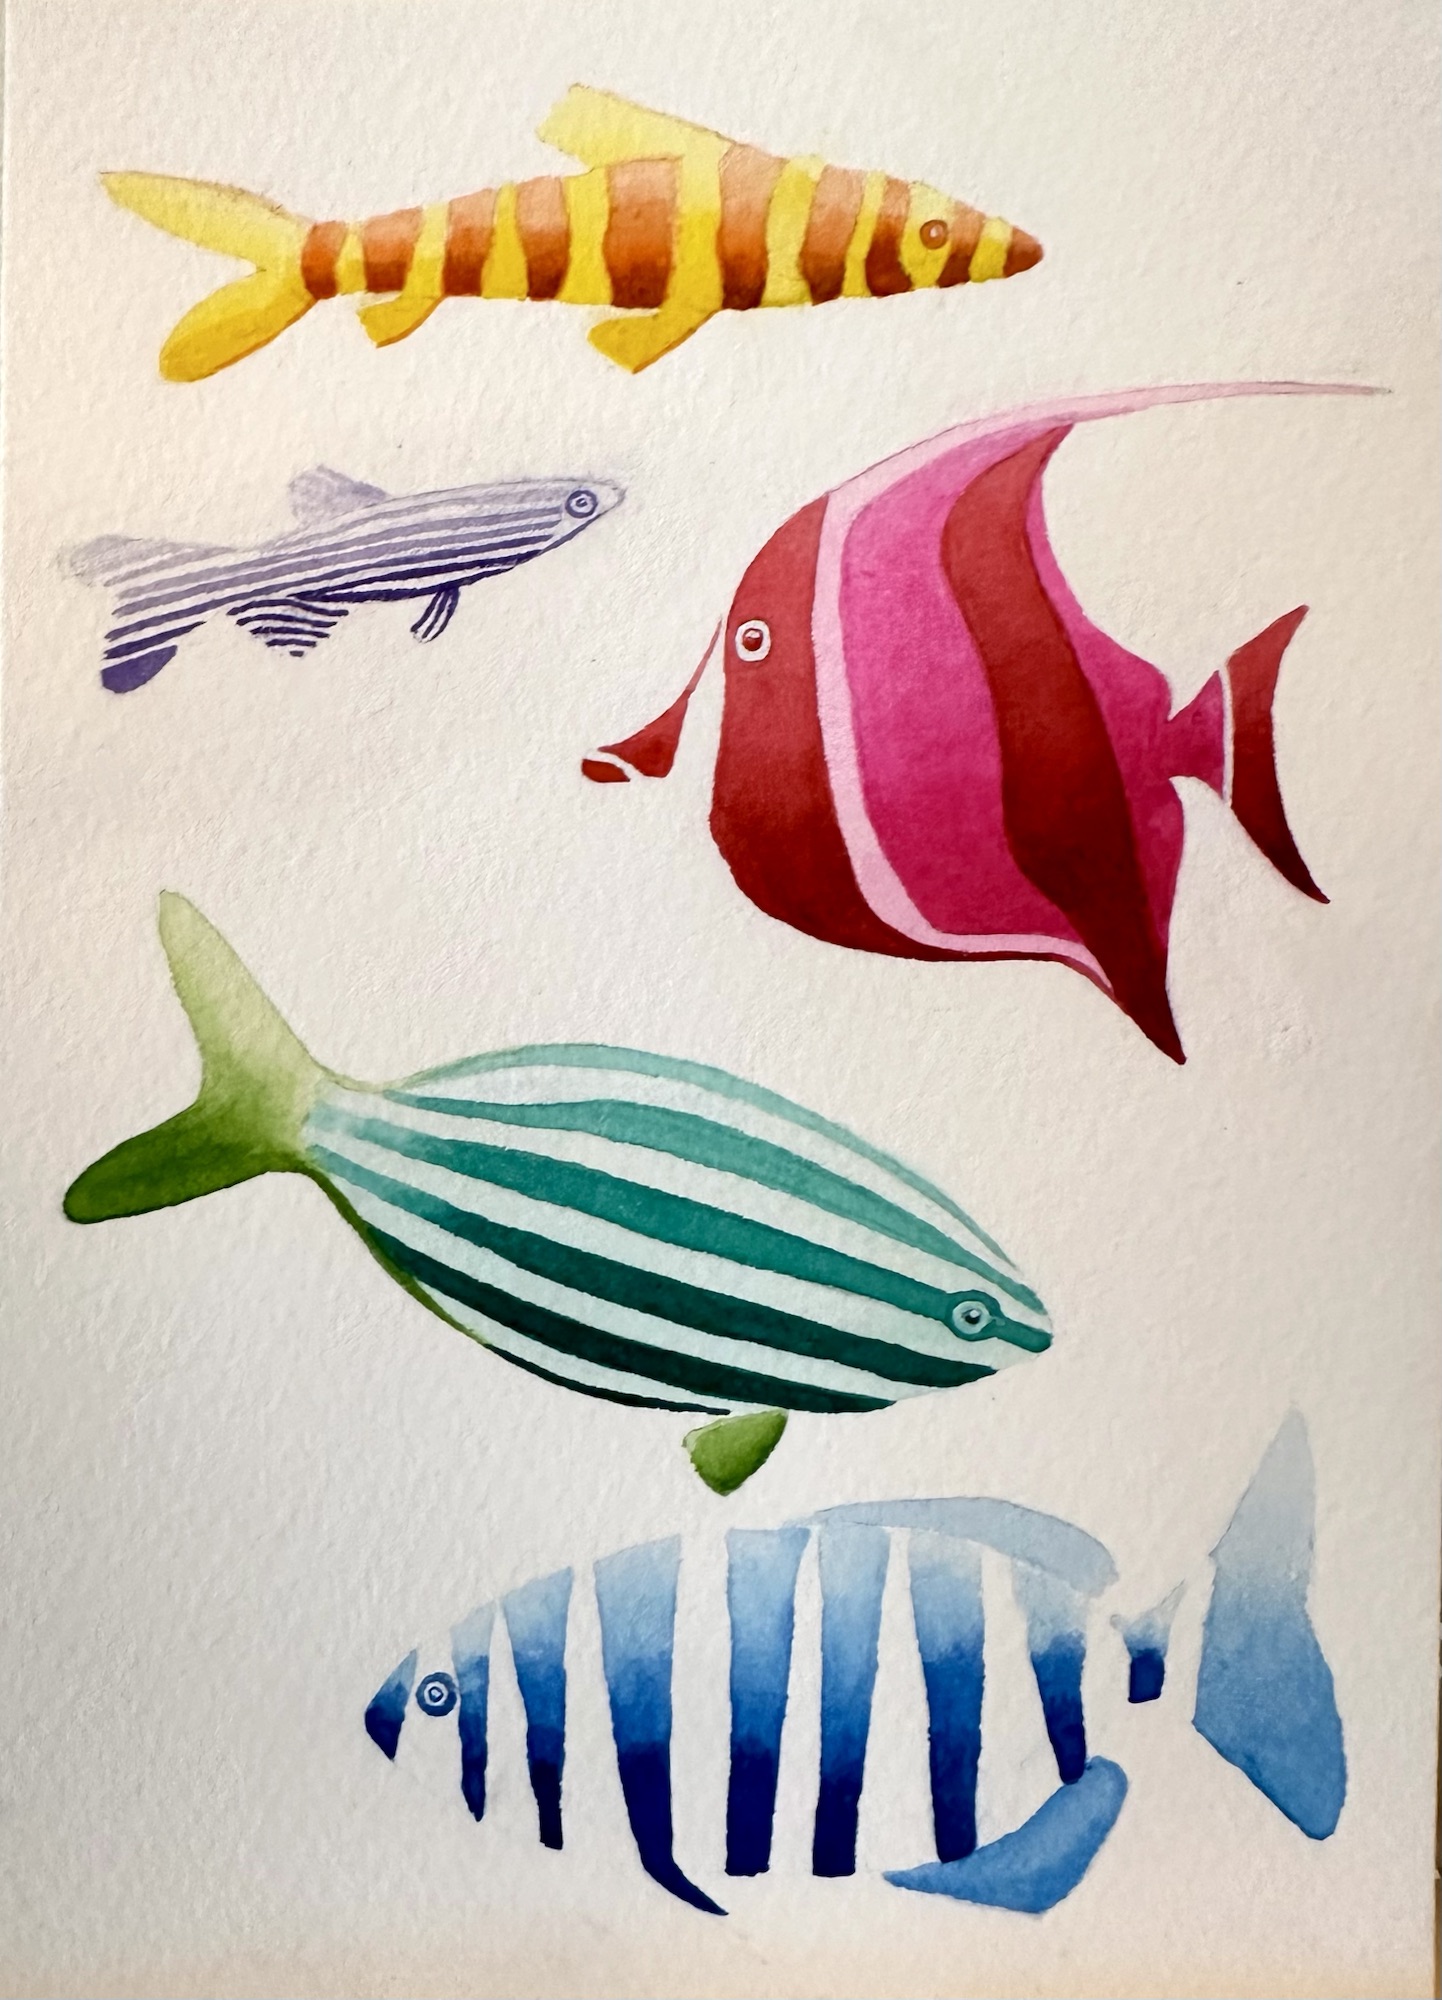
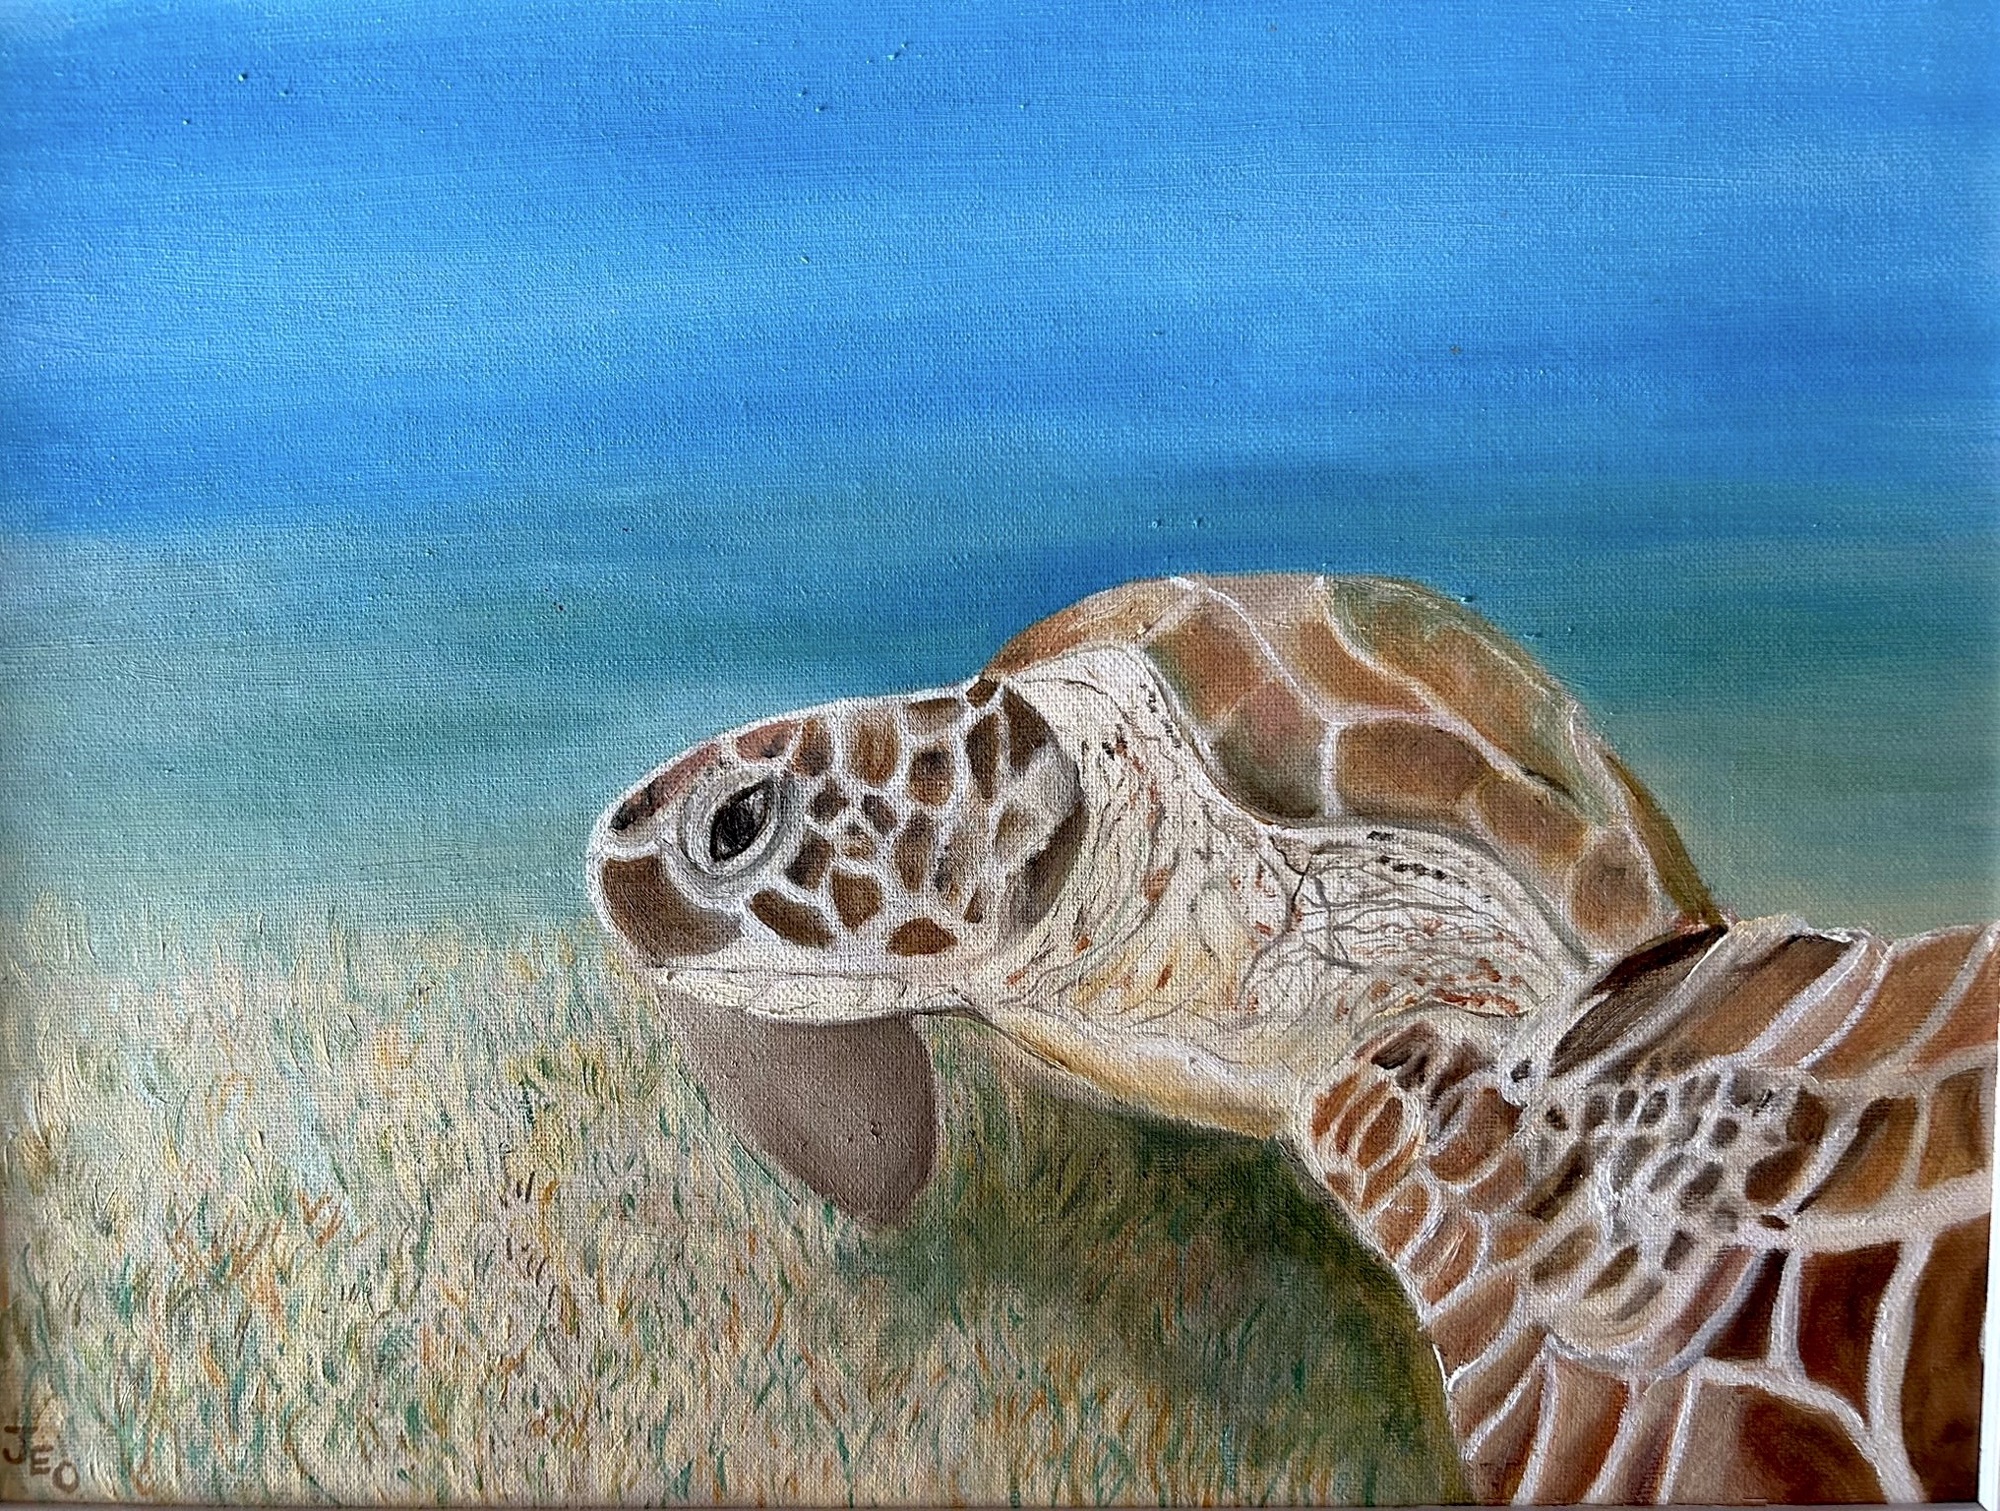
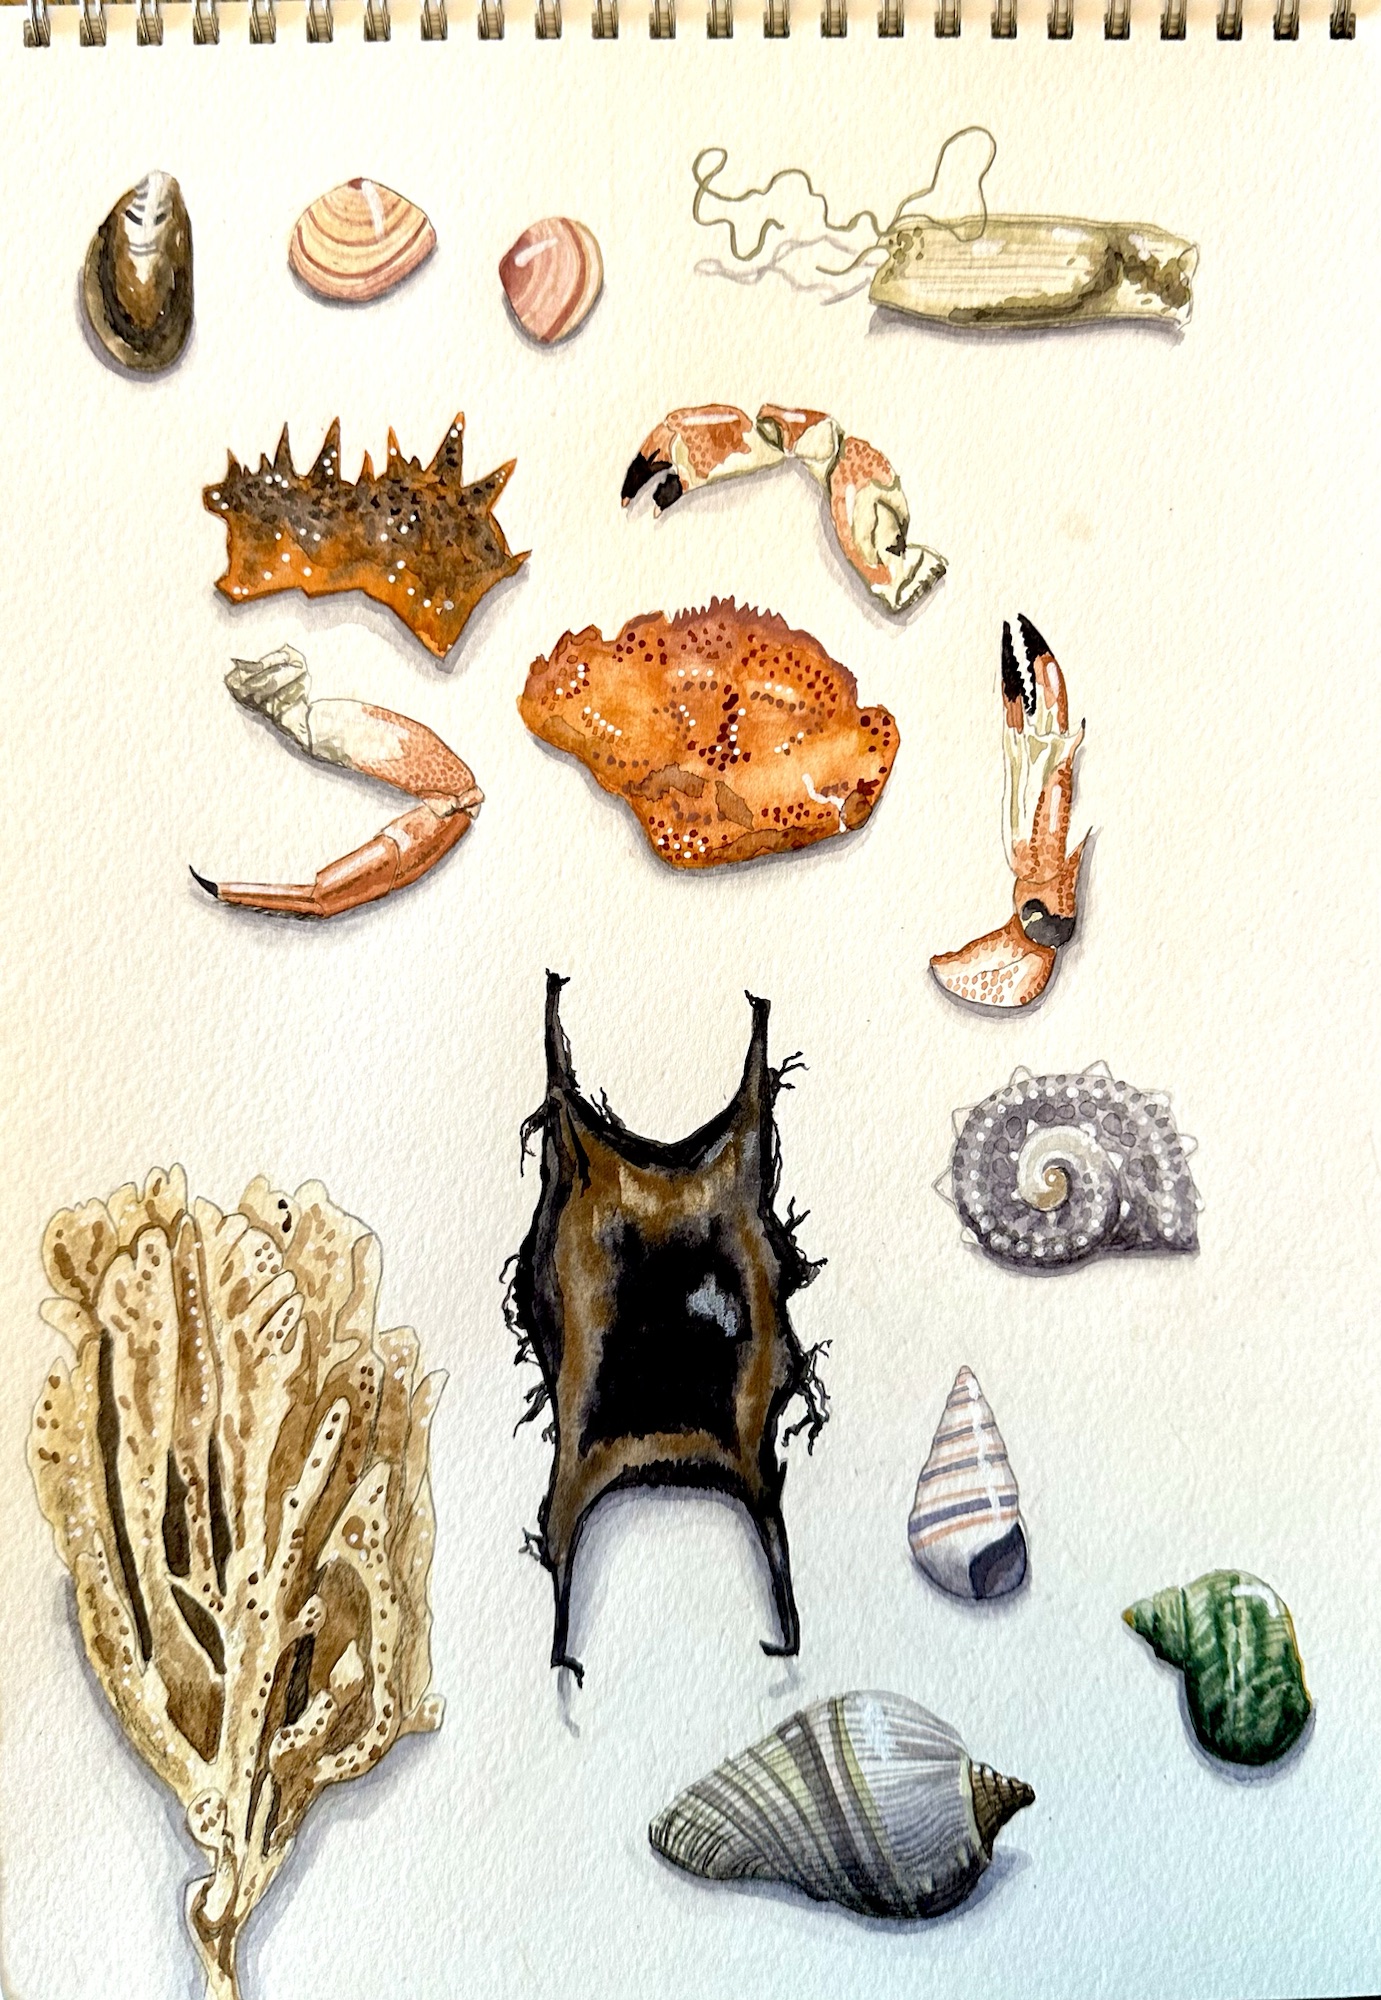
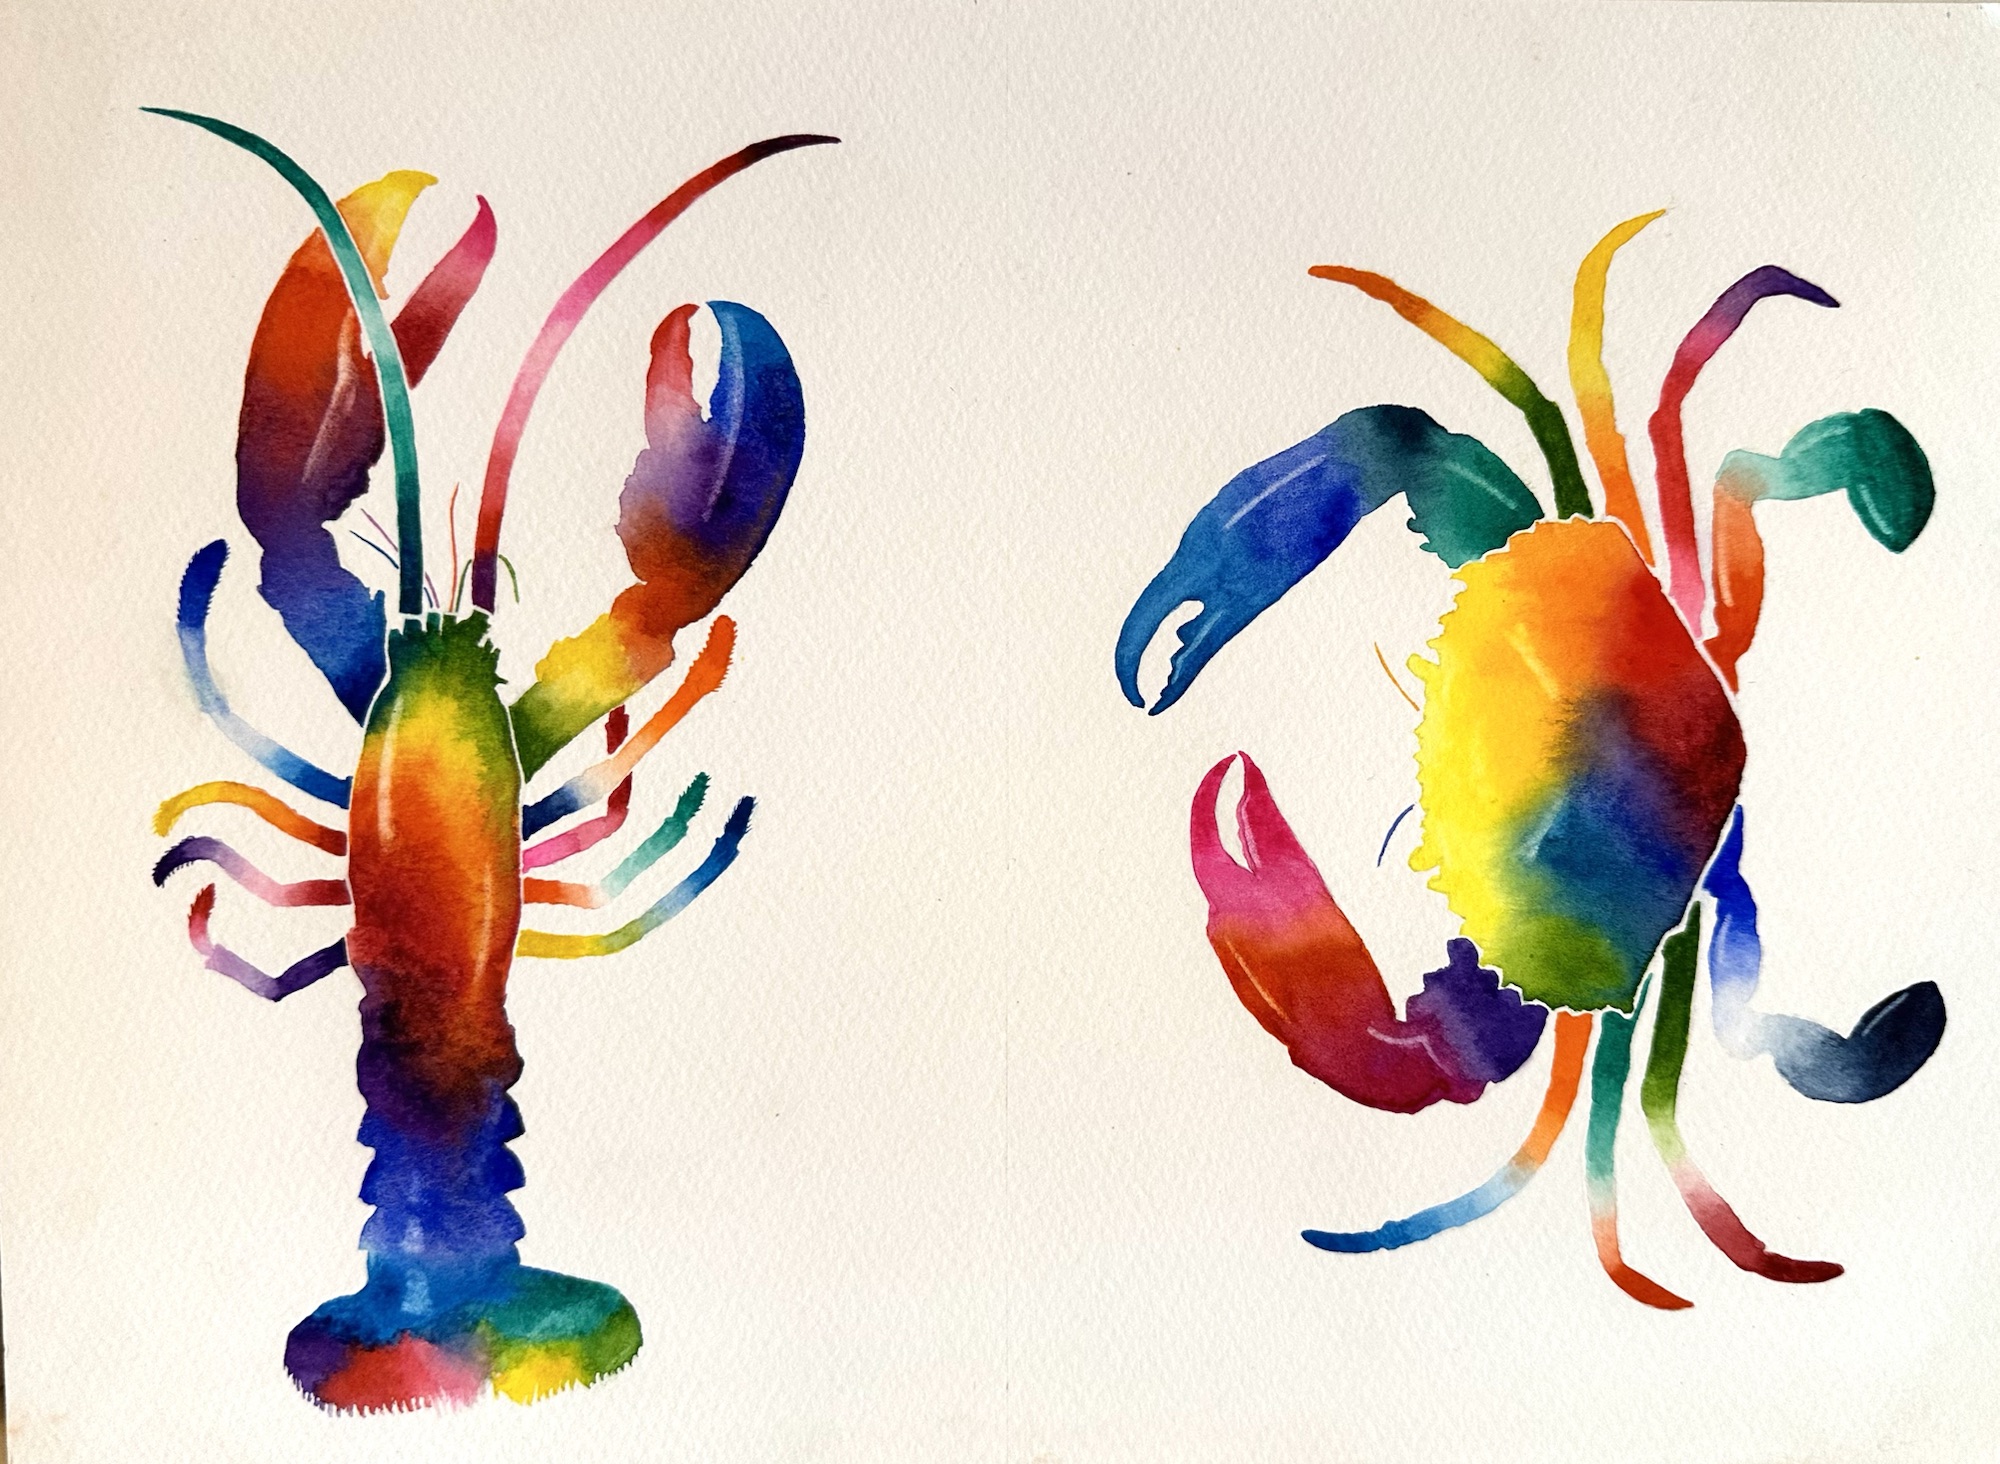
Eighteen members rose magnificently to the challenge of painting underwater life, using watercolours acrylics, pens and pastels.
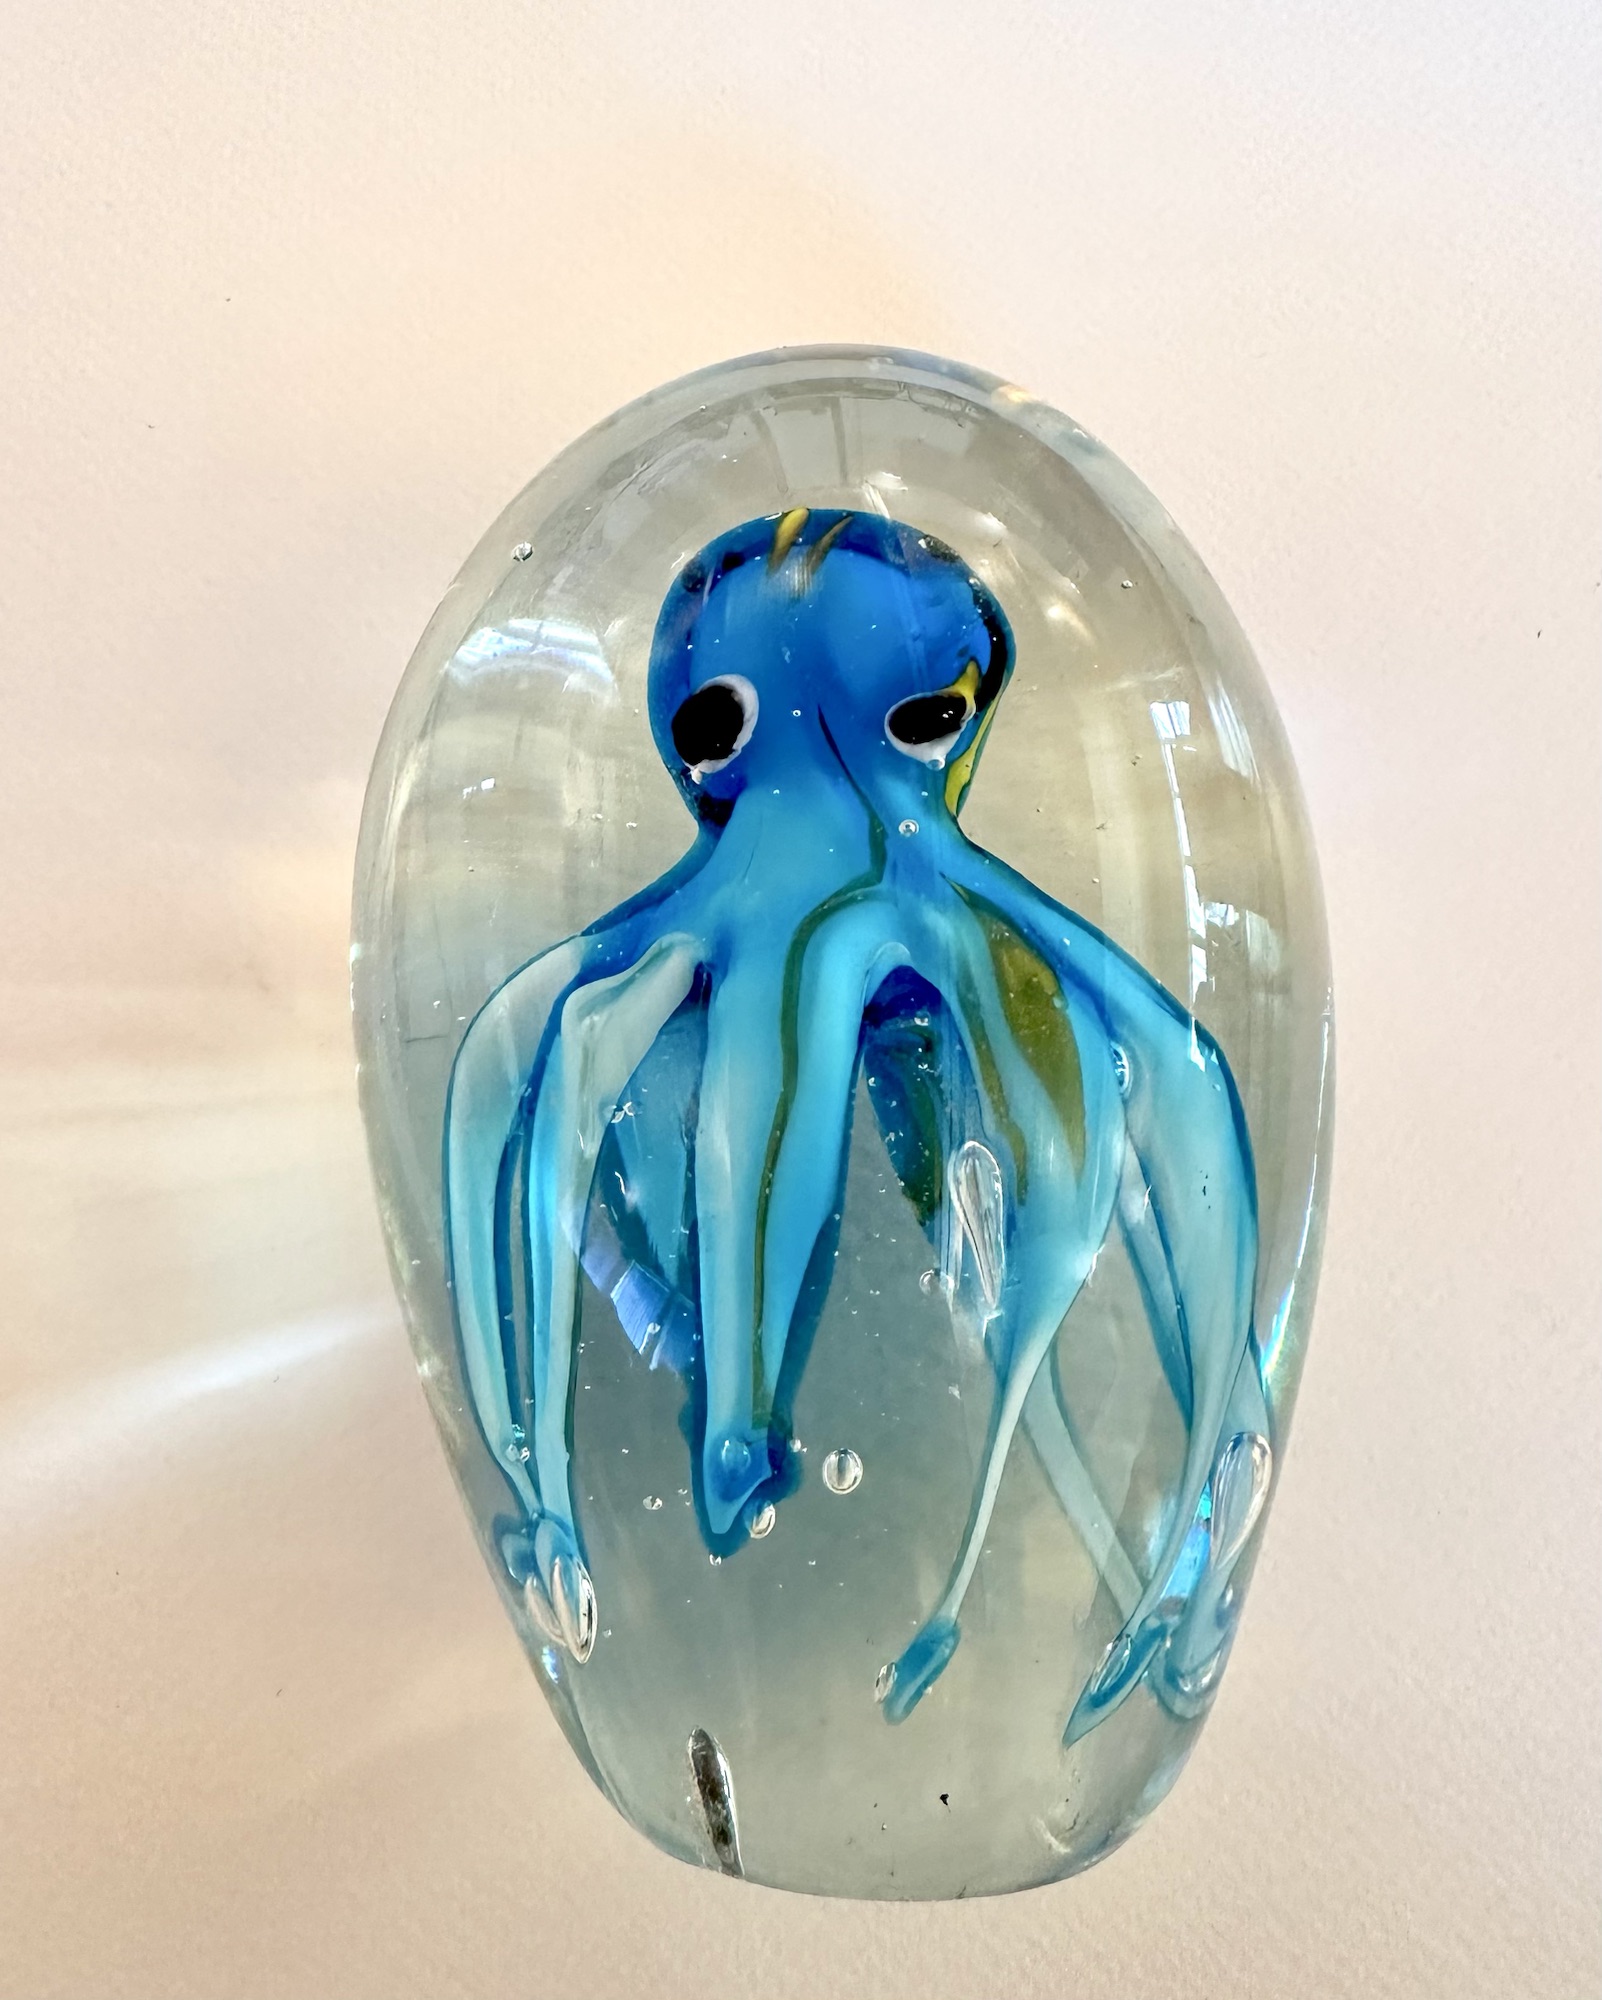
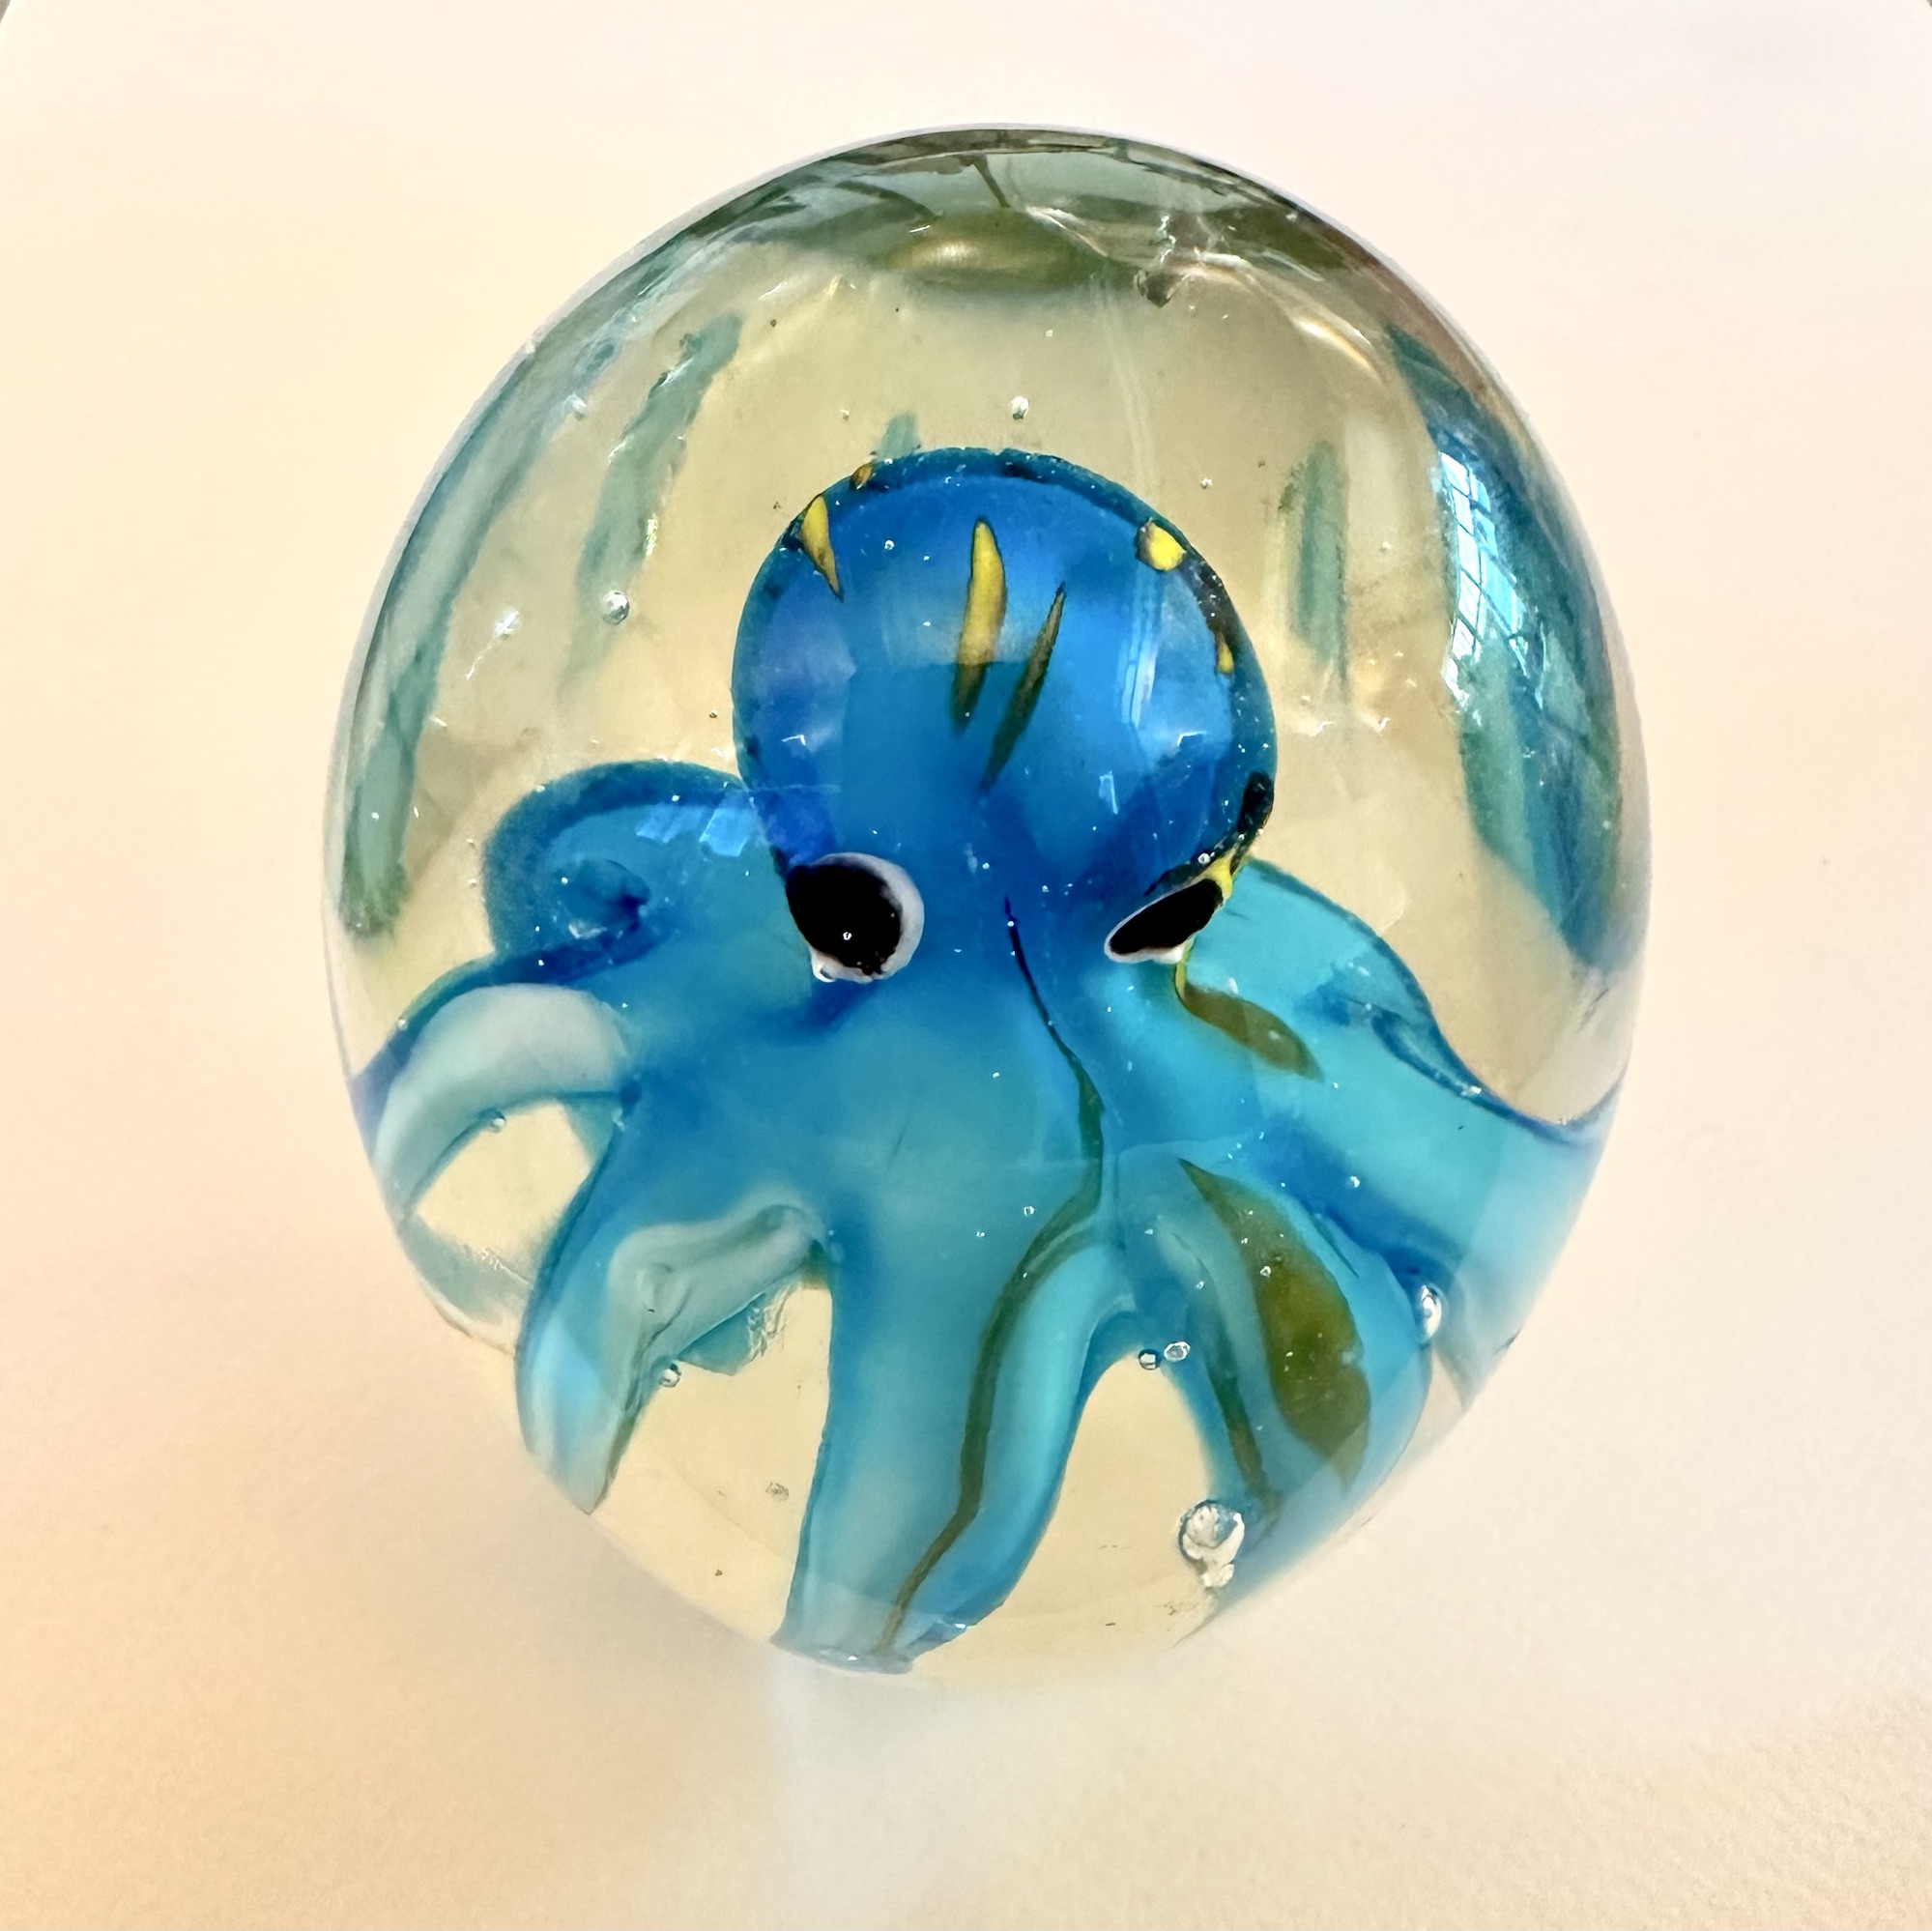
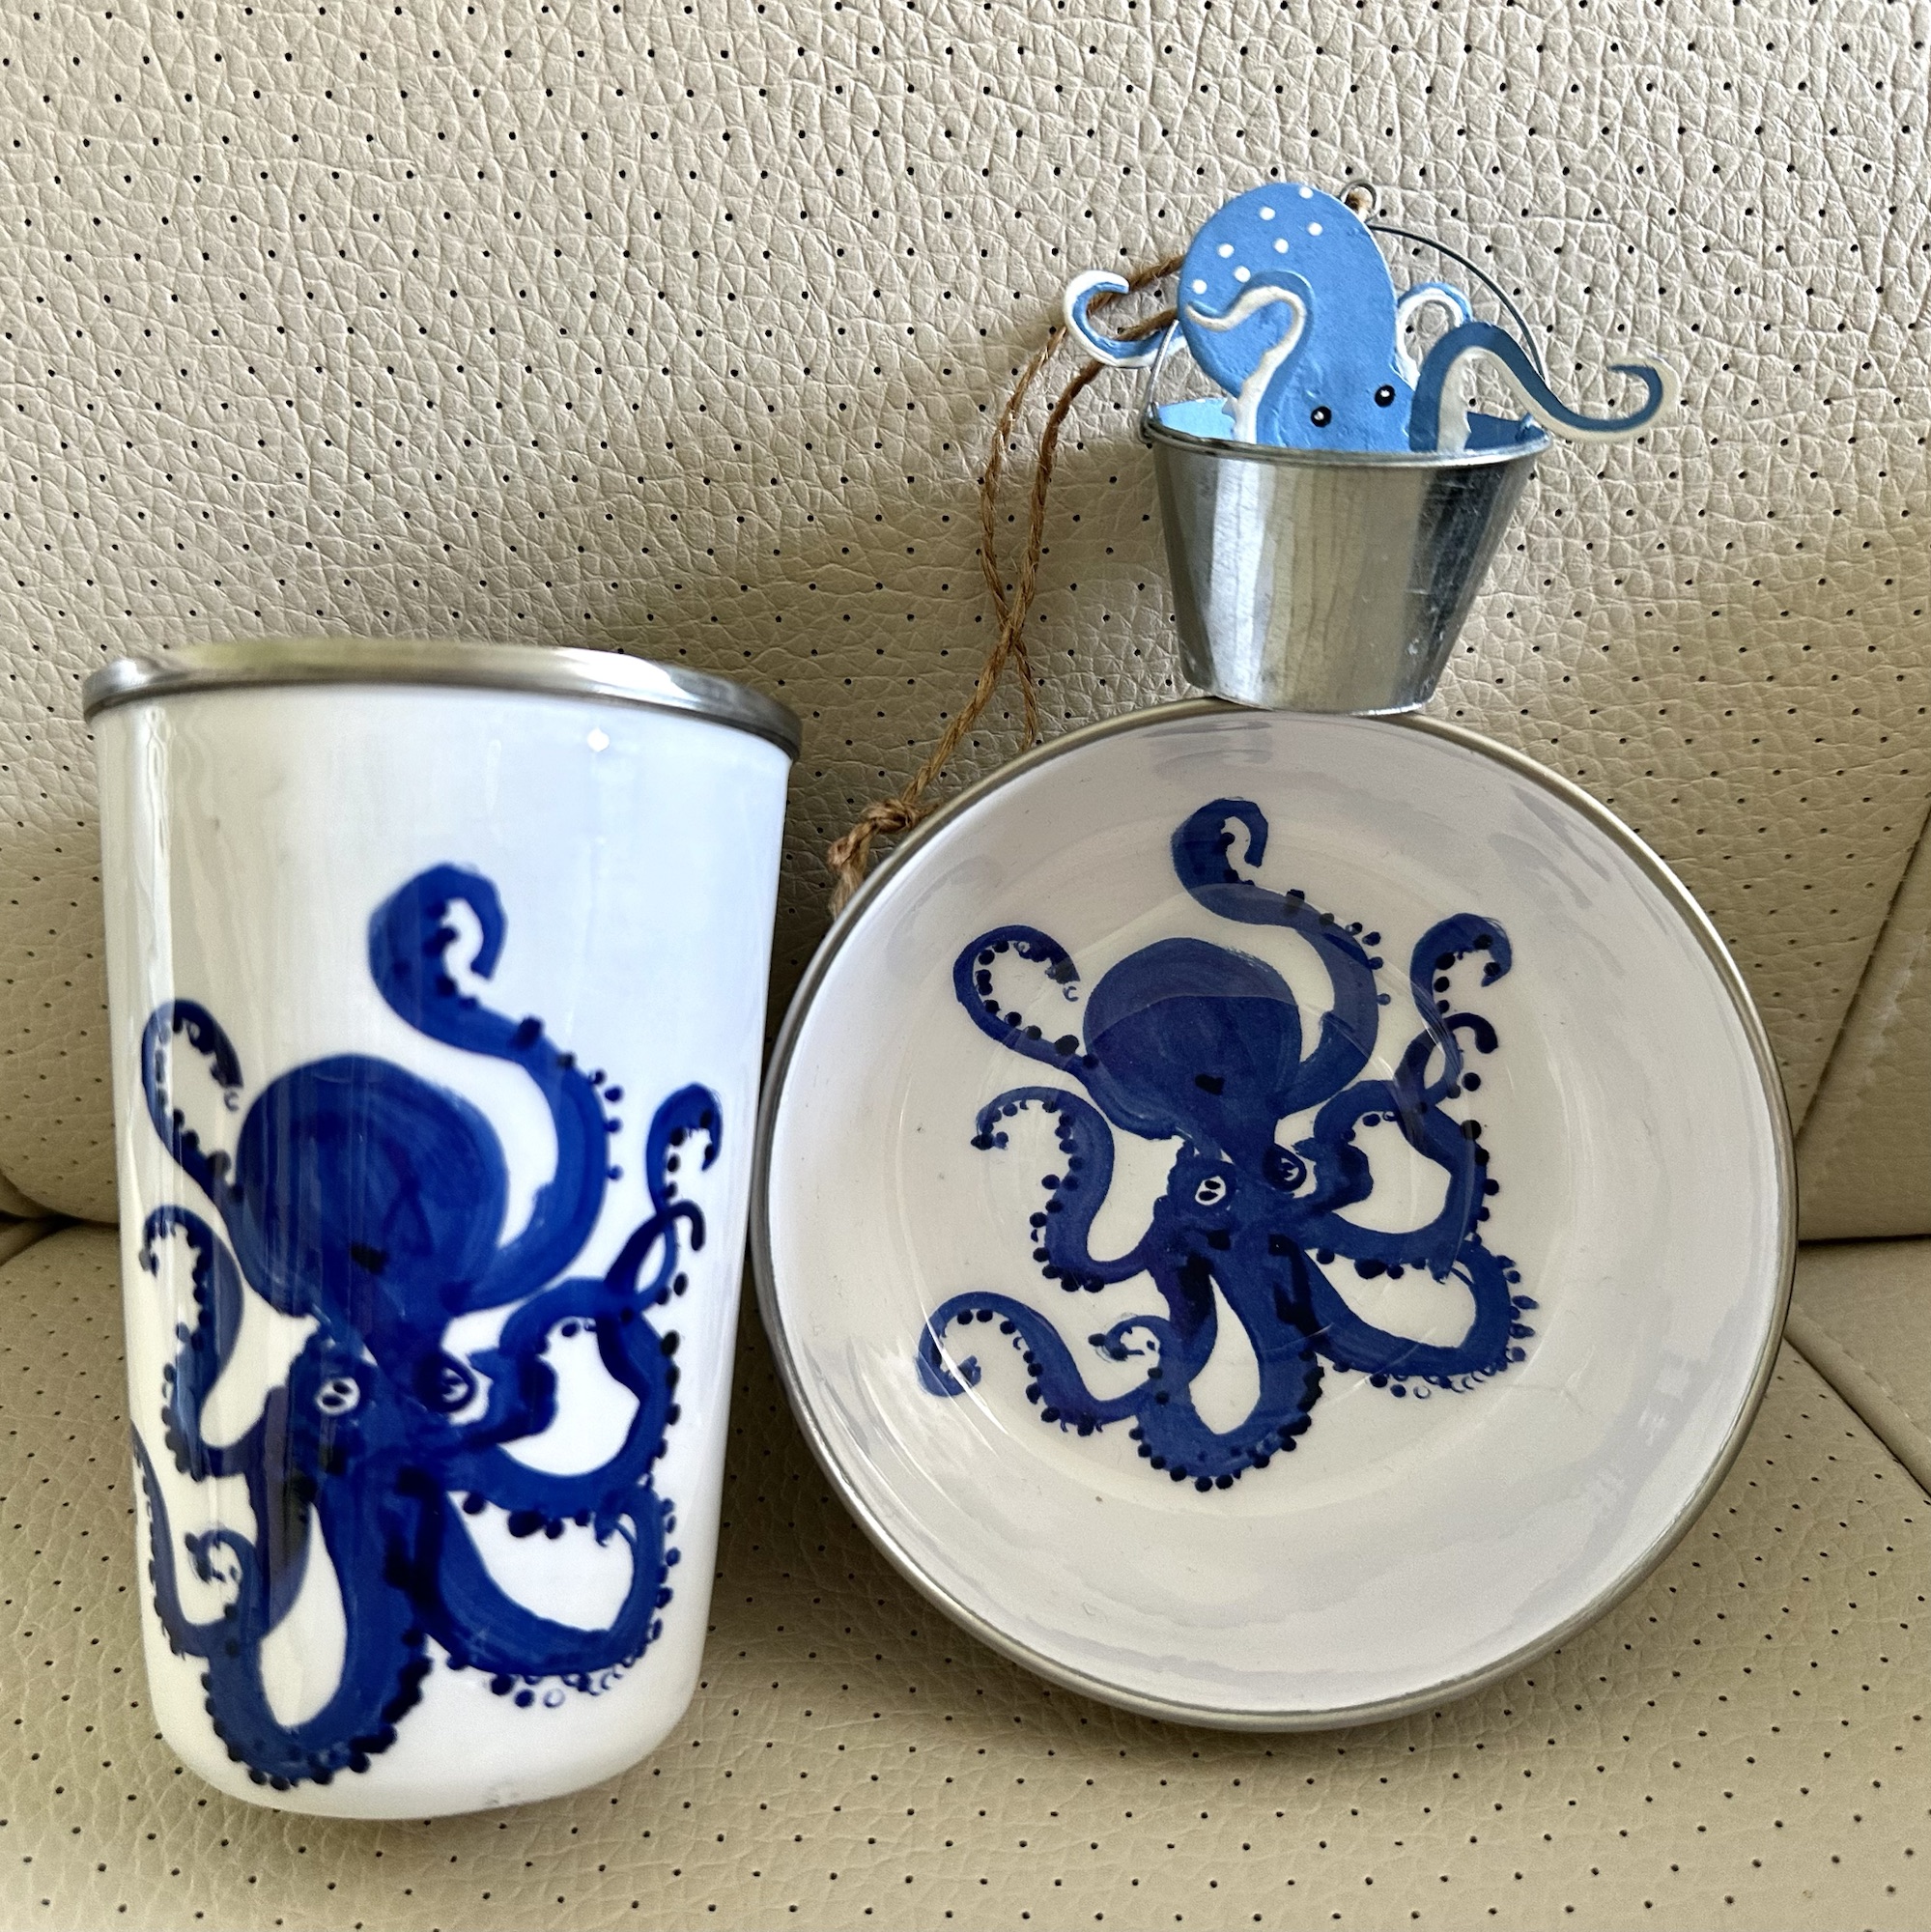
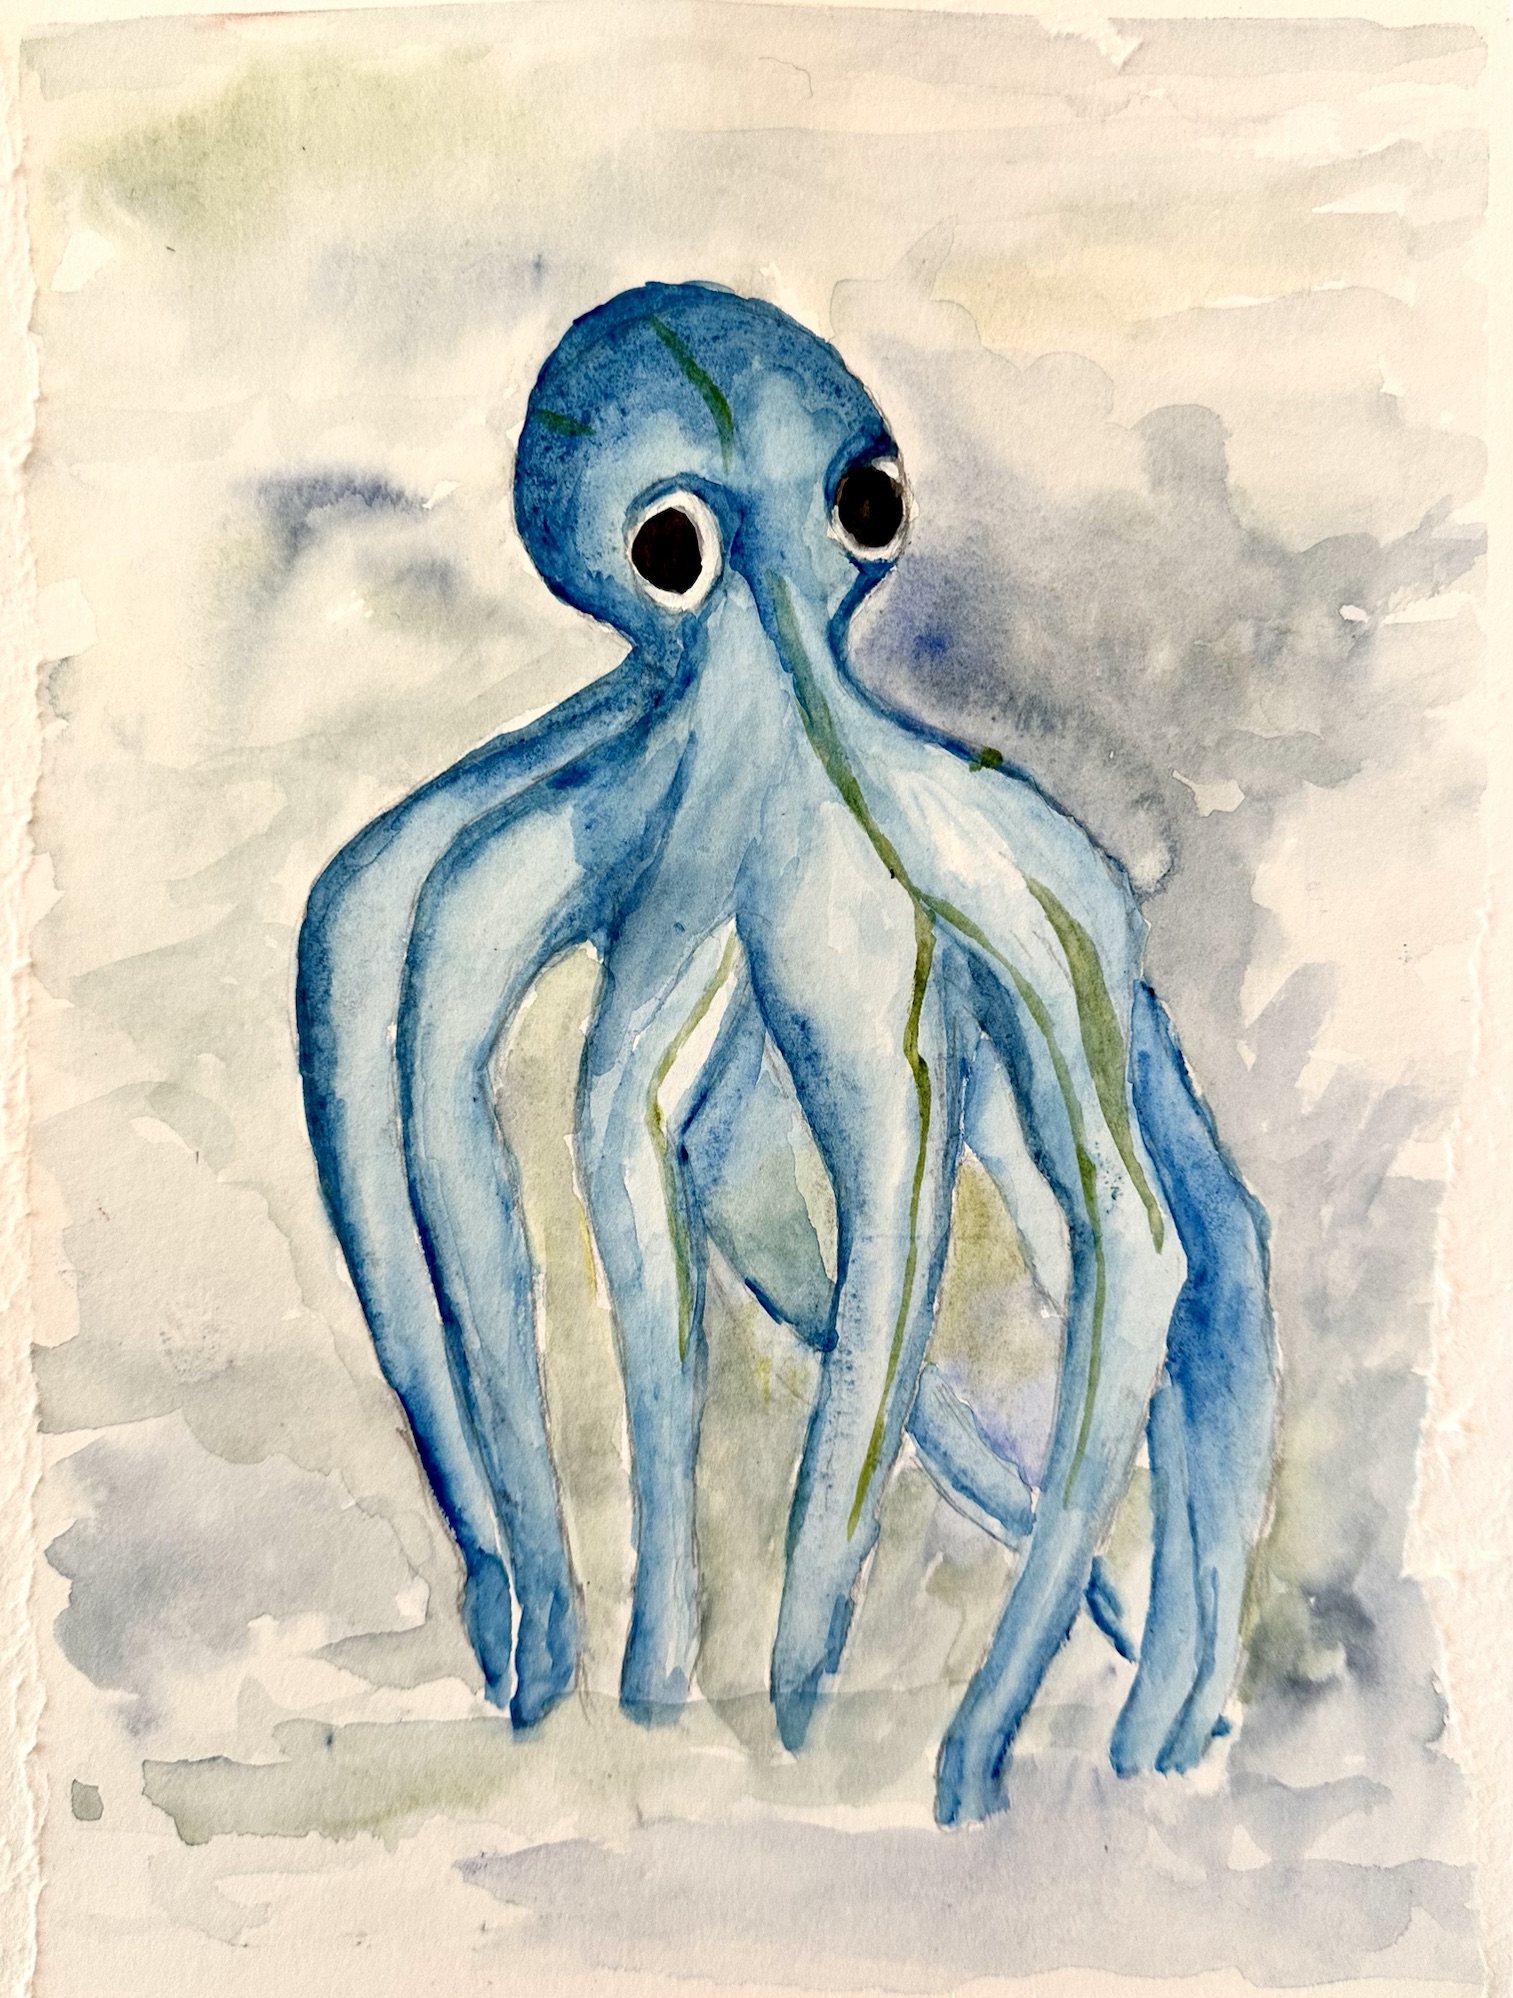
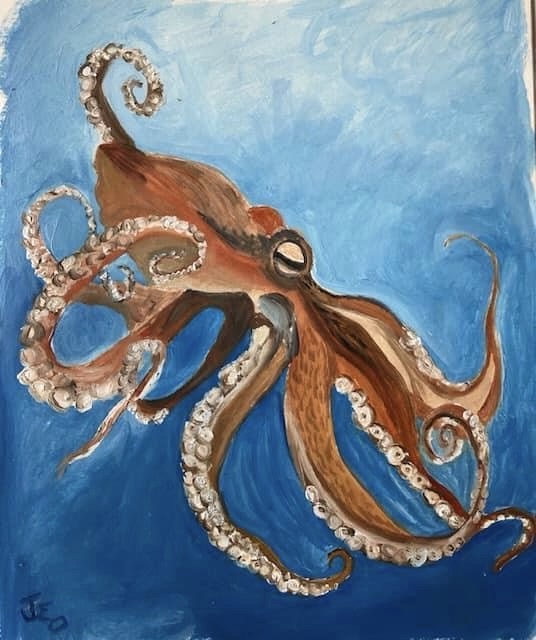
Andrea brought along a beautiful, tall and very heavy paperweight of an octopus and Tracy brought in a cup, bowl and Christmas decoration all featuring octopus designs. Tracy’s items were bought from George’s in Whitstable High Street, a shop full of ‘stuff’ that you don’t need but want because it’s handy, nifty or just lovely to look at. George’s have a website with some items on, but they have many more items in the actual shop. The shop is worth a trip to Whitstable :o) www.georgeswhitstable.com
There were oyster shells from Whitstable to paint too and all those photos will be on a separate post, along with finished Salvador Dali paintings.
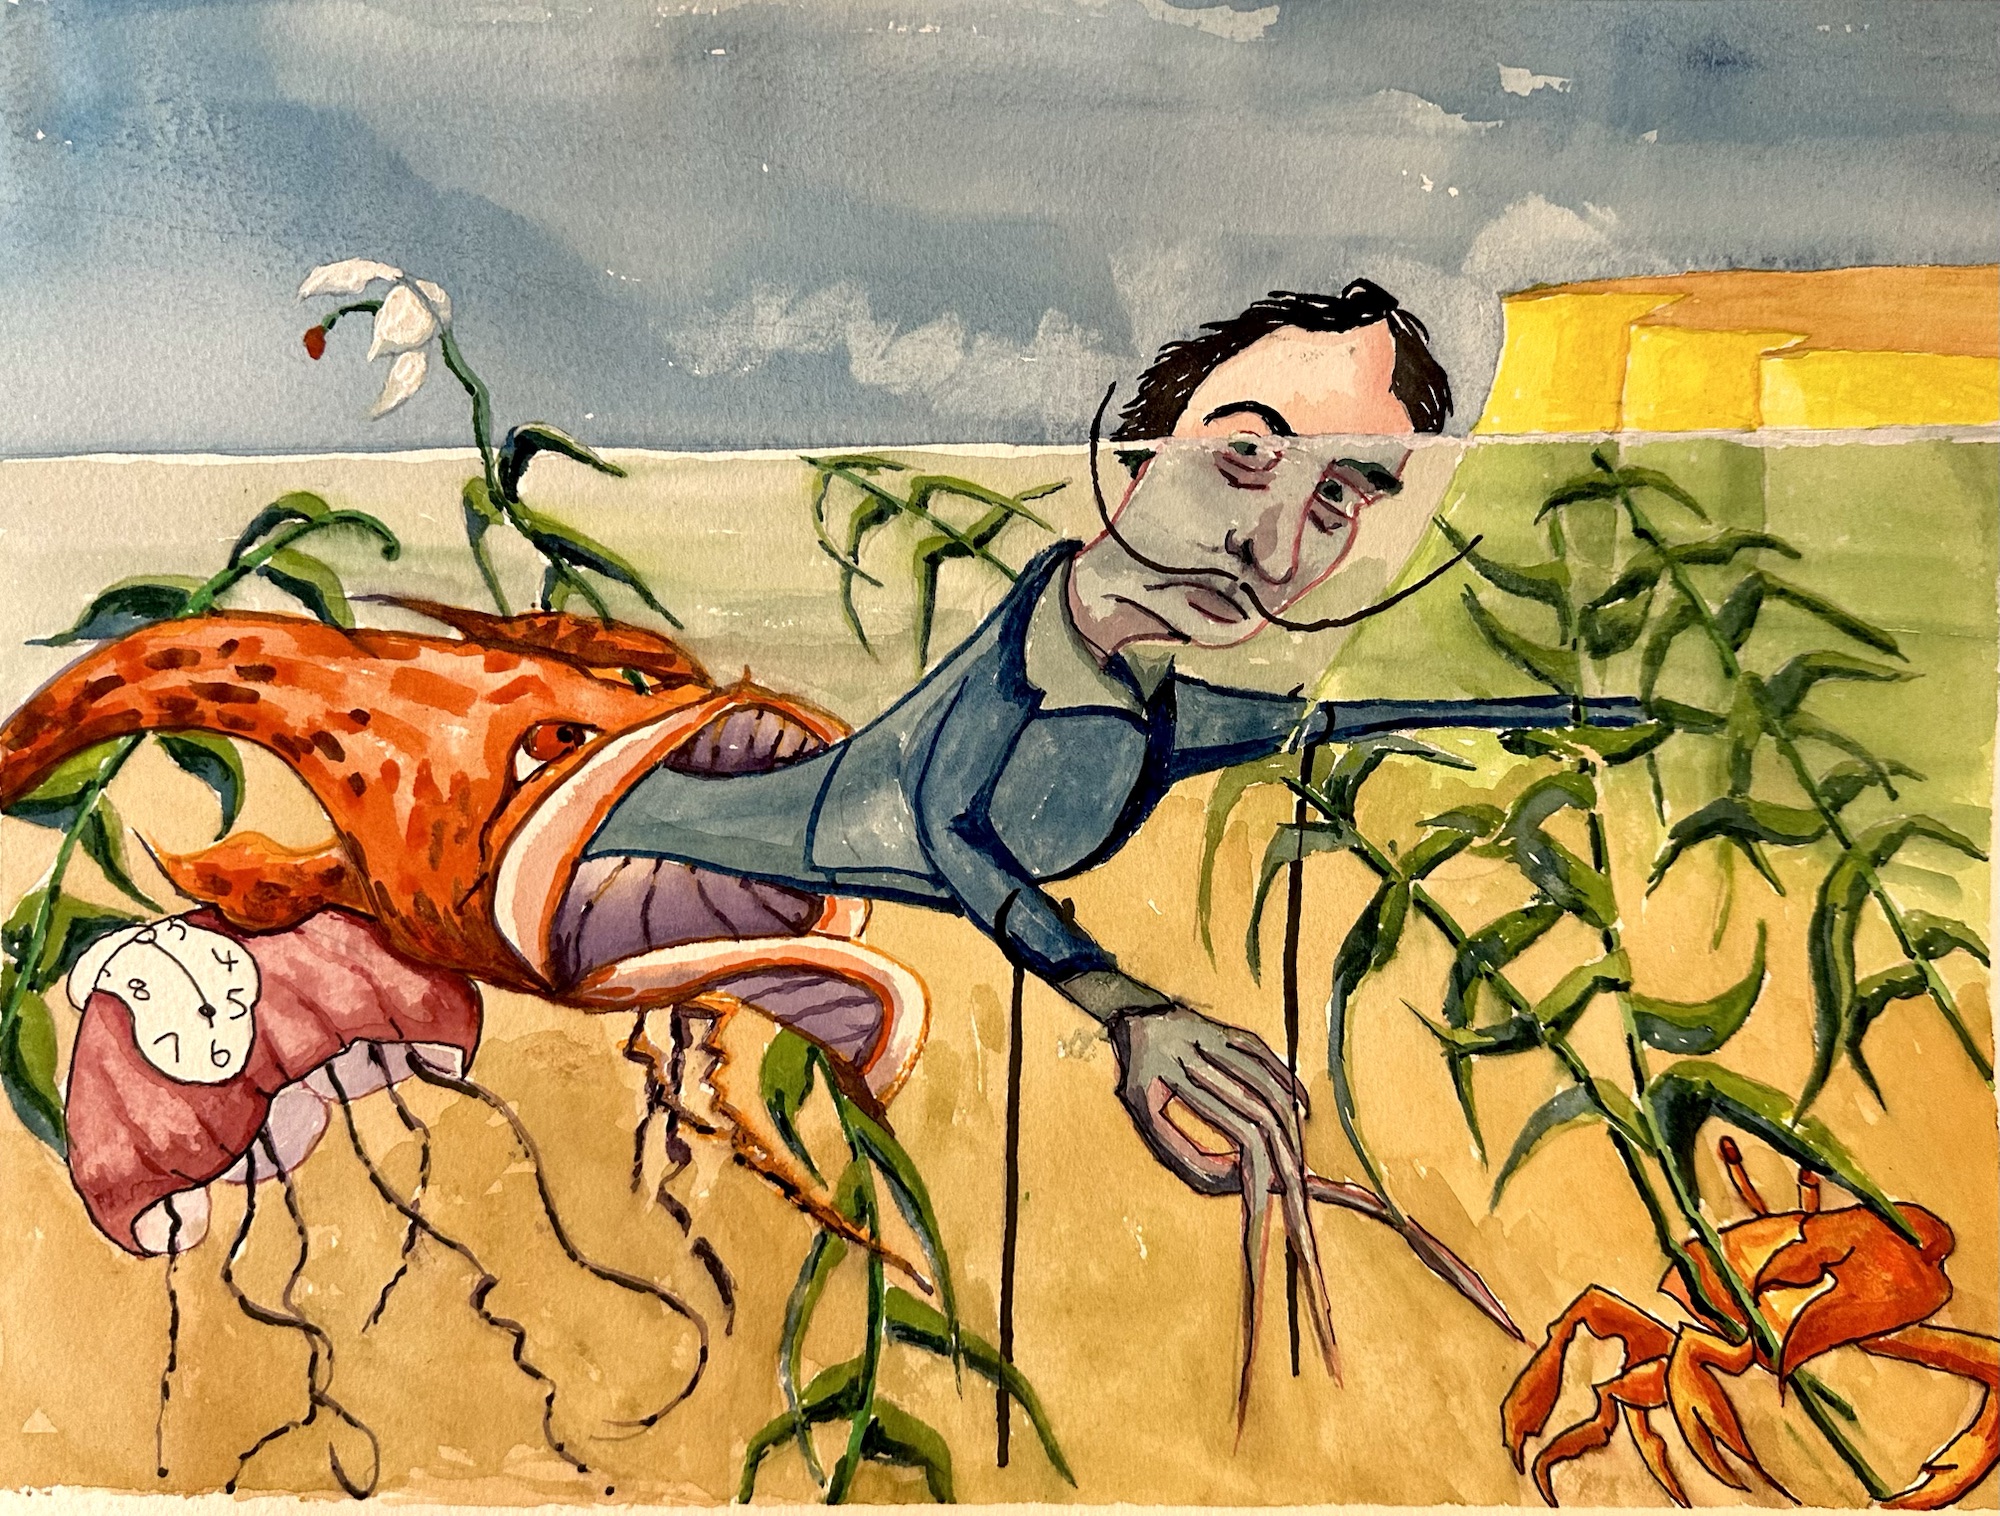
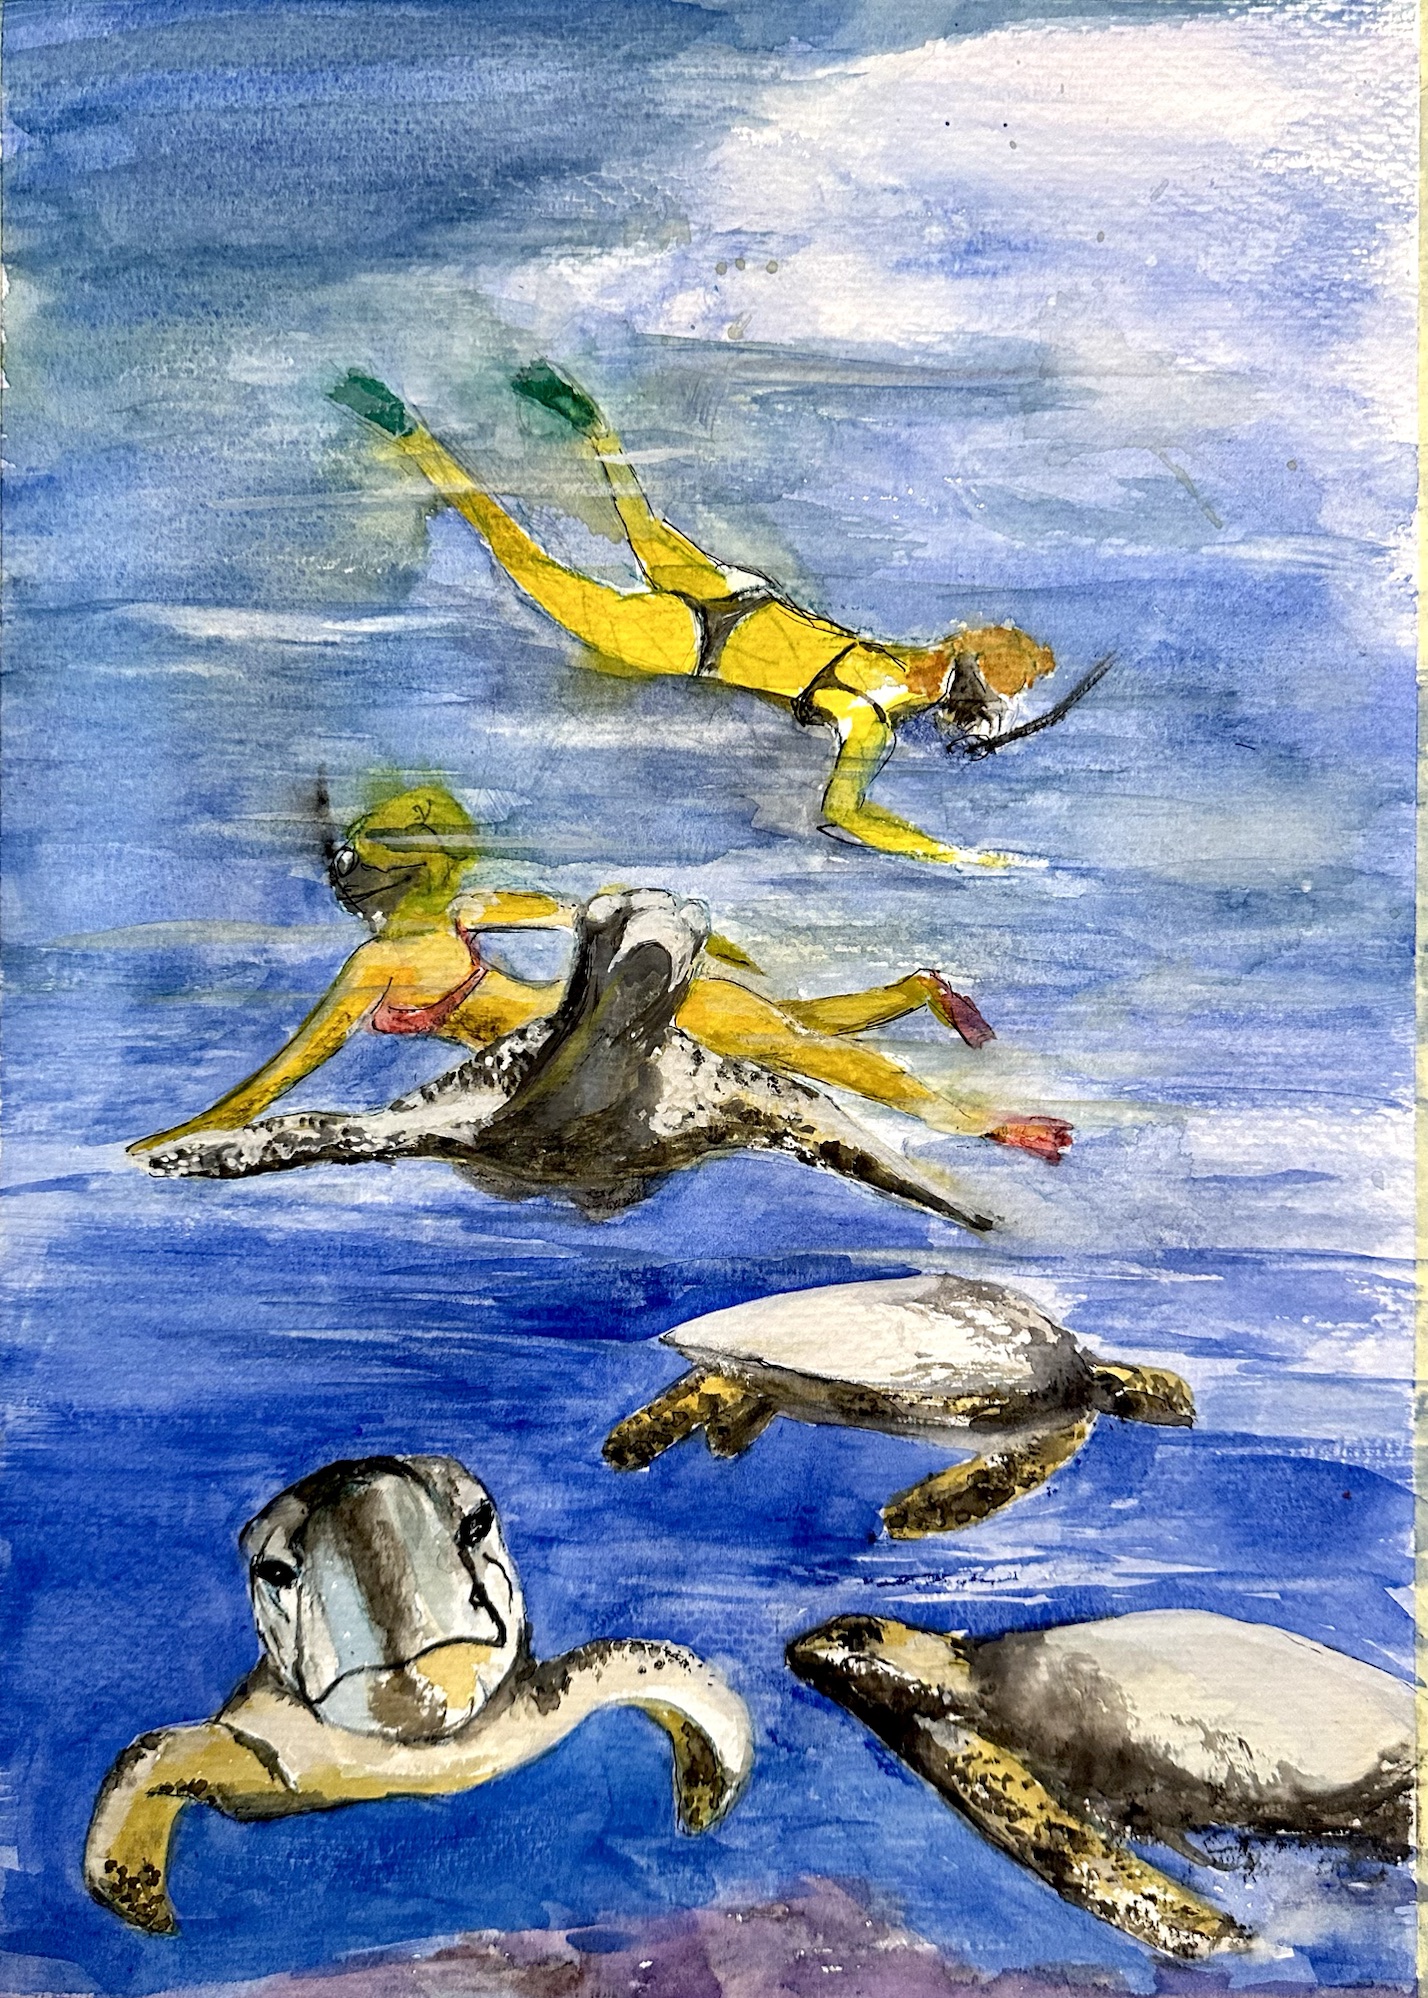
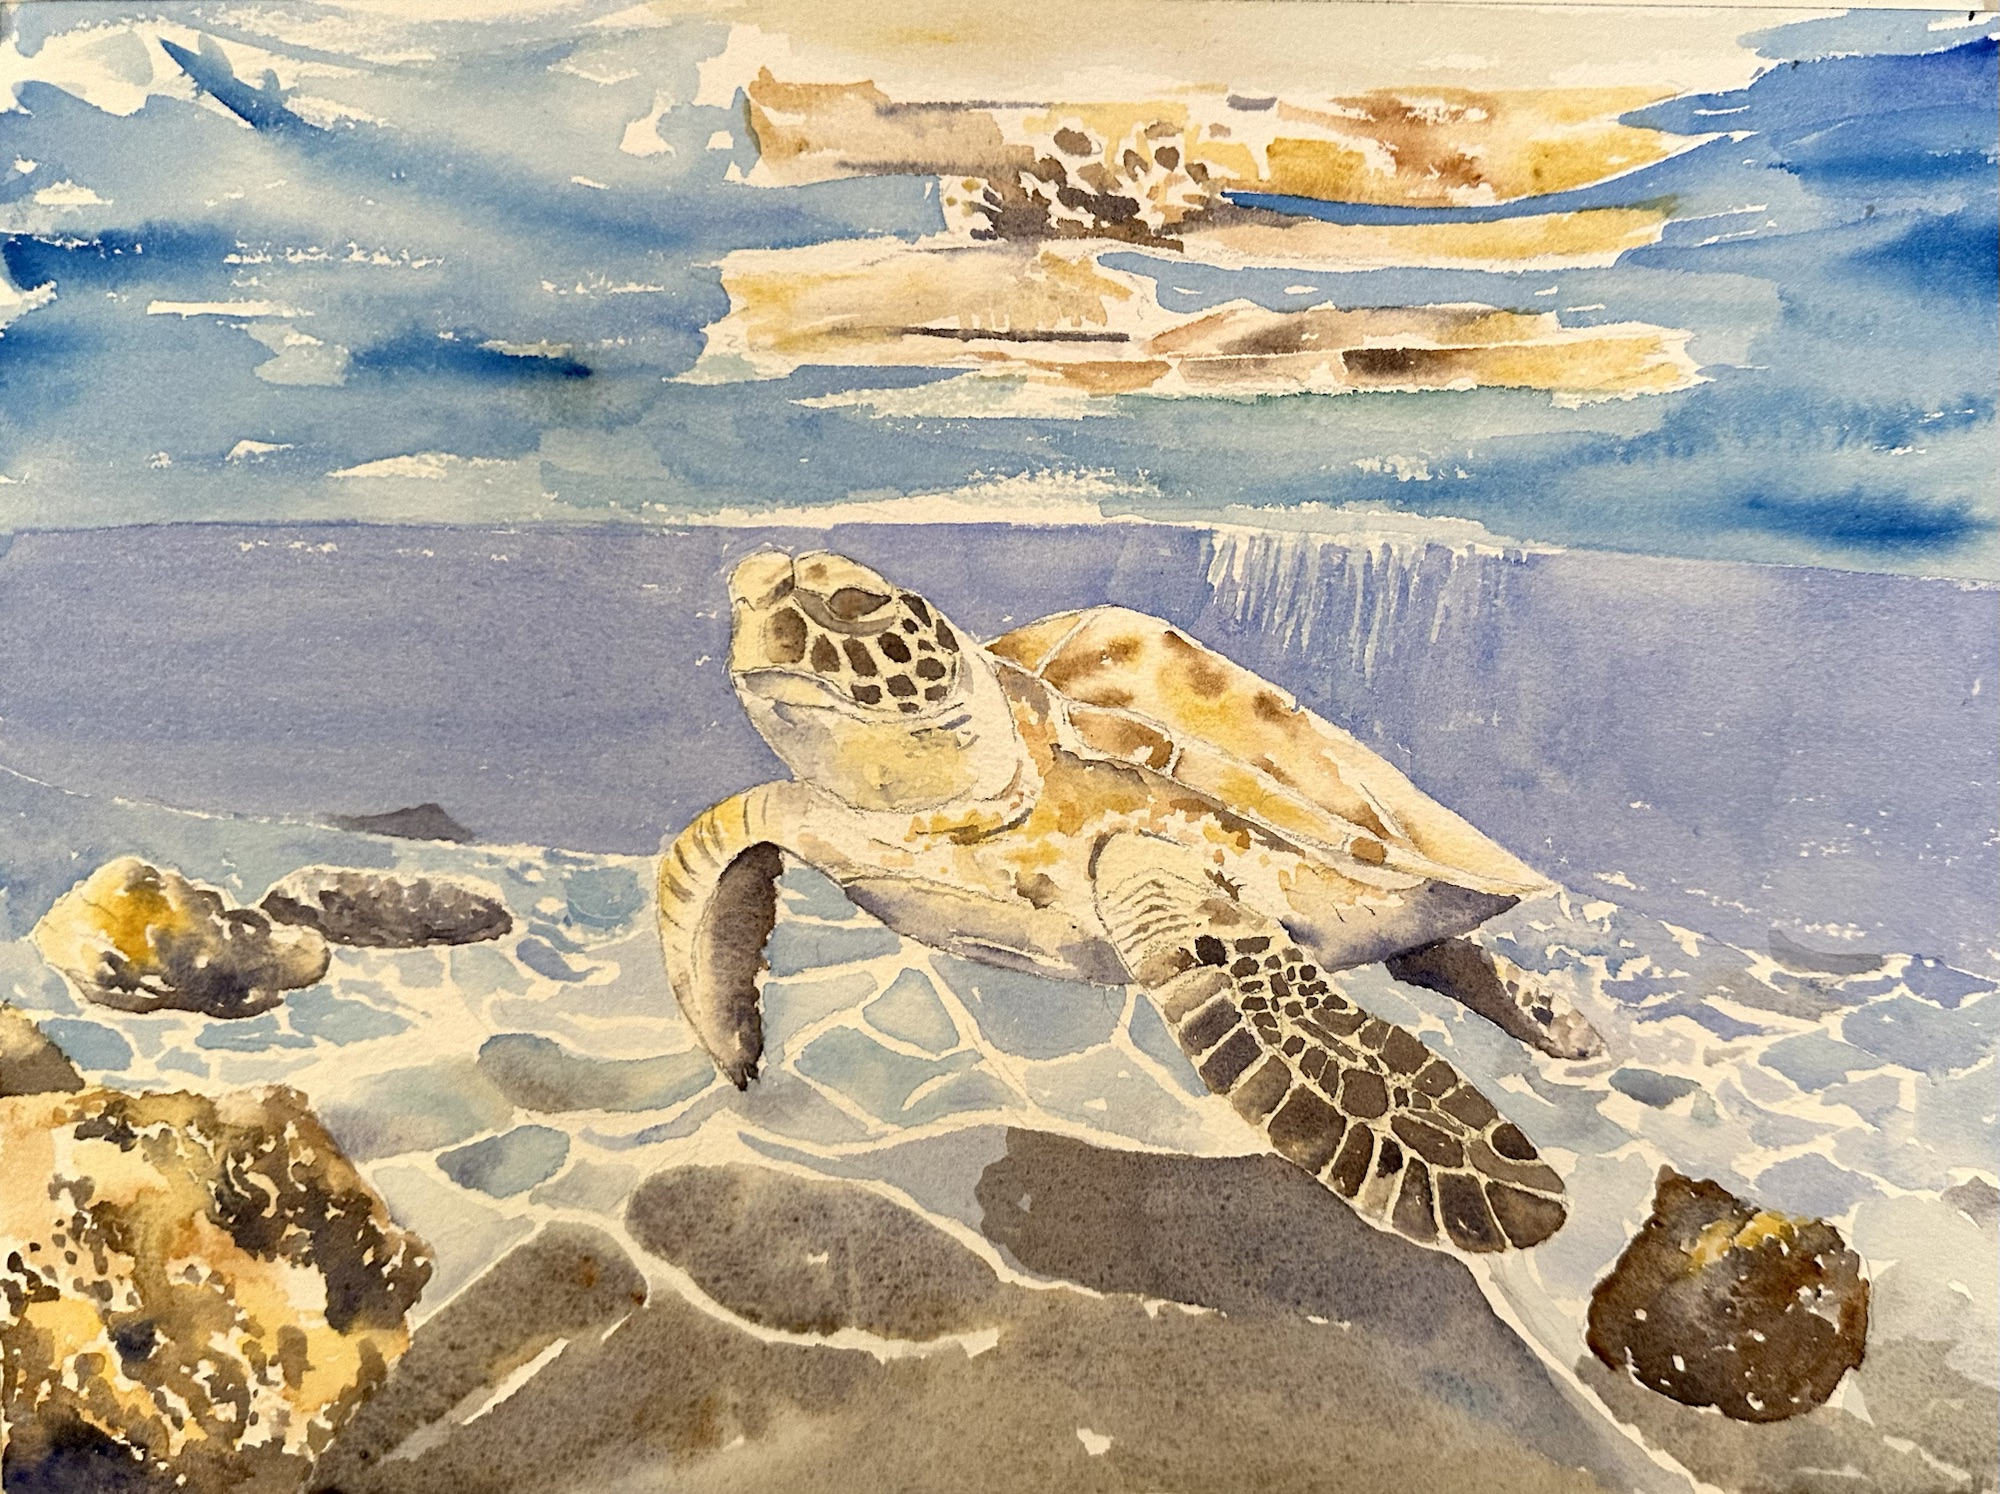
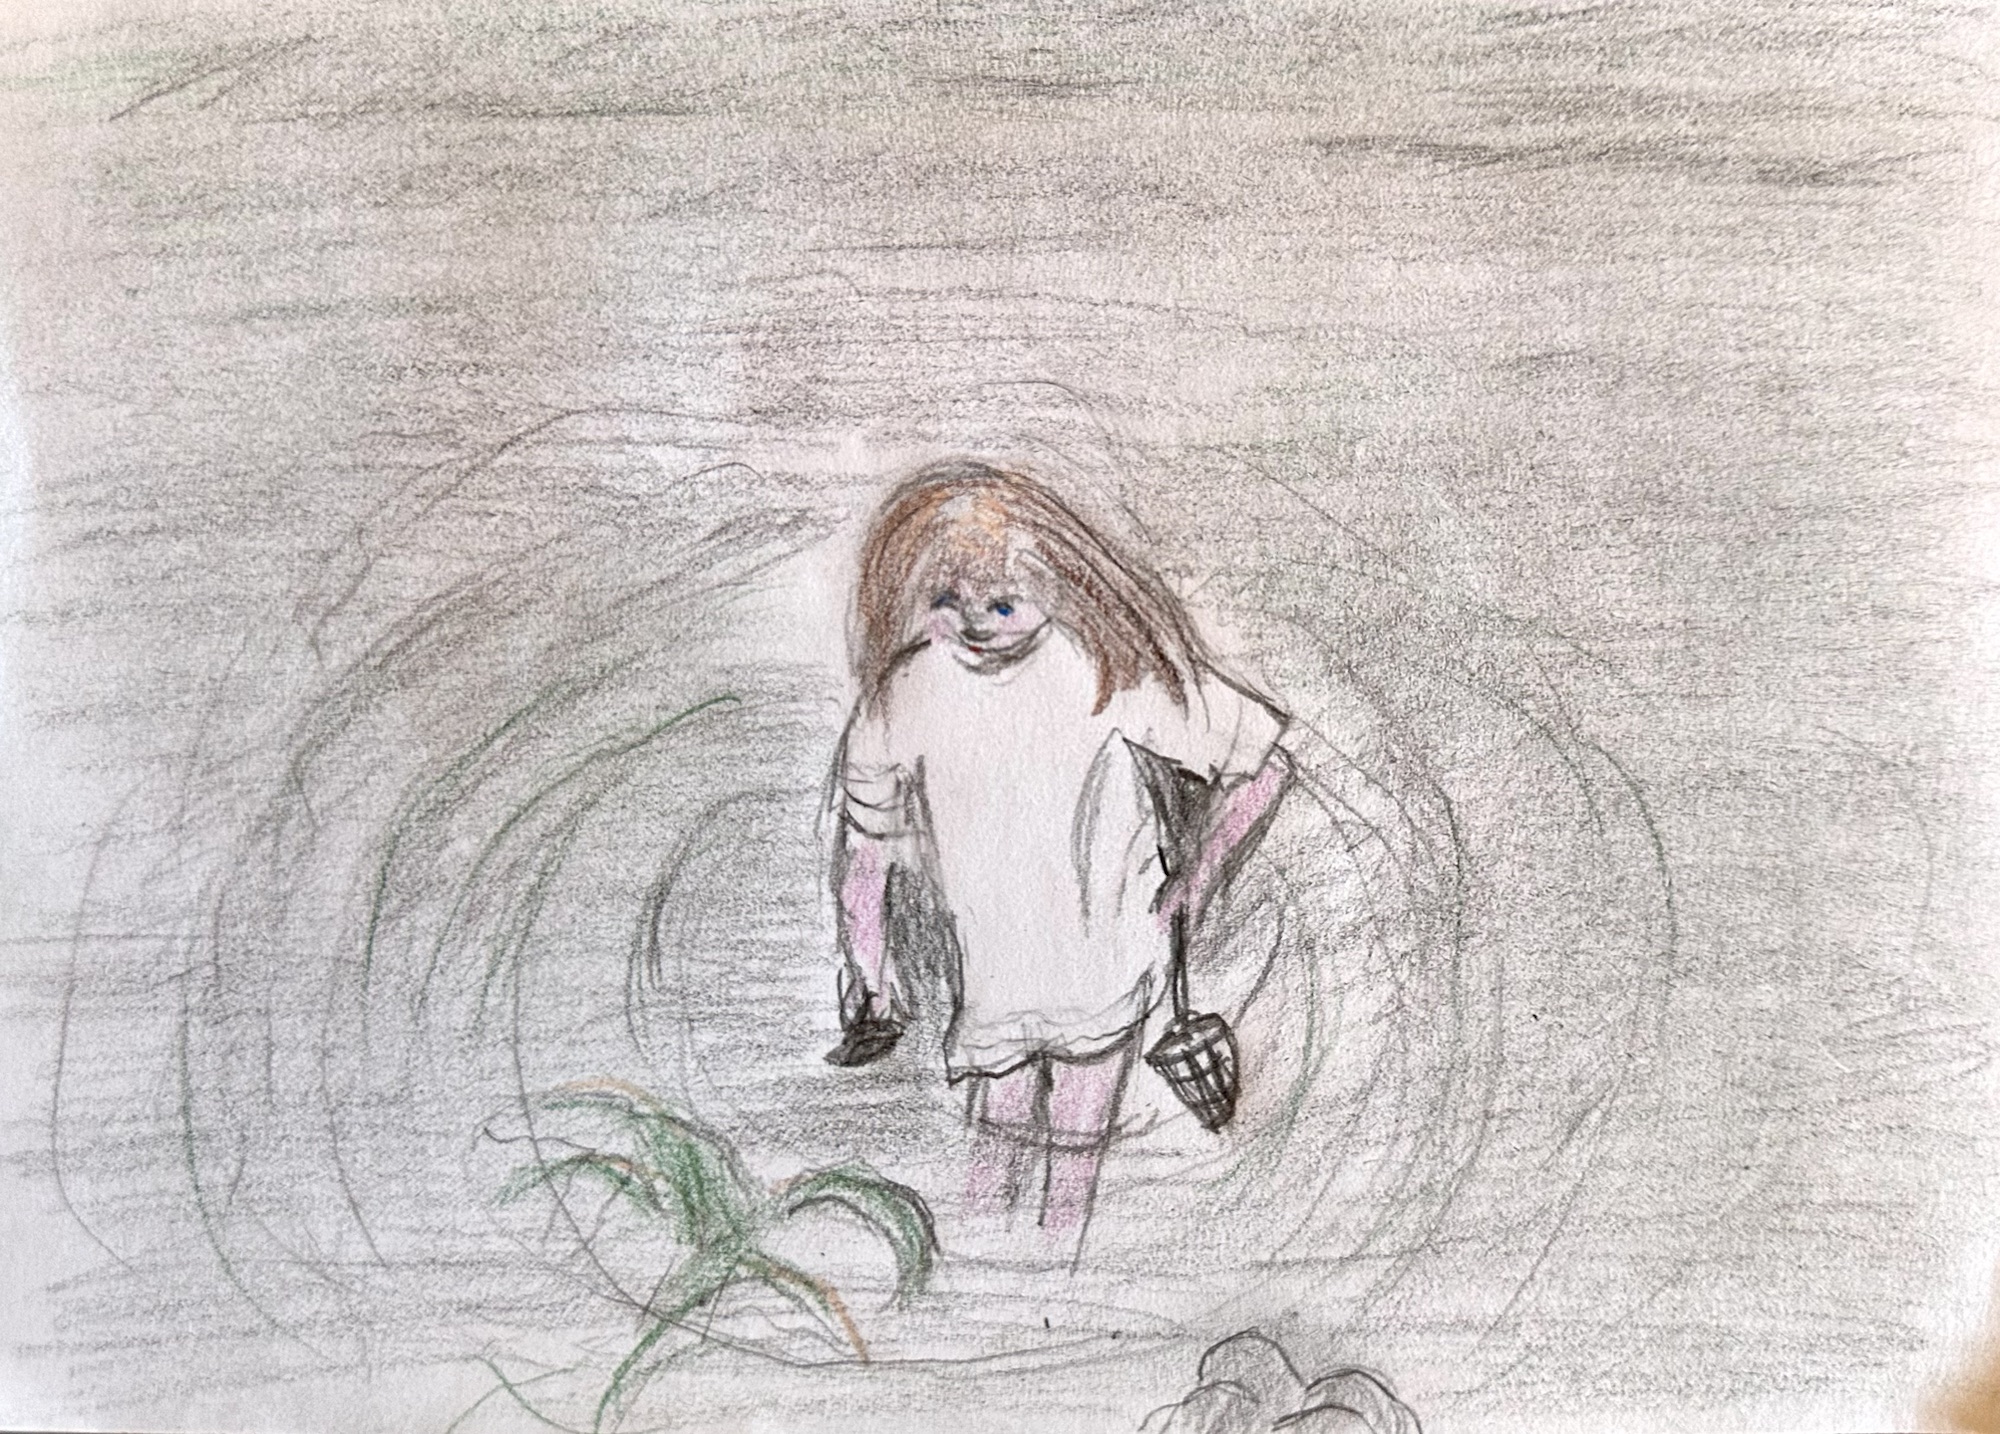
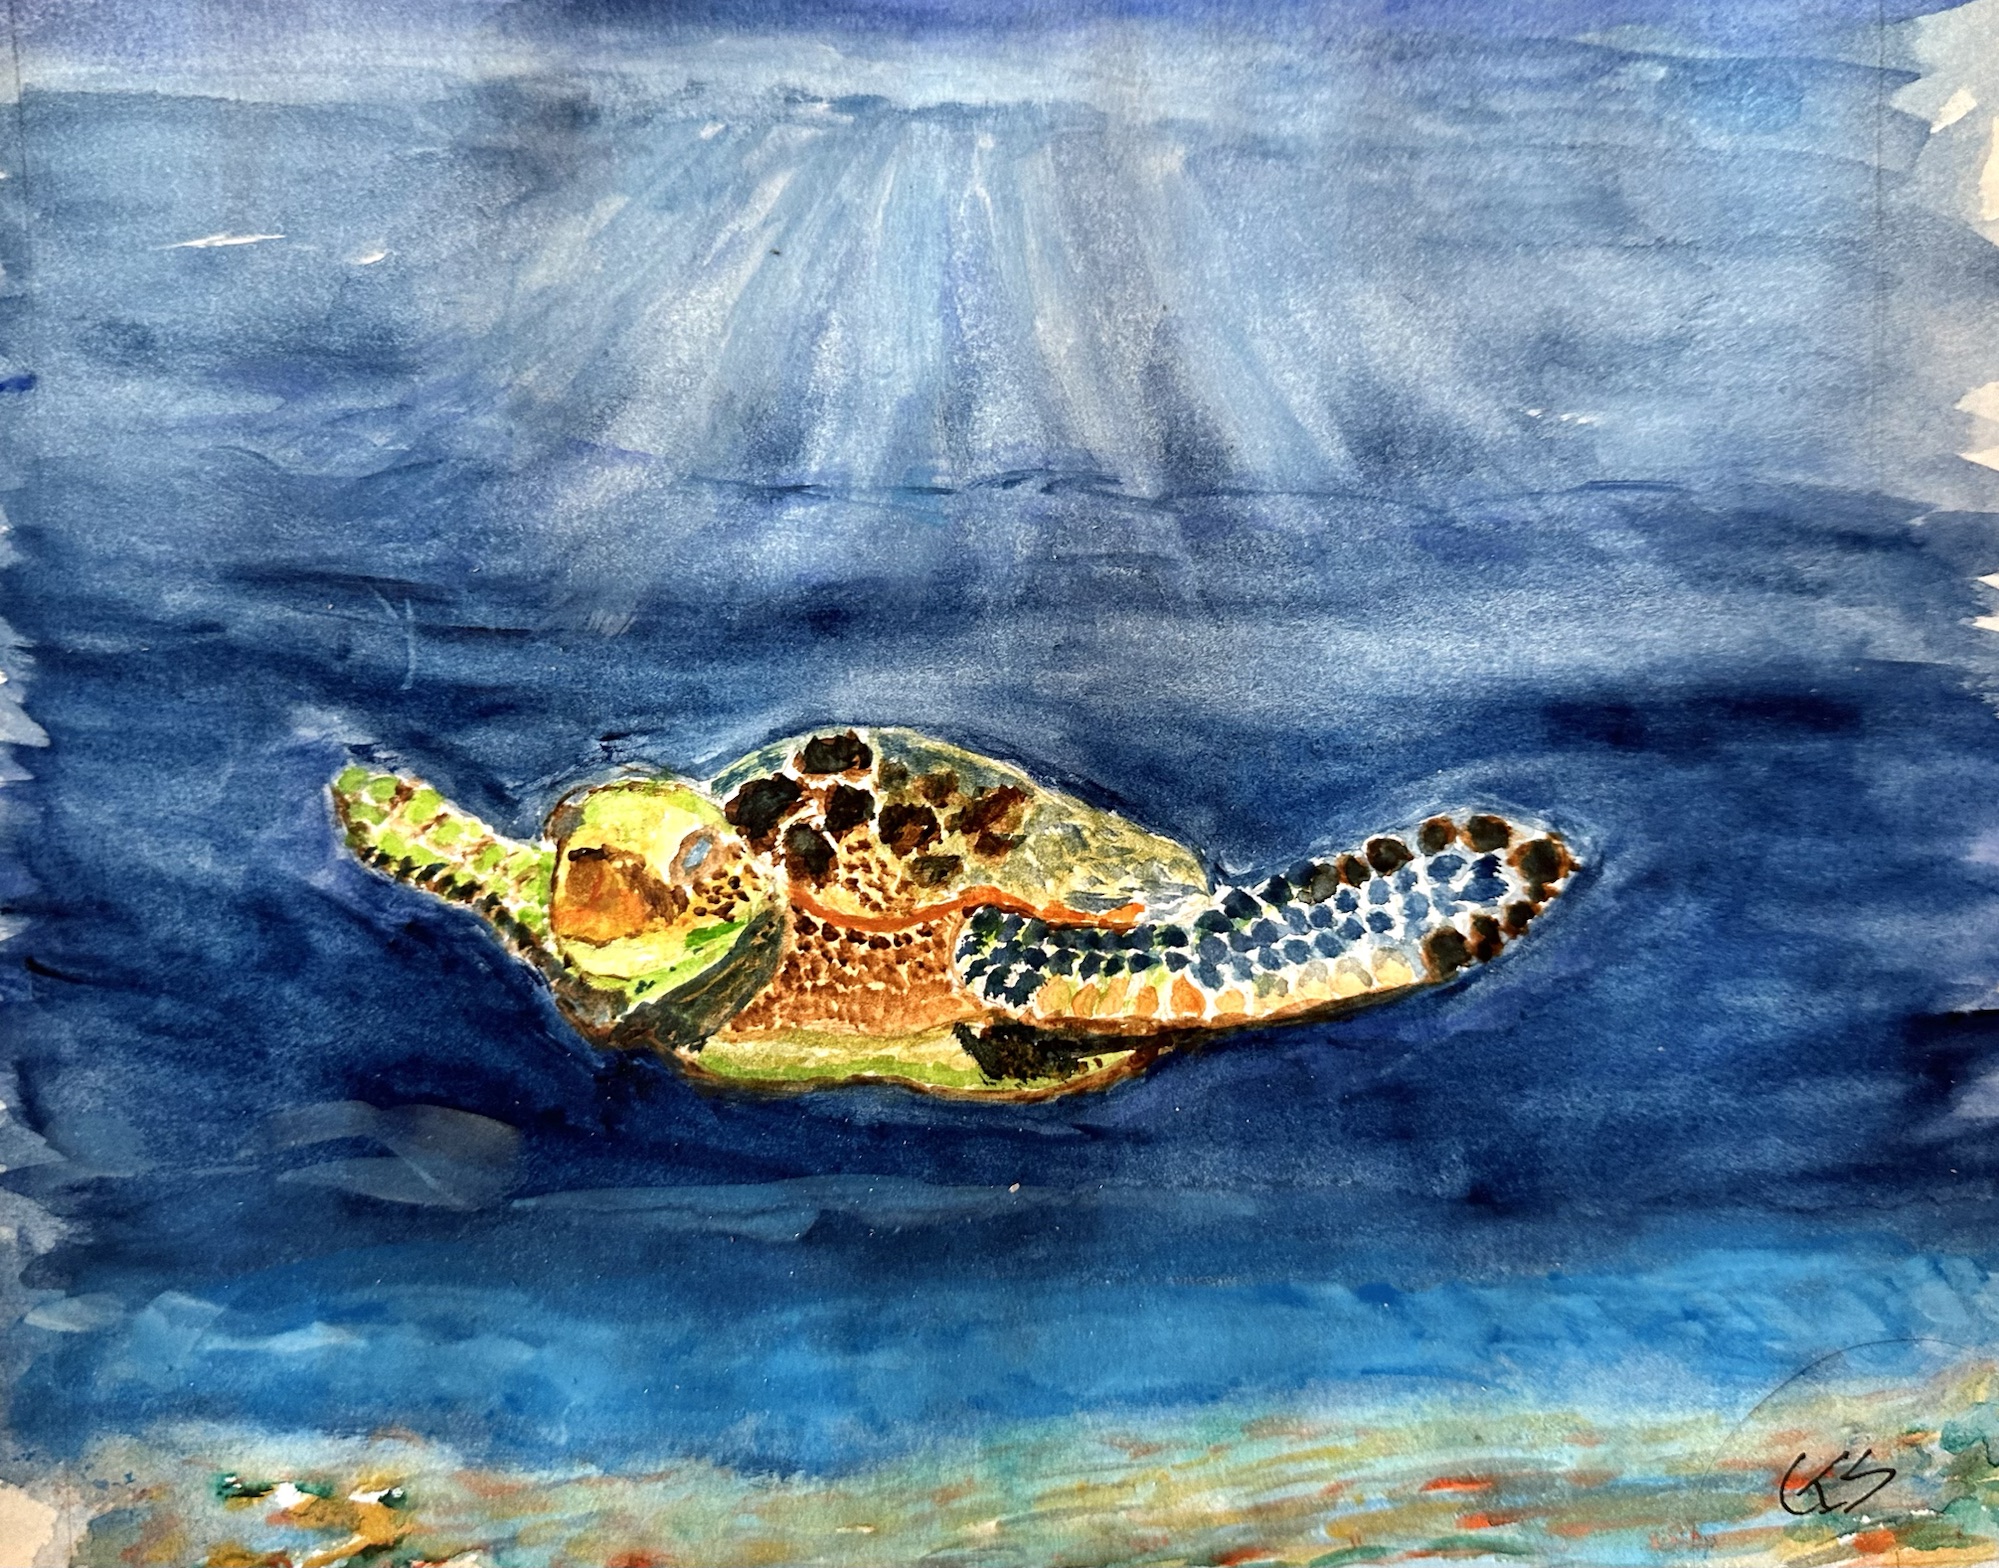
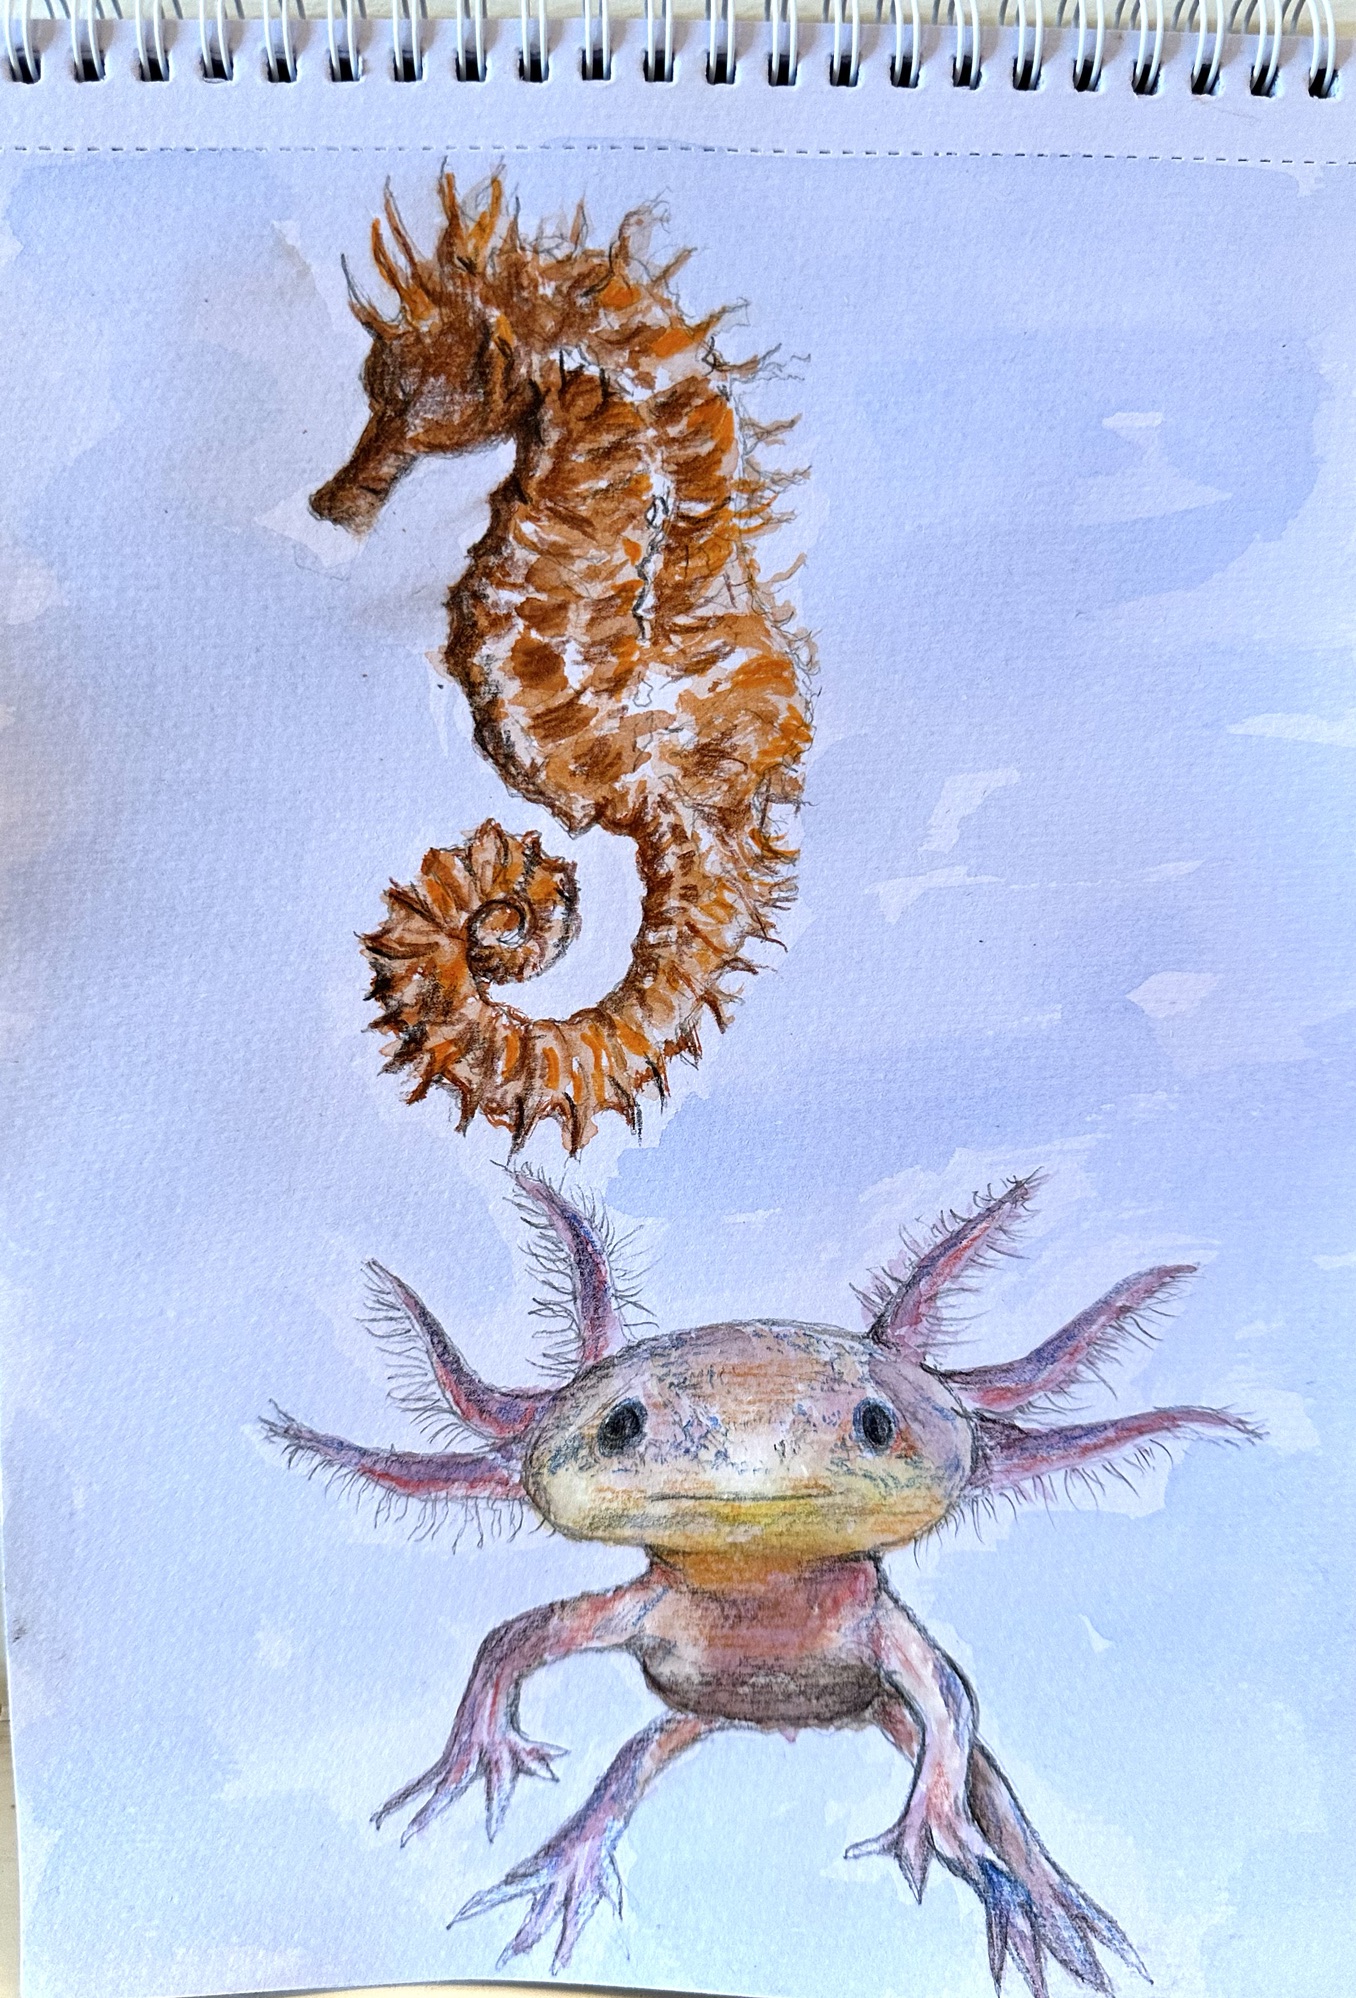
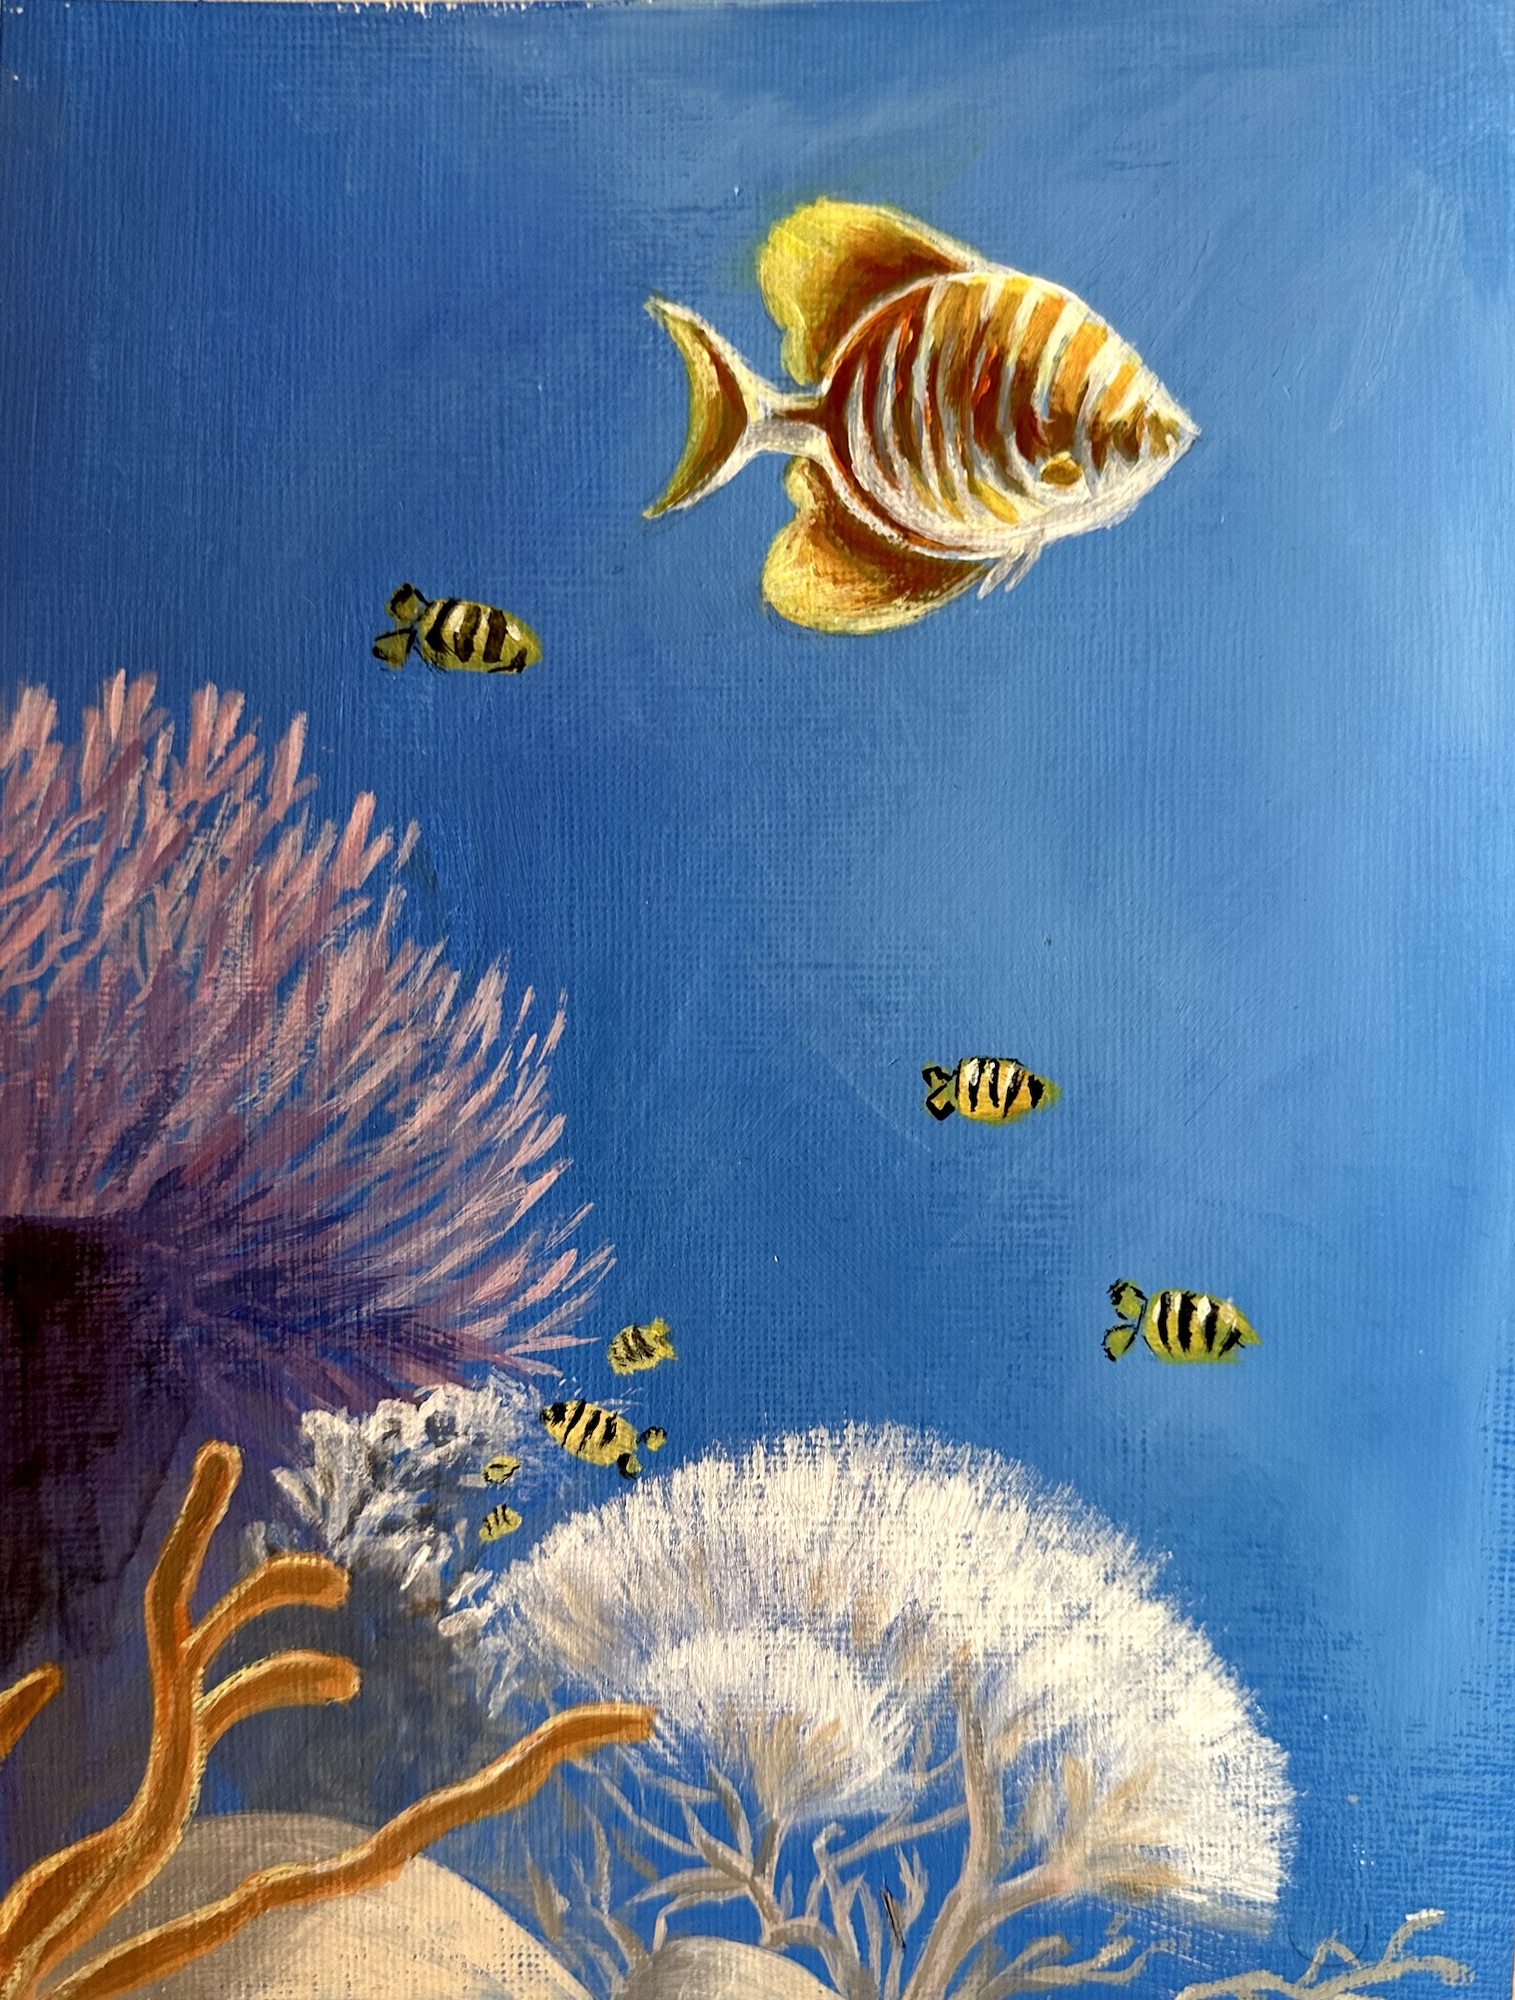
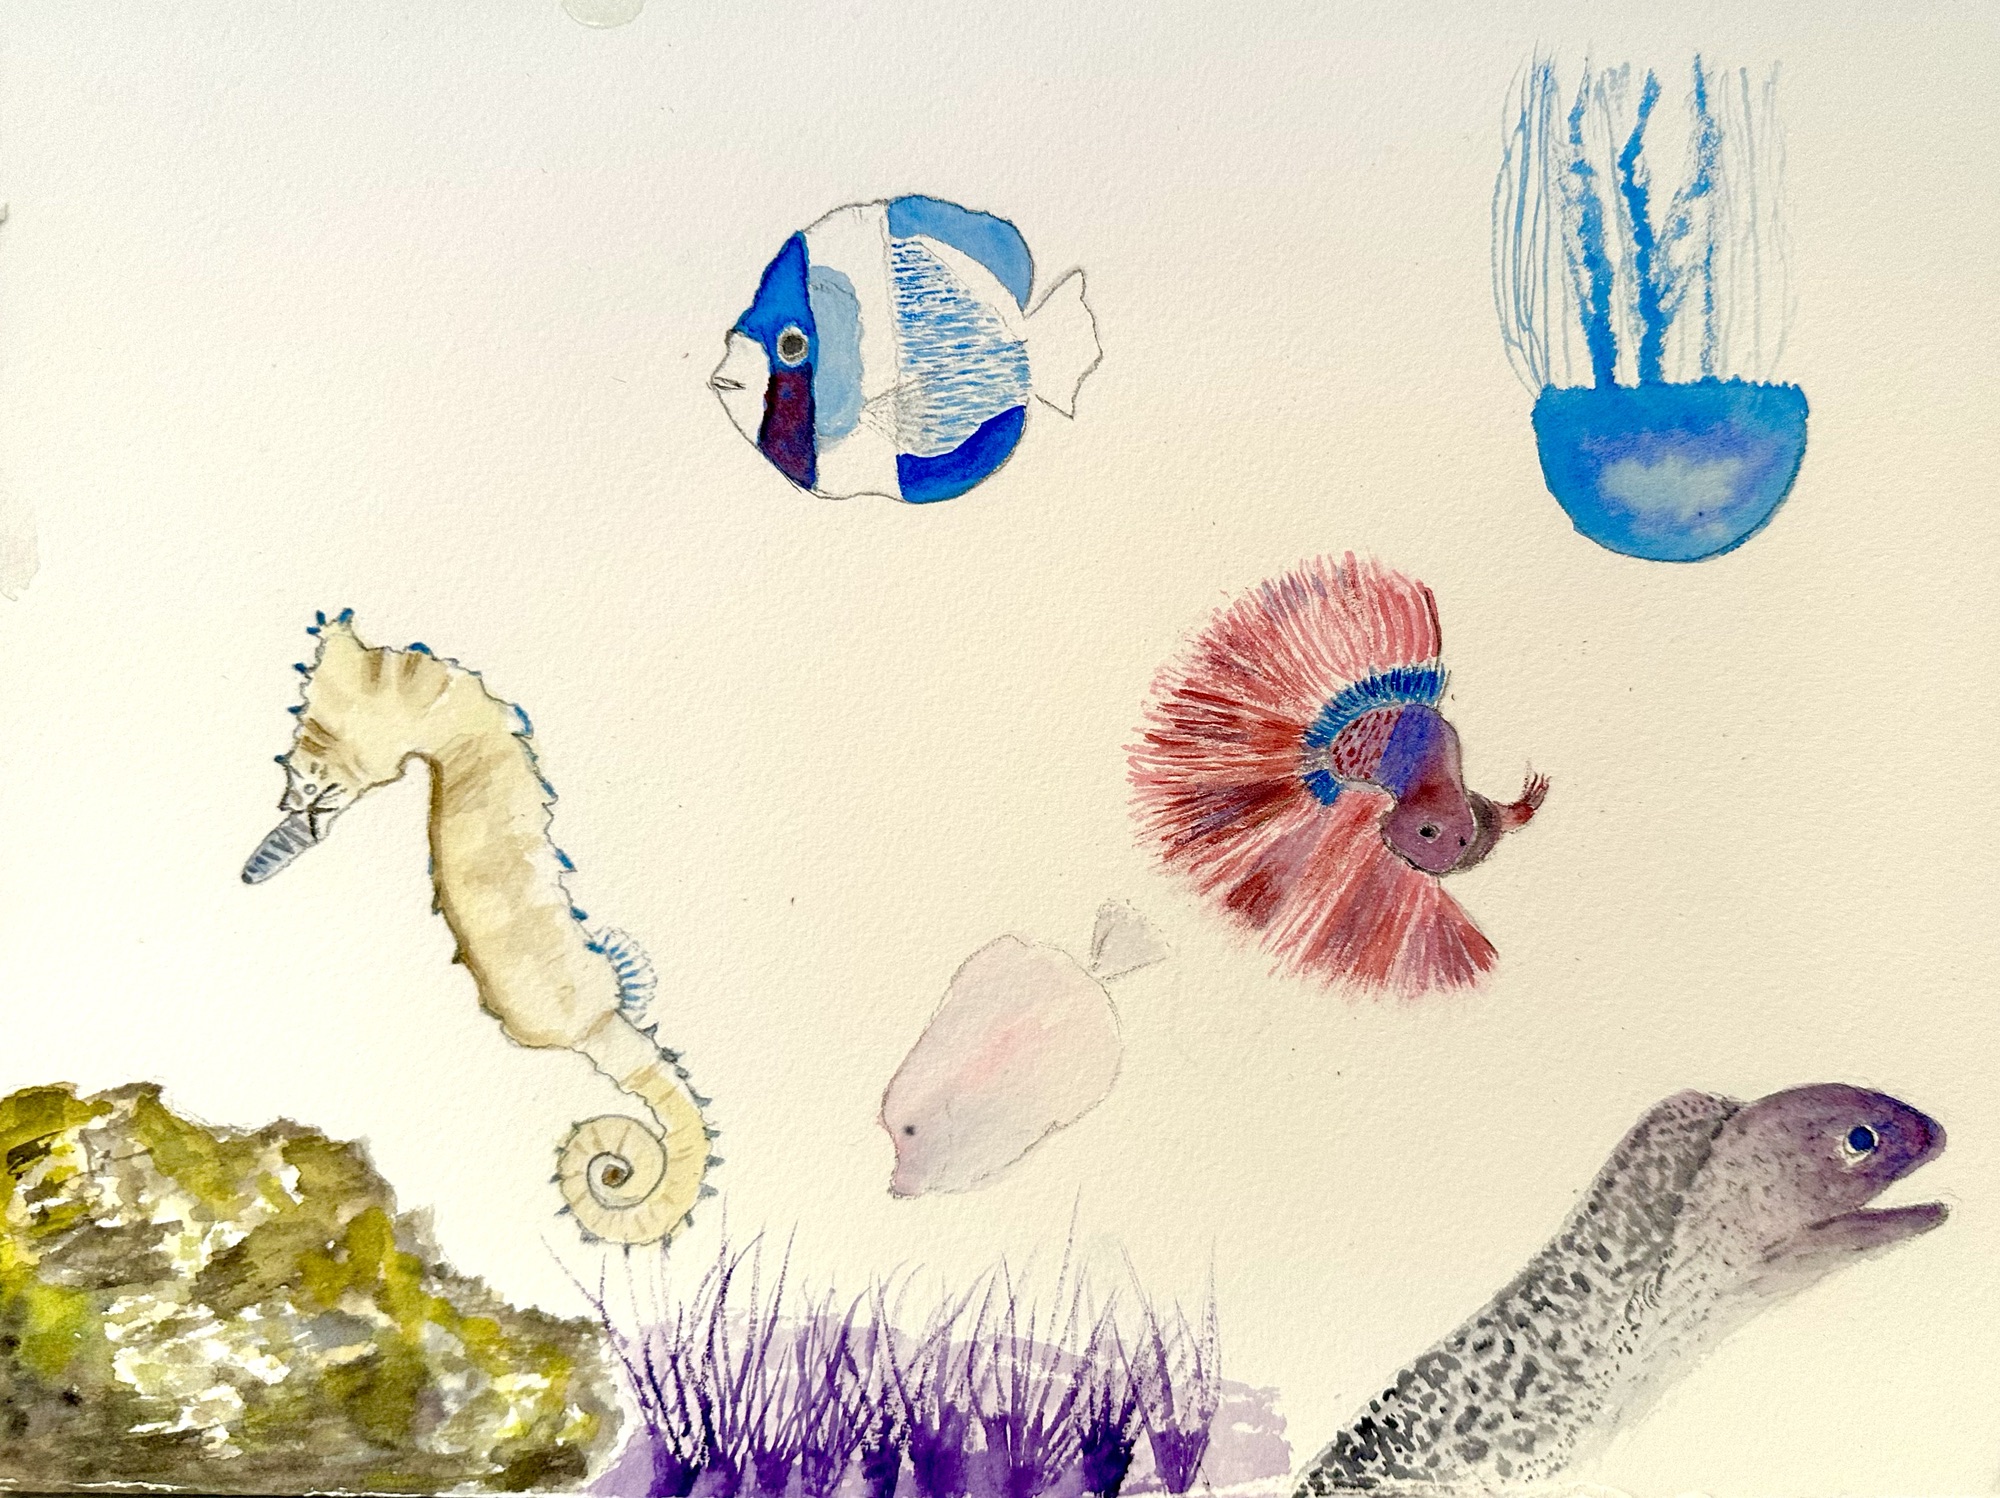
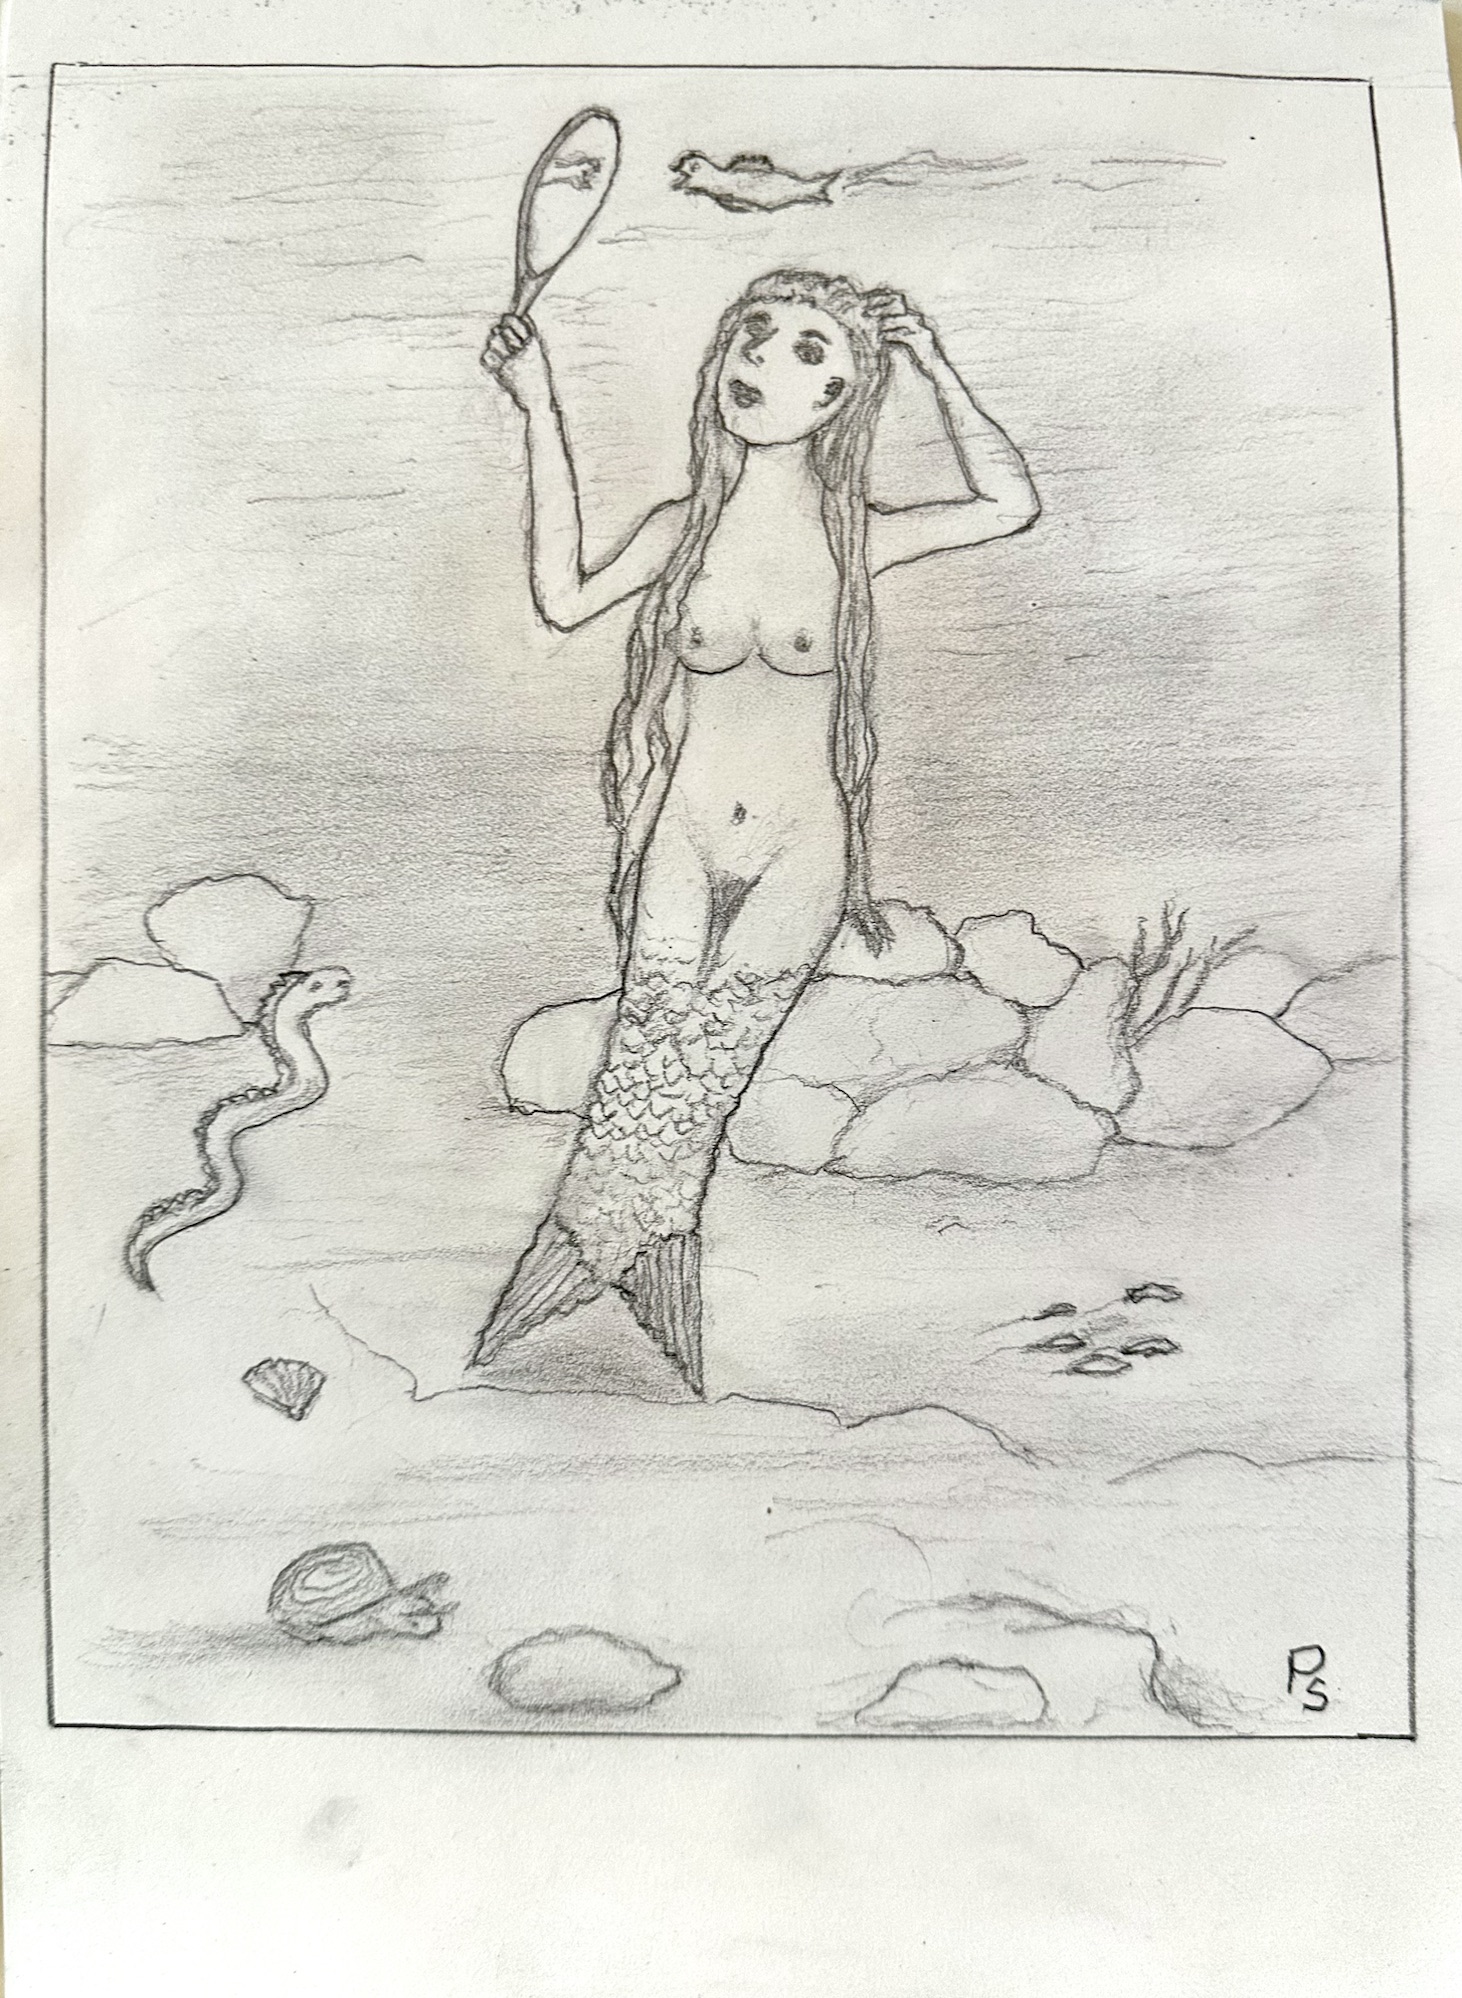
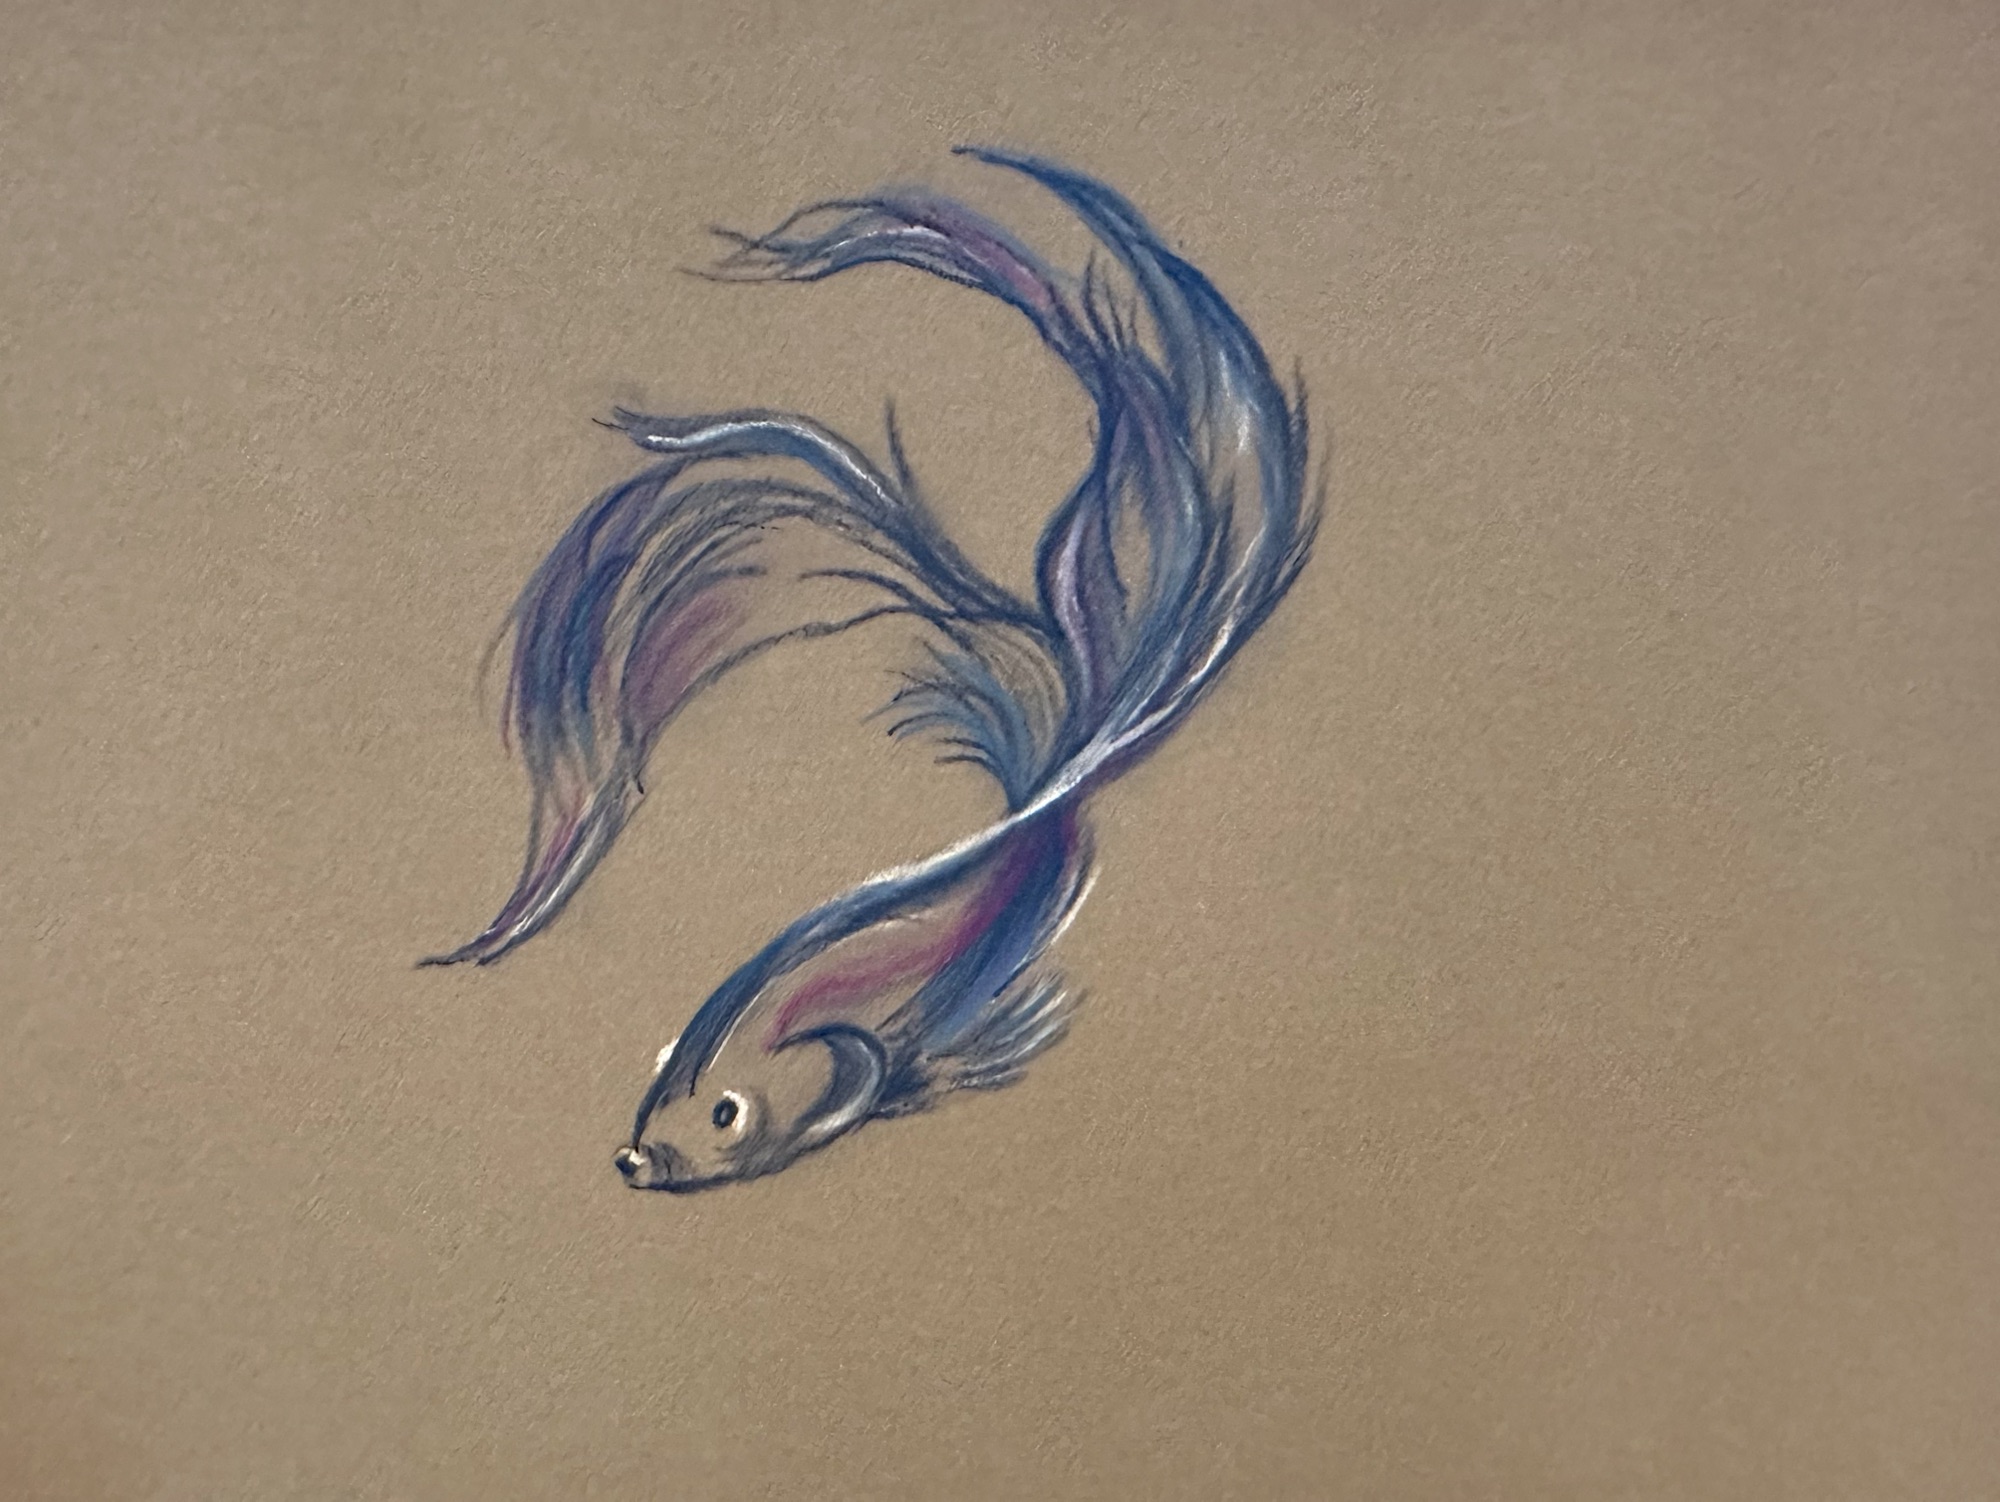
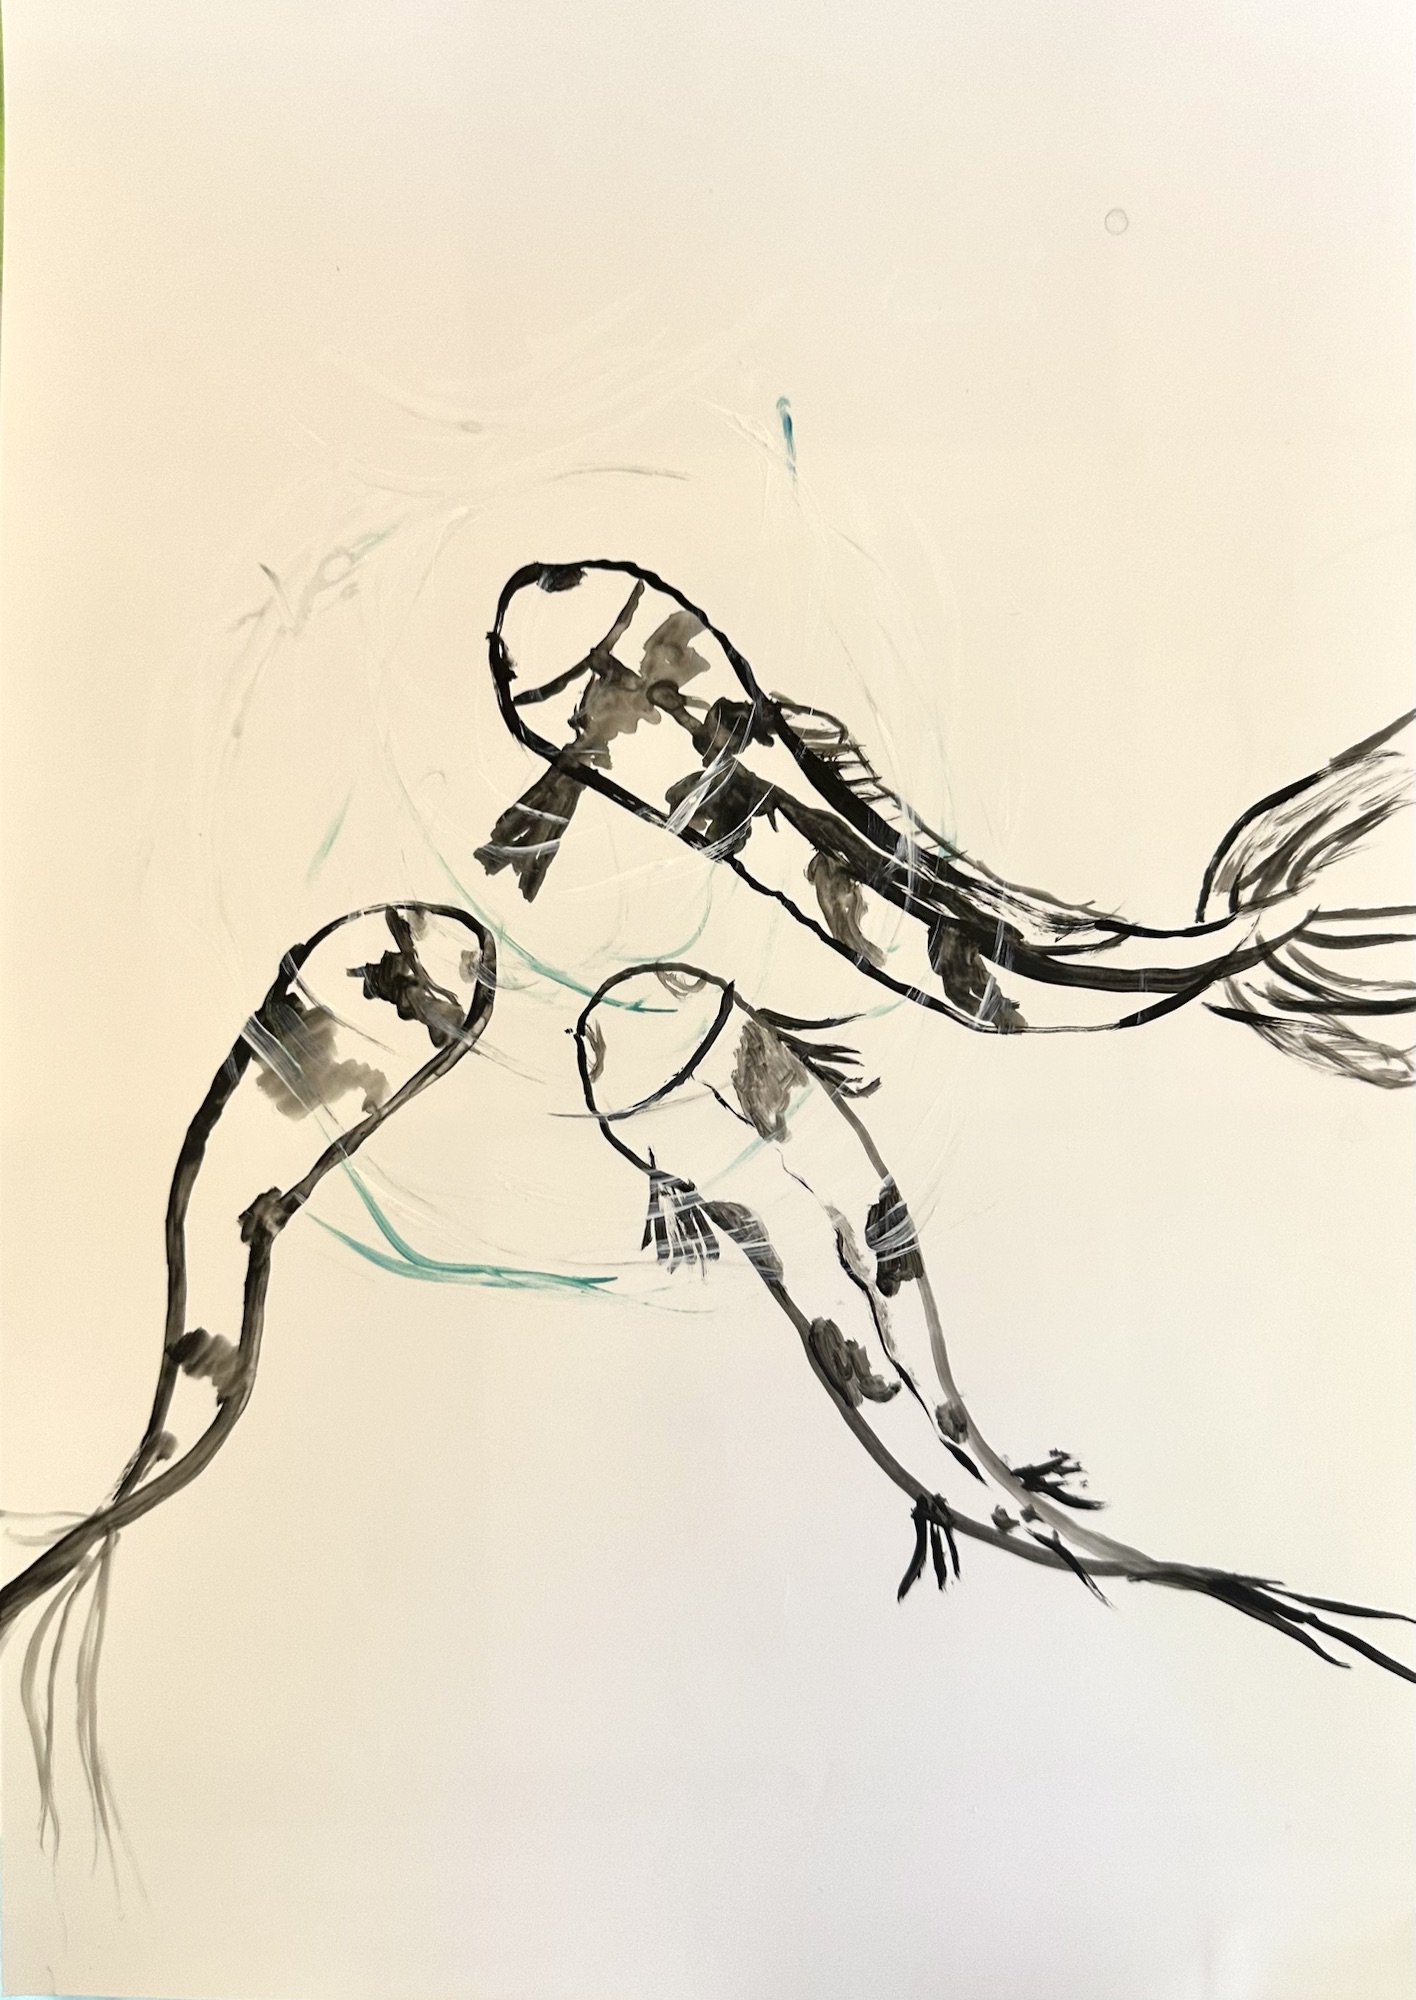
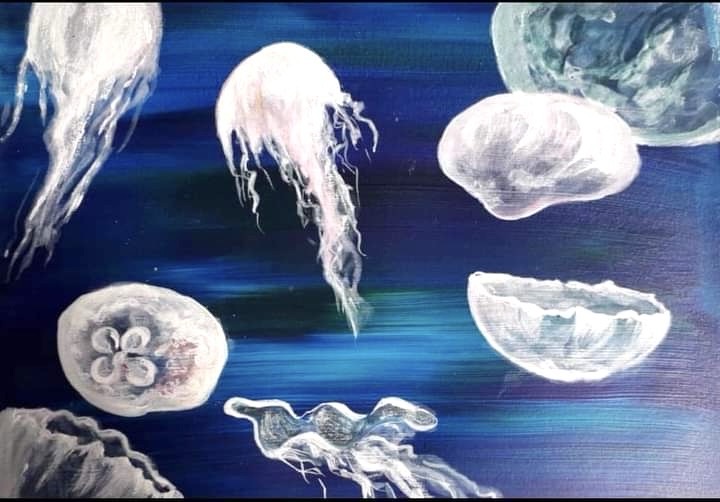
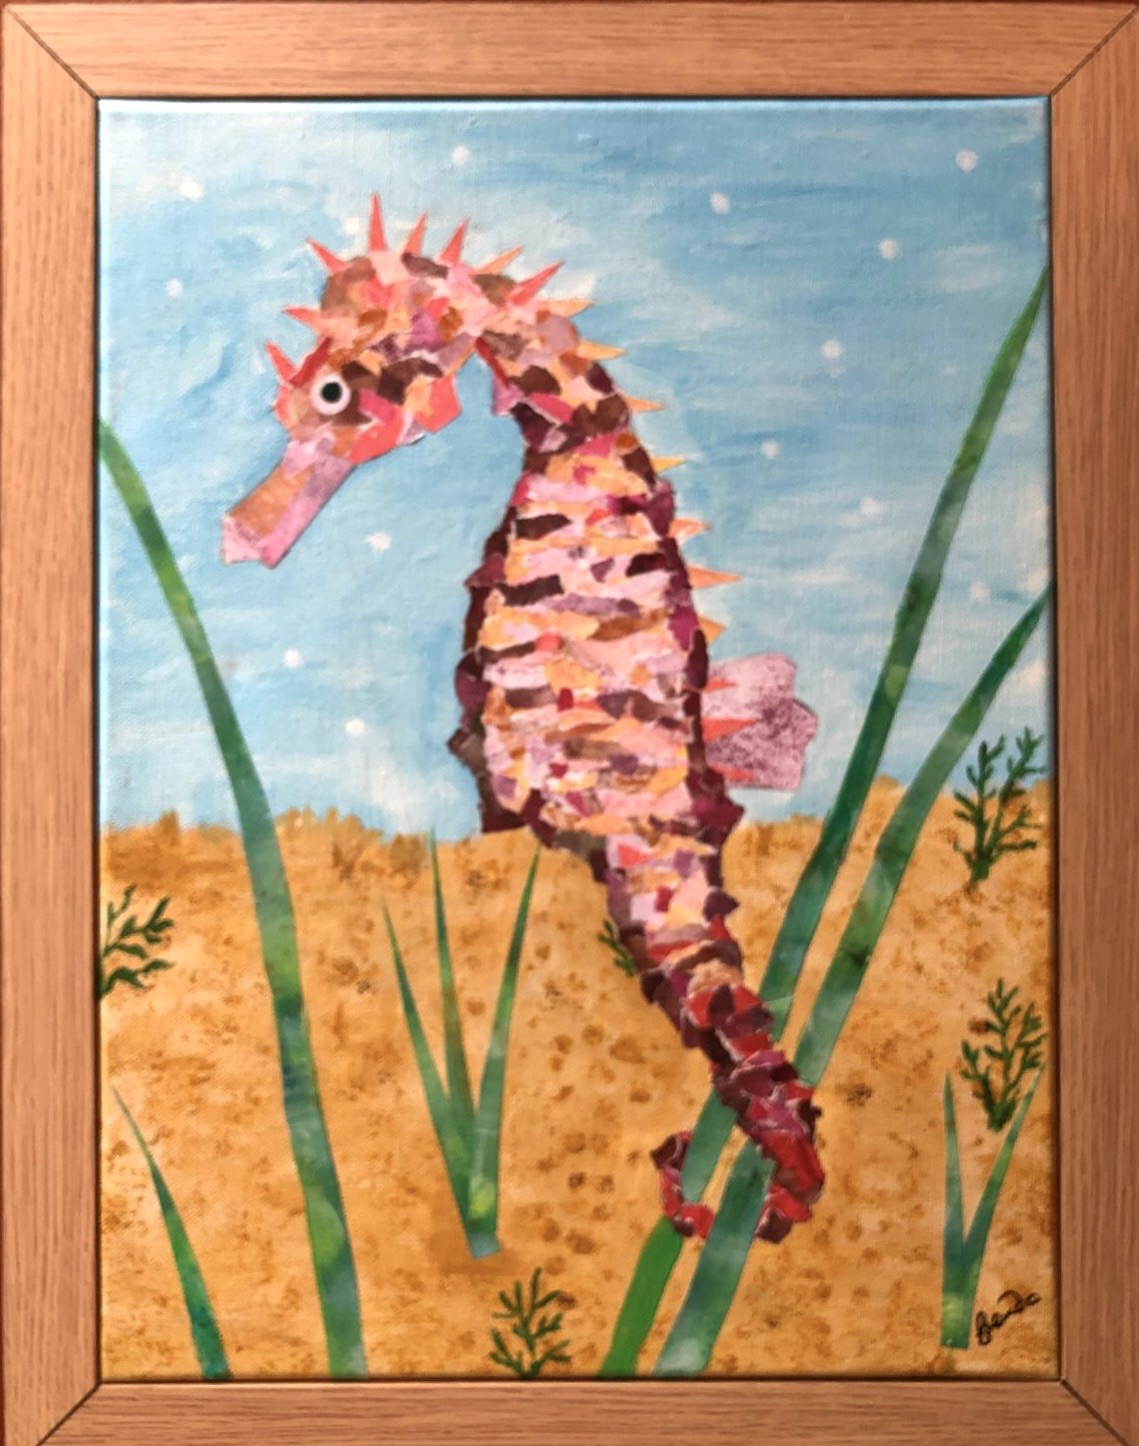
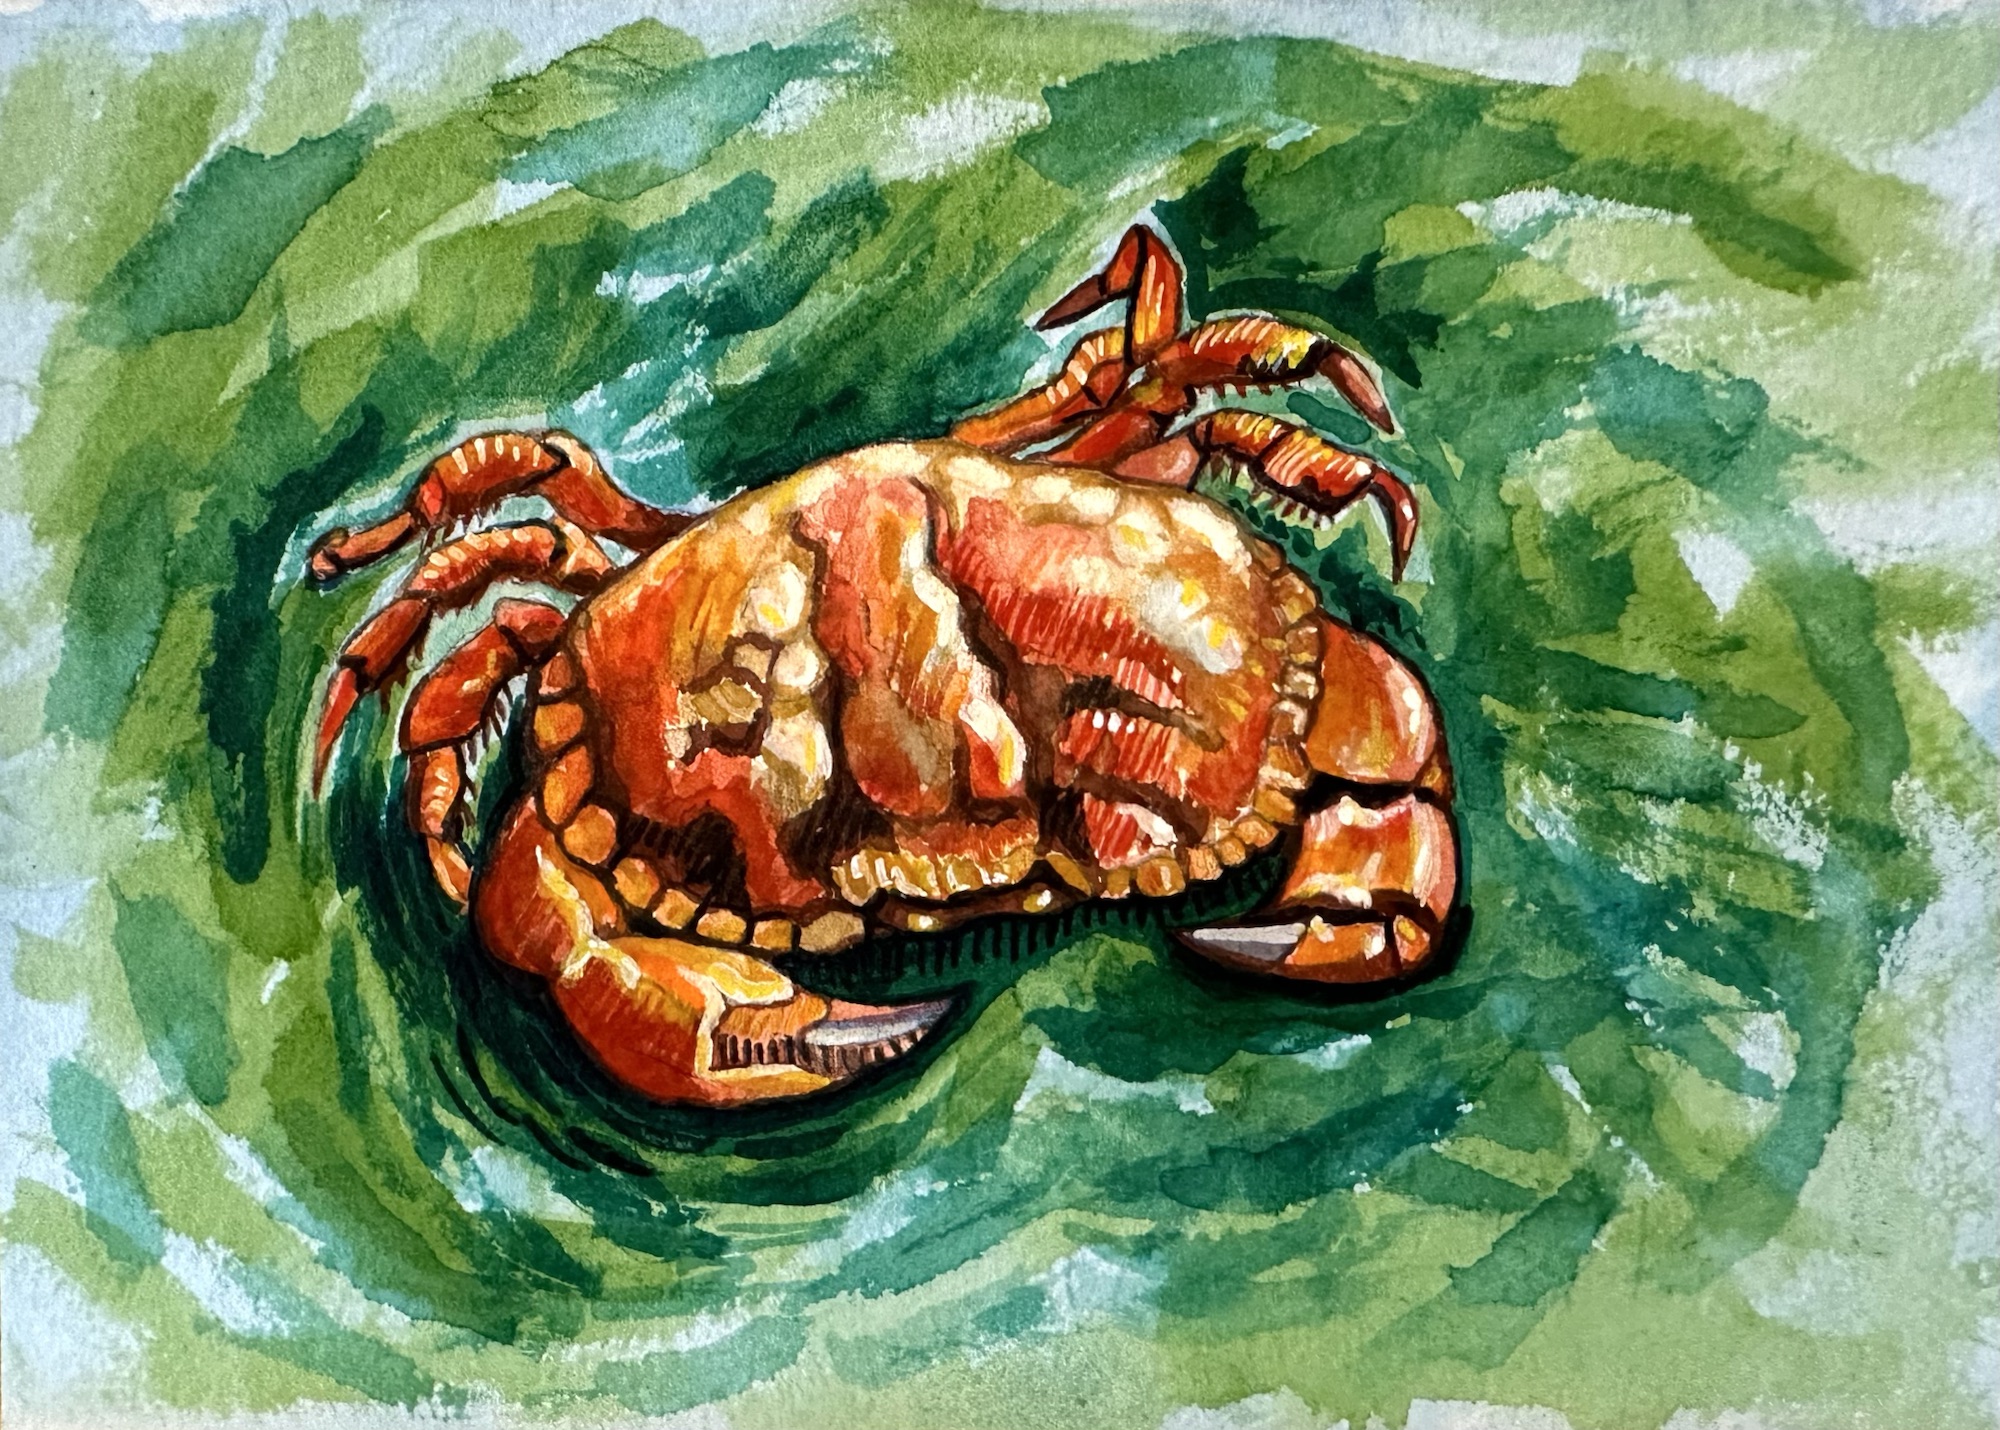
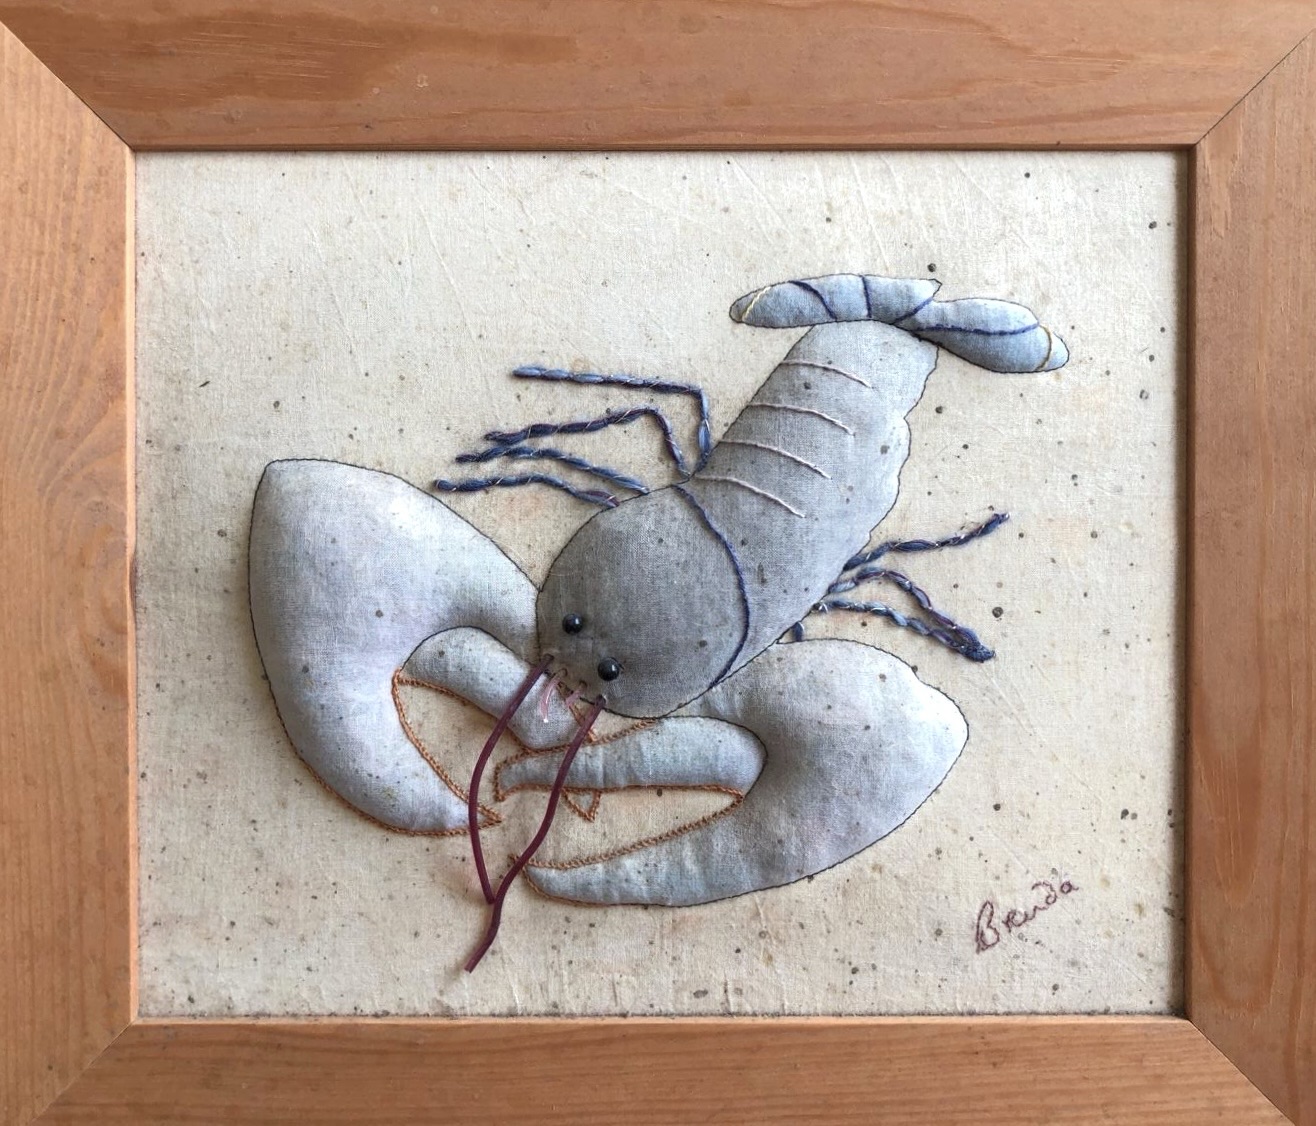
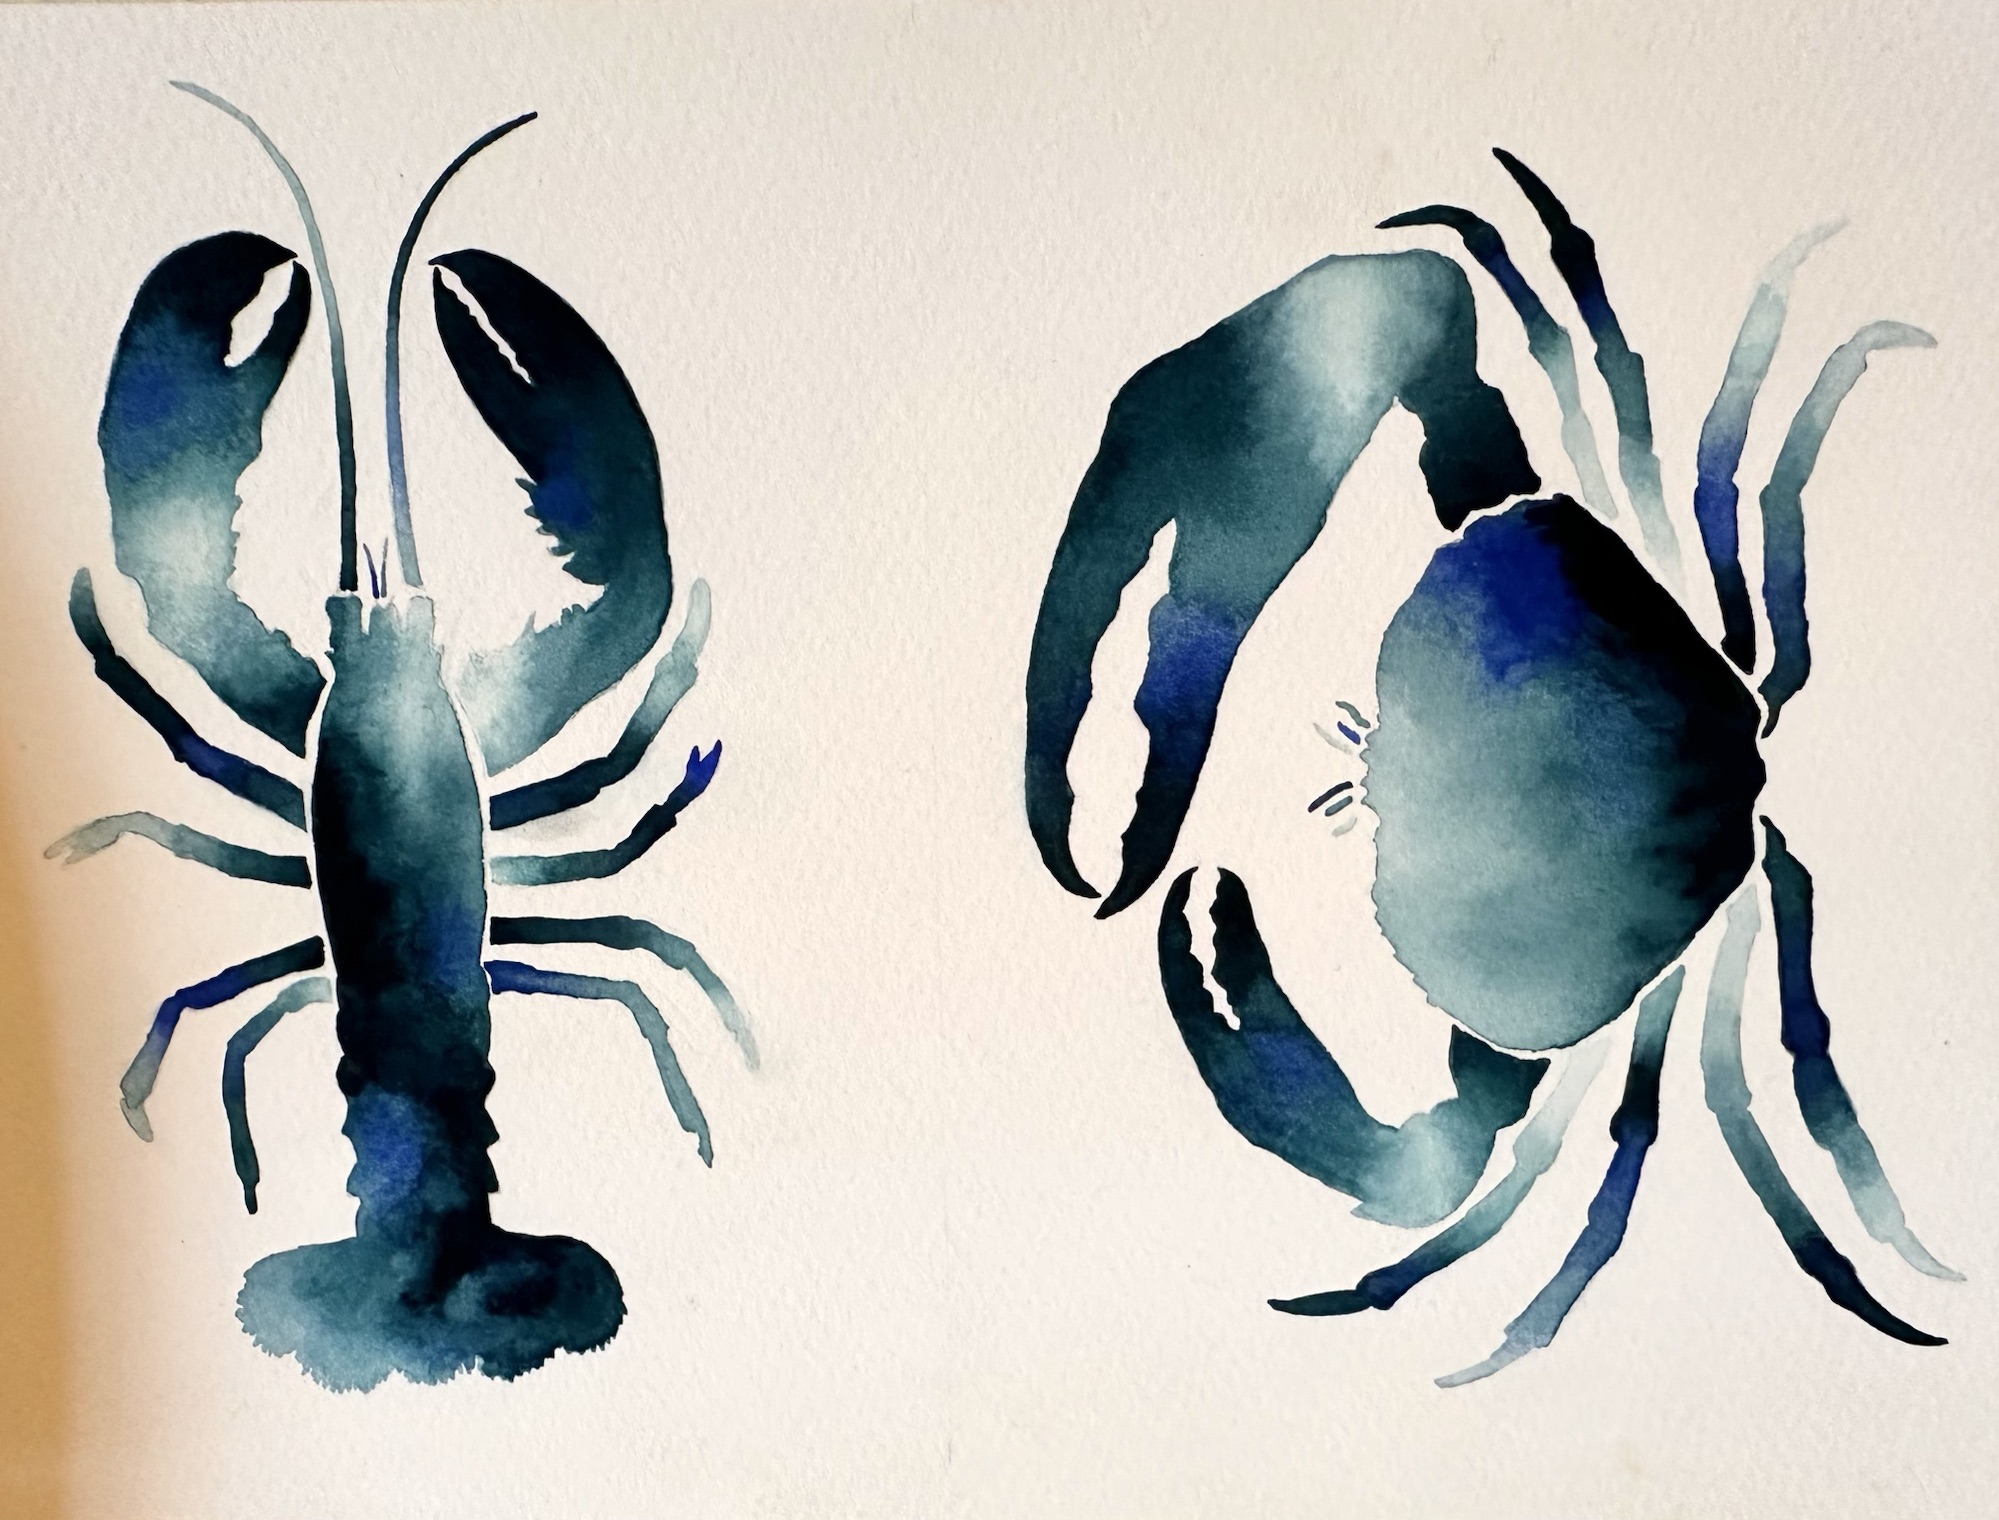
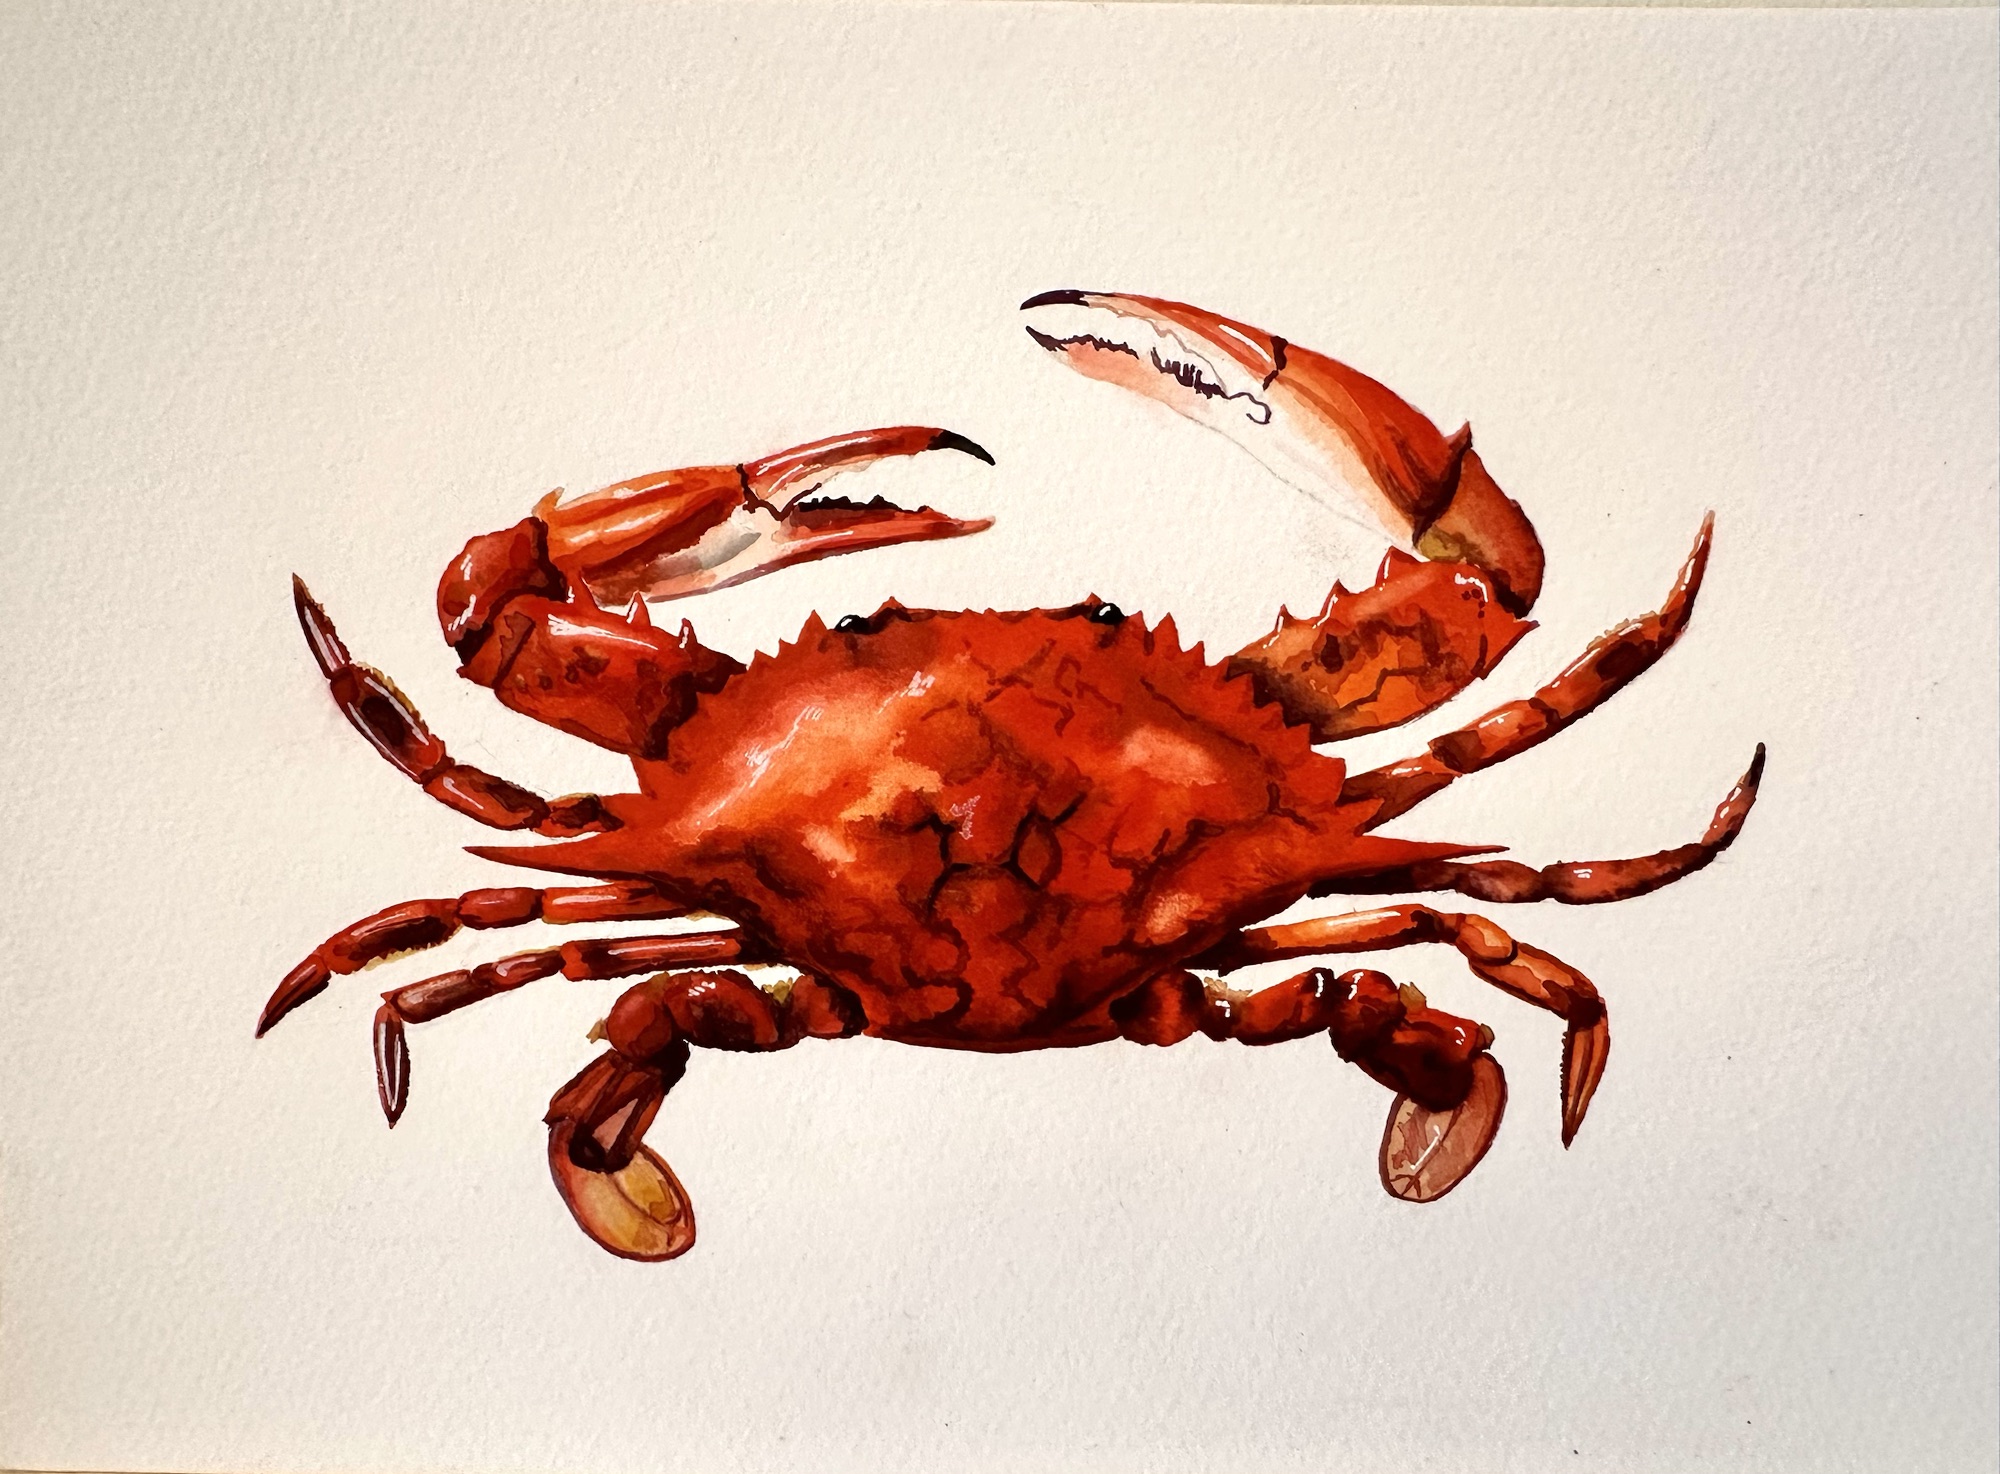
We were very creative on the day and any works in progress will be finished at home. Several members have supplied photos of artwork they painted at other art groups. There were many different underwater animals and divers painted in glorious colours including turtles, tropical fish, jellyfish, octopuses, sharks, shells, seahorses, rays, crabs, lobsters, a mermaid, a little girl looking at life underwater, and an exotically named axolotl. The first painting is Steve’s slightly disturbing Salvador Dali portrait with sea creatures and a melted clock!
Next month’s ideas will be published on 1st June and the next session will be on Wednesday 12th June 7-9pm.