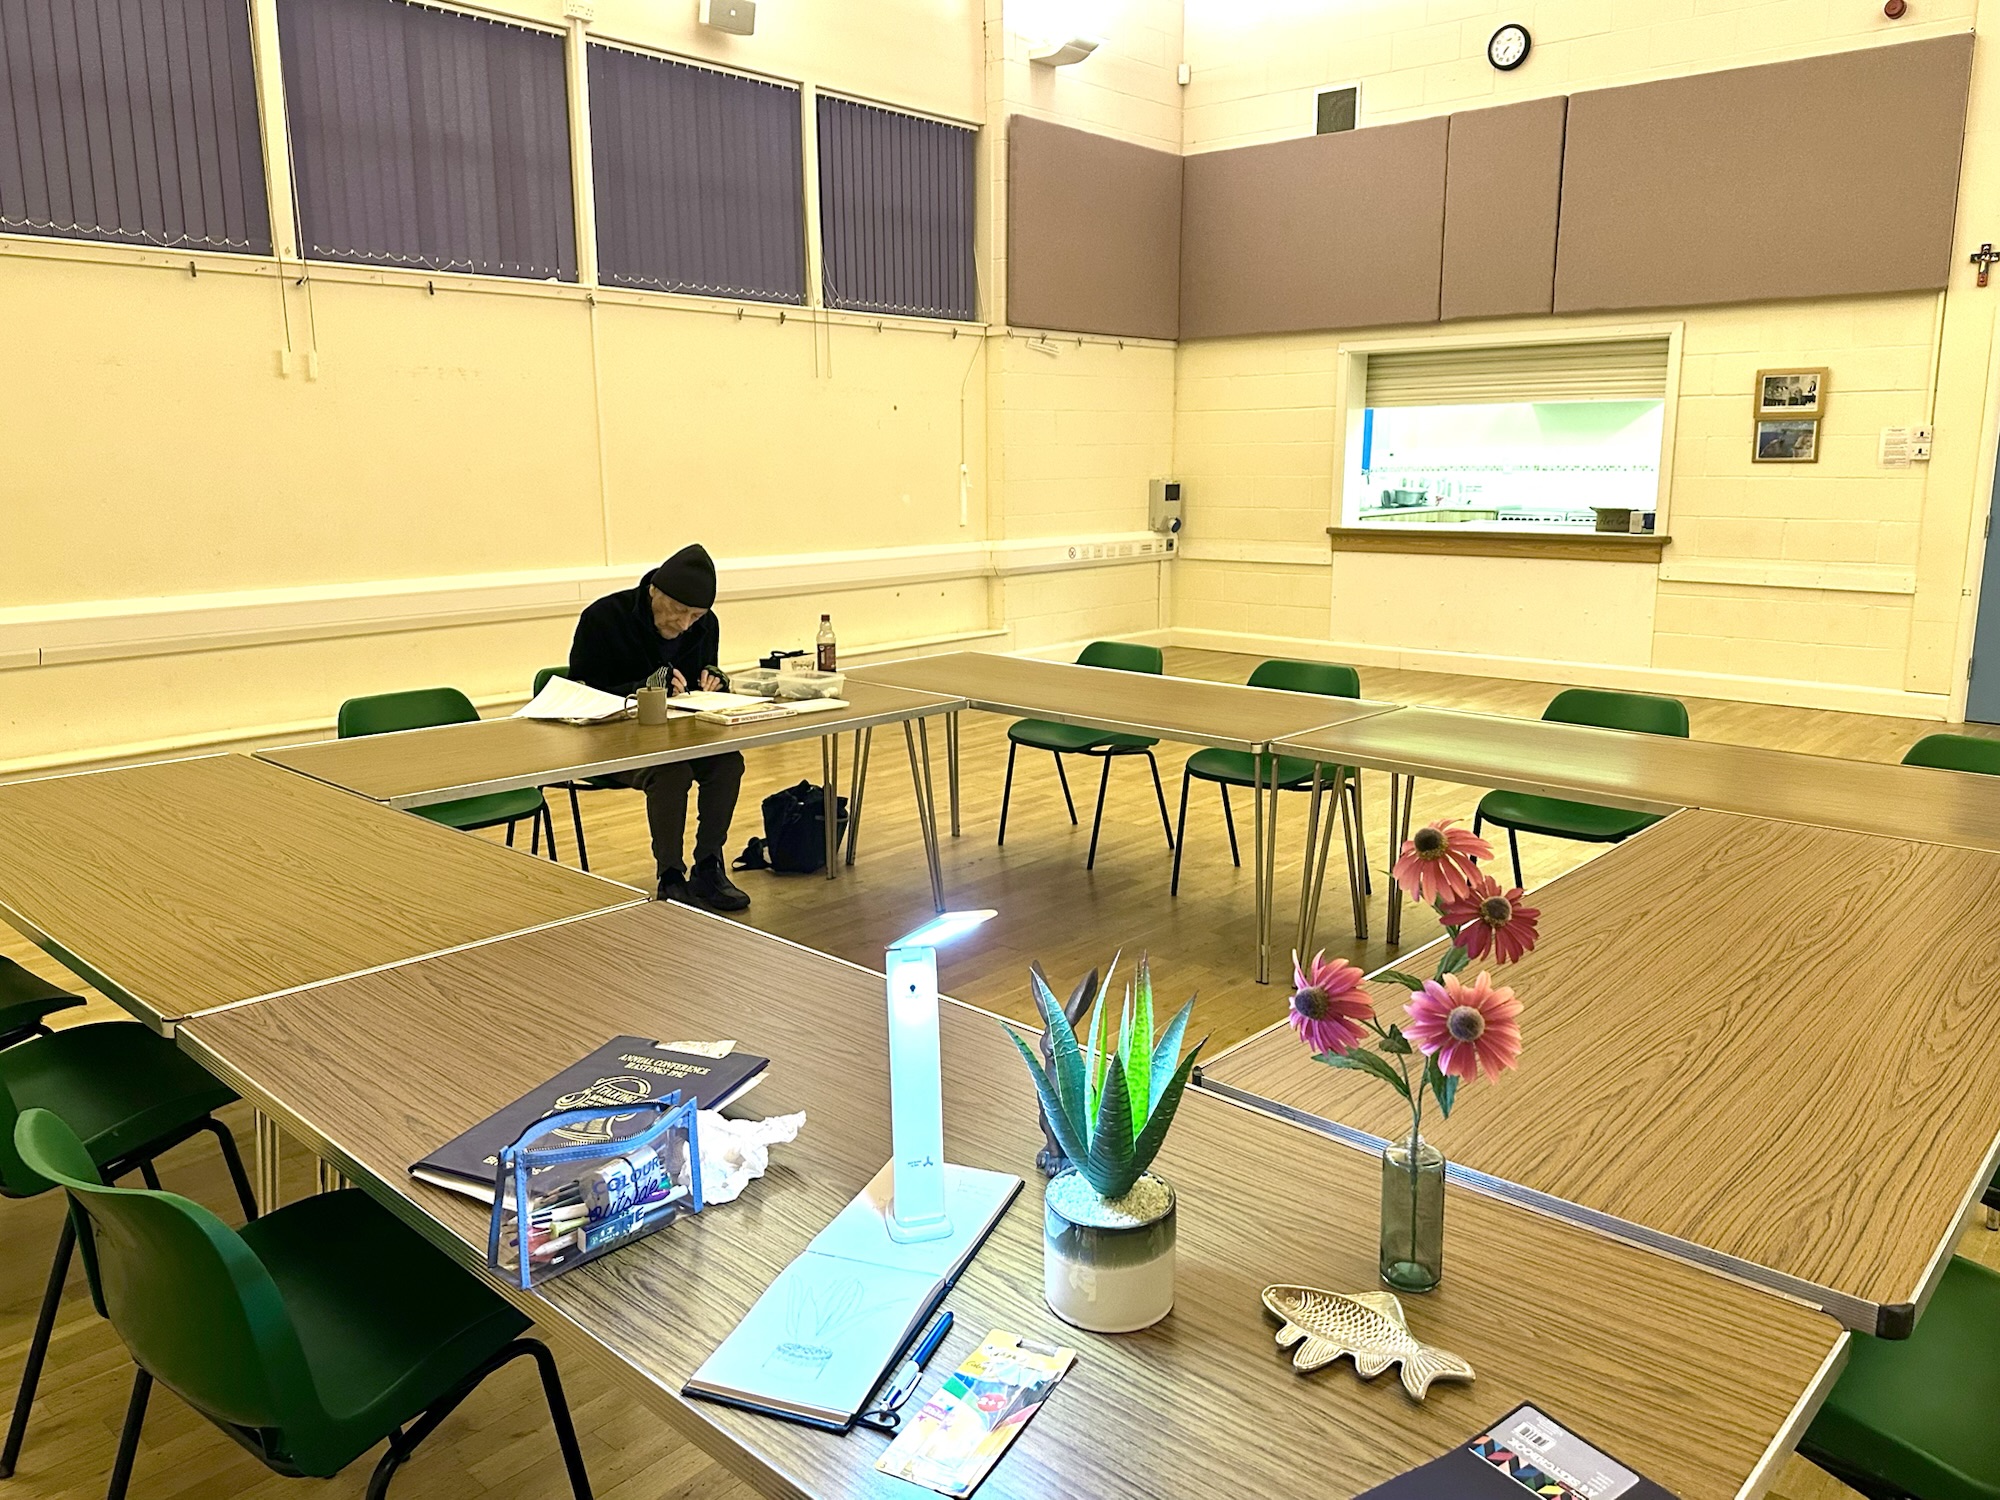
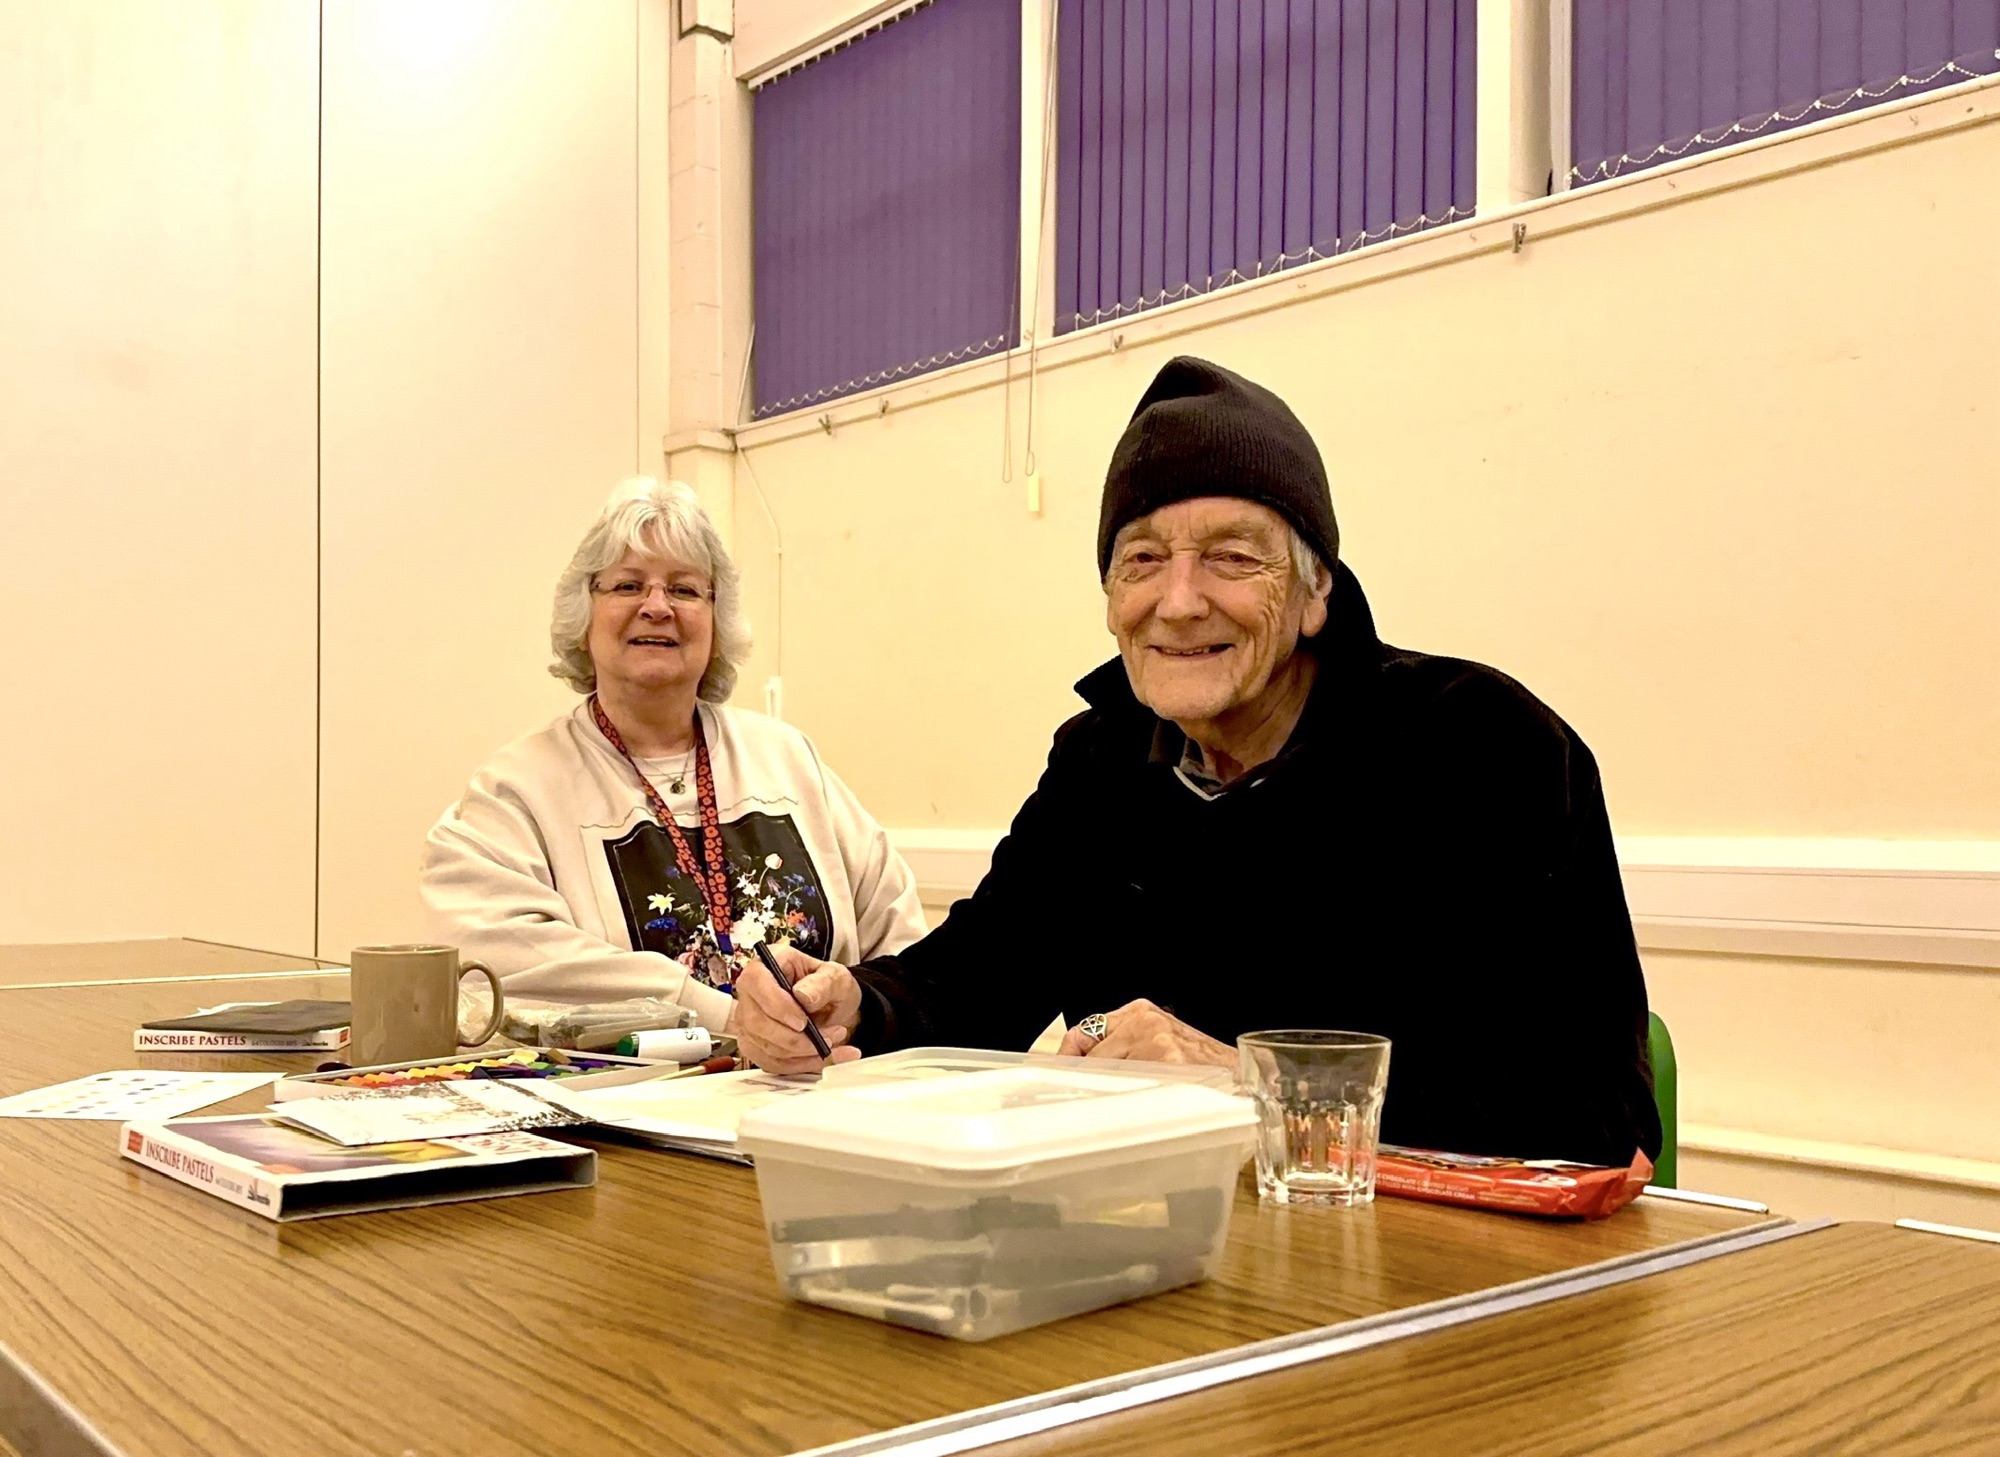
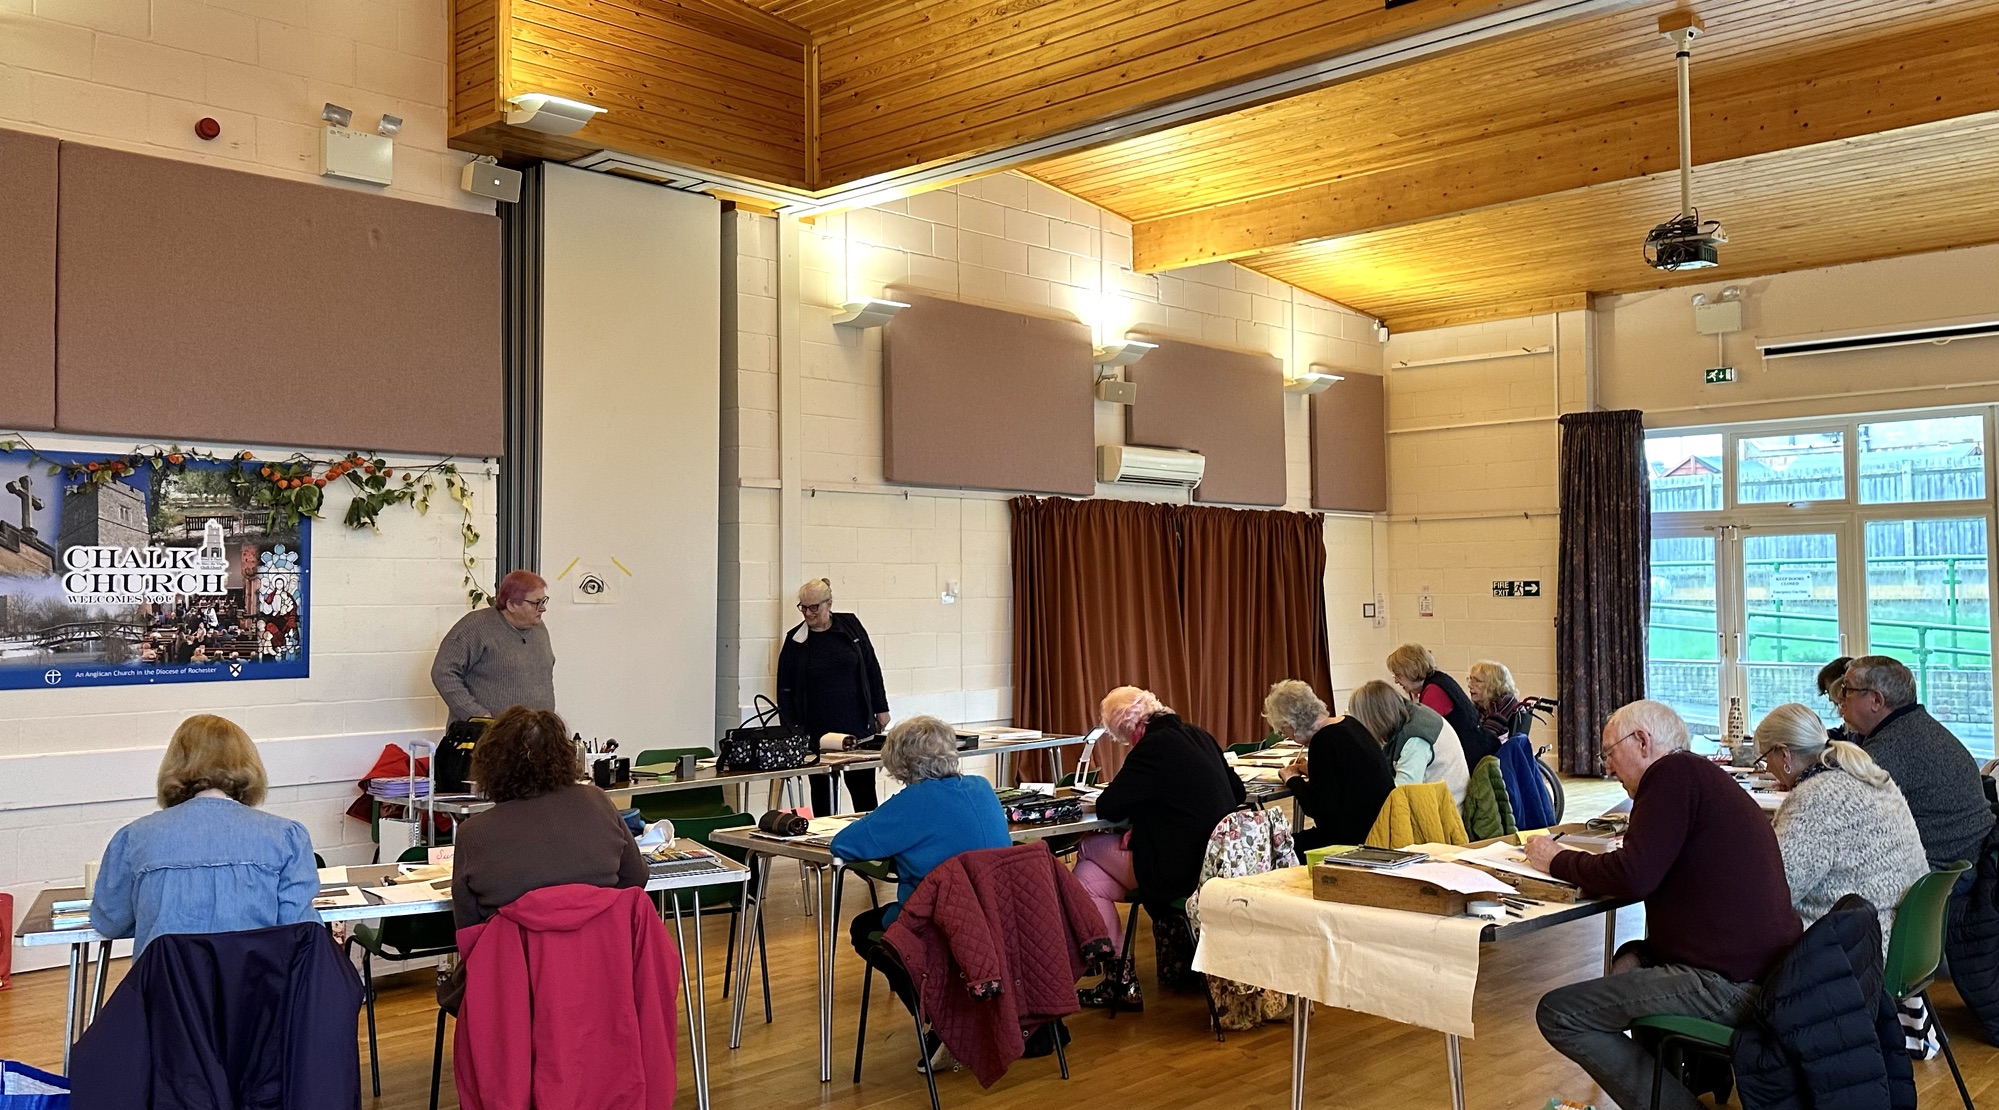
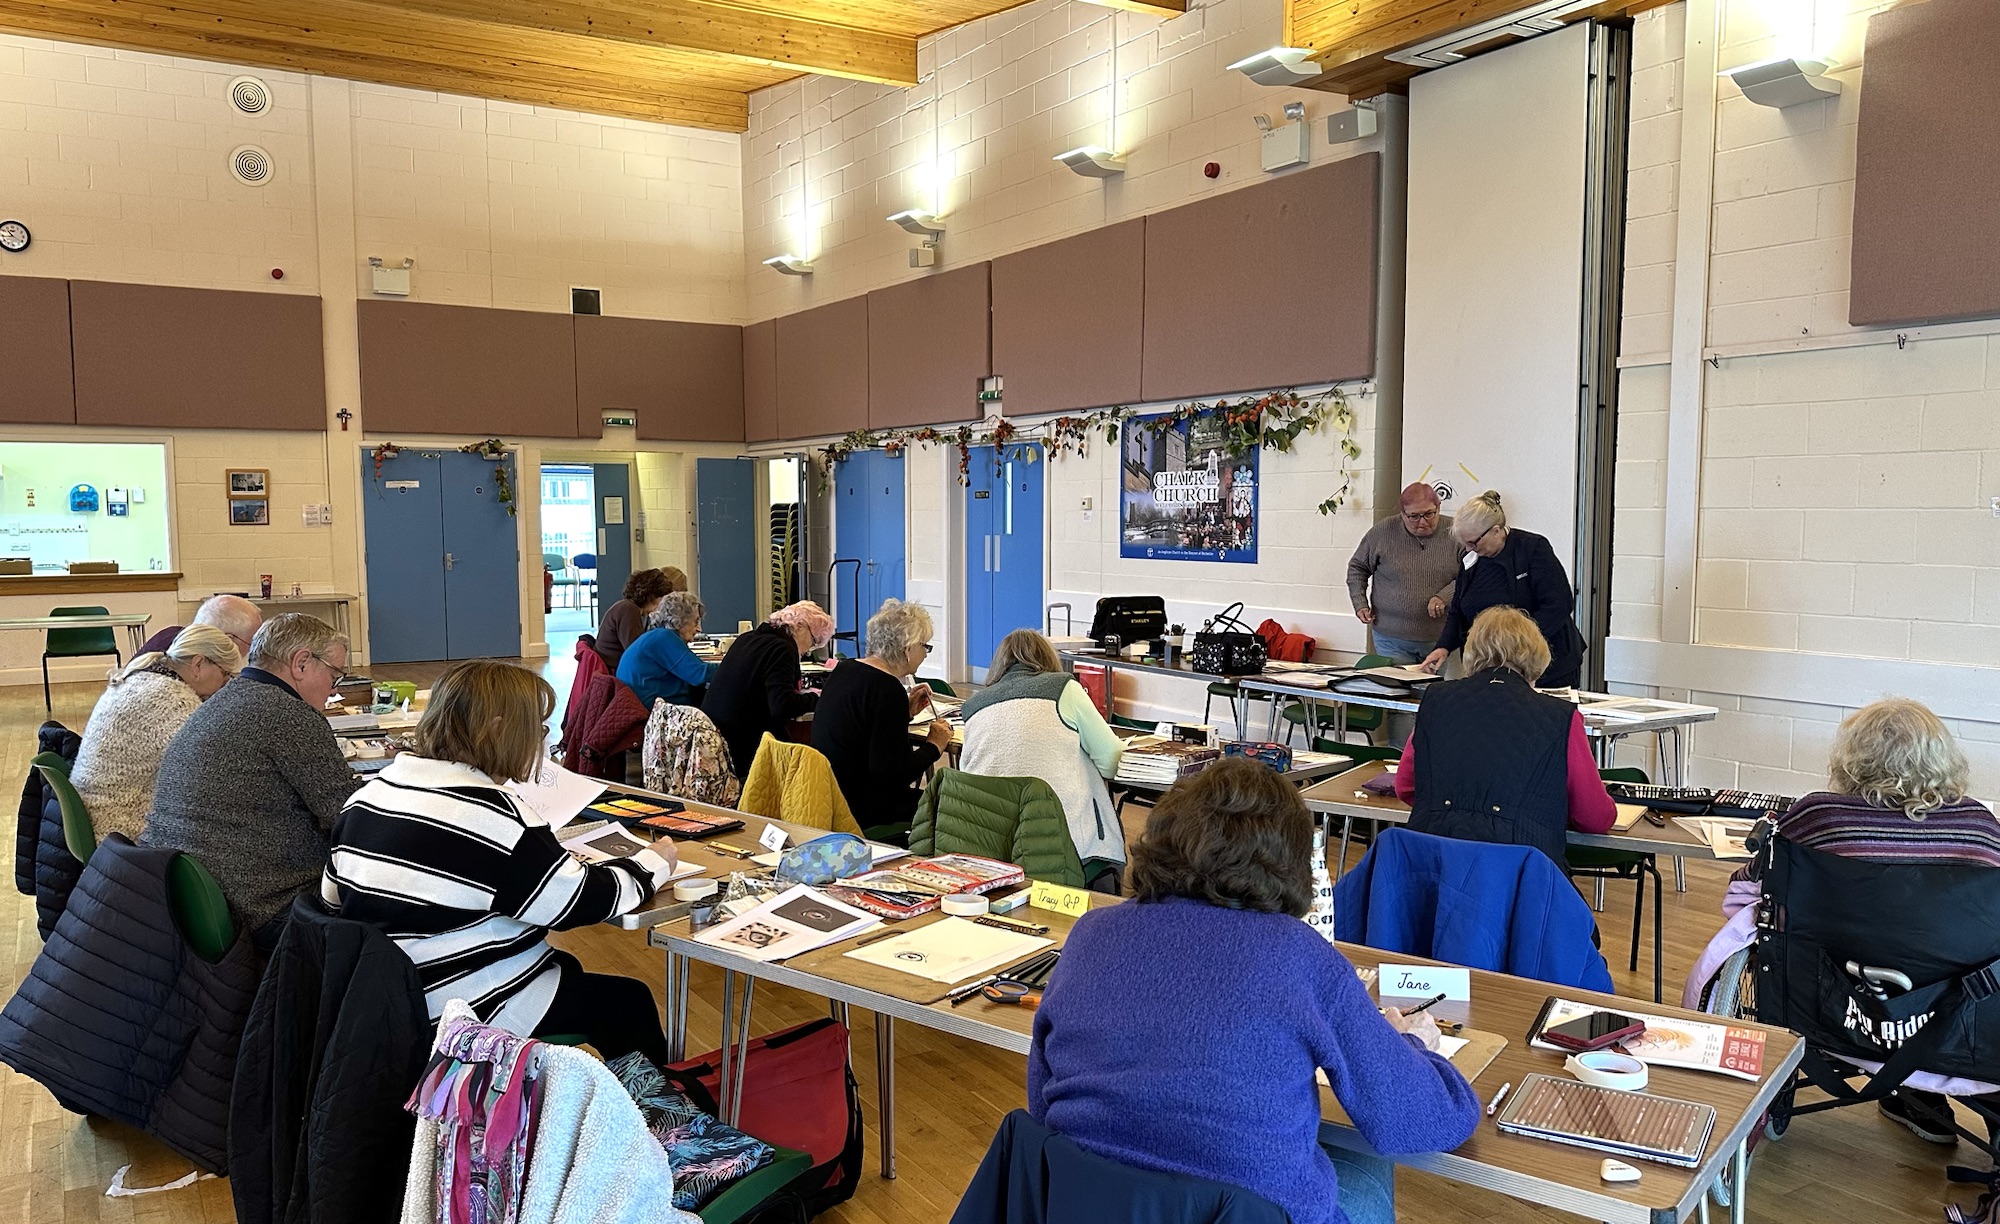
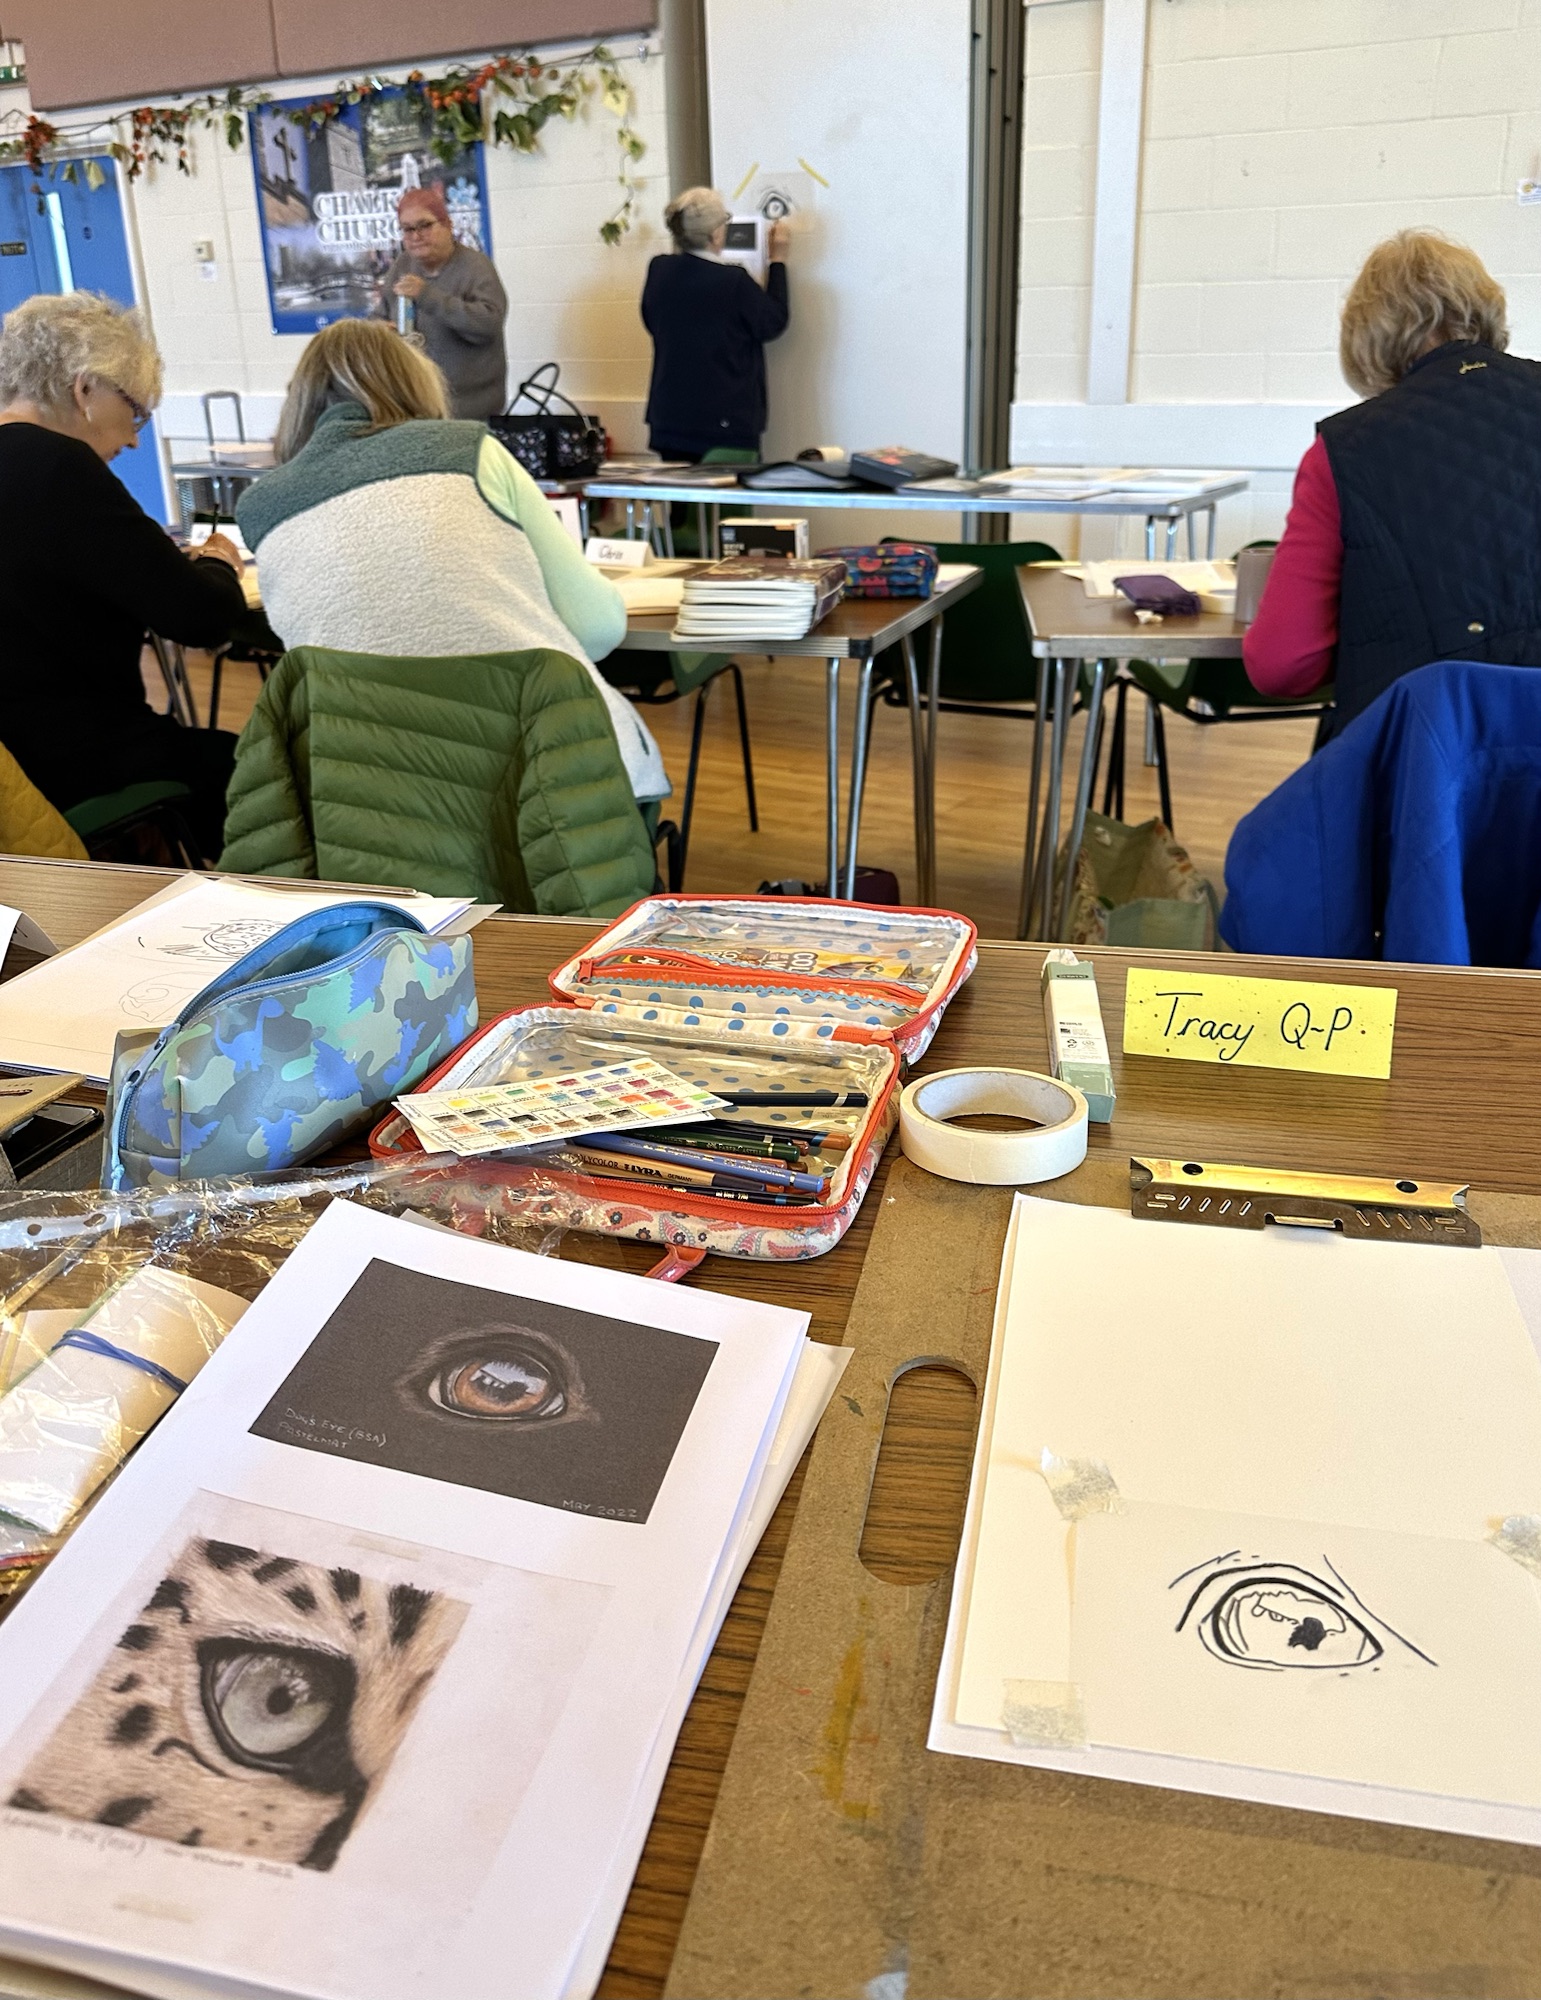
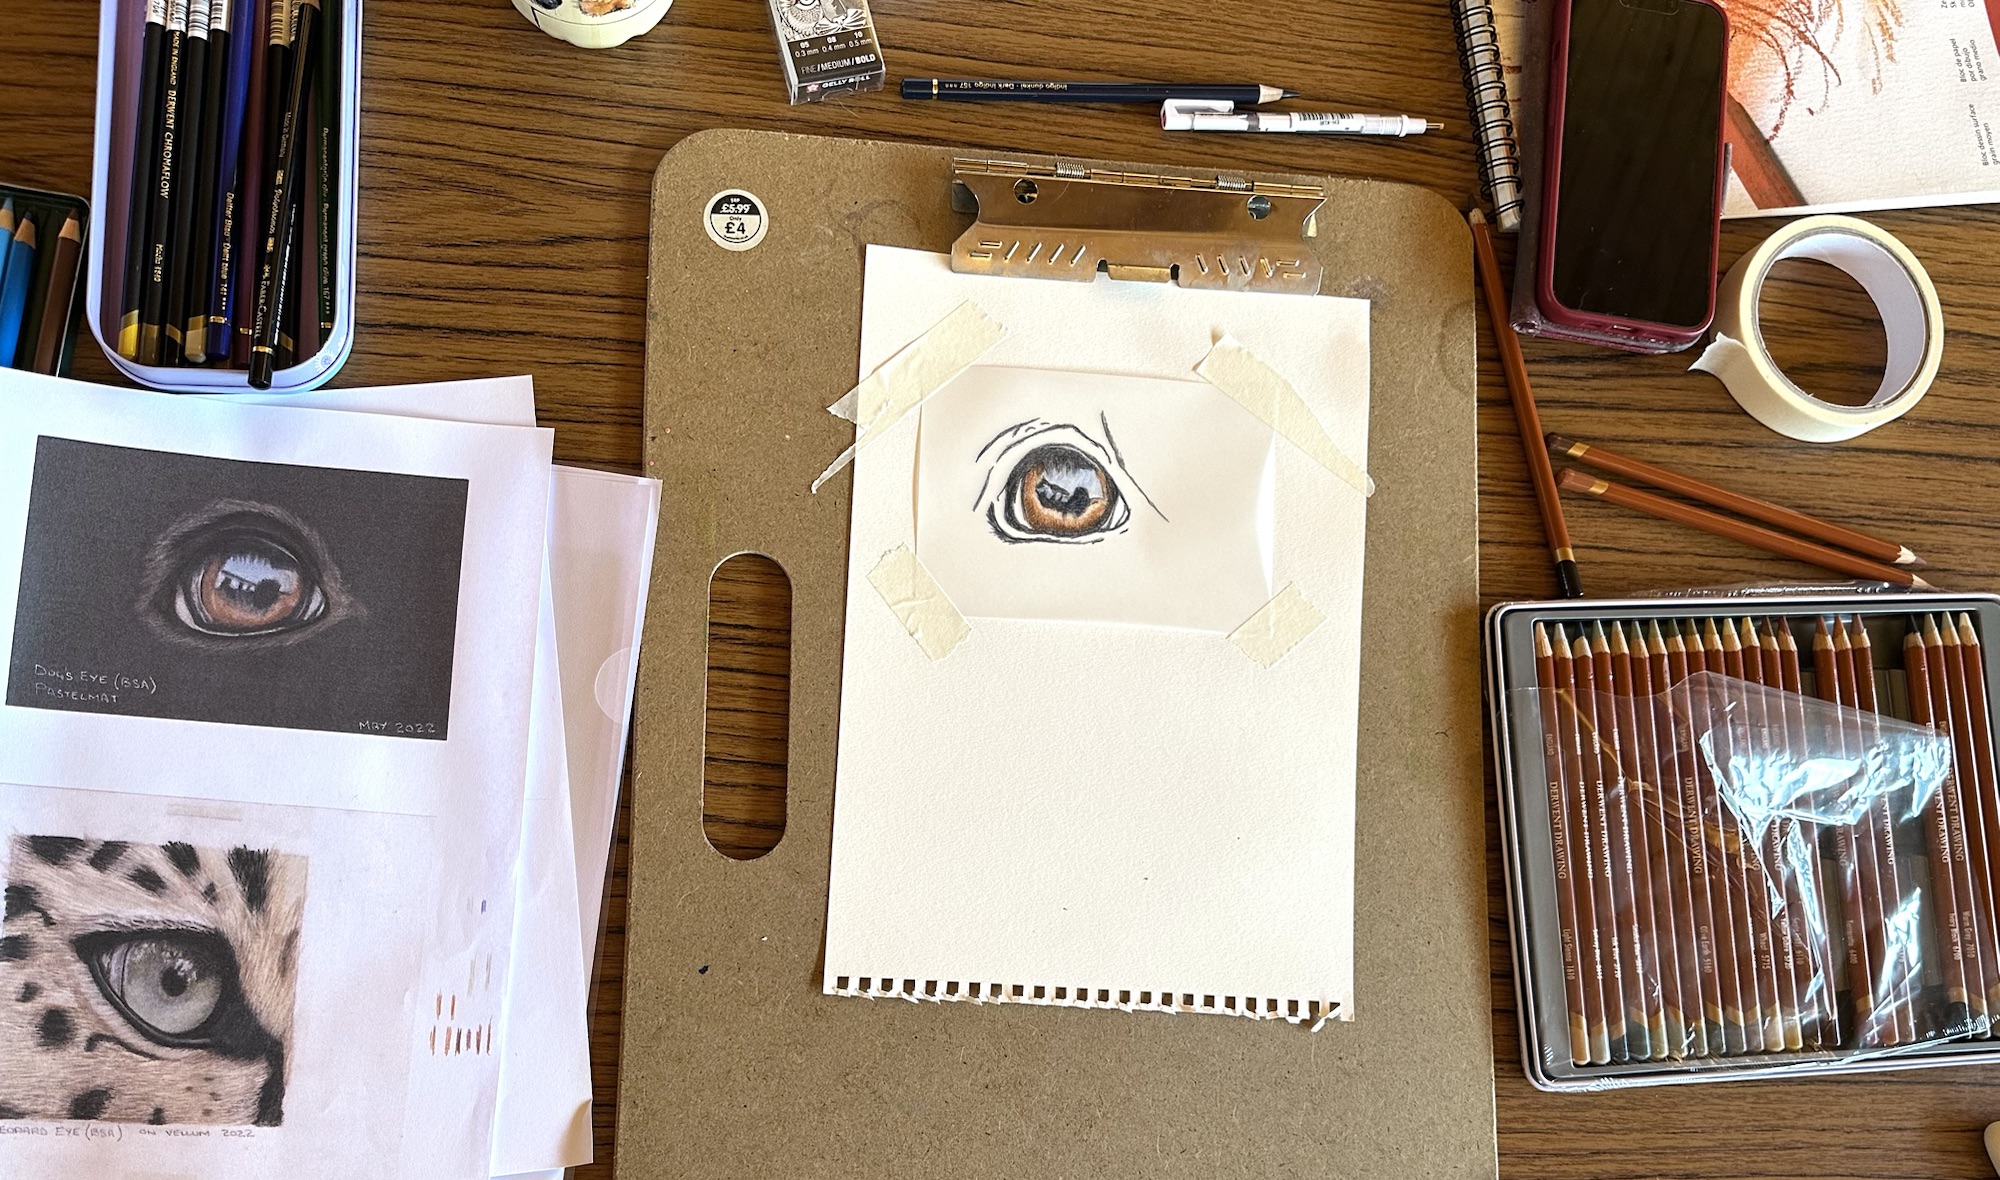
In January we had a quiet Wednesday session and a very busy Saturday session where it was good to catch up with everyone. Here are the suggested idea for February based on historic art movements, but if you’d rather come and paint to your own subject that’s absolutely fine.
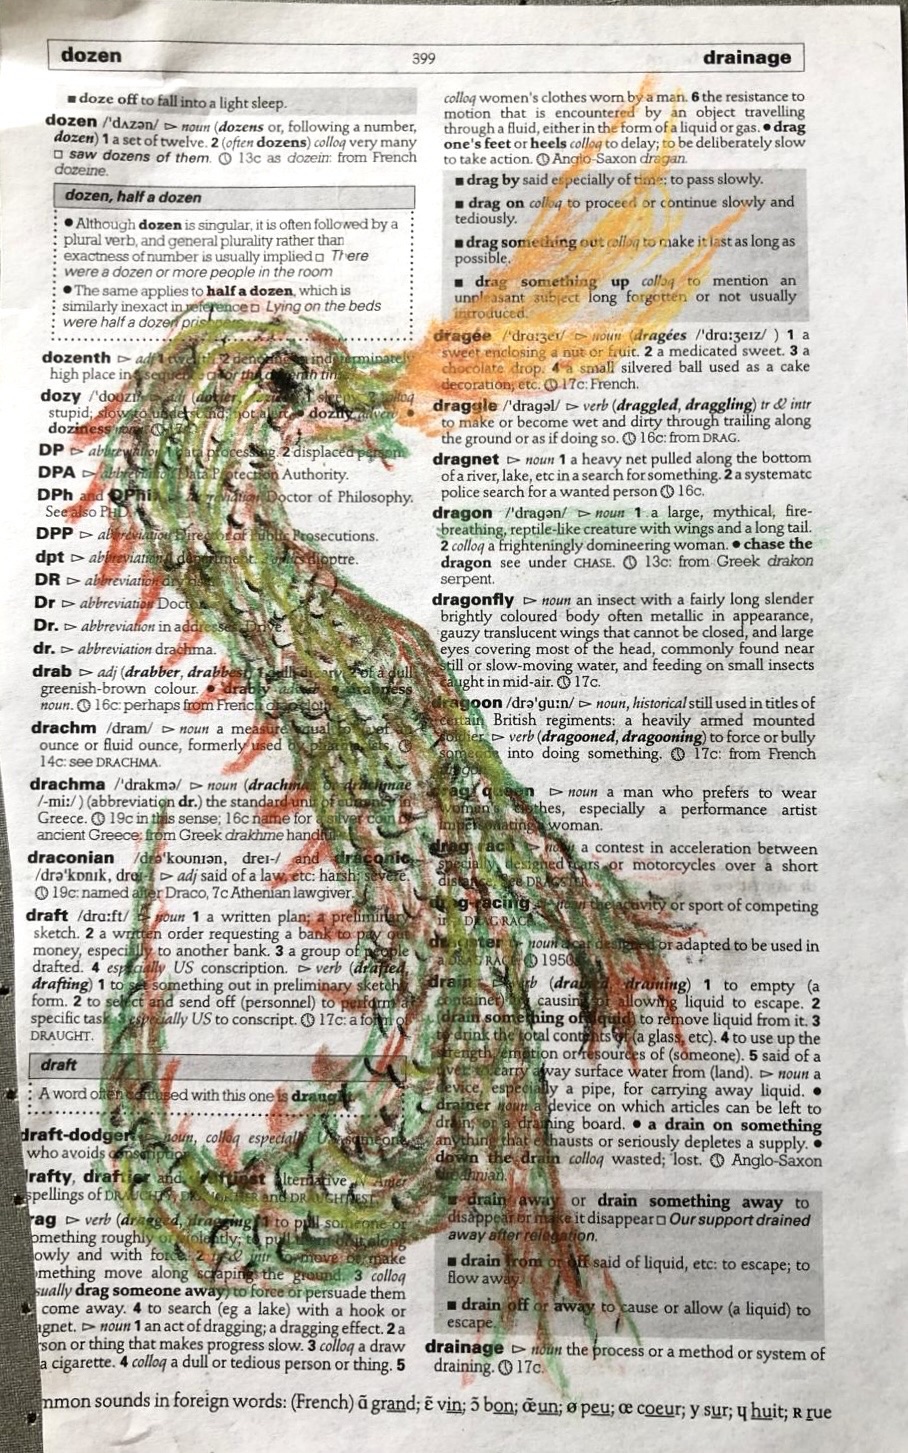
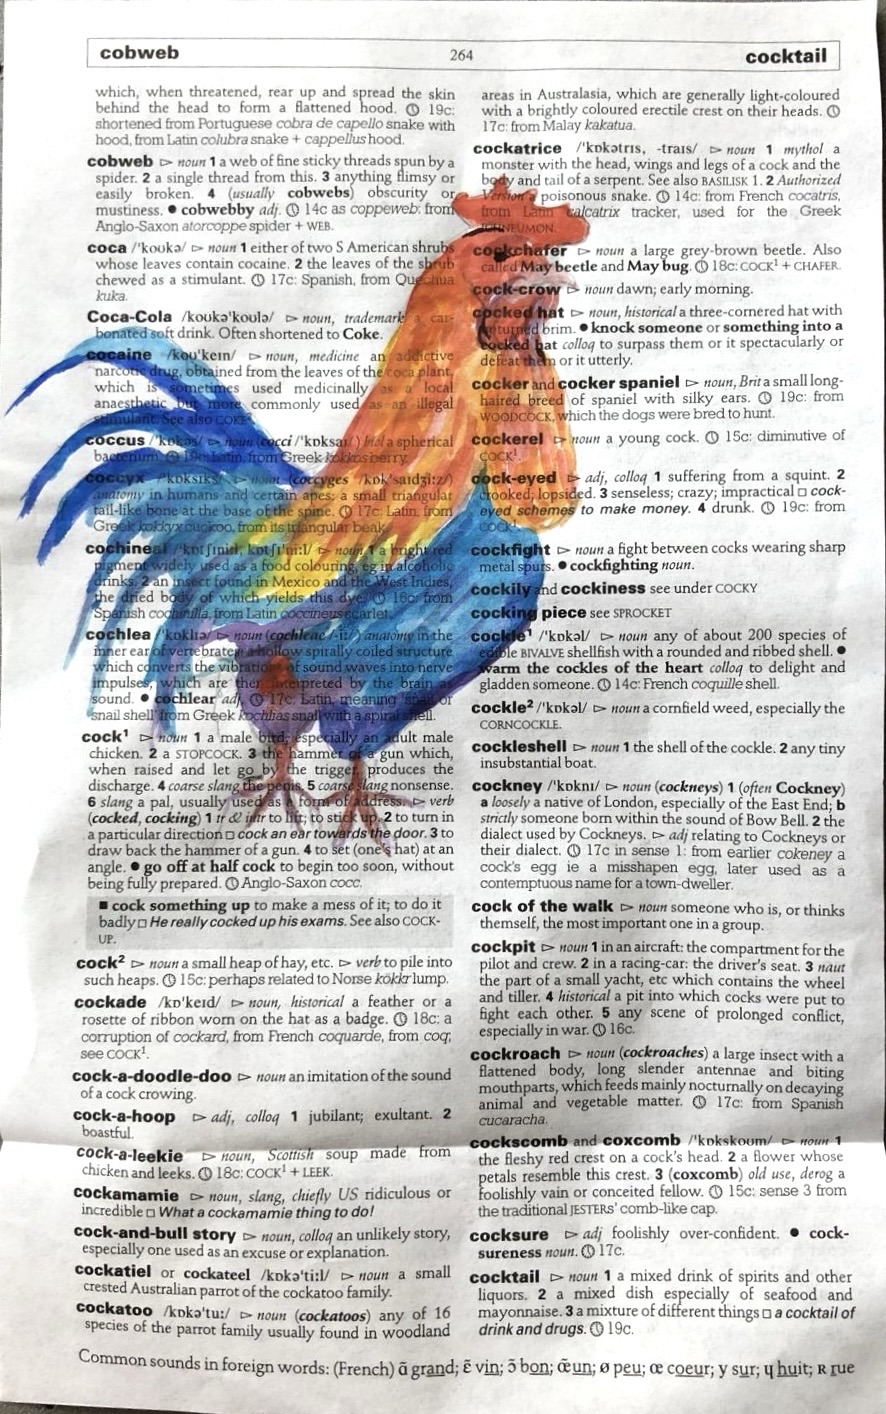
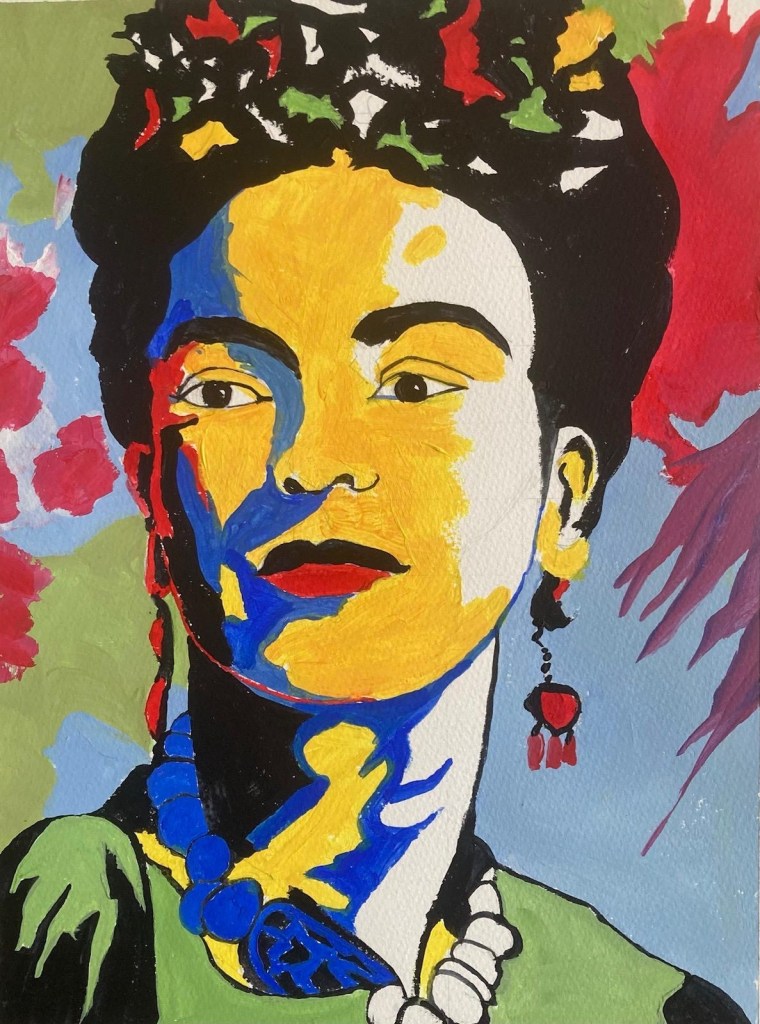
Wednesday 12th – 7-9pm – Fauvism
Fauvism emerged in France at the beginning of the 20th century as a group of artists moved on from the style of Post-Impressionist paintings by Vincent van Gogh and Neo-Impressionist pointillist paintings by painters such as Georges Seurat. Fauvism used strong colours and fierce brushwork and the colours used were often not connected to the colours of the subject. This style of painting emerged around 1904 and carried on past 1910, but the years the movement were most productive were 1905-1908.
Painters such Henri Matisse, André Derain and others used vivid colours straight from the tube and spontaneous brushwork that an art critic called them Les Fauves (the wild beasts). Whilst you may not have heard of Fauvism you will have probably seen many paintings by famous painters.
Choose a subject and use any media to create a painting inspired by Fauvism. Paint one of the Fauvist artists if you prefer portraits.
Info from the Tate Gallery – https://www.tate.org.uk/art/art-terms/fauvism#:~:text=Fauvism%20is%20the%20name%20applied,strong%20colours%20and%20fierce%20brushwork
Wikipedia – https://en.wikipedia.org/wiki/Fauvism
10 famous Fauvist paintings – https://www.dailyartmagazine.com/fauvism-in-10-paintings/
Fauvism paintings on Google images – you will recognise many – https://www.google.co.uk/search?client=safari&sca_esv=05dc5d931443a7b3&channel=mac_bm&q=fauvism+artwork&udm=2&fbs=ABzOT_CWdhQLP1FcmU5B0fn3xuWpA-dk4wpBWOGsoR7DG5zJBsxayPSIAqObp_AgjkUGqenLclubdwP4zrQWfEJDEVVFVXswA8wQATANG0VCCiWAMu4ejmjJF88YytNA4ooH7UaQnCzCG9kHDJcsZiEnf682ytYLMNWtL7sMF7t6s8j1r6aG8tF1Ey2OdkbWmbYM880tDLYpDJgsGVOWrdtT4dkx-ceNUQ&sa=X&ved=2ahUKEwjlv7HrqaOLAxU4XEEAHUiCLggQtKgLegQIEBAB&biw=1804&bih=1209&dpr=2
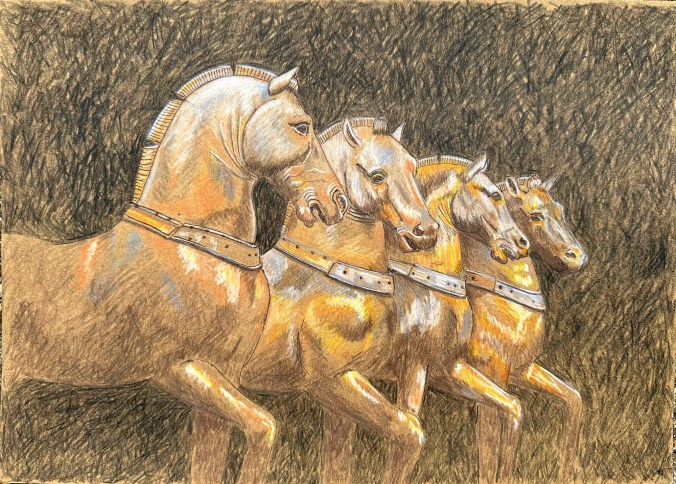
Saturday 22nd – 10am to 3pm – Art Nouveau
Art Nouveau, ‘New Art’, both predates and postdates Fauvism, from c1890 to the beginning of the first world war in 1914. It is such a well known and international style that thousands of examples adorn the world’s museums, art galleries and great houses.
Inspired by natural forms such as the sinuous shapes of plants, flowers and animals, the moment had roots in the works of William Morris (who was our subject in February 2024) and the Pre-Raphaelites. Using dynamism, asymmetry and movement there are not just paintings but sculptures, furniture, textiles, ceramics, jewellery, buildings and other objects. In France this time was called La Belle Époque, ‘The Beautiful Era’, and the Style Moderne and several Metro stations still have their Art Nouveau entrances.
Draw or paint anything inspired by Art Nouveau, or if you prefer portraits choose one of the many artists connected to this style.
Info from the Tate Gallery – https://www.tate.org.uk/art/art-terms/a/art-nouveau
Wikipedia – https://en.wikipedia.org/wiki/Art_Nouveau#Bibliography
Paris Métro entrances – https://en.wikipedia.org/wiki/Paris_Métro_entrances_by_Hector_Guimard
10 artists – https://www.invaluable.com/blog/art-nouveau-artists/
Art Nouveau at The Metropolitan Museum of Art in New York – https://www.metmuseum.org/toah/hd/artn/hd_artn.htm#:~:text=From%20the%201880s%20until%20the,%2C%20graphic%20work%2C%20and%20illustration.